
Camp is here, the most wonderful time of the Iggle year! That also means it is time to start the annual rebuilding and improving of your blanket fort, which is where this craft activity comes in. It’s a super simple no-sew bunting, using patterned card. This craft can take as long or as short as you want, depending on whether you decorate your bunting or use patterned card like me (it took me about an hour).
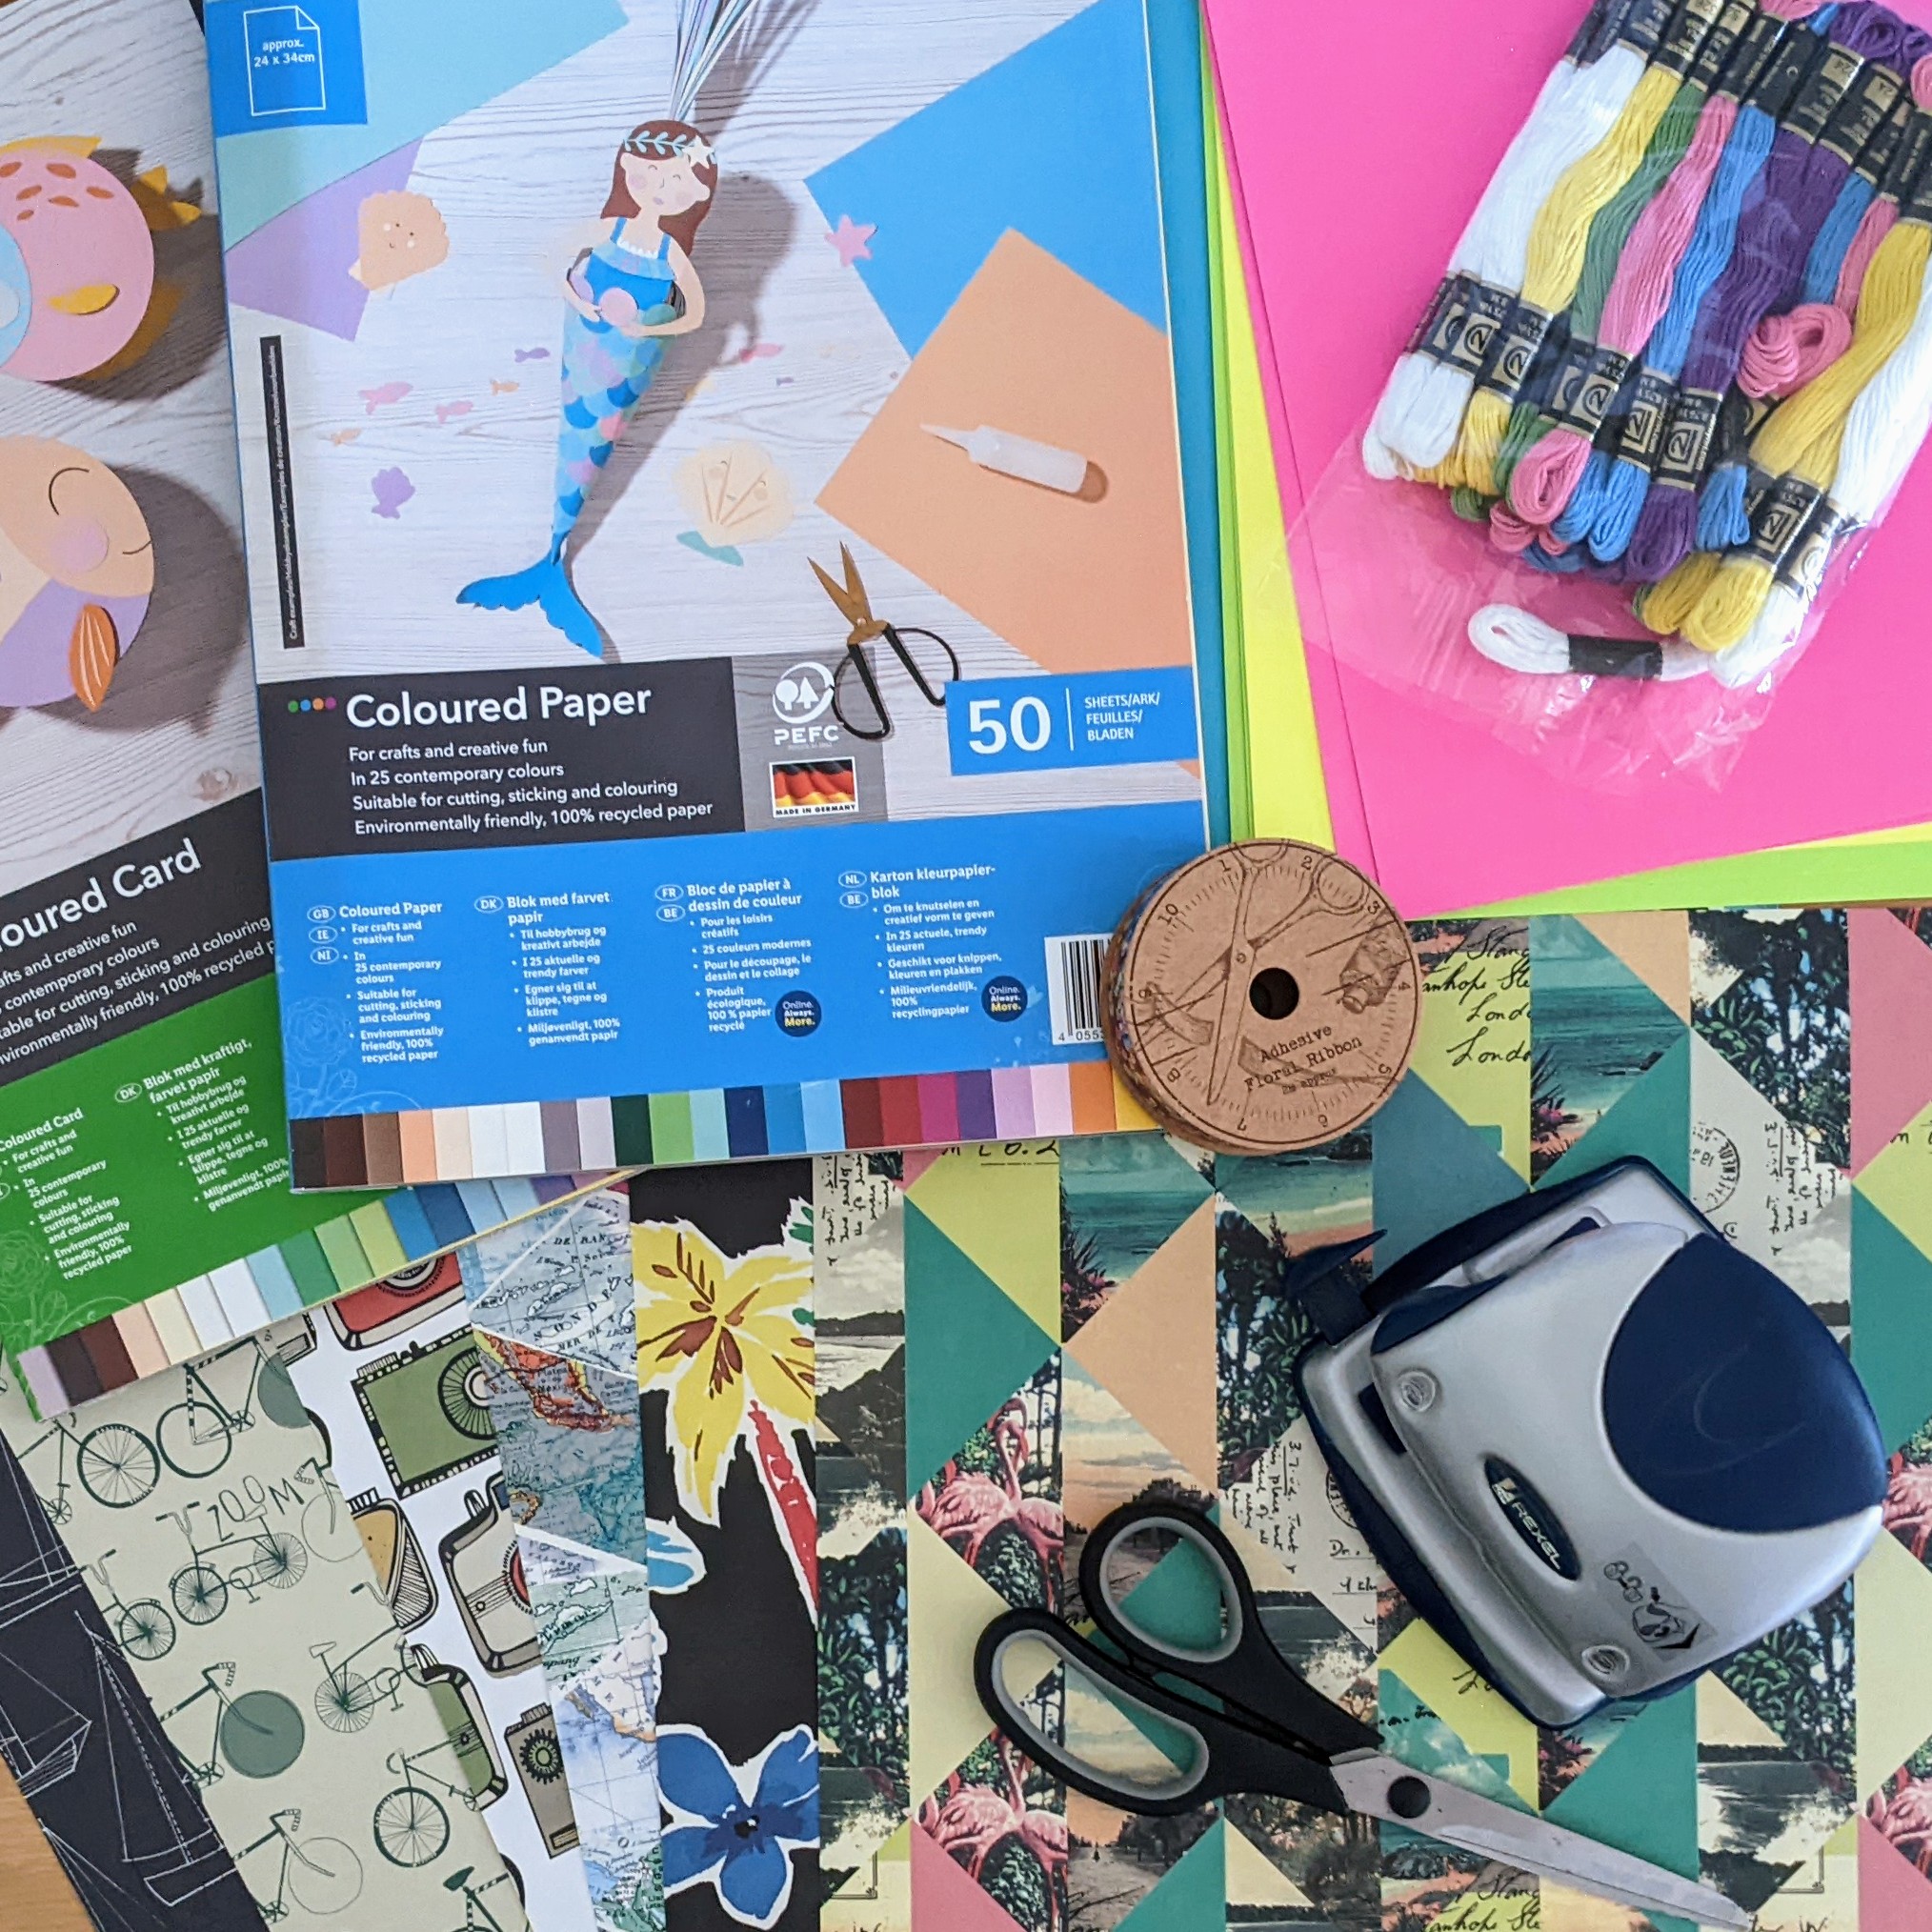
Supplies:
- Card / paper (patterned or plain)
- Scissors
- Hole punch
- String / ribbon
- Pencil
- Ruler
- Optional: colouring pens, other decorating things as desired, sticky tape
New-Sew Bunting Instructions:
Take your piece of card (mine is 12x12in, roughly 30x30cm) and trim to a suitable size. The height of your bunting is determined at this point so be sure you know how big you want it! I halved my square sheets into long rectangles (6x12in / 15x30cm).

Next, mark into thirds on one side (every 4in / 10cm) and then opposites on the other (2in / 5cm, 6in / 15cm, 10in / 20cm). By drawing diagonal lines between each mark you will make triangles ready to be cut!
If you’re using plain card or paper and wish to decorate, you can either cut the triangles first and then decorate for individual designs, or decorate a whole sheet and then cut the triangles if you’d like to have some added randomness!
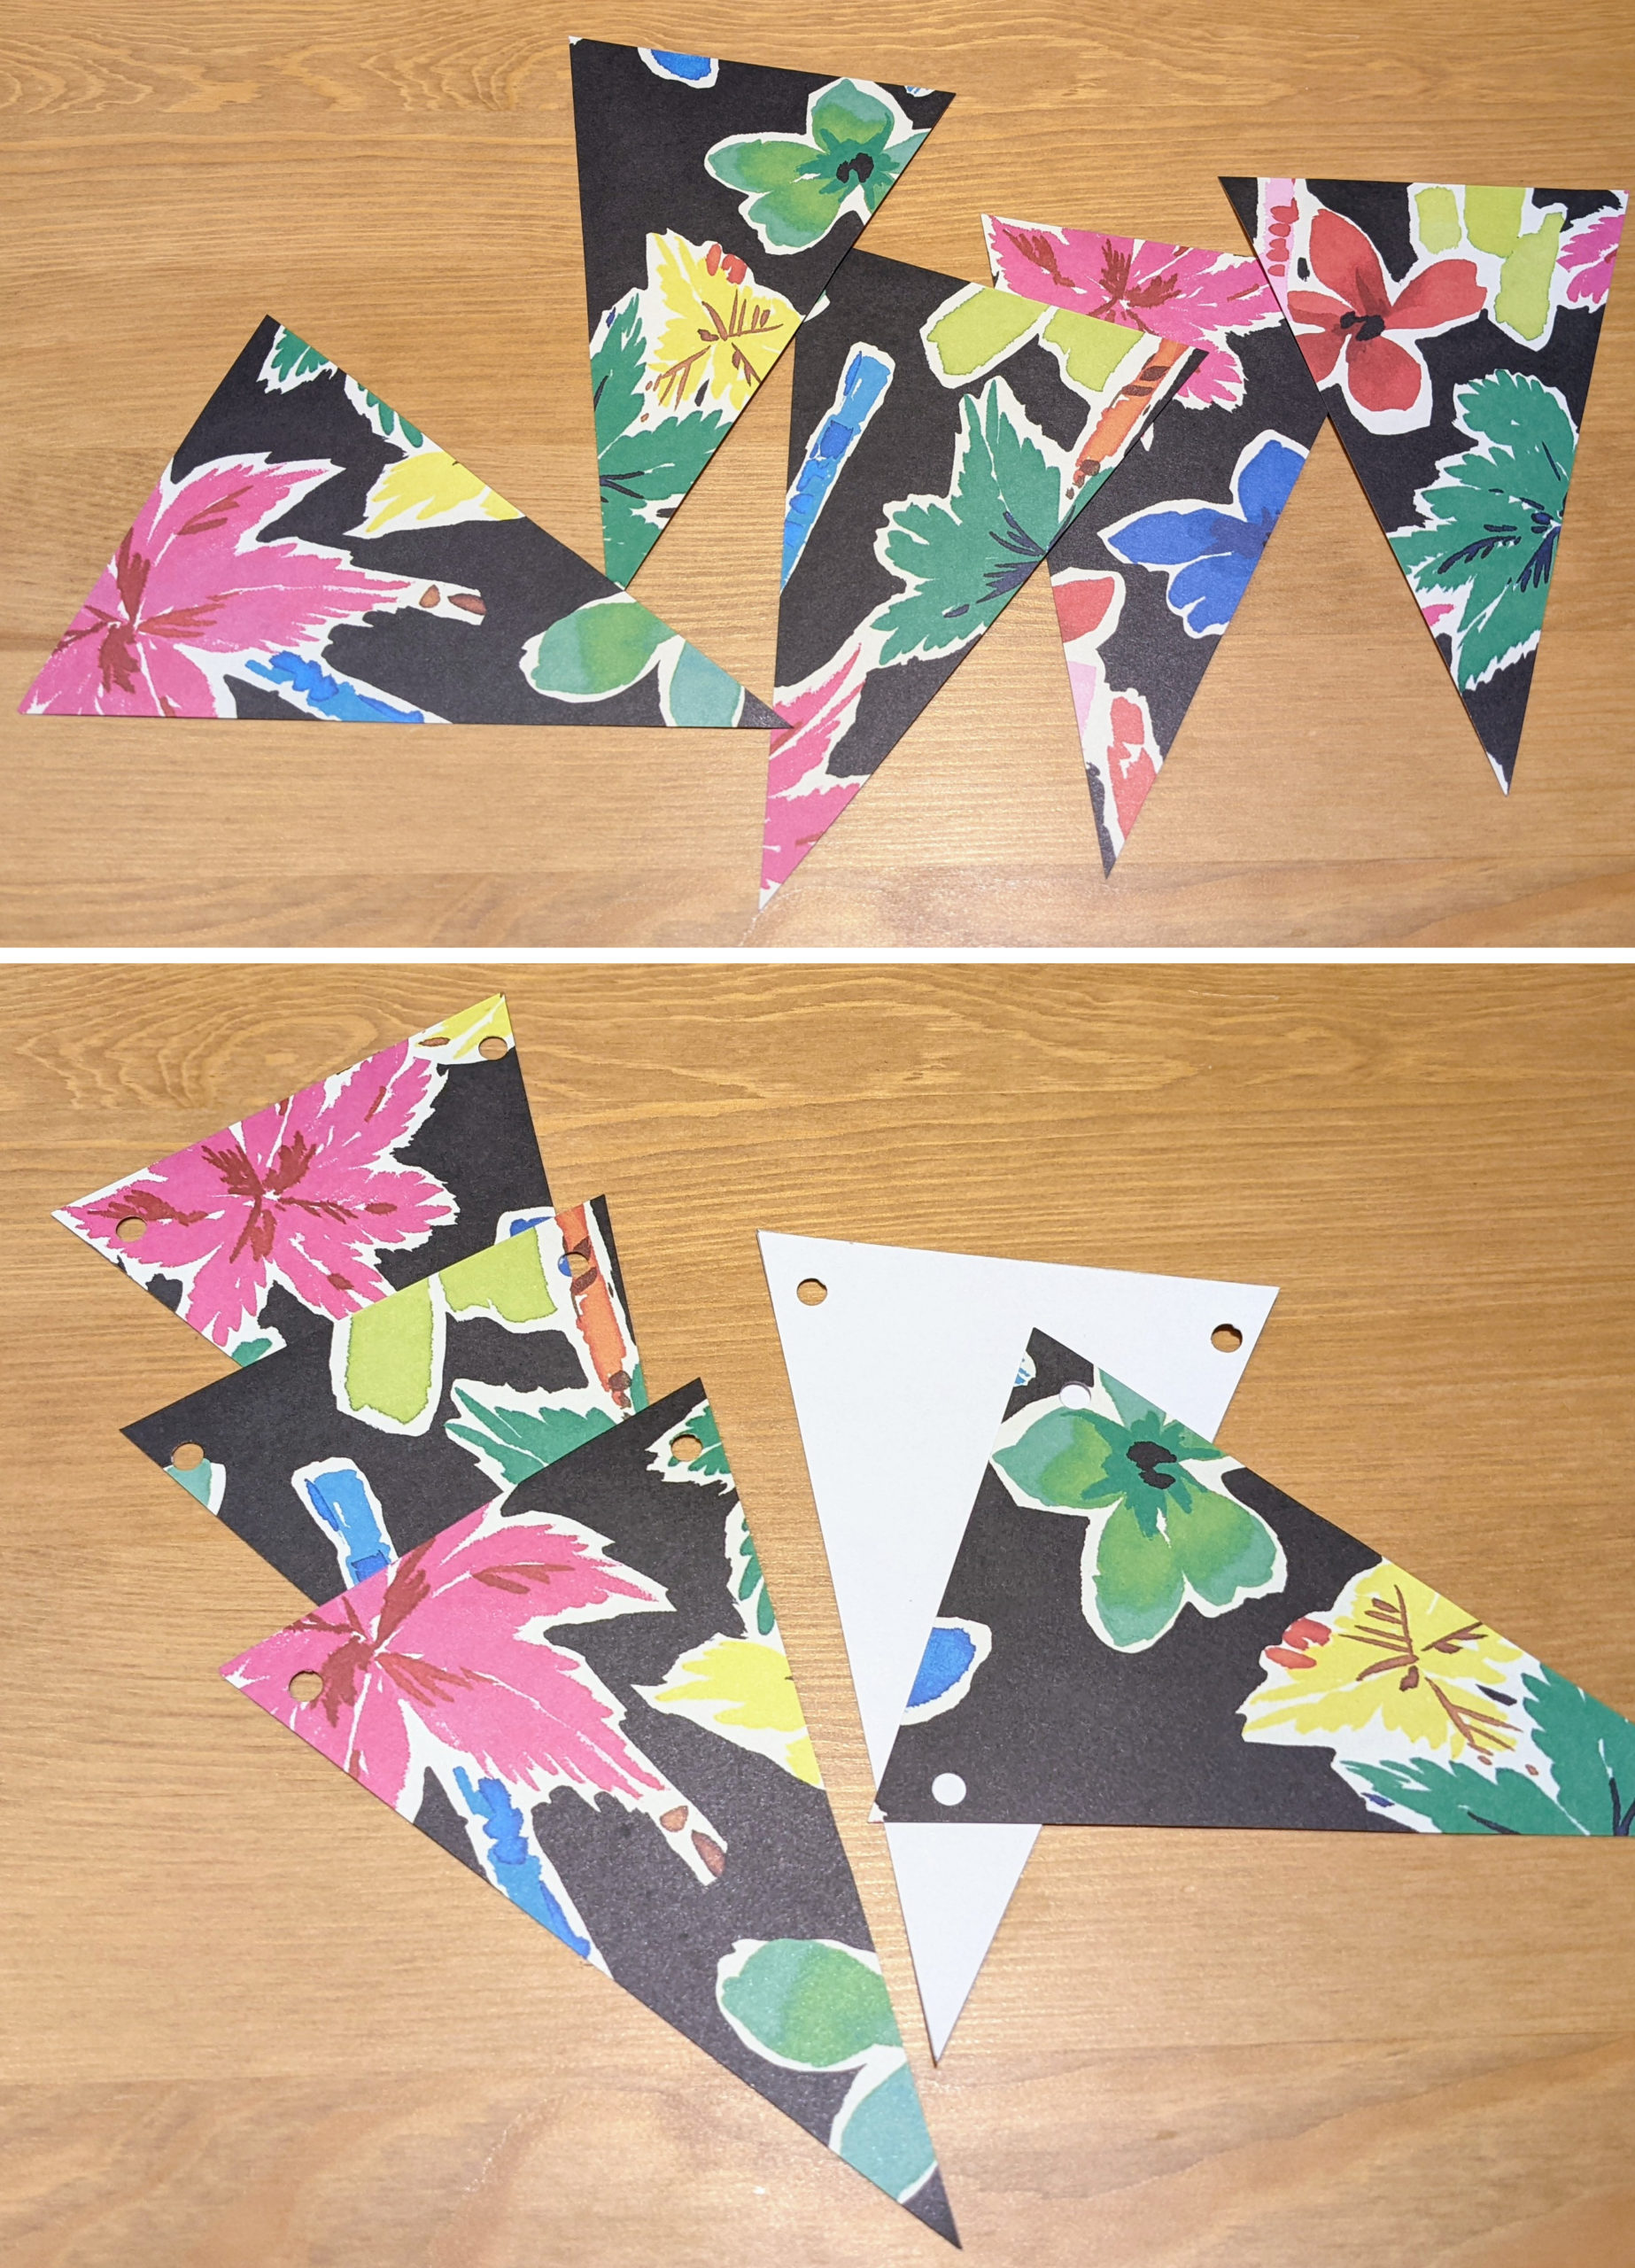
Once the triangles are cut, you can hole punch (carefully!!). This may take some trial and error if you have smaller triangles and thus have to do each hole individually. I was lucky and could use the double cutter, but only just – there were a couple of close calls where I nearly cut through the edge of a flag.
With two sheets of card I was able to make 20 bunting flags that were 4in /10cm at the widest point. I calculated that I would therefore need at least 7ft /2.5m of string. I used embroidery cotton, since I have so much of it lying around that I’ll probably never use for cross-stitch, and picked a colour that was in both patterns!
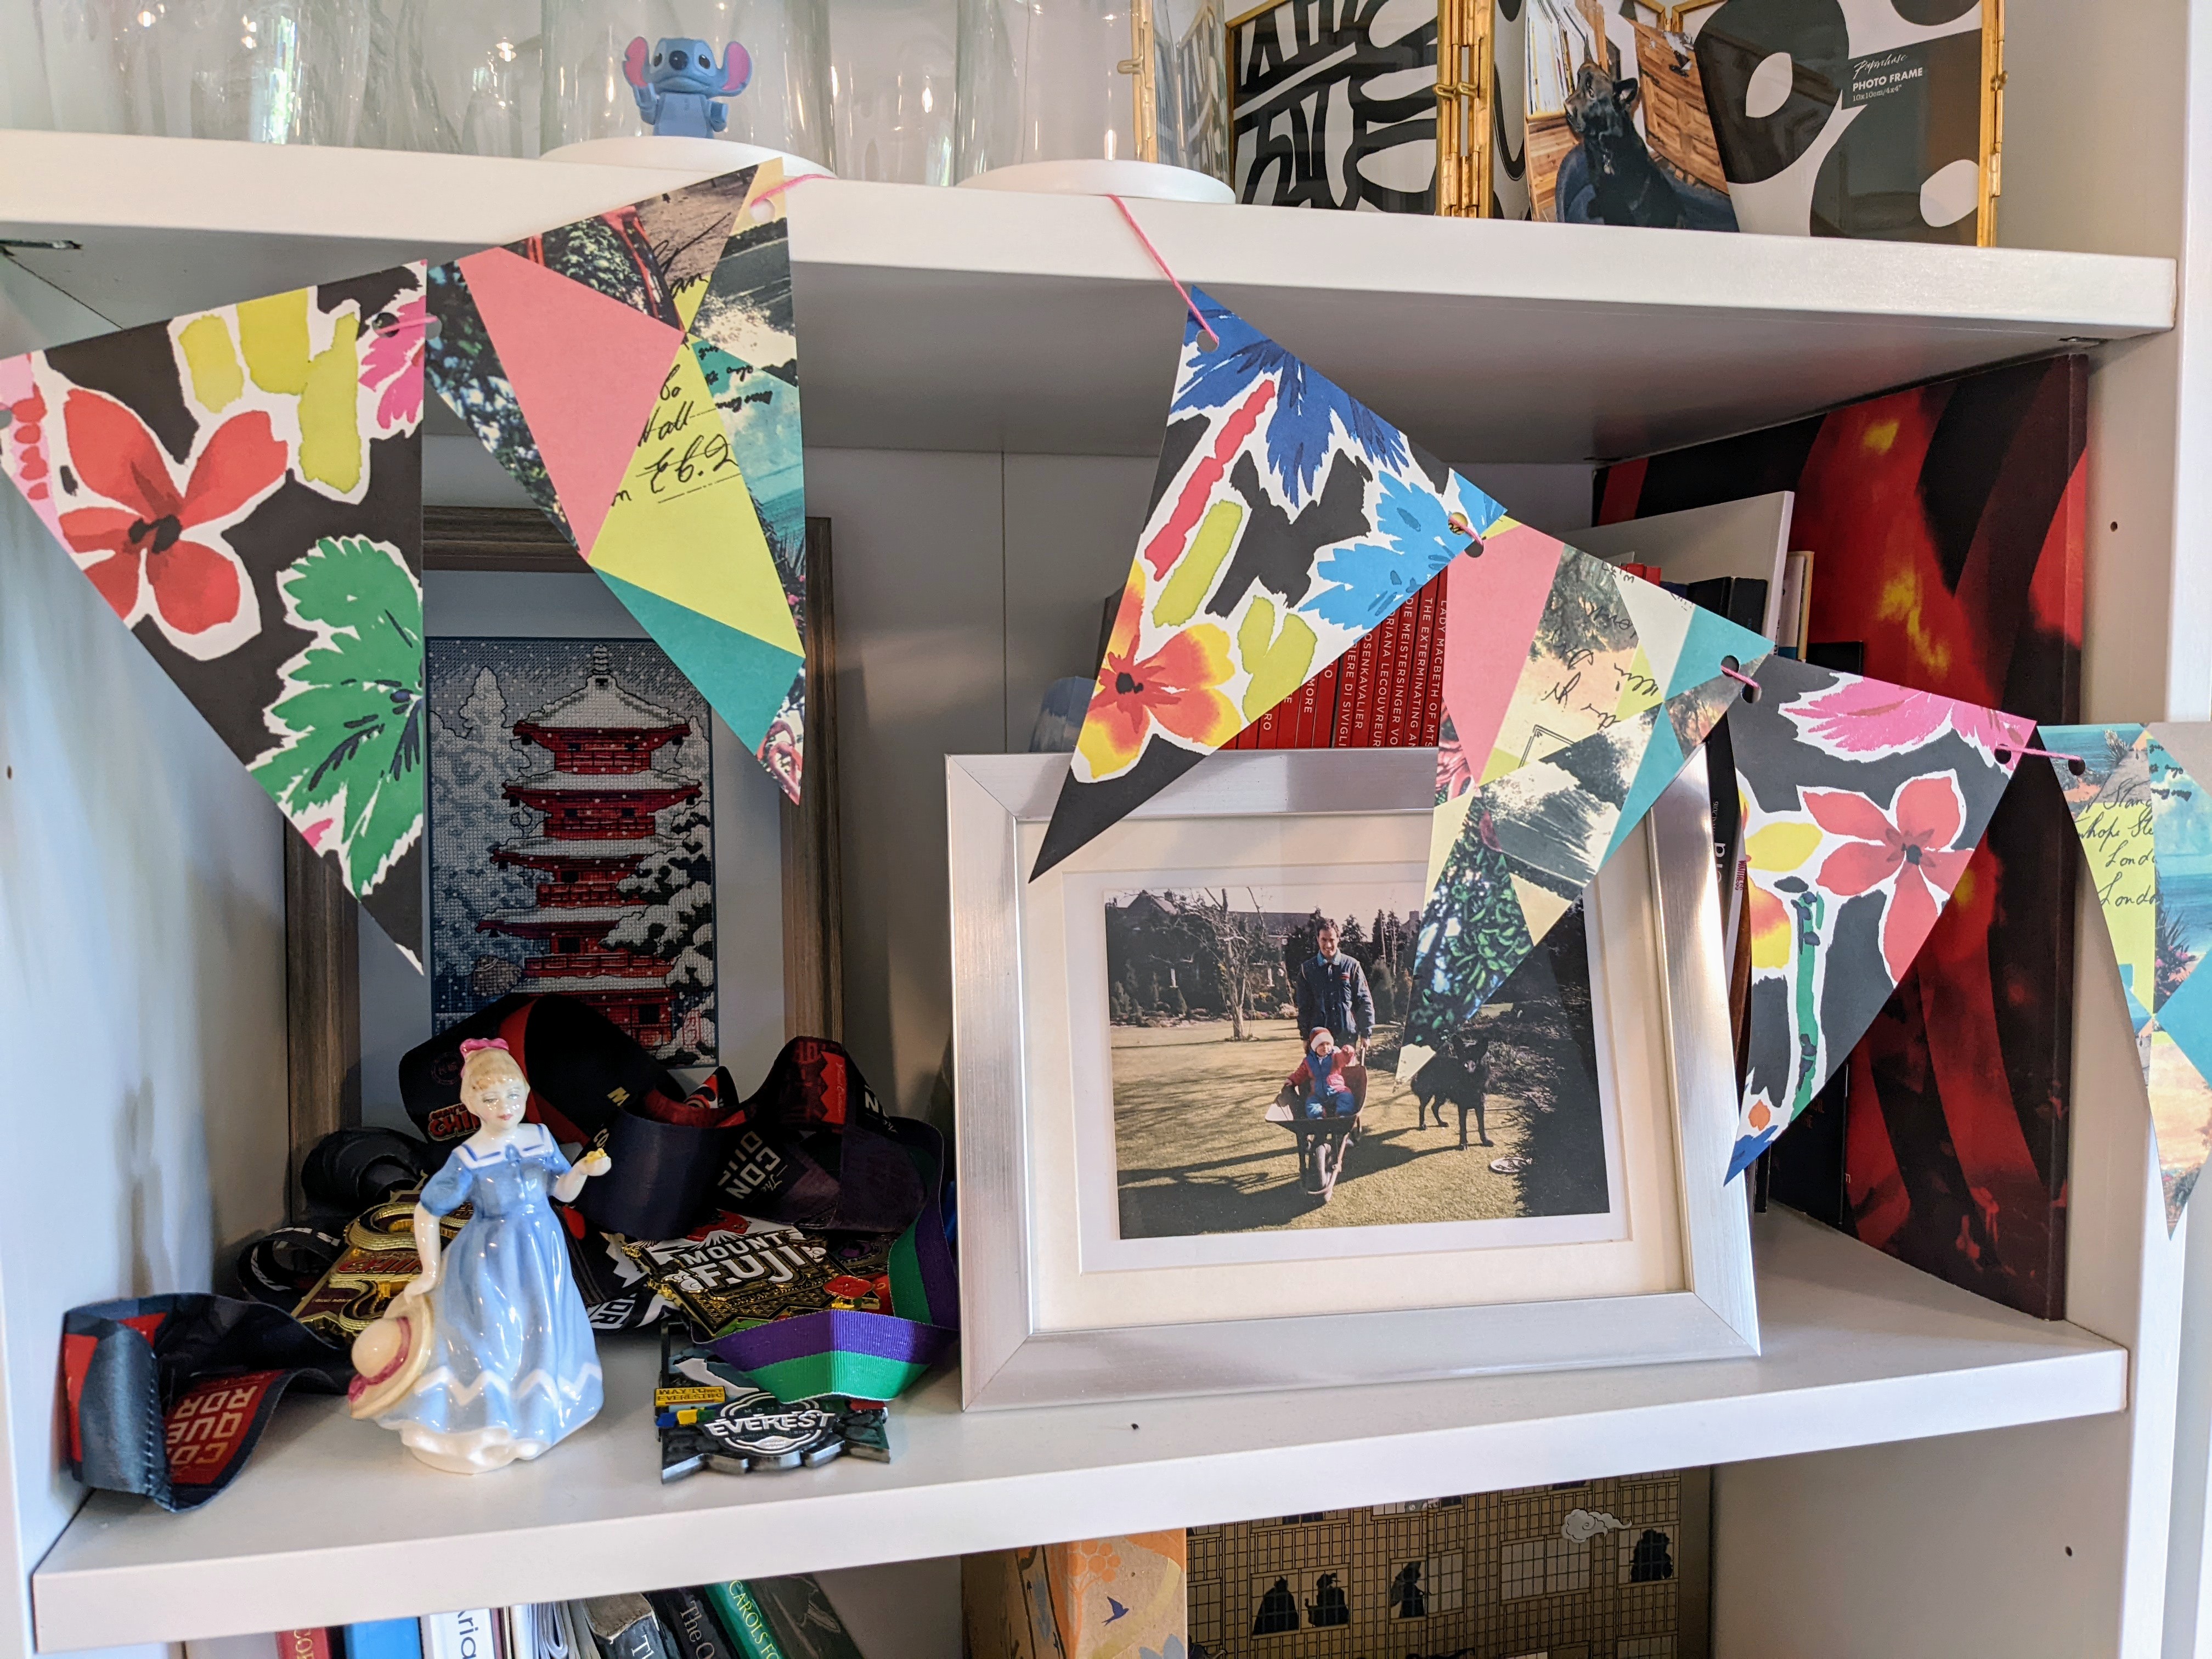
Loop the thread in and out of the holes. I was lucky, the thread and card work well together, but you may need to tape the flags down if they don’t stay where you put them.
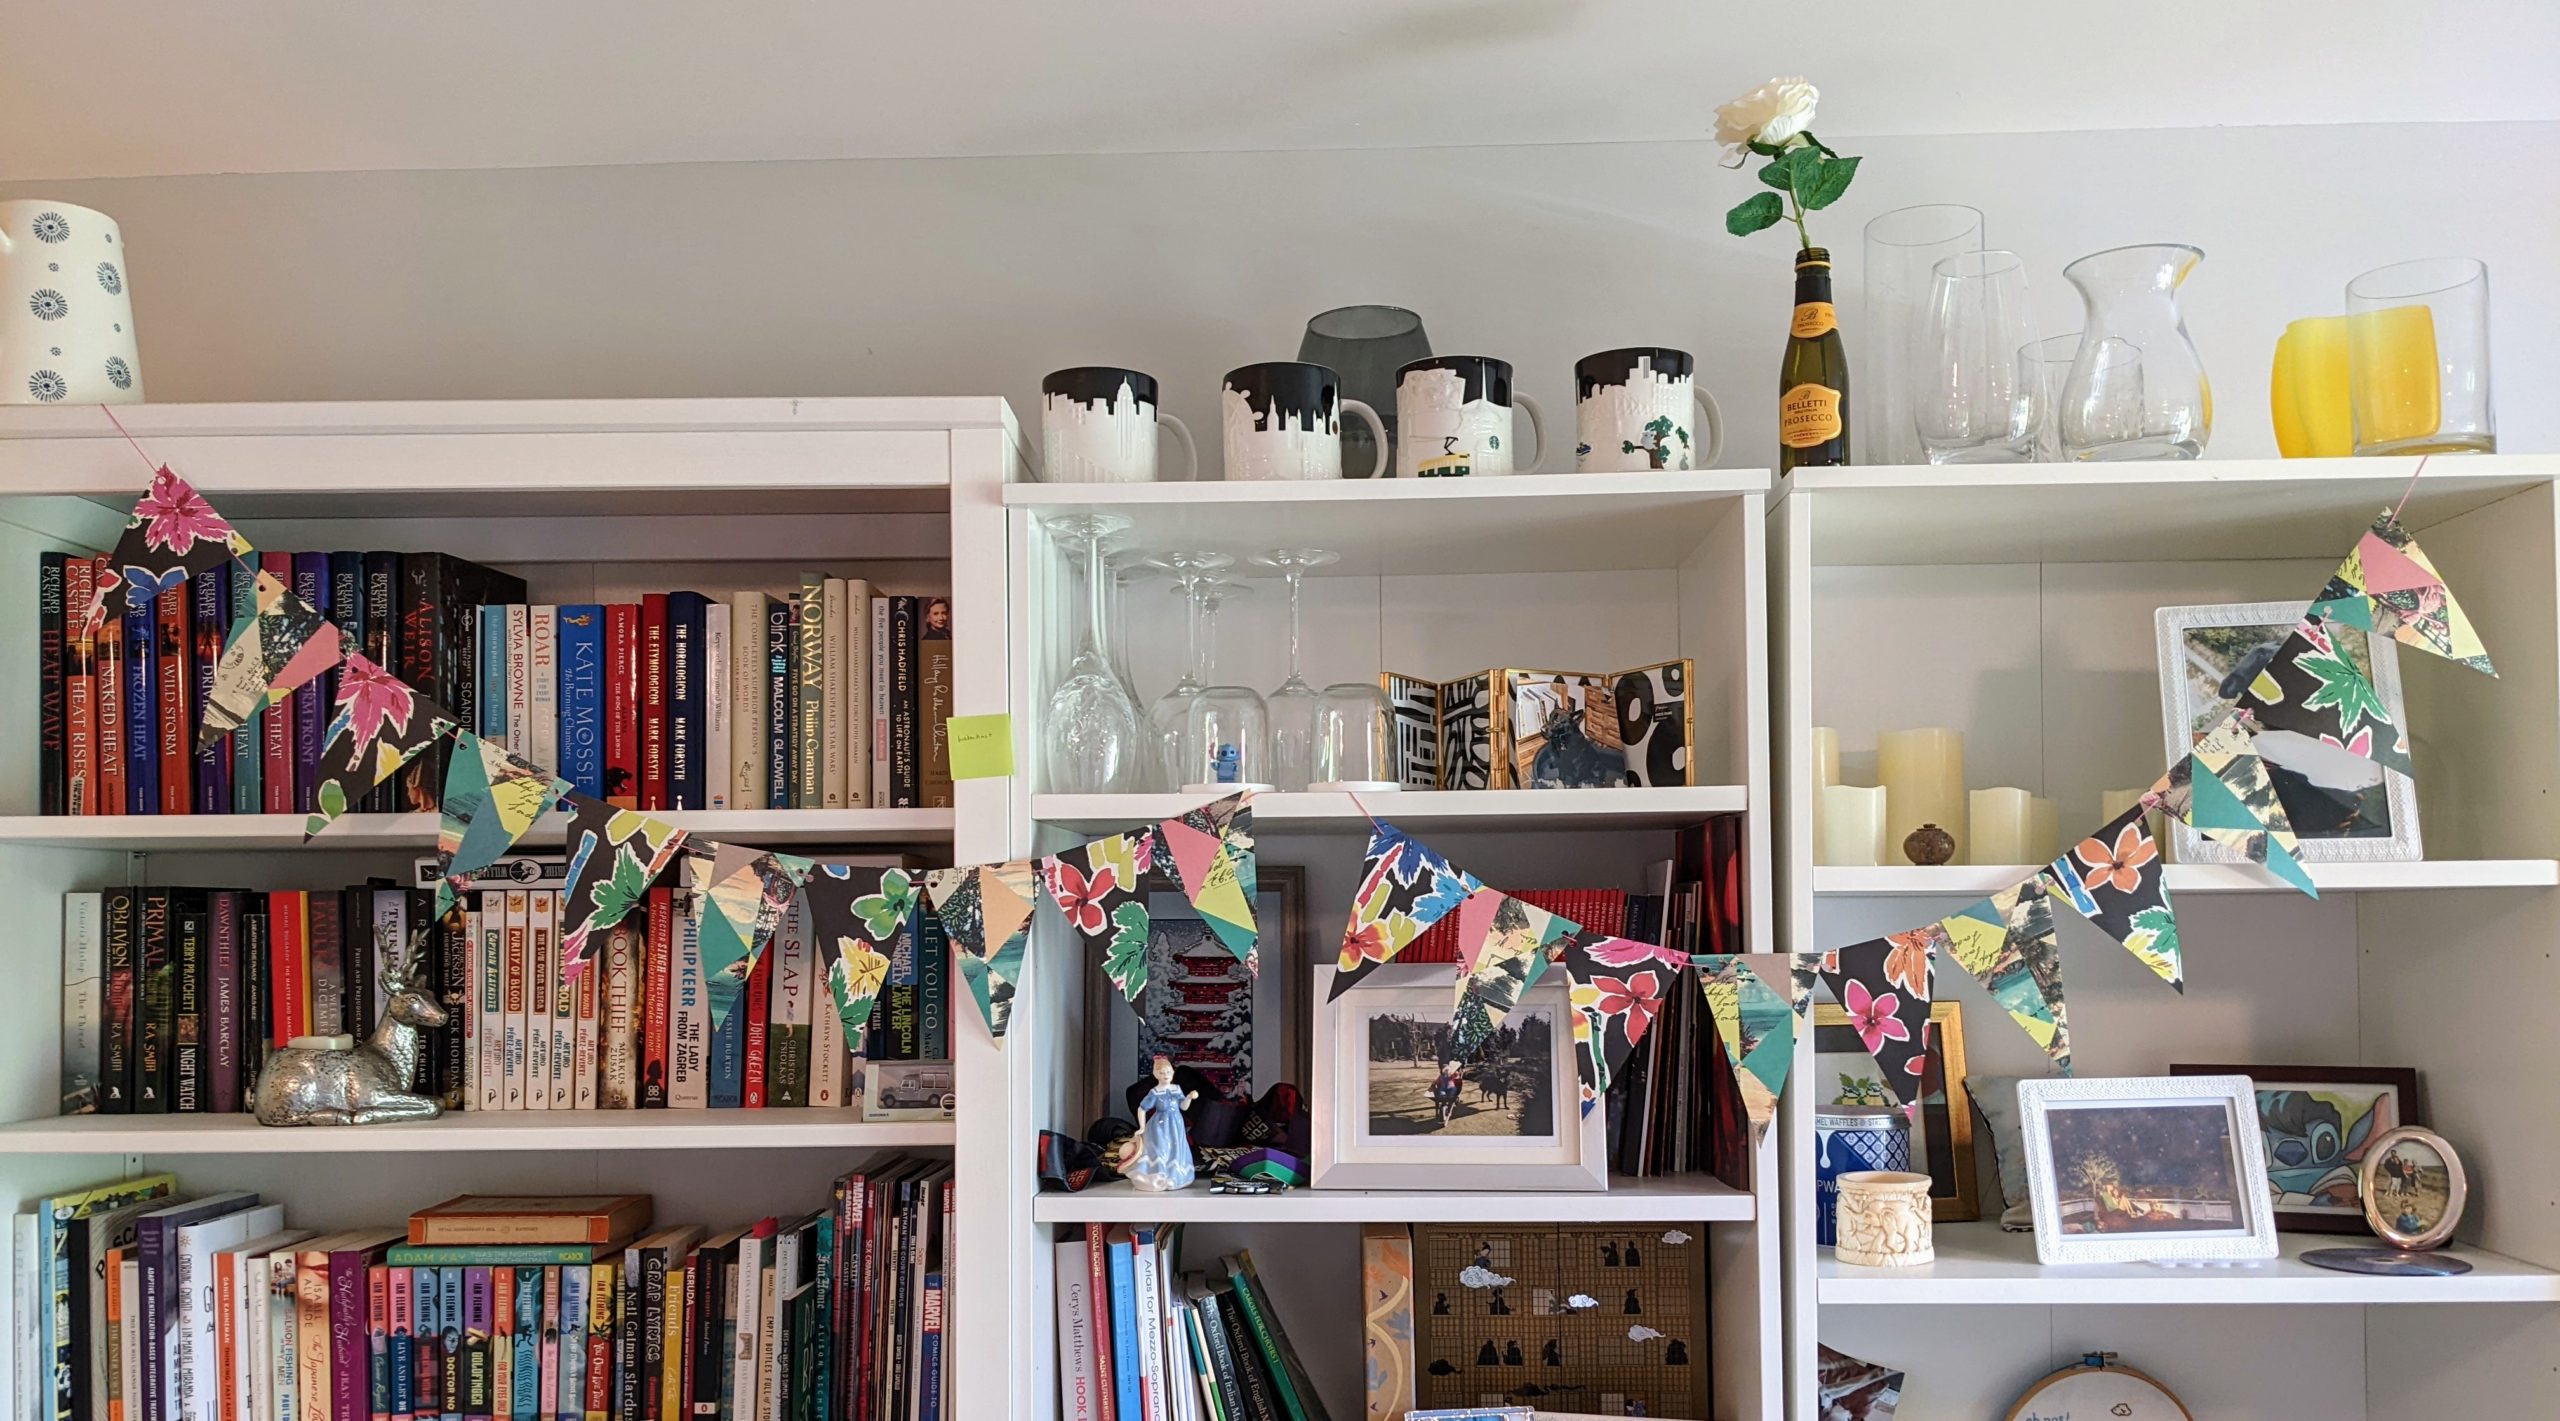
Lastly, hang them up in or near your fort!
My instructions are based on the size of the card I used, but I hope will be adaptable – please get in touch with me if you need help adapting. Enjoy decorating your blanket fort with this easy and cute bunting!
Contributed by Katherine aka Camper Anamaria
Meet Katherine, aka Camper Anamaria! For her eighth IGGPPC camp – and her eighth camp ever – she’s bringing a simple but effective craft for inside your blanket fort. If you have any questions about it, you can find her most places online as @klff_!

Leave A Comment
You must be logged in to post a comment.