
I feel like visible mending has become trendy as of late. I can see why. It’s a way to extend the life of your favorite pieces of clothing. It’s also something you can do with very basic sewing skills. There are a lot of different techniques you can use to mend your clothing, so much that I can’t cover in a single blog post, but I wanted to demonstrate two possible ways to mend holes and rips. I hope this little intro inspires you to dive deeper into visible mending.
Visible Mending Supplies:
- An article of clothing to be mended
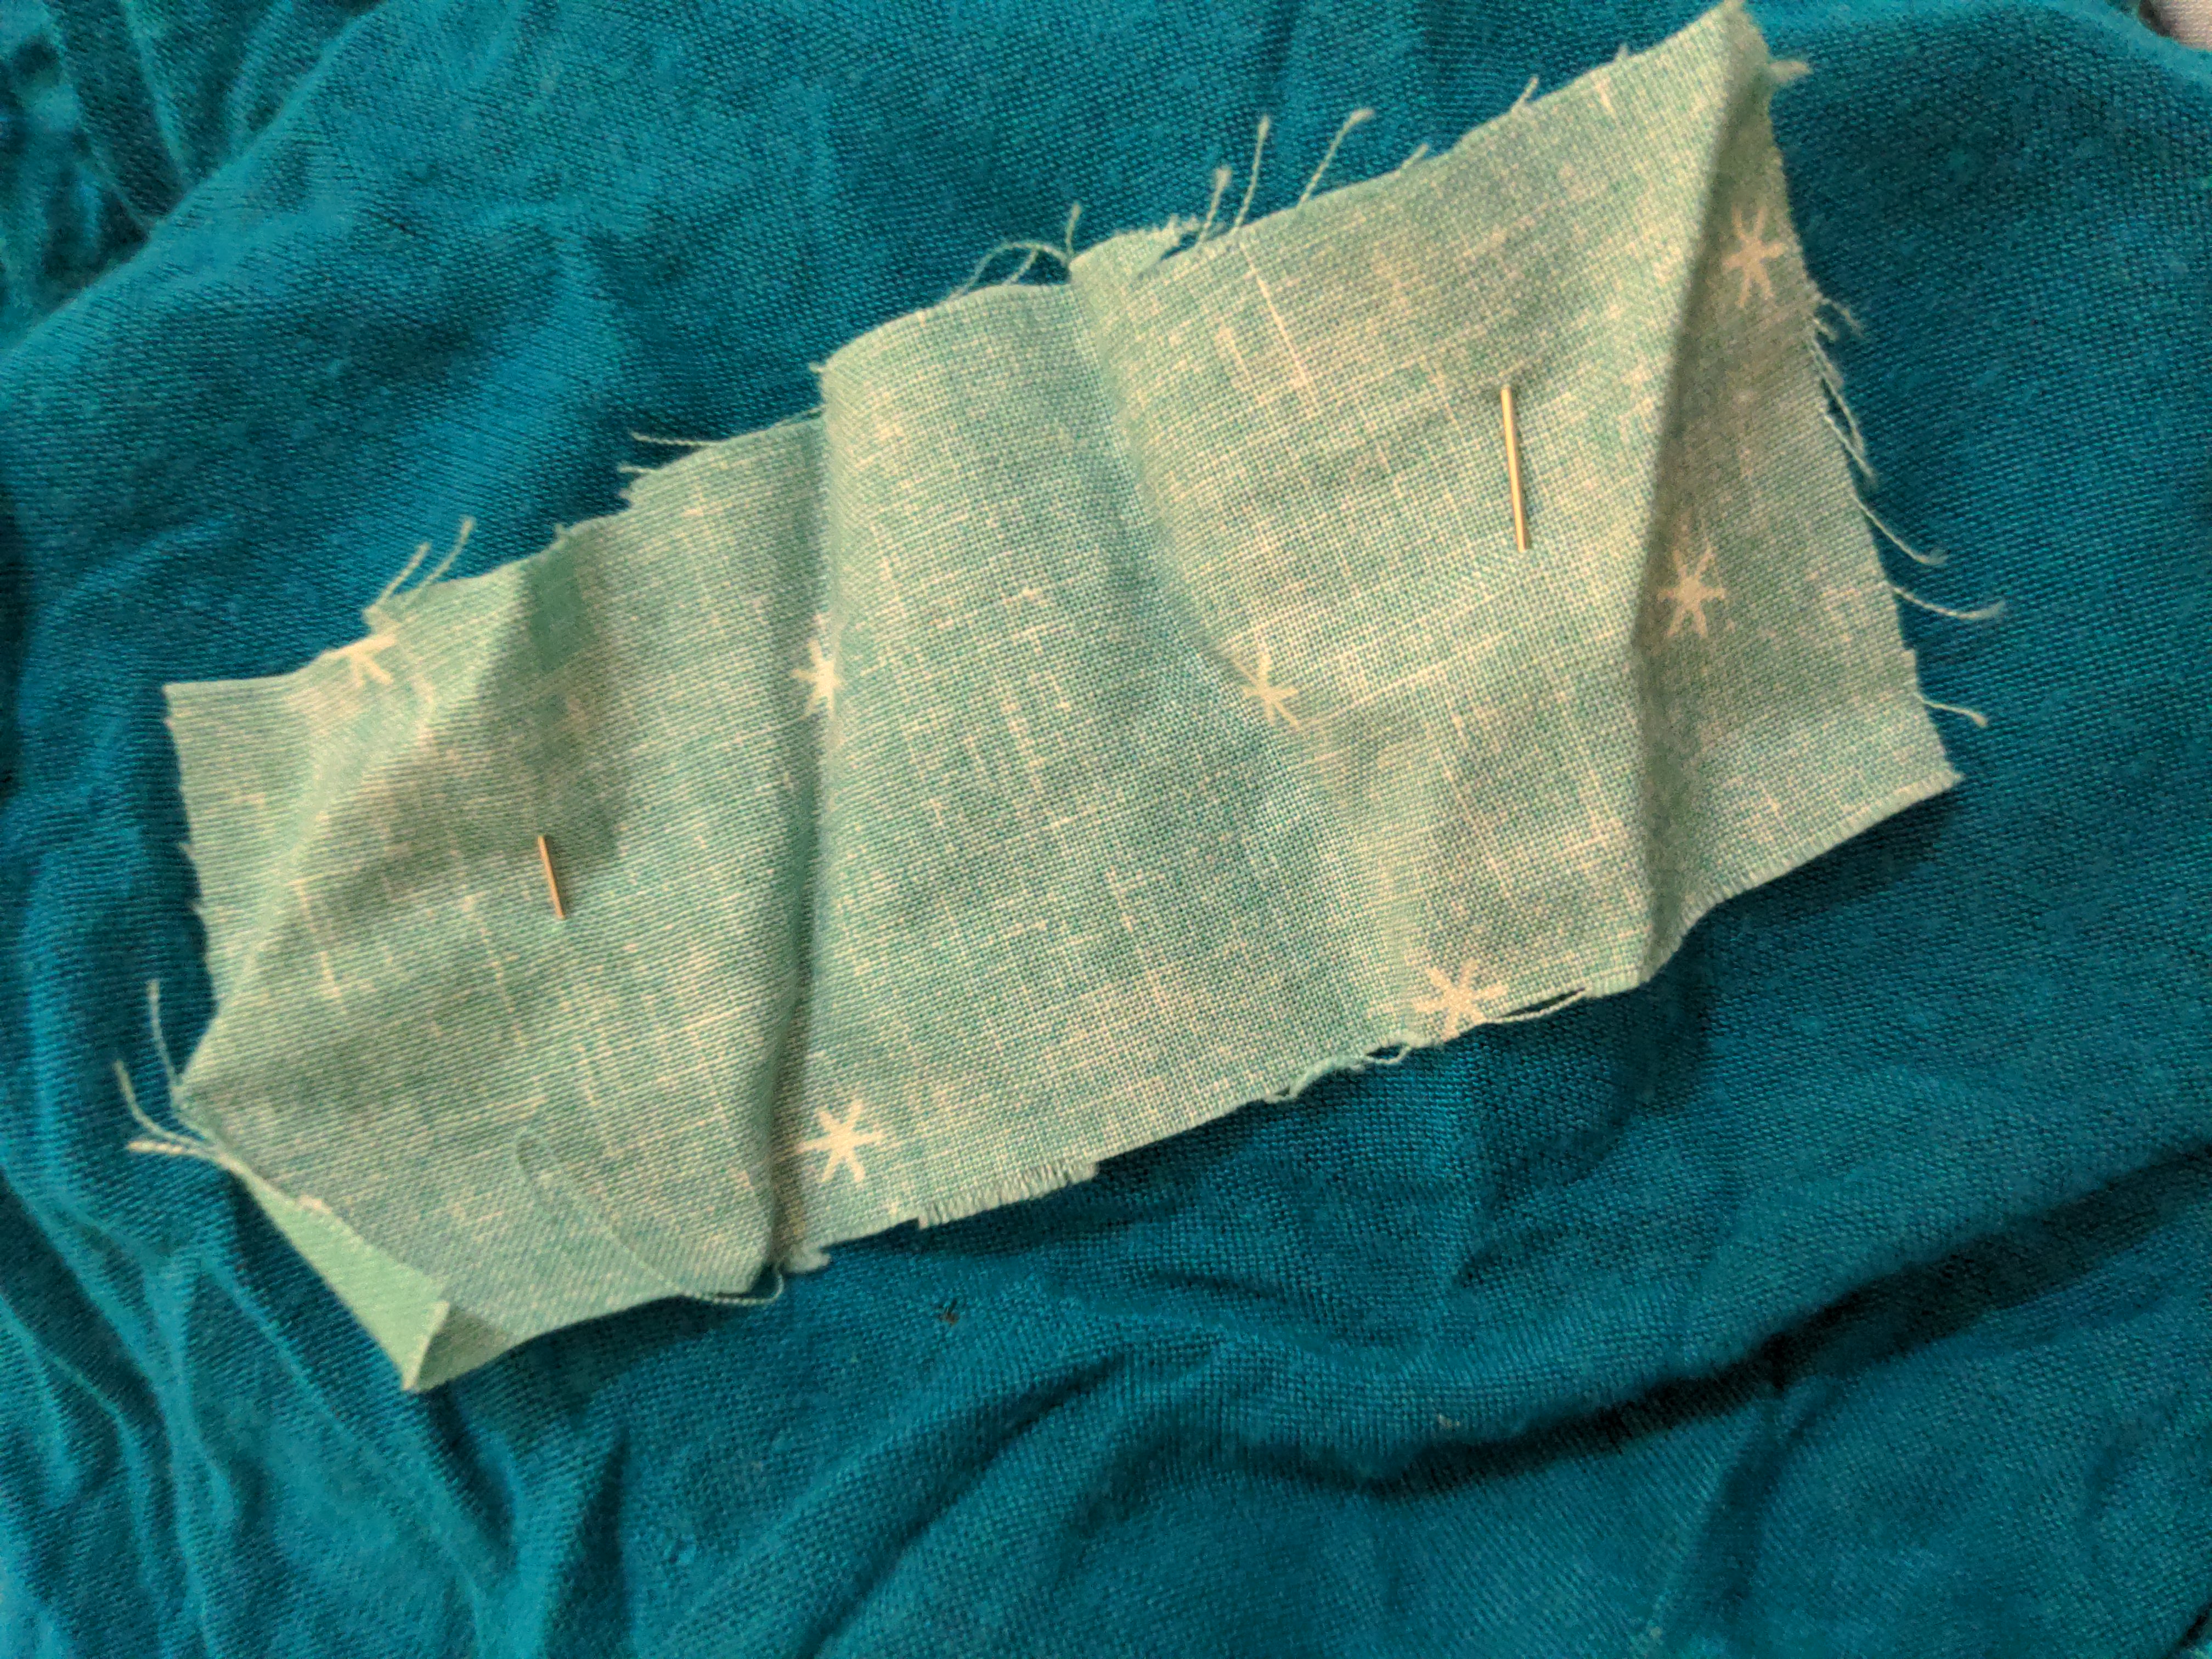
- Scrap fabric
- Standard embroidery thread
- Scissors
- Embroidery needle
- Sewing pins
Visible Mending Instructions:
First, decide a color for your scrap fabric and embroidery thread. It can be the same color as the fabric you’re mending or even a contrasting color.
Cut about 18 inches (or about the length of your arm) of the embroidery thread.
Now you need to separate the strands. The thread should be made of 6 strands so take three of the strands, and separate it from the group. This should be done slowly. If you do this too fast, you might wind up tangling your thread! Depending on the size of the hole, you will most likely use both halves of the thread.
Insert one end of the now separated thread into the eye of the embroidery needle. Pull it through until both ends of the thread meet. This is called threading the needle. Then tie a knot at the end of your thread.
Pin the scrap fabric underneath the hole of clothing using the sewing pins.
Now I’ll show you two possible techniques.
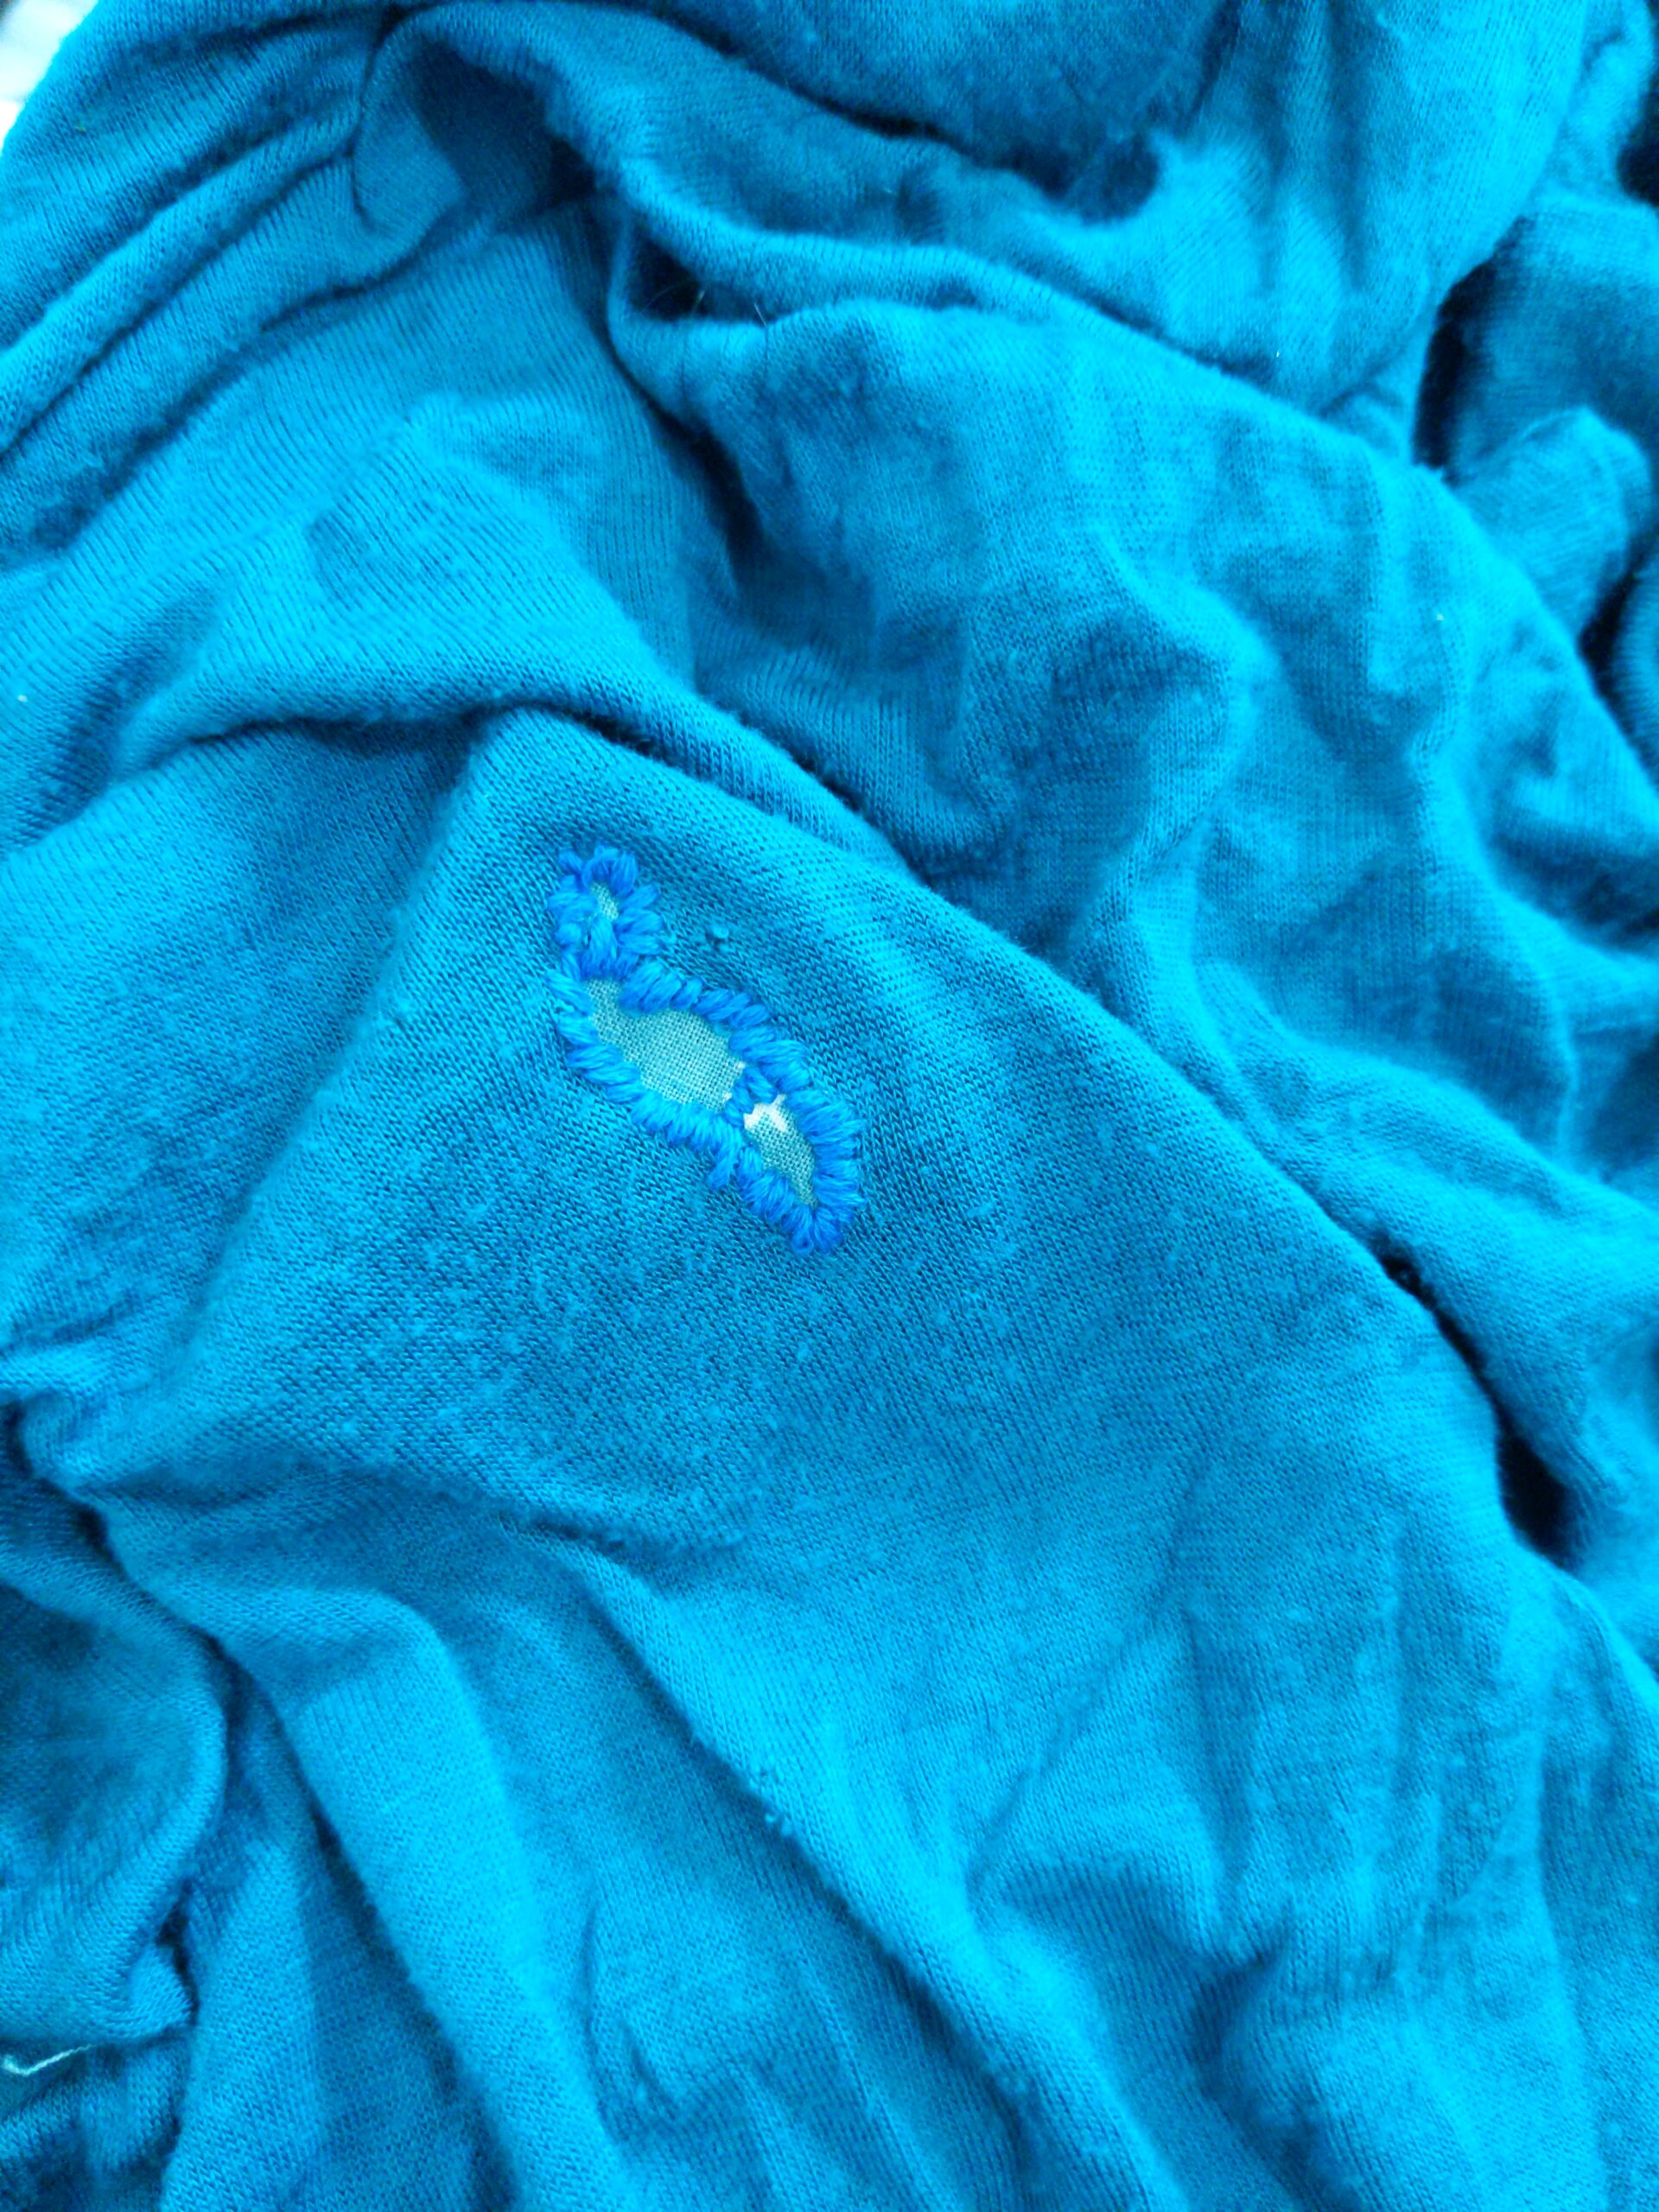
Technique one: Satin stitching over the hole
This one works best on a small hole. If you don’t want to have your scrap fabric show, this is also a good one to use.
Sew three stitches across the hole, all a little bit apart from each other. Then, starting at one end, start to fill in the empty spaces.
When your remaining thread (also known as the tail) only has about three inches free, you need to tie off your thread. You can find simple instructions here. After tying off, re-thread your needle and continue stitching over the hole.
Once the hole is completely covered, tie off your thread and trim the scrap fabric so that it’s only a centimeter around the new stitches.

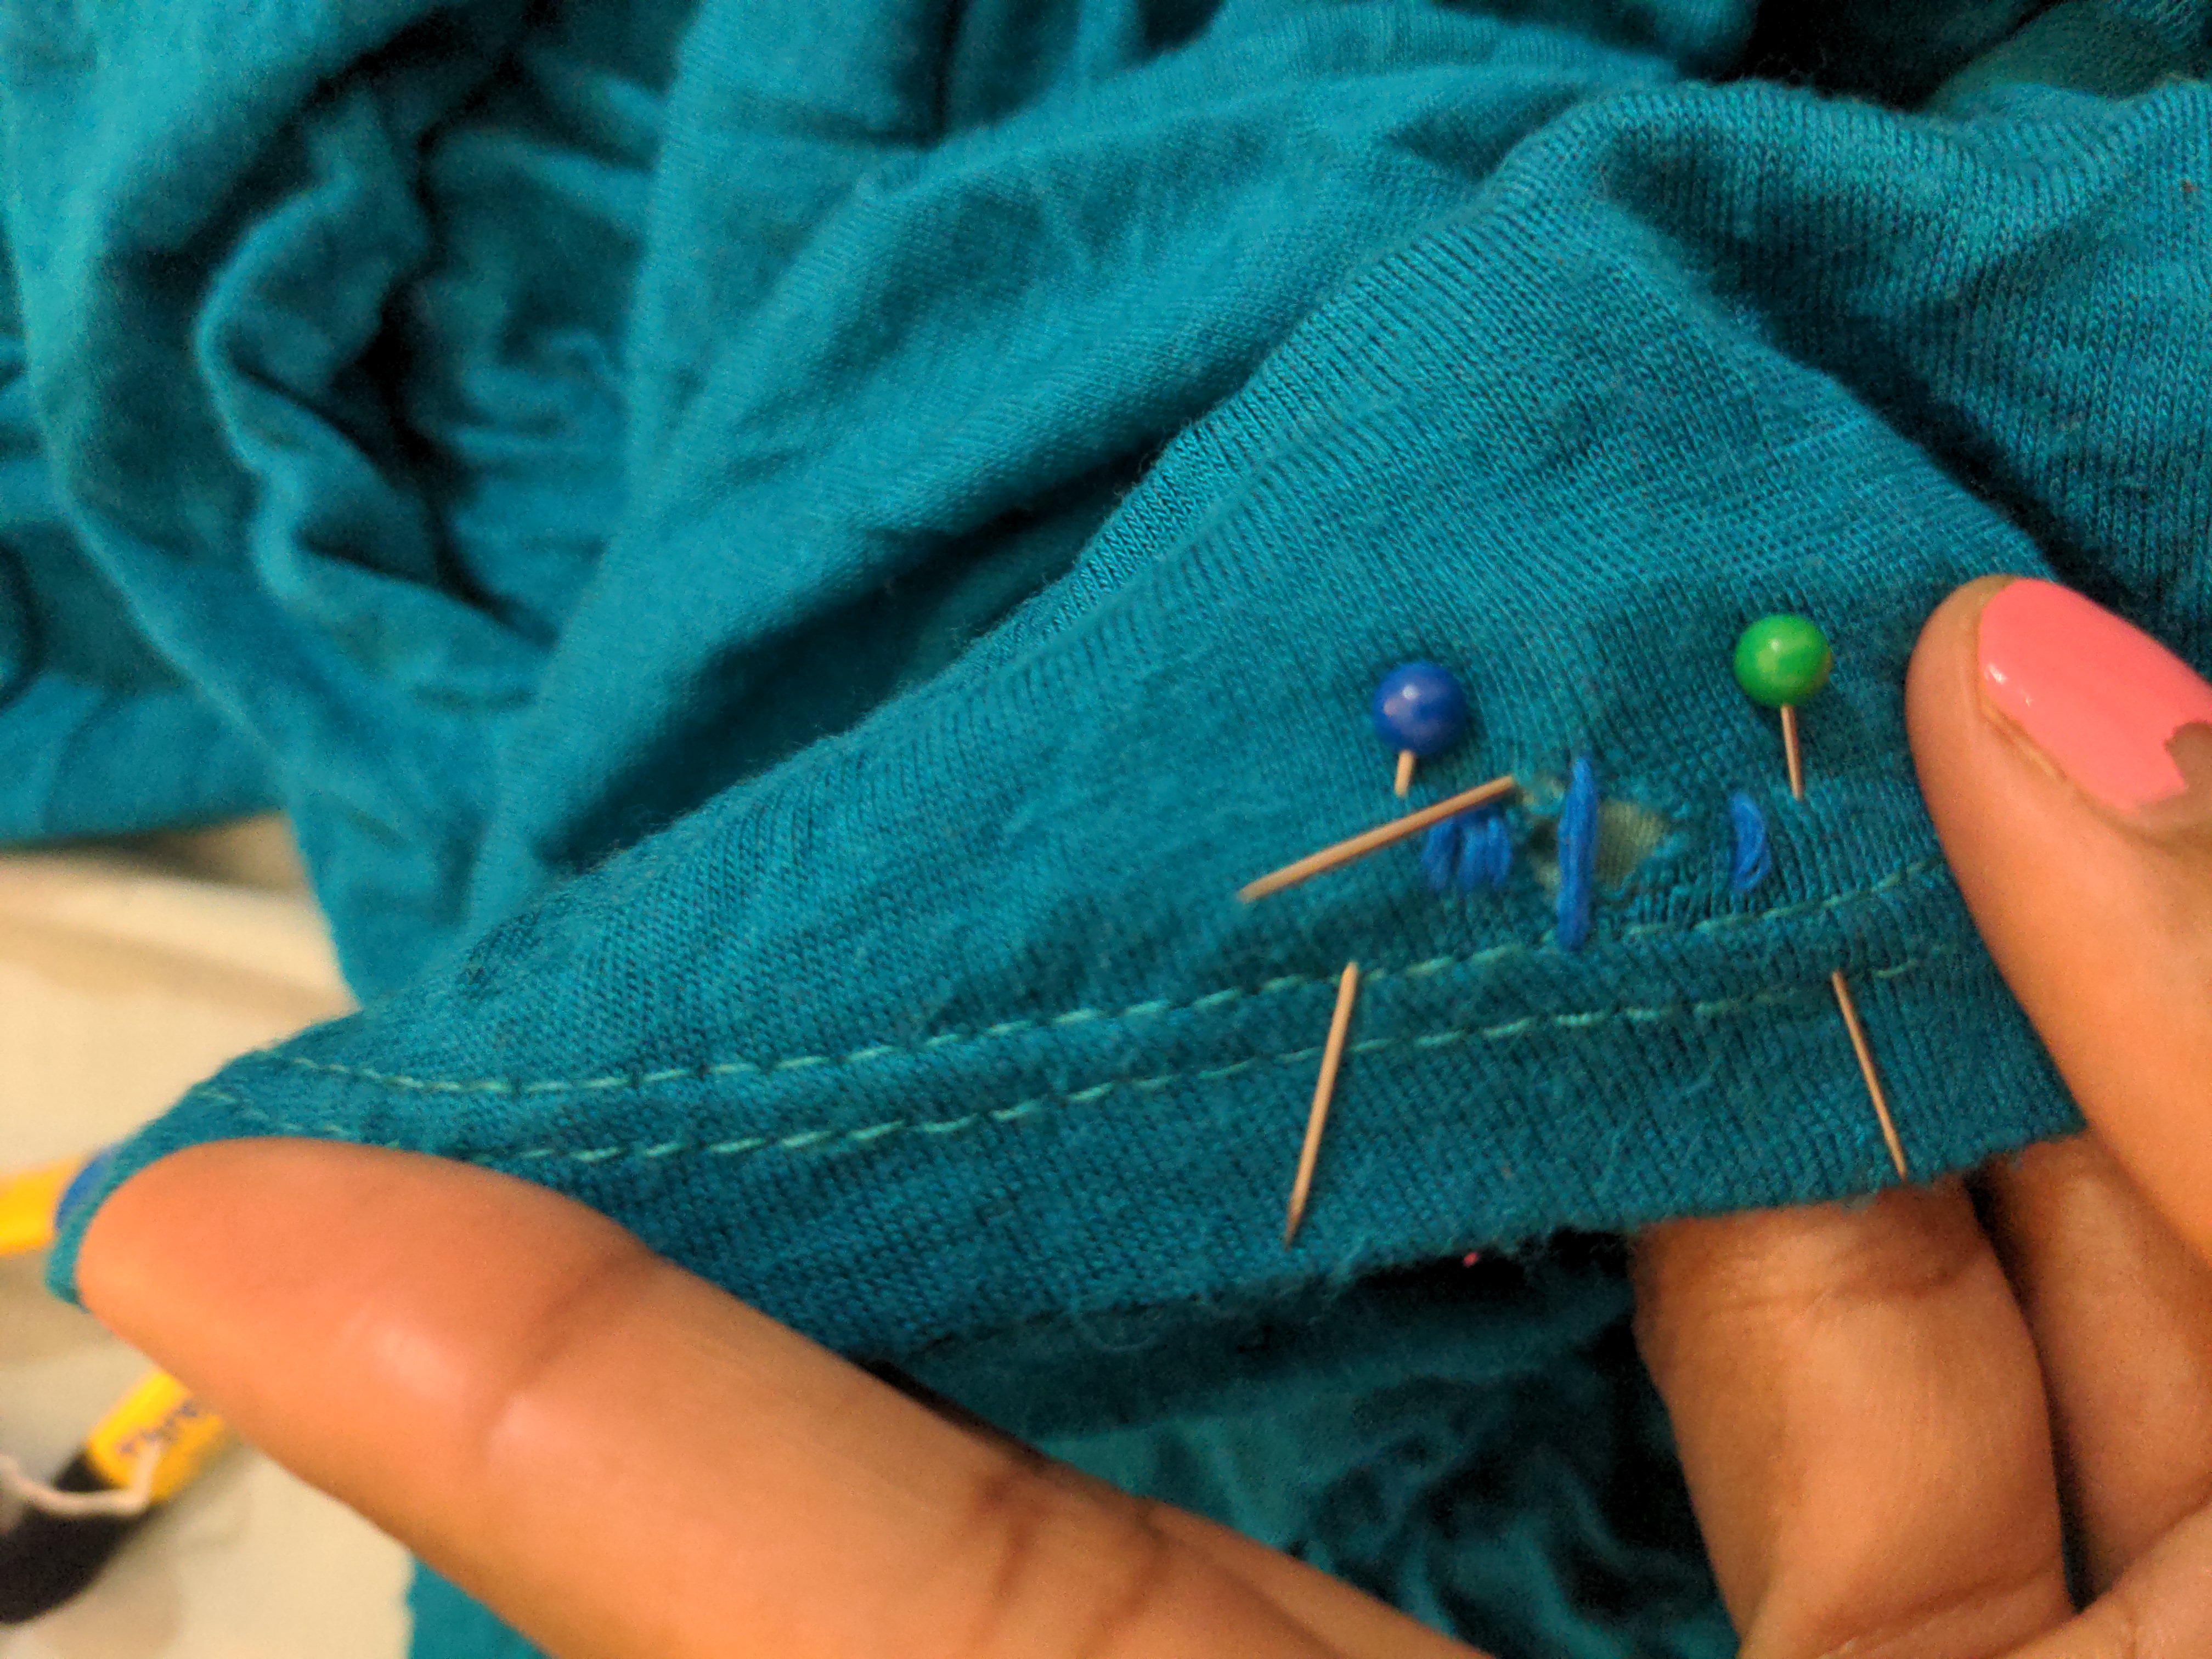
Technique Two: Frame the hole with eyelet stitching
If you really want to transform as well as repair your clothing, this one is a great one to use.
Pull your needle through just before one of the edges of the hole. Then bring it down past the edge, into where the scrap fabric shows.
Bring it back up again to next to where the first stitch started and down again next to the end of the first stitch.
Continue this until the embroidery thread creates a frame around the hole. If you start to run out of thread before the frame is complete, tie off your thread (see technique one) and re-thread your needle.
When the frame is finished, tie off your needle and cut away the excess scrap fabric.
Contributed by Lianne
Lianne loves learning new crafts and art mediums. From learning create things with air dry clay to drawing with micron pens and watercolor markers, she is always finding to something new to try. You can find her on Instagram at imake.things.

Leave A Comment
You must be logged in to post a comment.