
Have you ever wanted your own magic carpet? Here’s your chance to weave one using a cardboard loom. Just make sure to put a drink on it so that it doesn’t fly away.

Supplies:
- Worsted Weight Yarn (each rug takes about 10g
- Piece of Cardboard (the one that I used was 28×40 cm/11×15.5″)
- Measuring Tape/Ruler
- Large-Eyed Needle
- Scissors
- Pen/Marker
Magic Carpet Mug Rug Instructions:
Making your loom. Along the short side of the cardboard draw a line 3cm/1″ down from the edge. Along this line mark every 3 cm/1″. Cut from the edge on these marks to create slots and tabs. Draw a line 9cm/3″ down from the edge, parallel to the first line. Repeat on the other short side, the loom is now done.
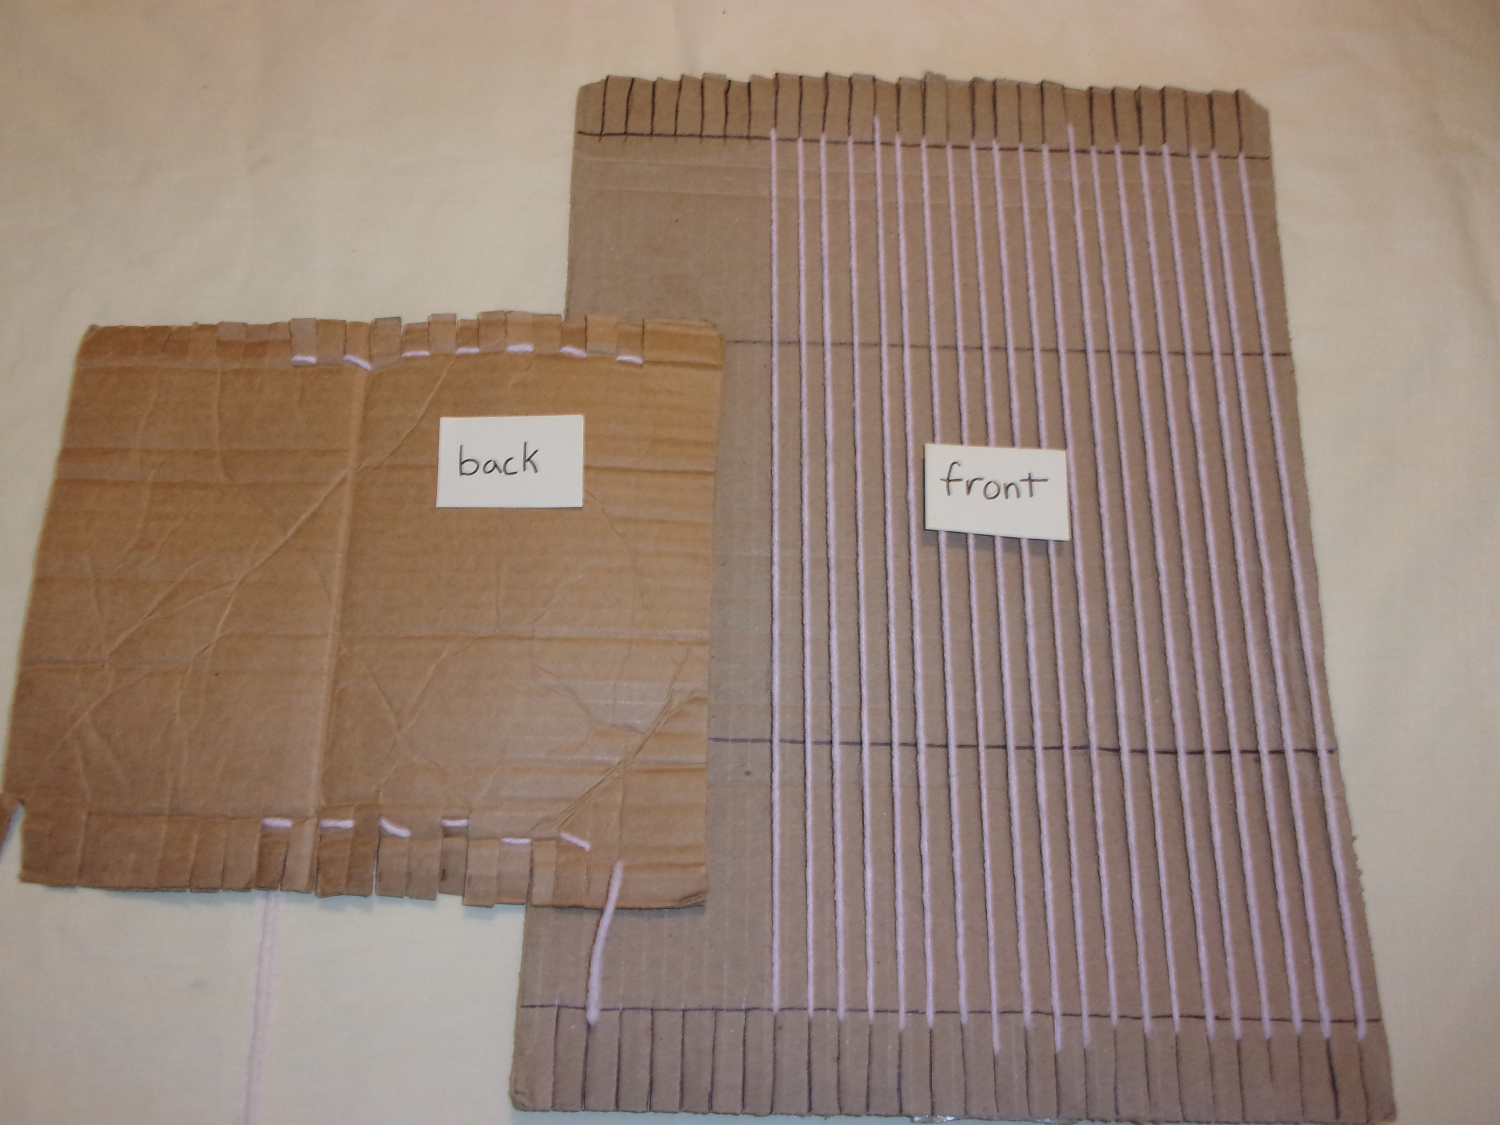
Warping your loom. Place the yarn in the first slot in the corner with the end at the back. Bring the yarn across the front of the loom and into the first slot on the other short side. Bring the yarn around the back of the first tab and back to the front through the second slot. Repeat this process until there are 20 strands across the front. The strands should be tight enough where they are not flopping around, but not so tight it bends the cardboard.

Weaving. Wind off a length of yarn about 4.5m/5yd (any longer tangles too much) and thread it onto the needle. Starting at the 9cm/3″ line bring the needle over one warp thread and under the next across the threads. Wrap the yarn around the last warp thread on the side and work your way back across. Be careful not to pull the thread too tight at this turn. Use your finger to snuggle each row against the one before it. When you run out of the wound off yarn, cut another piece. Leave the ends loose, you’ll hide these at the end. Repeat going back and forth until you reach the second 9cm/3″ line.

Finishing. Where you joined pieces of a weaving thread, tie the ends in a small knot. Use the needles to tuck these next to the warp threads for 3cm/1″ or so and trim off the extra. Do the same with the starting and ending ends. Flip the loom over and snip the warp threads where they cross the back of the tabs and remove the mug rug from the loom. Tie the warp threads to each other in pairs, closely to the weaving threads. Trim the fringe evenly.
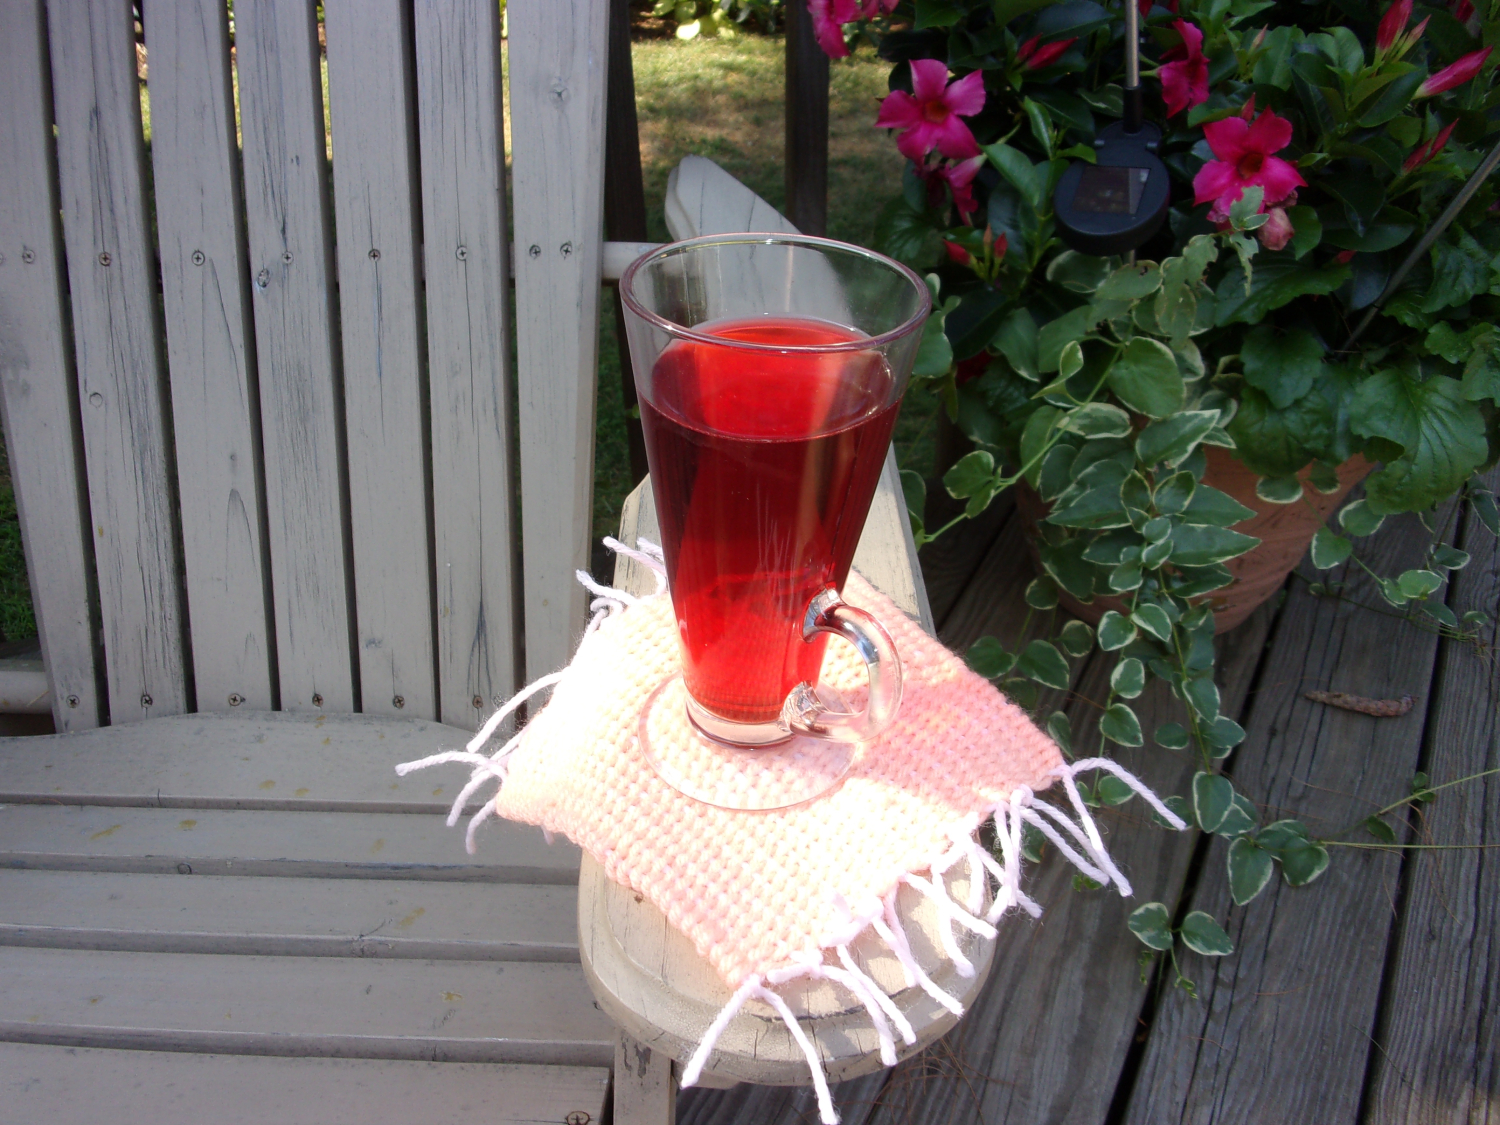
There are plenty of ways to customize your magic carpet by using any combination of colors that your want, change them anytime. You can make a larger or smaller rug by using a different size loom or more/fewer warp threads. Just make sure that there are an even number of warps. Now you can fly away to anywhere on your own magic carpet.
Contributed by Merissa aka Camper Greyhound
Merissa can be found during the day behind a library circulation desk. After work she’s reading Lord of the Rings and old mystery stories, taking care of horses, and knitting.

Leave A Comment
You must be logged in to post a comment.