
Today’s camp craft is brought to you by Troop 626. Counselor Pleakly here! Today I’m going to show you how to make bracelets or lanyards with plastic lacing or Rexlace.
Supplies required:
- Plastic lacing or rexlace (the flat variety, available from Amazon or your local craft store)
- Safety pin
Plastic Lacing Lanyard Instructions:
There are many different designs you can use for plastic lacing. Today I’m going to show you a simple one to get started with this type of craft.
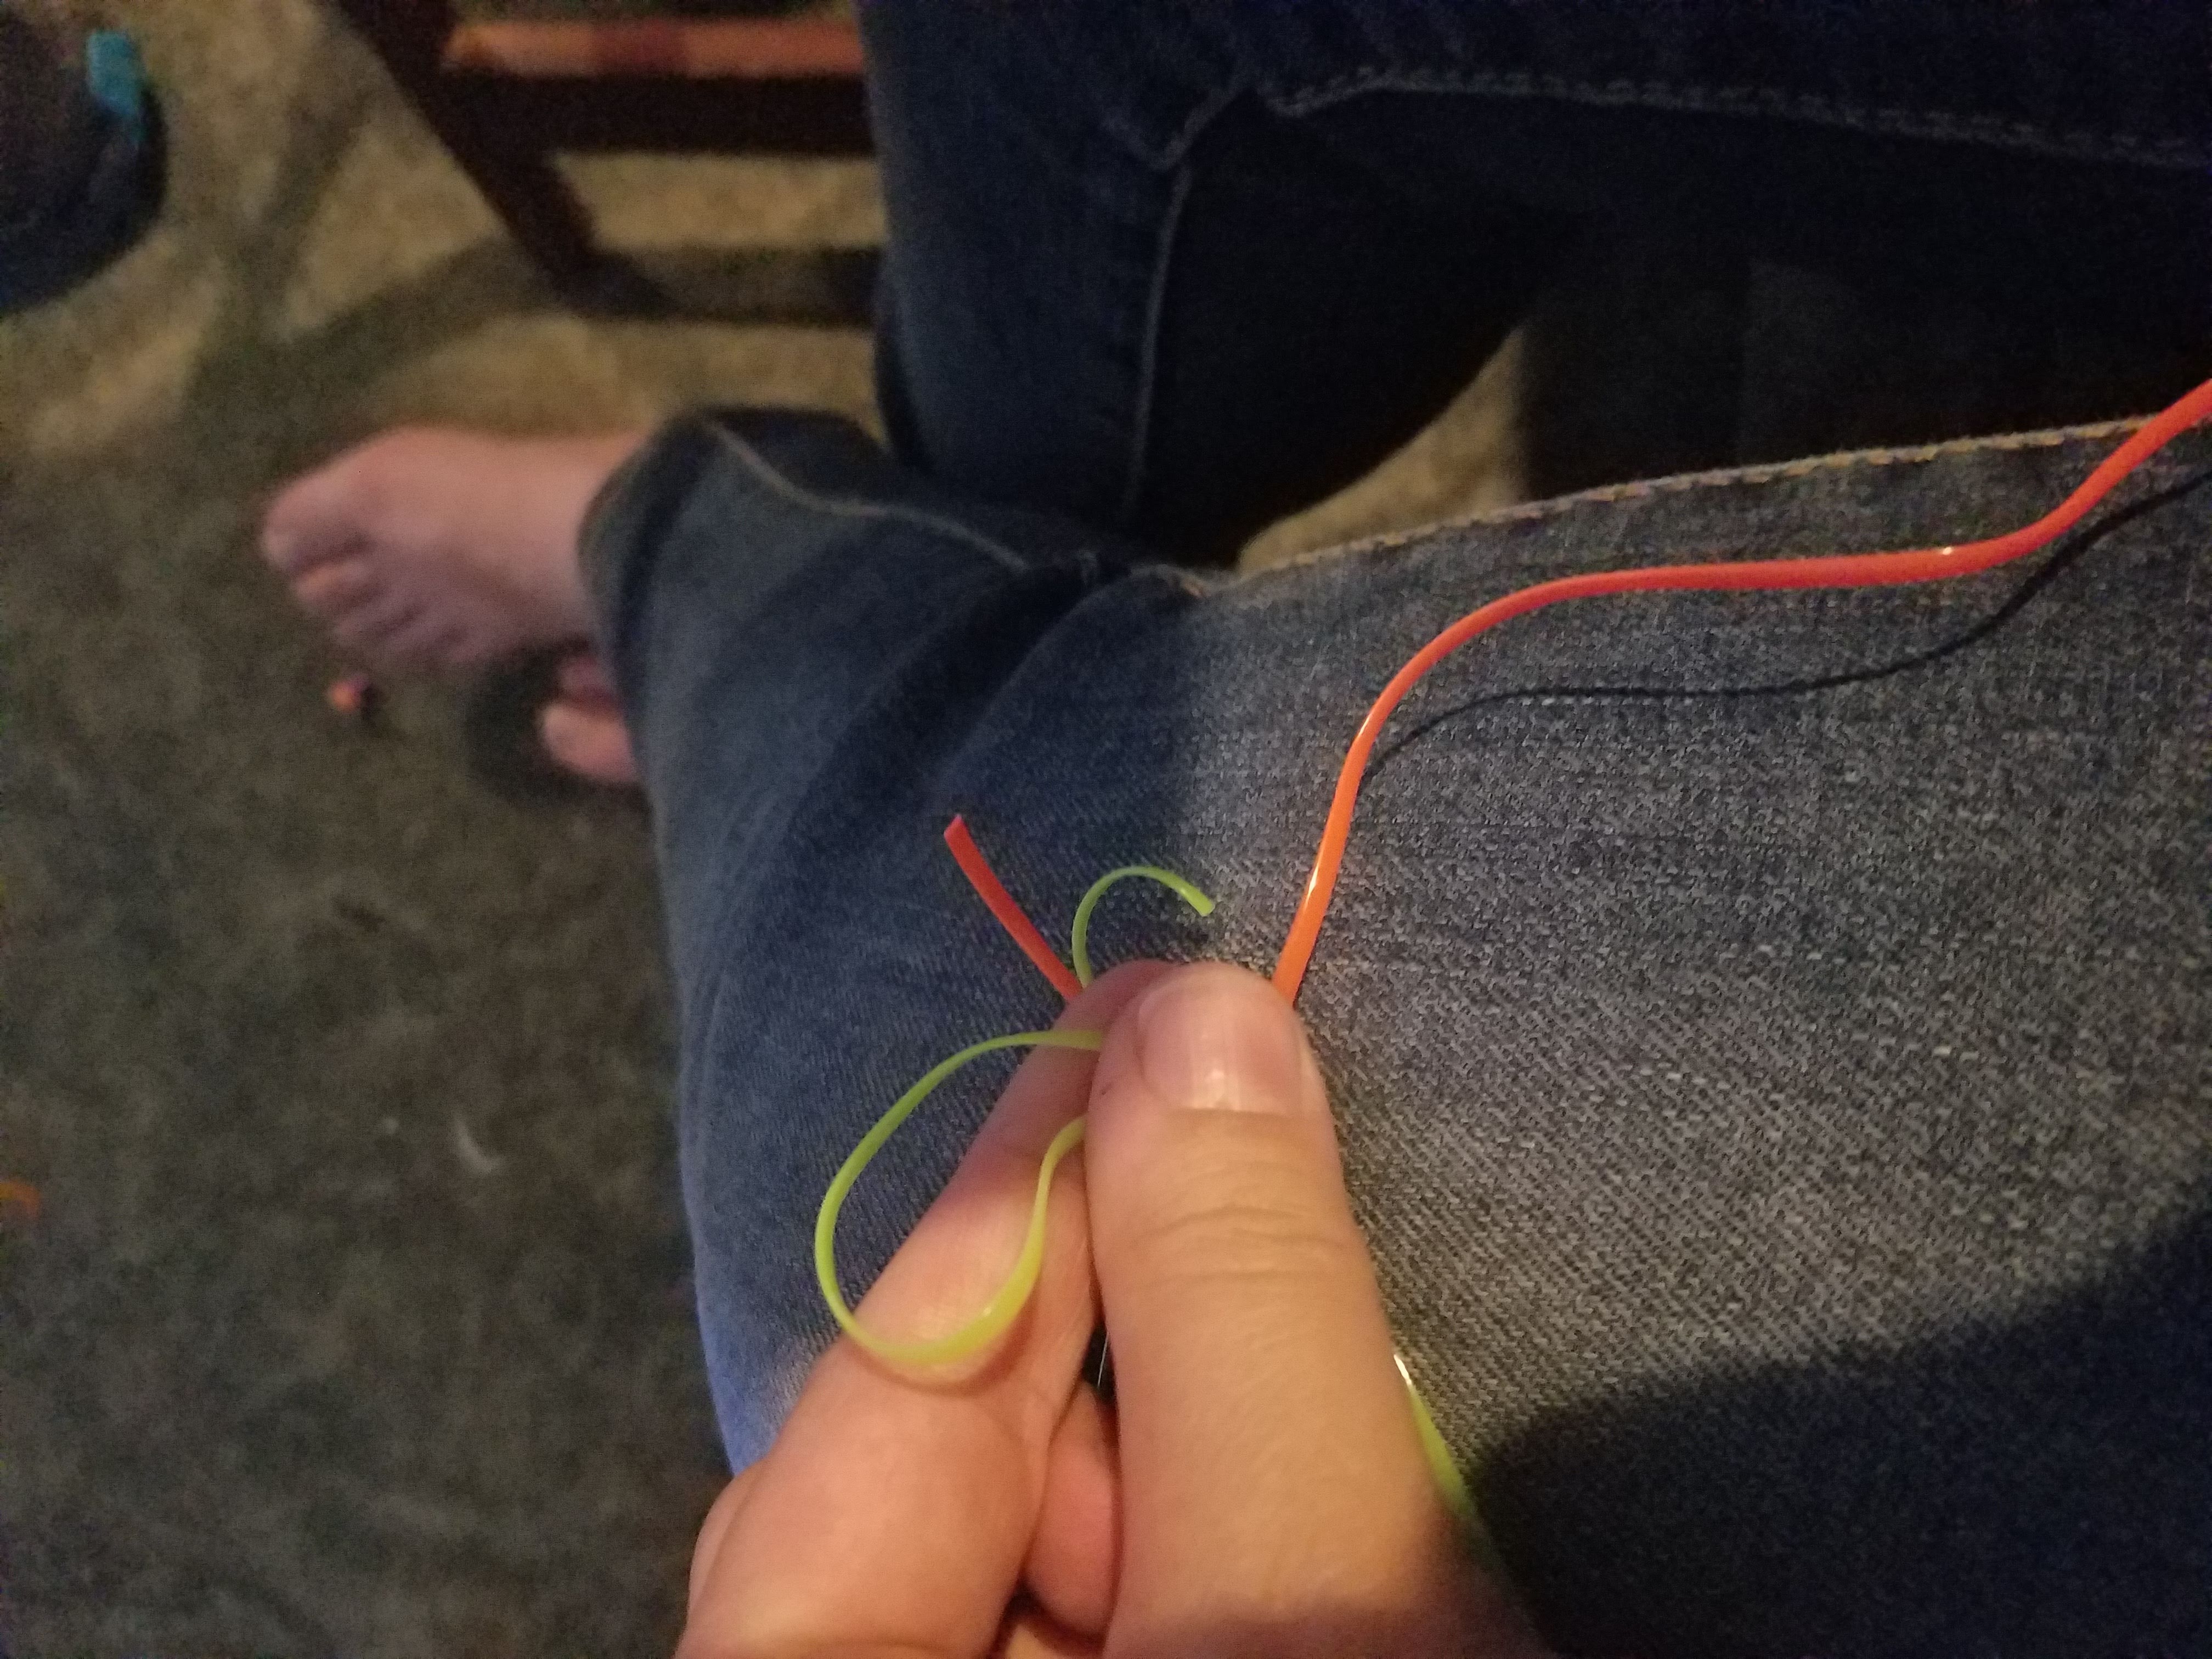
The design will require 2 different colors. Choose your two colors (contrasting is usually a good idea) and make sure the lace pieces are at least 18 inches or 46 cm long.
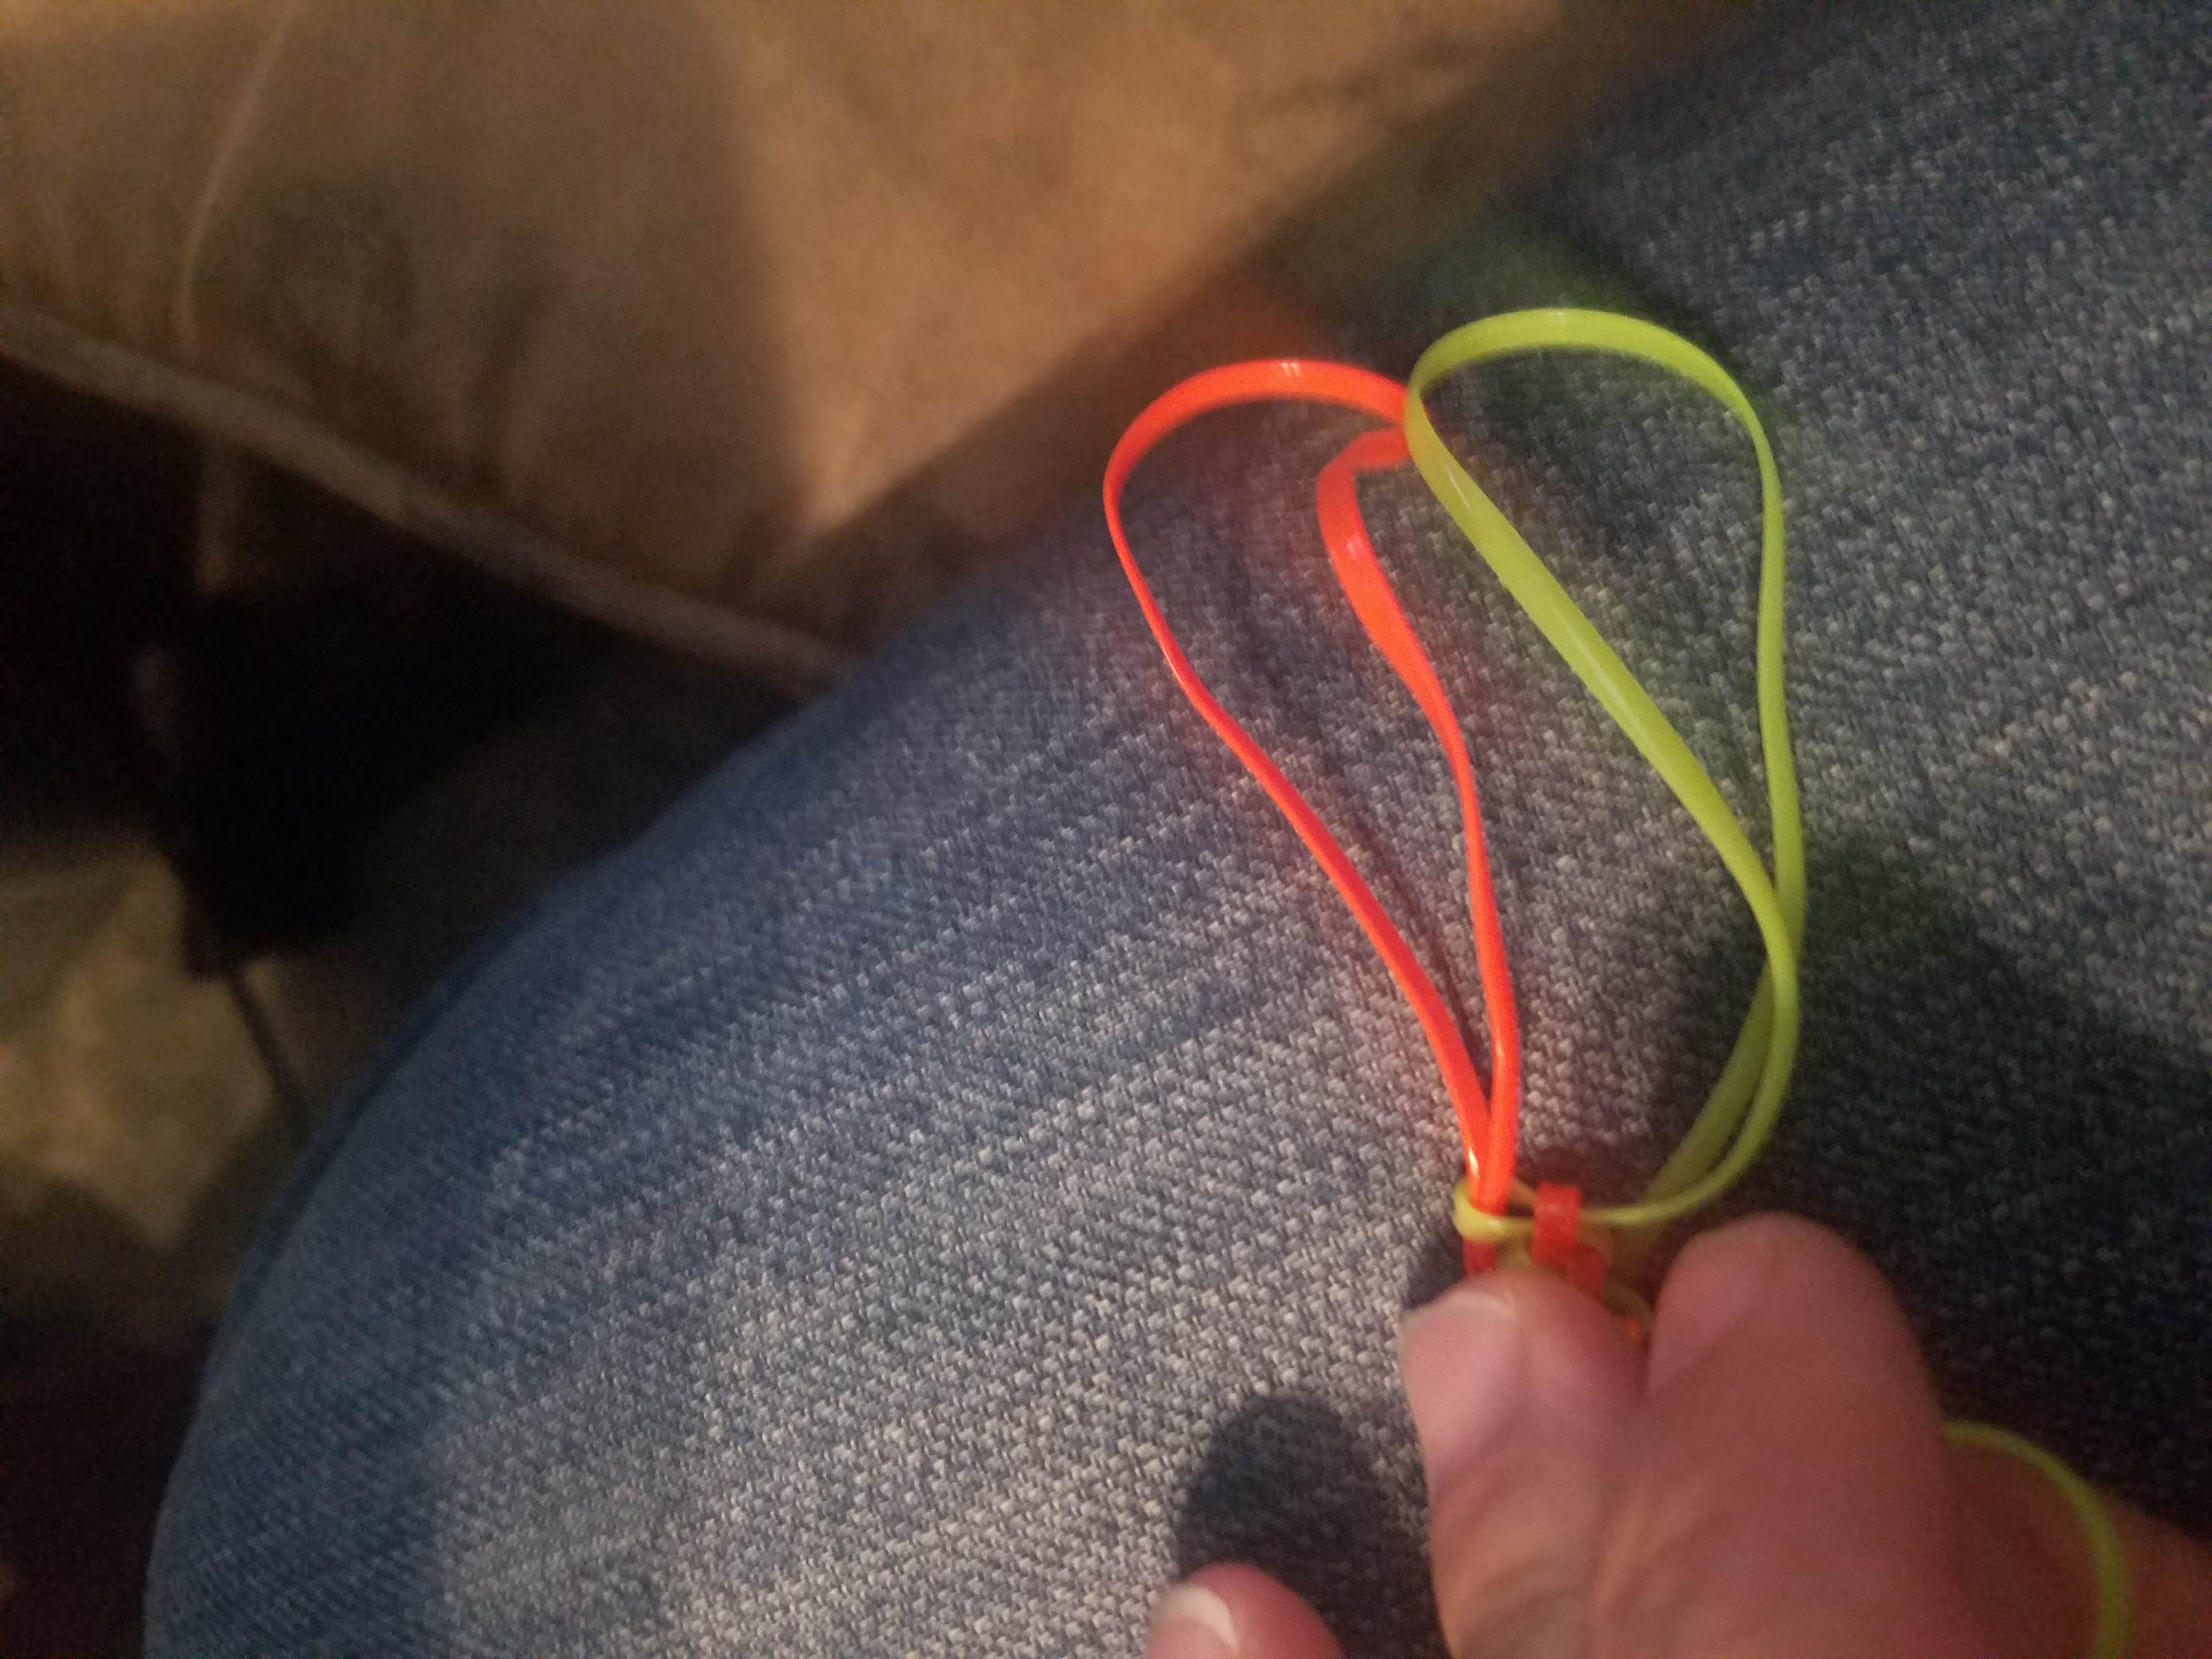
First up, you need to tie a knot at the top of the safety pin, like so:
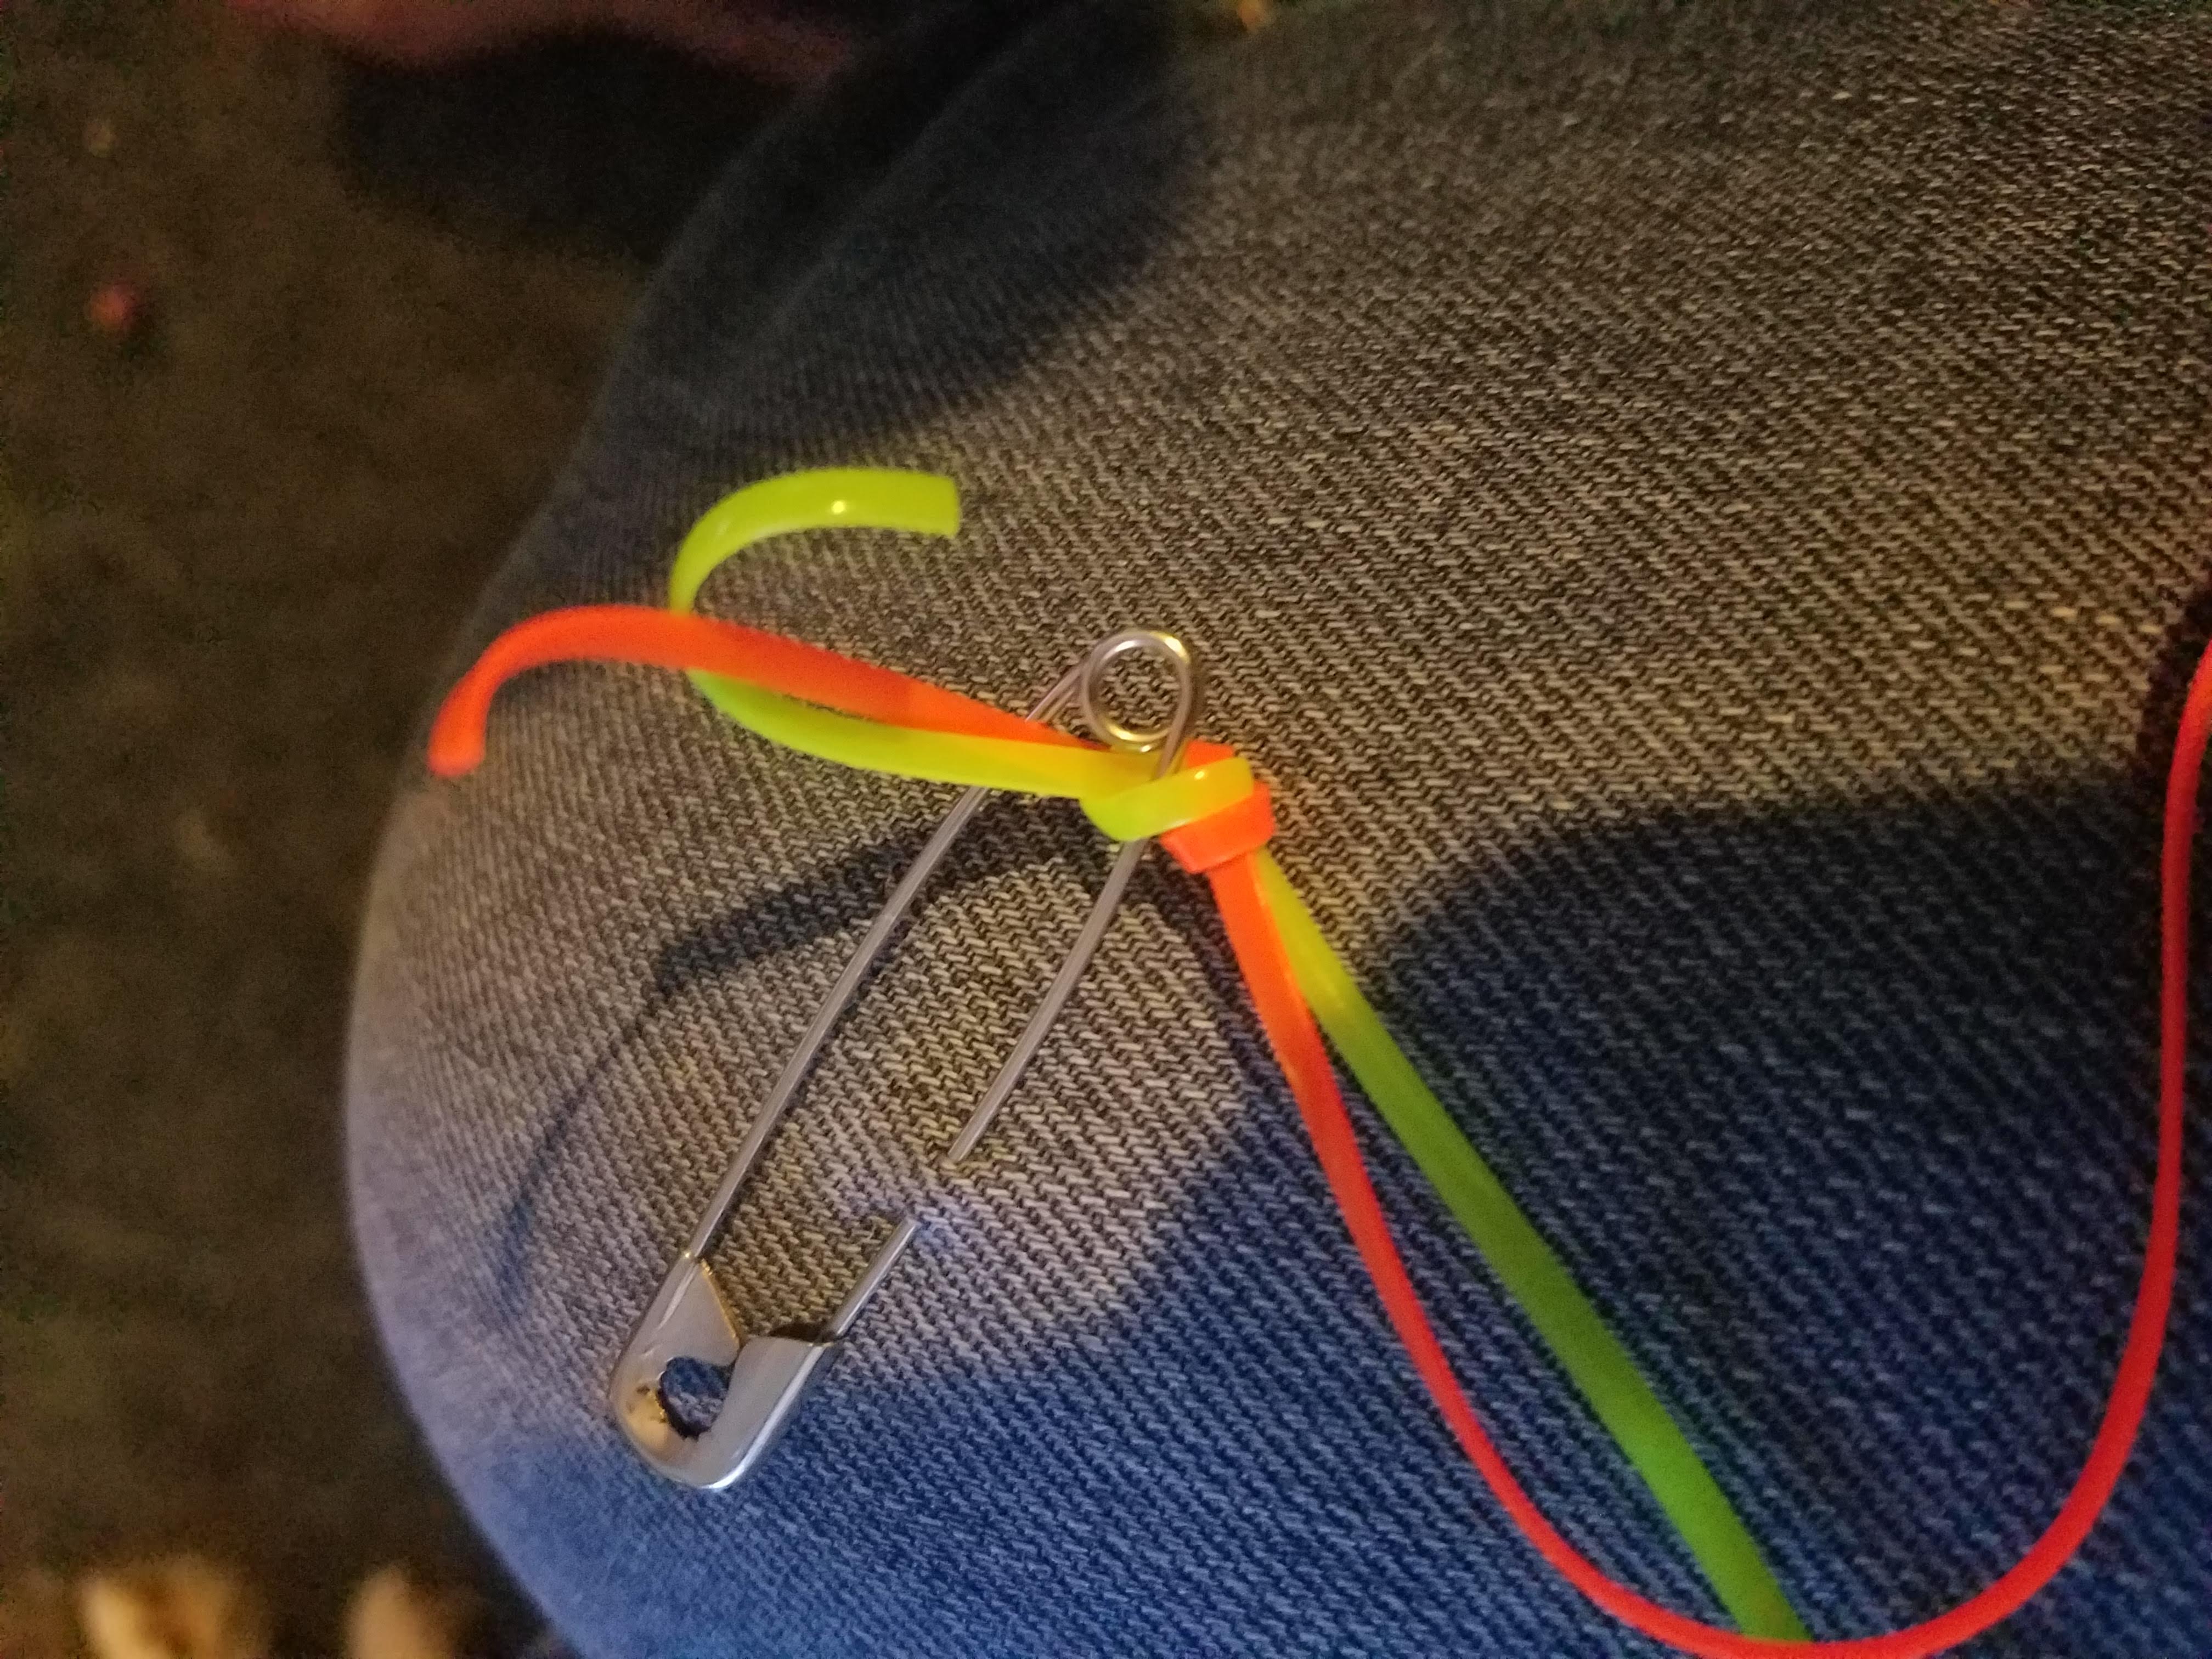
You’ll need to find a way to secure the pin. I pinned it to my pants leg, but you could use a cushion if you like, or even attach it to your shoe.
Now we can start the pattern. Grab the lace on the left (yellow) and make a loop (we’ll call that loop 1). Take the other lace (red) and make another loop (we’ll call that loop 2). Put loop 1 through loop 2.
Pull loop 1 tight and hold it together.
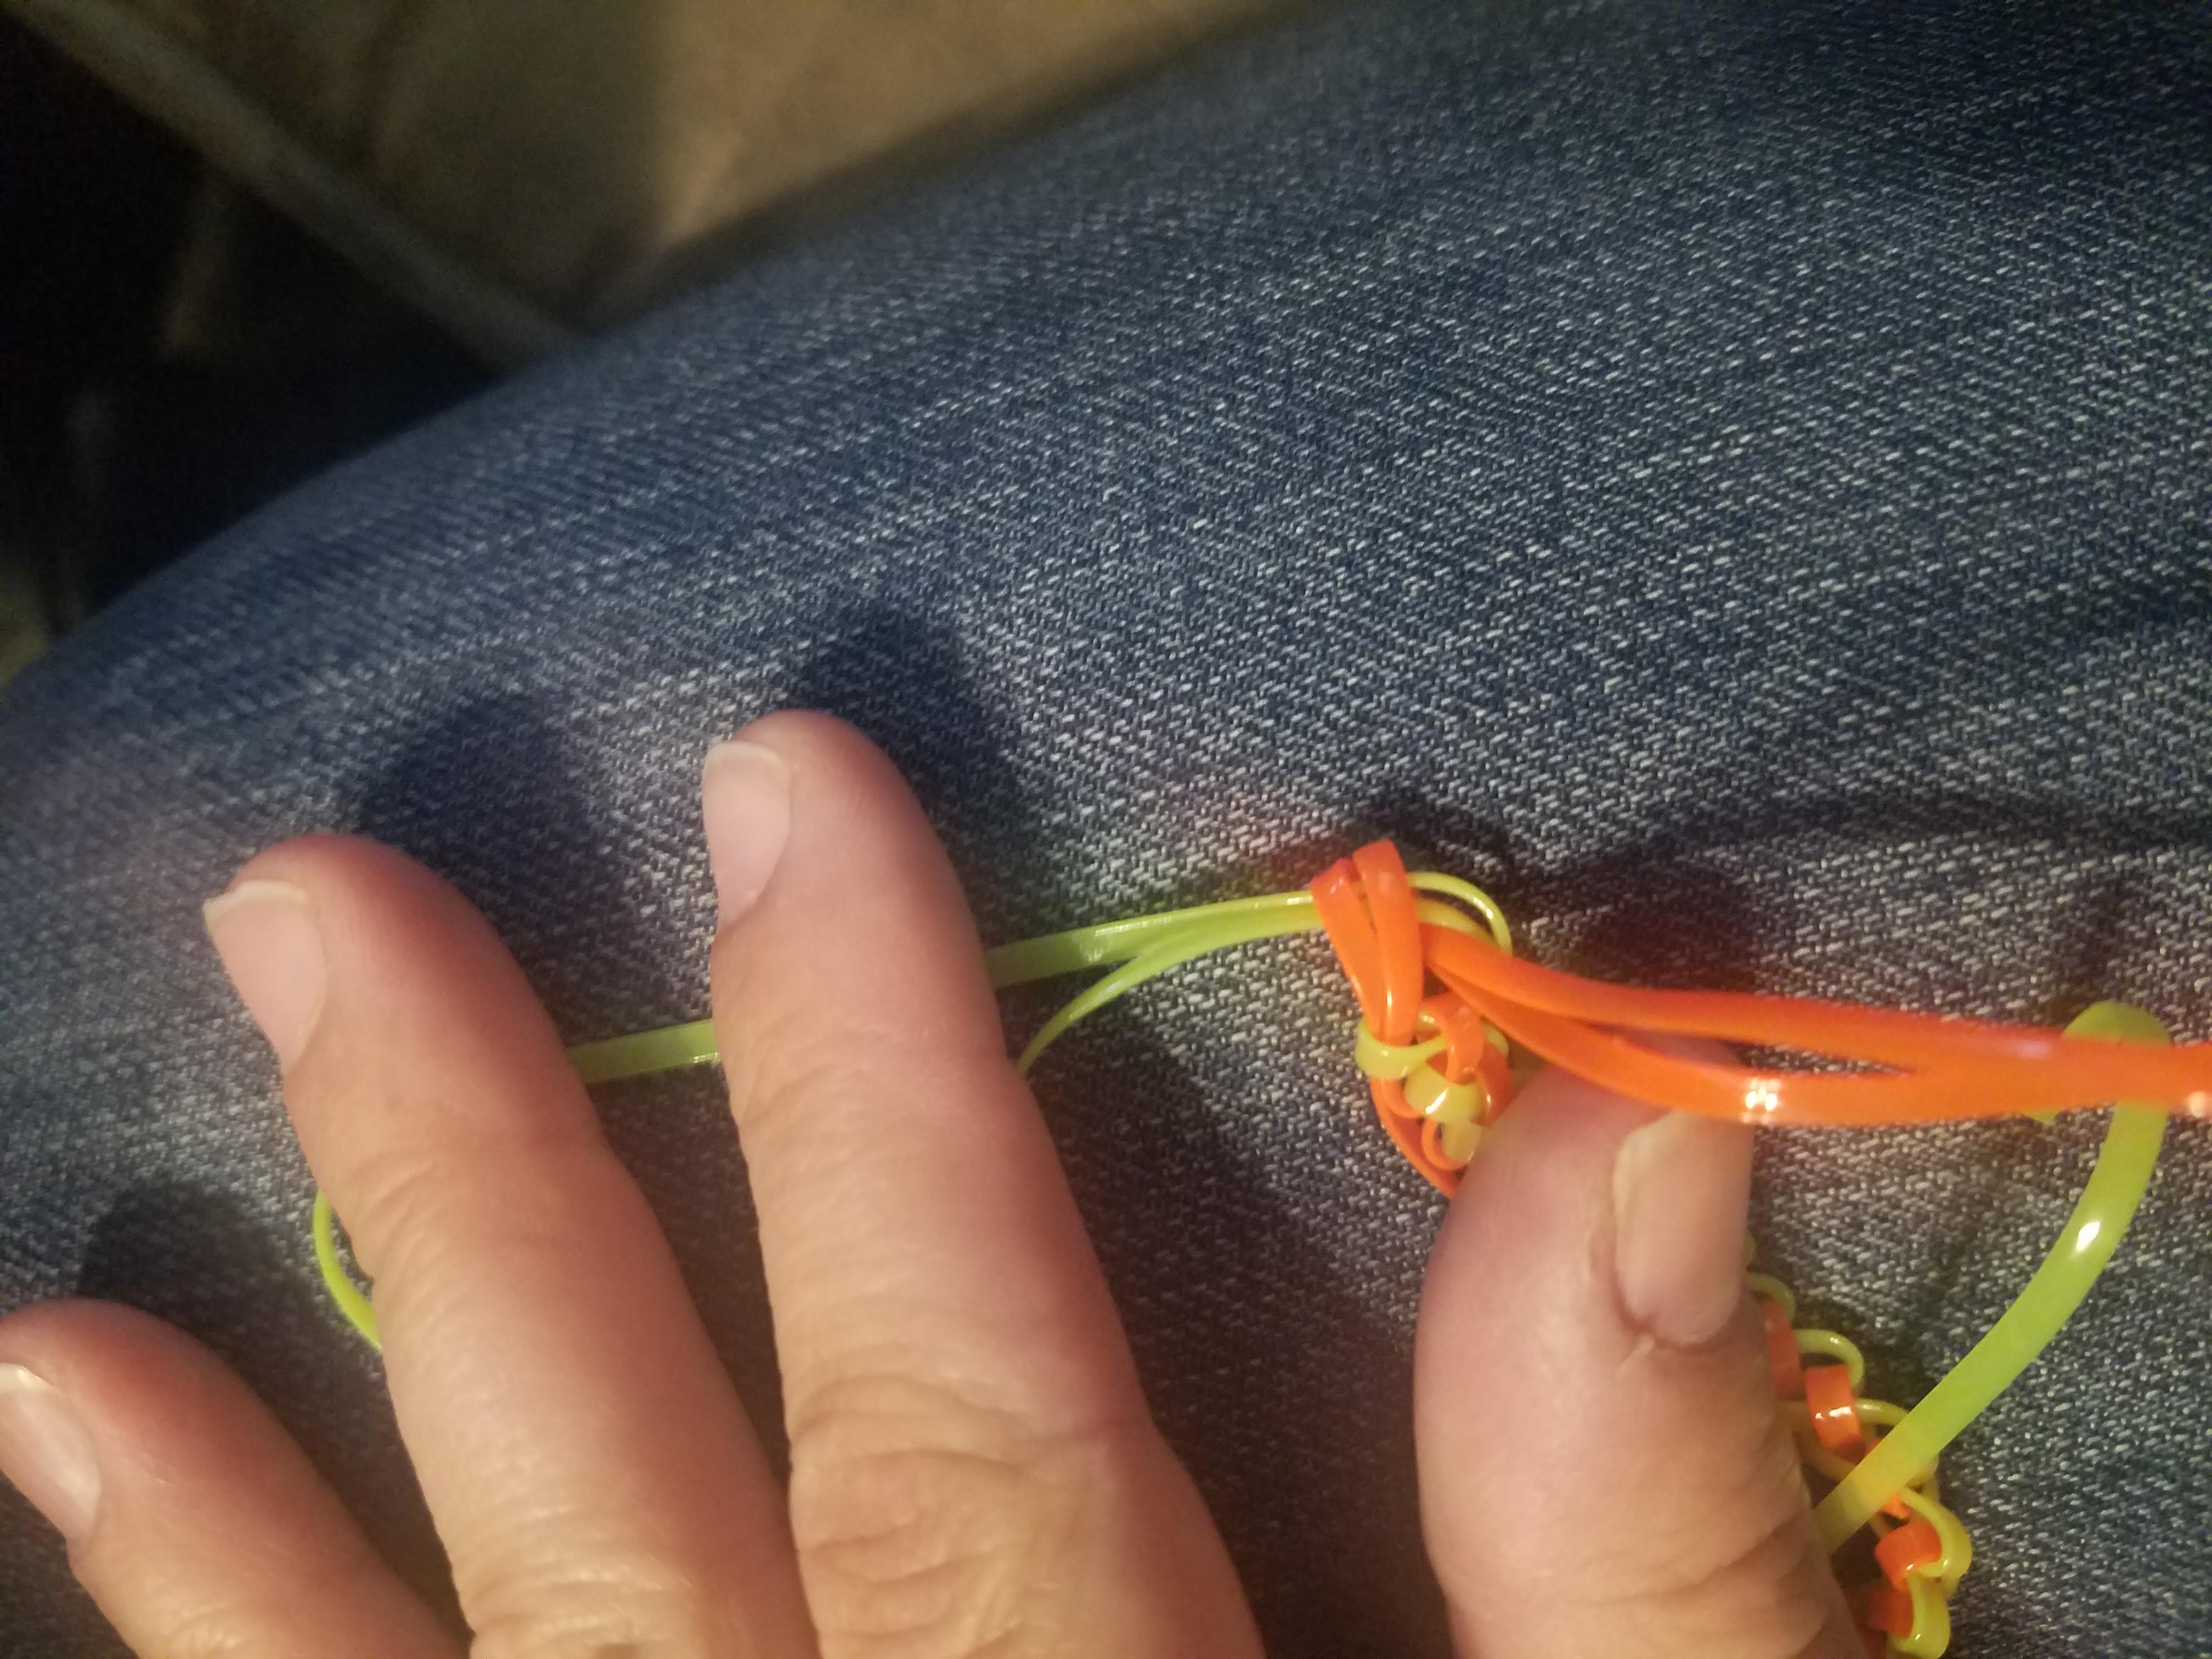
Now take the 1st string (red) and make a new loop through loop 2.
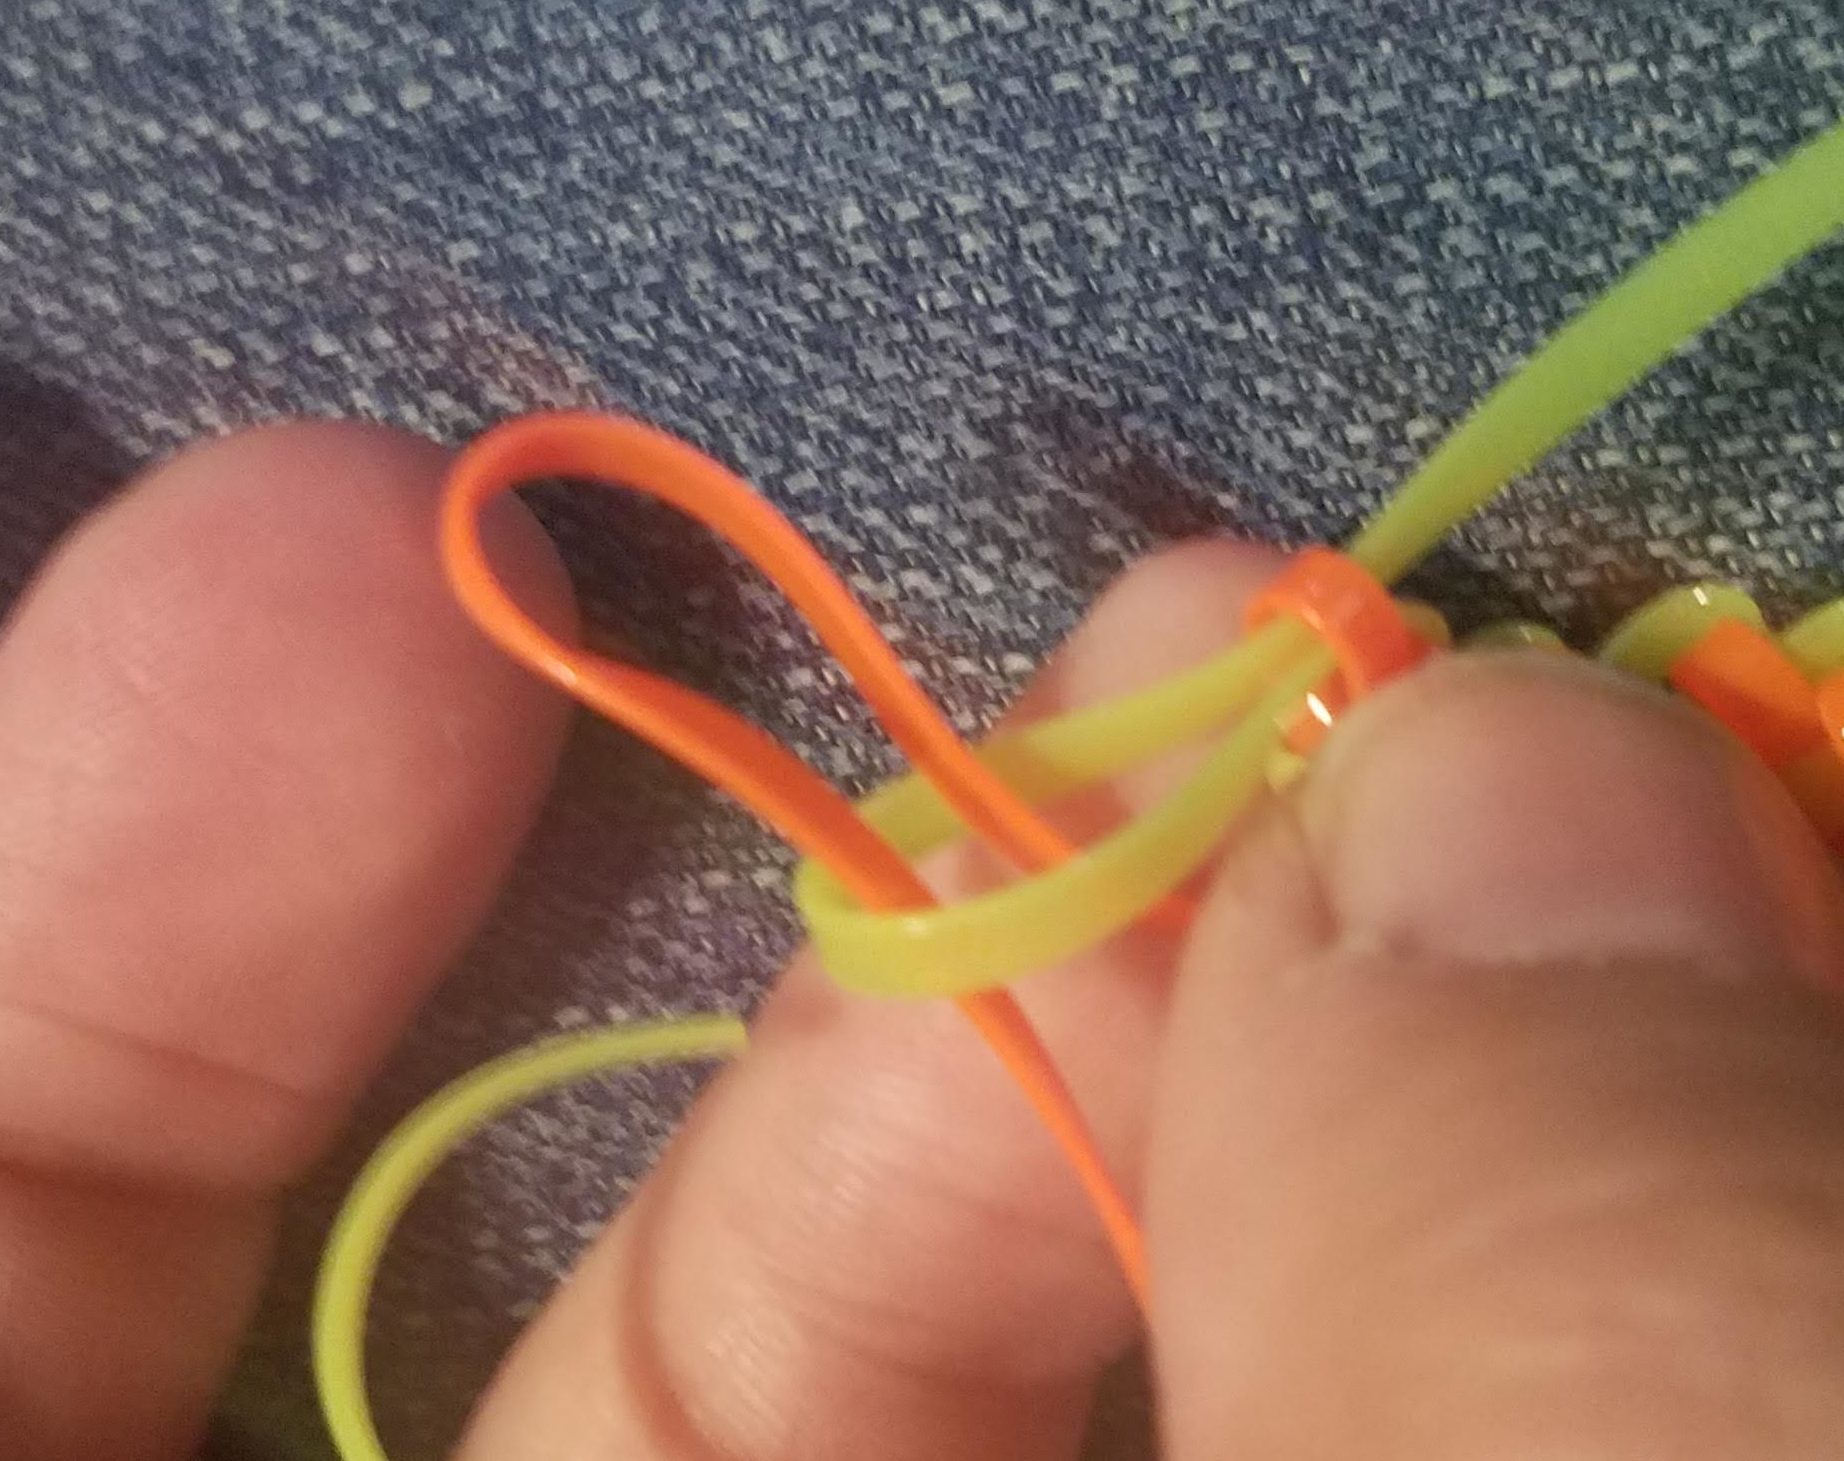
Keep repeating the loops and you should start to see a pattern that looks like below.
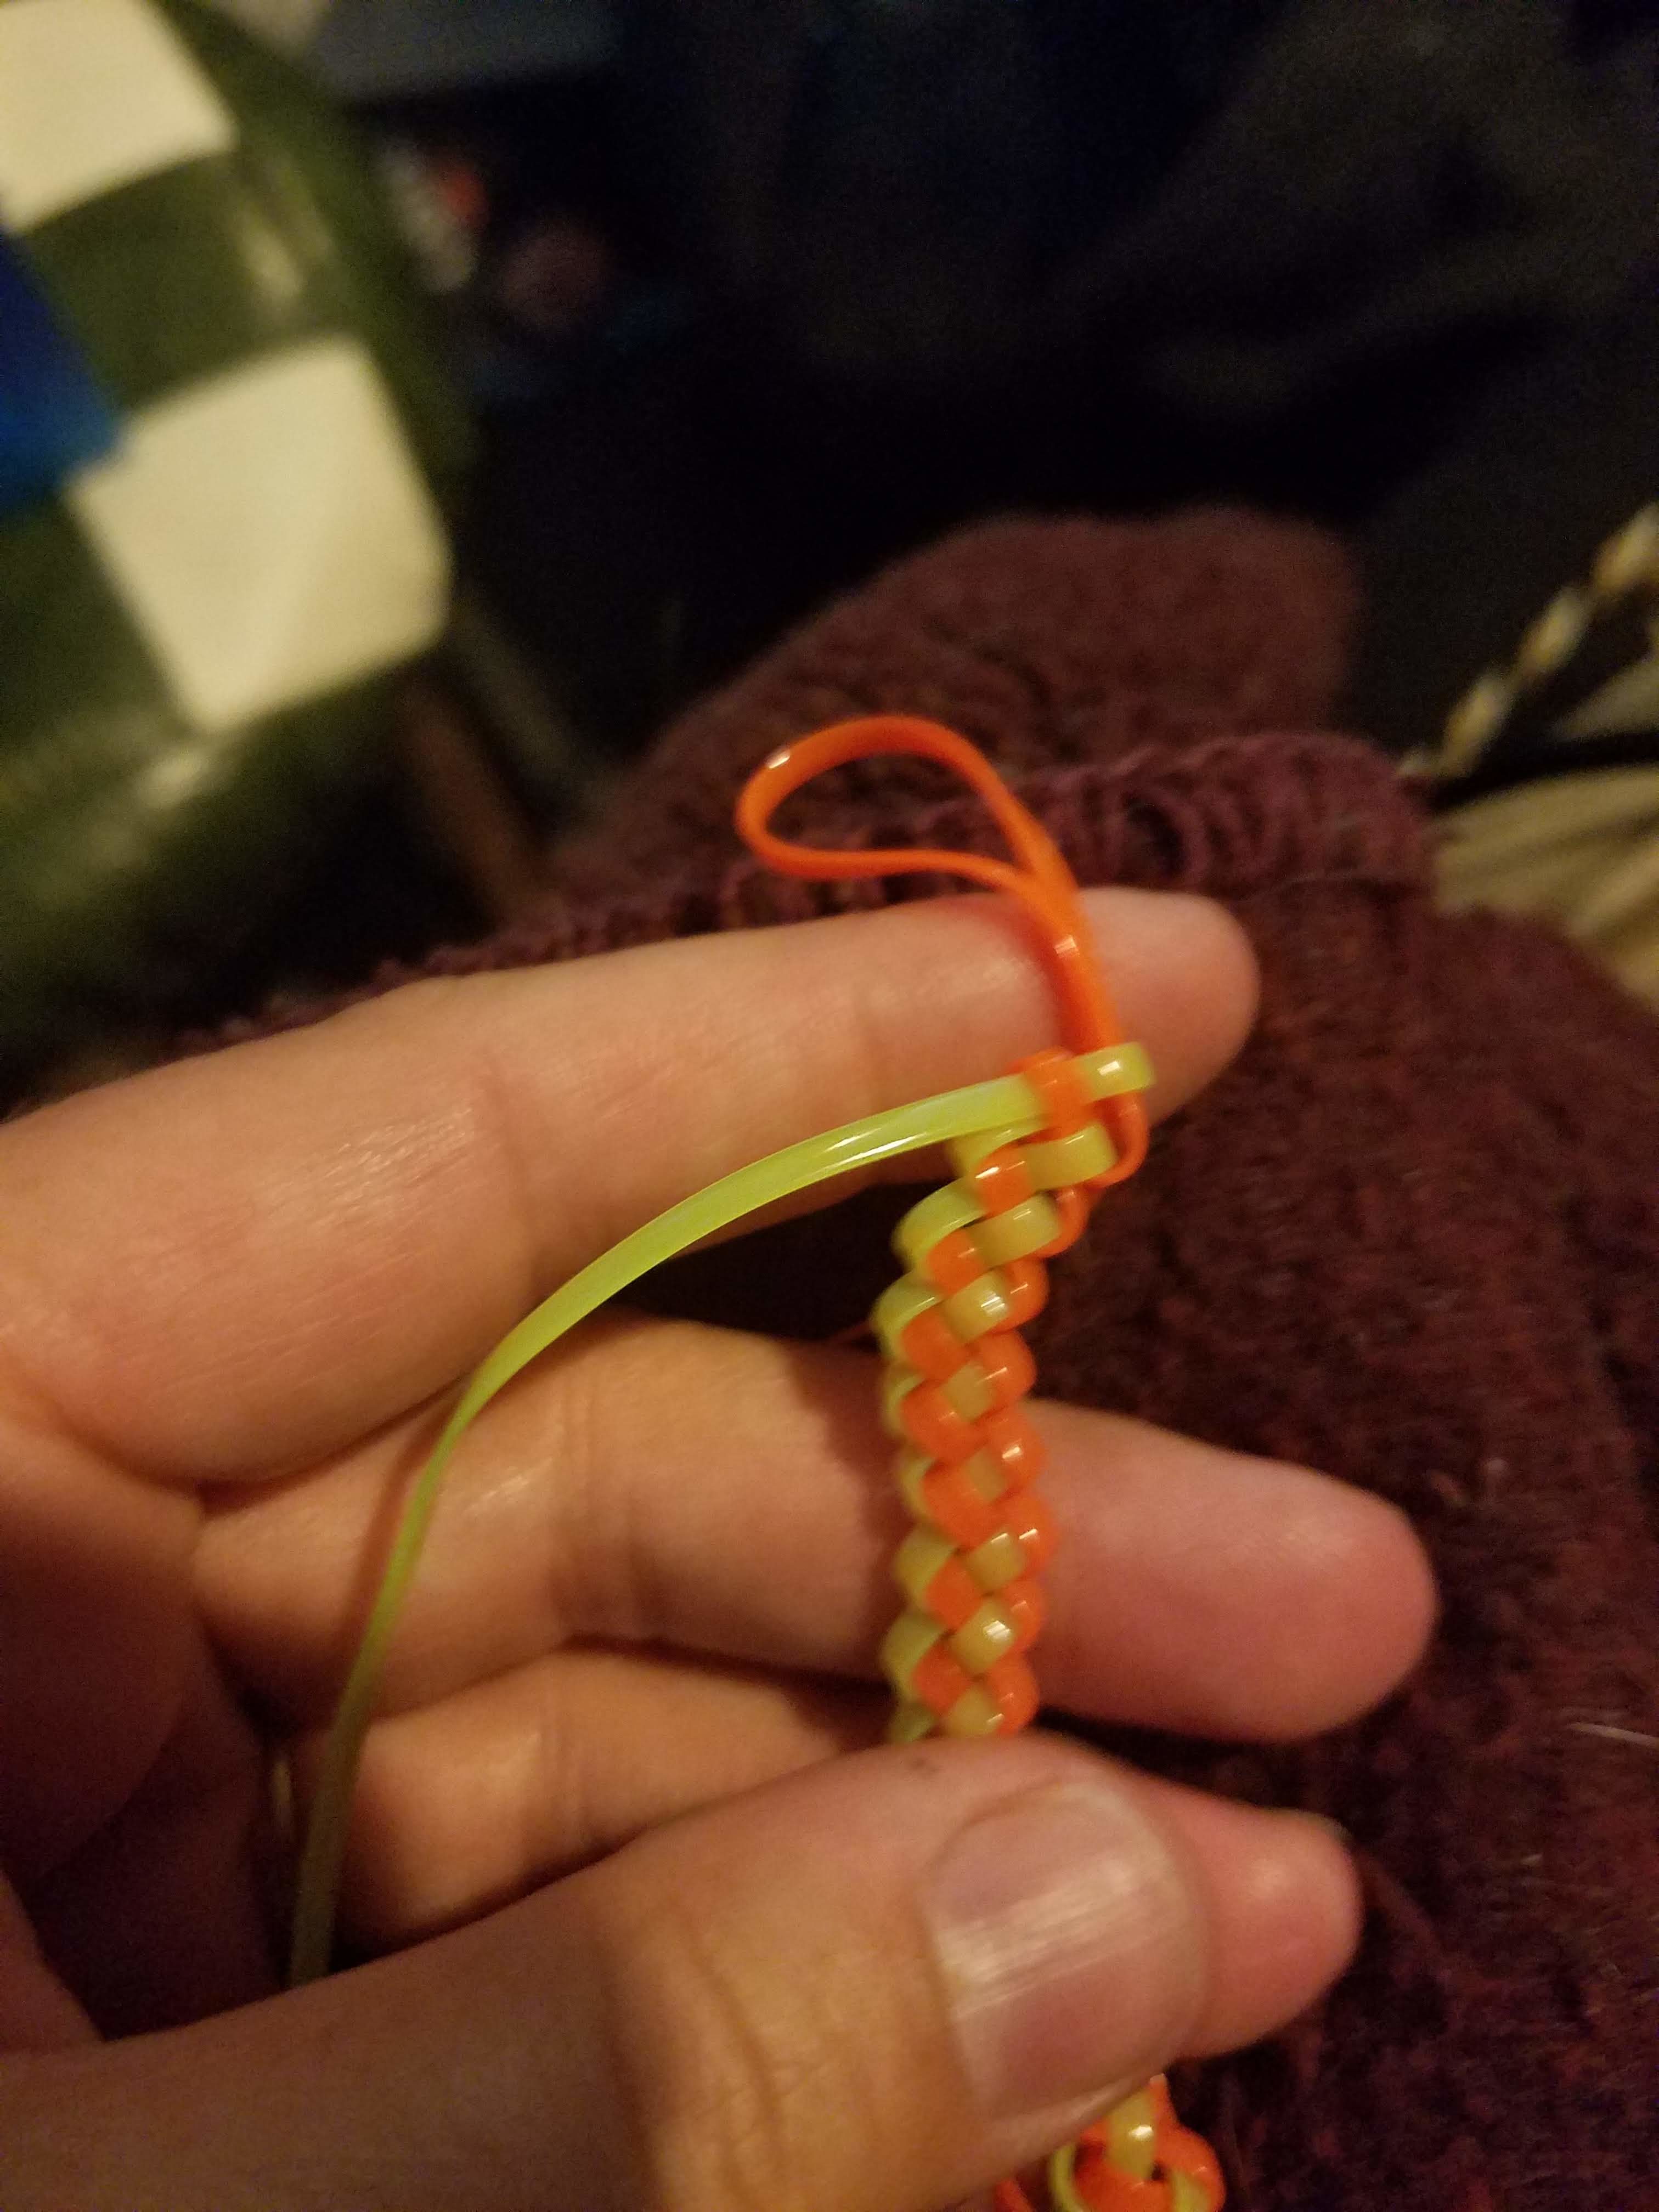
You can keep going for as long as you want! A lanyard for a keyring should probably be around 3 inches (8 cm), but a bracelet will depend on how big your friend’s wrist is!
To finish off your plastic lacing lanyard, here’s what you need to do:
Take the last loop you made, and pull to make it slightly larger.
Then take the non-looped end and make a loop out of it. They will look like a pair of rabbit ears. Tie the two loops together.
Then tie them again a 2nd time.

You can cut your loops or use them to secure a key ring. It’s up to you!
I hope you enjoyed this basic tutorial on making lanyards. Send us a photo of your finished product on social media, and use the hashtag #IGGPPCamp! Happy weaving!

Leave A Comment
You must be logged in to post a comment.