Hello fellow campers! Welcome to today’s arts and crafts project! We are going to be creating a cross stitch project of the IGGPPCamp sigil to hang in your tent, cabin, blanket fort, or wherever your heart desires! Grab your supplies and let’s get ready to stitch!
Supplies:
- Embroidery hoop, 6″
- 14-count Aida cloth, 8″x8″
- Tapestry needle, size 24-26
- Scissors
- Embroidery floss
- Dark blue
- Forest green
- White
- Hot pink
- White
- Printer or access to phone/computer to see pattern
- Optional: Display hoop, 3″
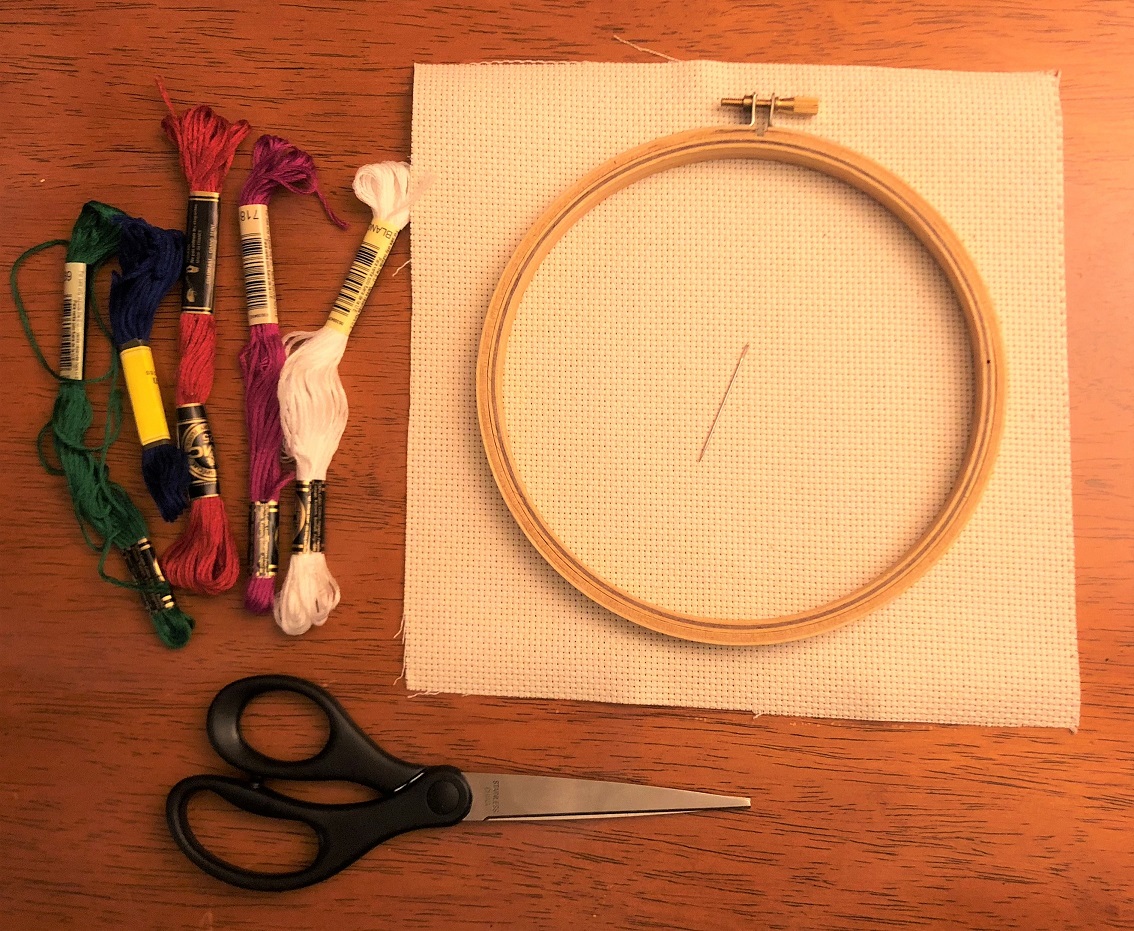
Supplies!
First things first, grab the Aida cloth. Mine here is an off-white color, which I recommend due to us using white thread in this pattern. If you can only find white cloth in your art supply store, that’s totally fine! Take the cloth and fold it half once, then turn and fold again so that you have a crease crossing the cloth. Take your needle and gently mark the middle of the creases.
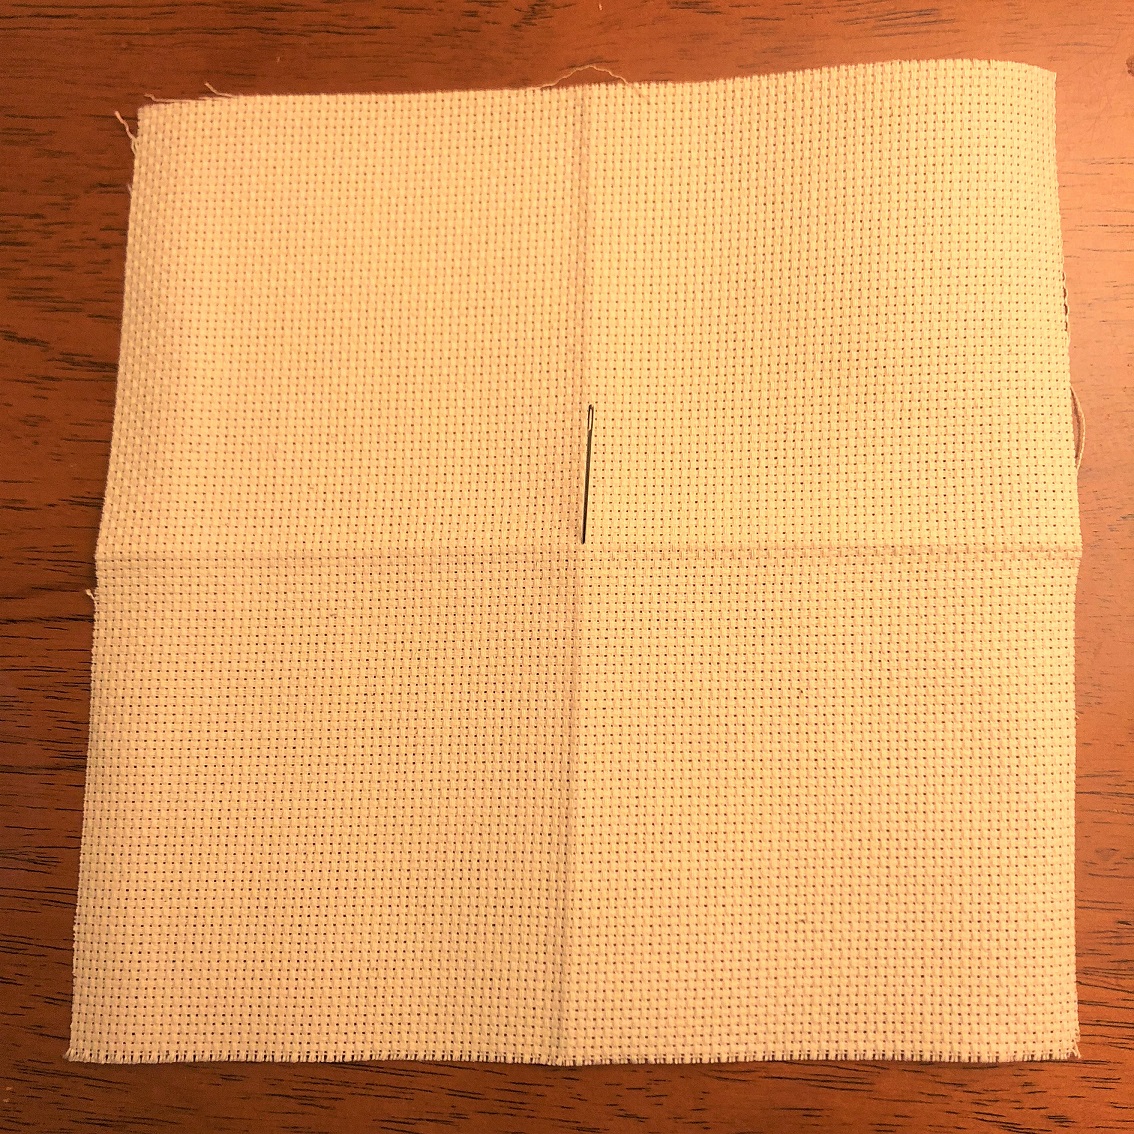
Creased cloth
Next, loosen the embroidery hoop by twisting the screw on top. Remove the inner ring and set it on a flat surface. Place the Aida cloth over it and try to center it. Once you have done your best to make it straight, place the outer hoop over the cloth and press down. This will seal the cloth in the hoop while you work. Tighten up the screw and then pull on the outer fabric so your cloth is tight.
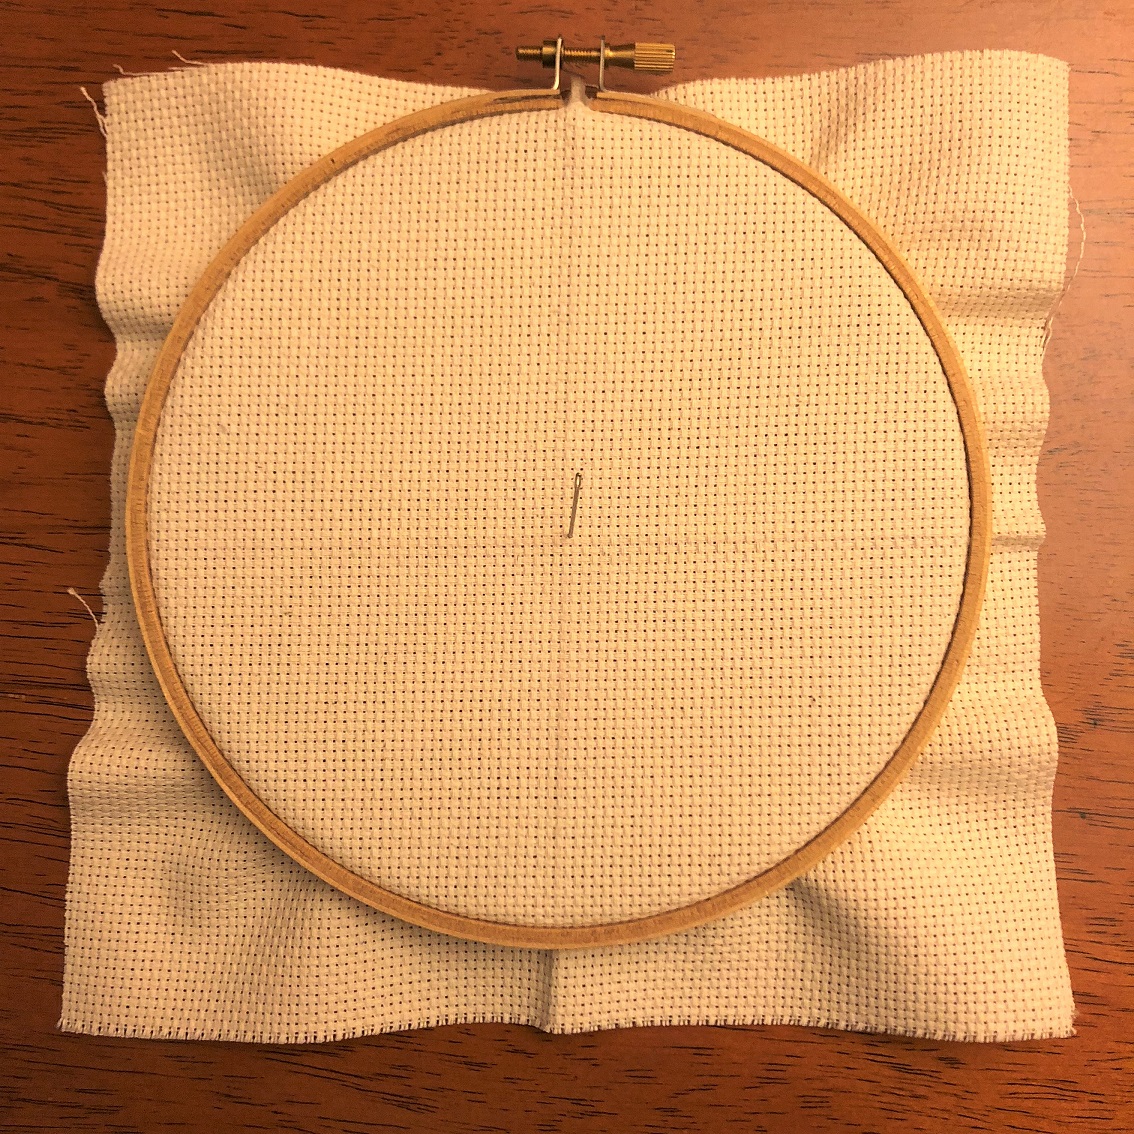
Cloth in hoop
Now onto the thread! I recommend starting with the dark green thread, as we want to start with the center of the pattern. Cut a length of thread roughly about 18″ (you don’t need a ruler, just wing it!). Look closely at your thread. You’ll notice that it consists of 6 separate strands. Pull two strands aside and separate it from the rest of the thread. This will be your thread that you work with.
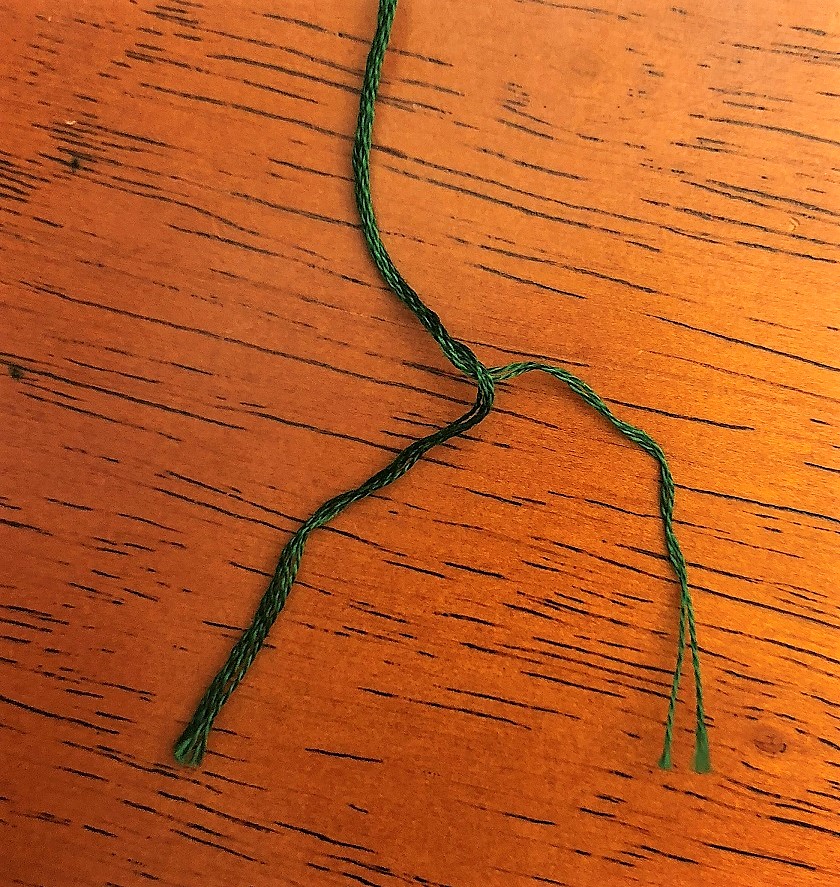
6 strands in embroidery thread
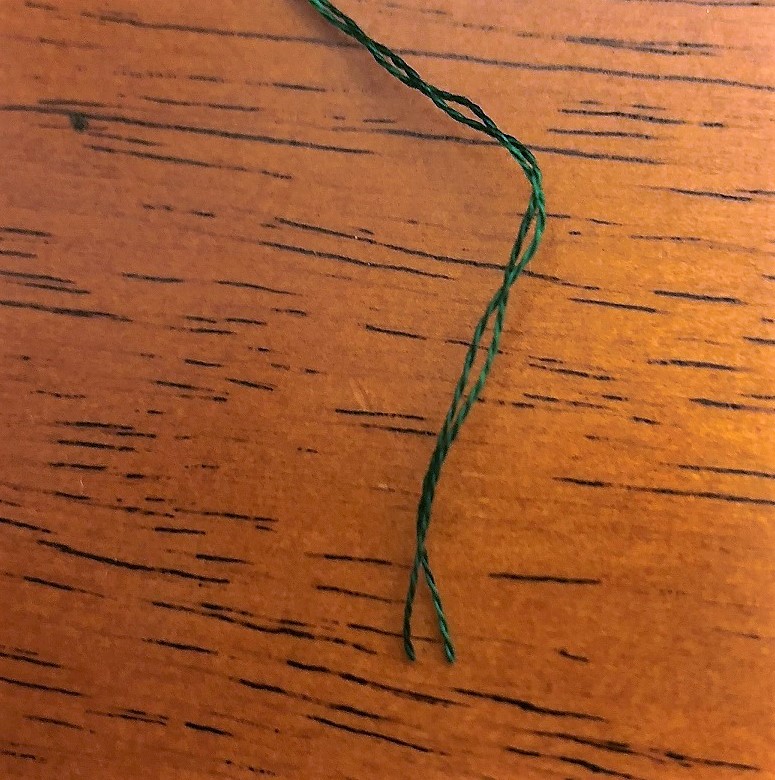
2 strands
Once you have separated two strands from the six that make up the embroidery thread, get your tapestry needle. Thread it through the eye and then knot the other end. You are ready to get started stitching!
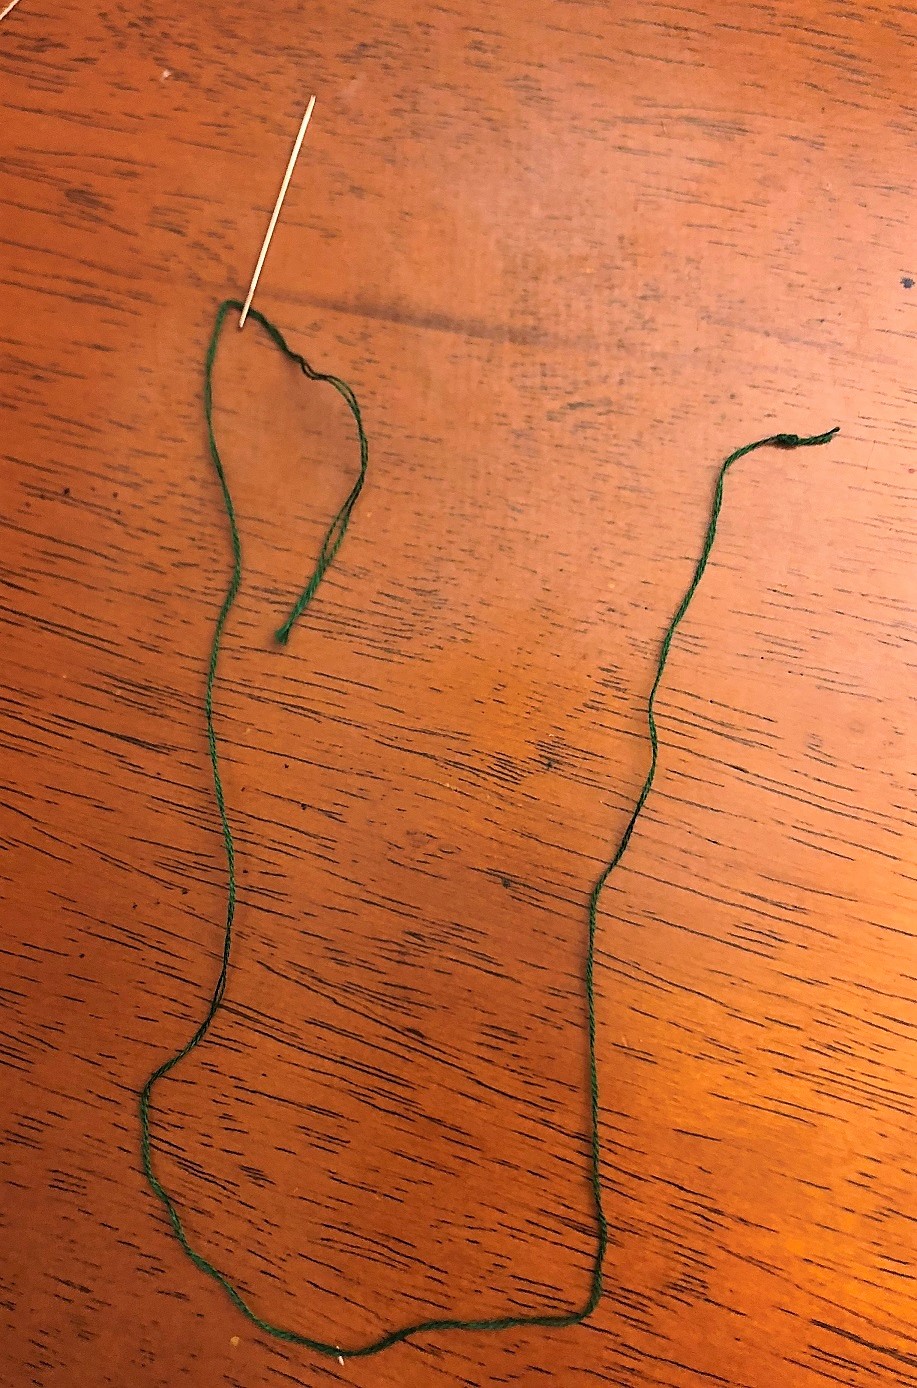
Threaded and knotted
Take your hoop and cloth and find the center again. Now look at the pattern being used.
Click this link to go to the pattern!
You can either keep the link available on a computer or phone to view, or print it out. Once you have your pattern available, find it’s center. As the pattern is 29 stitches wide and 37 stitches high, the center will be around 14 stitches in from the side and 18 stitches down. If we look at the pattern, the center is located at the top two green blocks of the middle mountain. We will start with stitching those at the center of our cloth. (Forgive the quality of the photos; an iPhone can only zoom so well!)
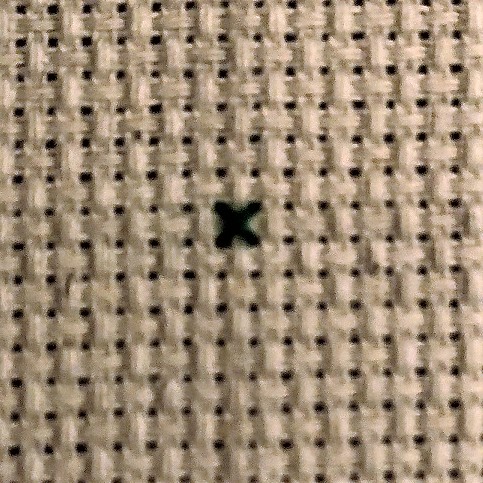
Cross stitch is essentially an image made of little thread squares, likes pixels. Each square consists of an X that is threaded through the cloth. Here I will show you the first square we will be doing. Come through the back of the cloth to the front. Where you came through will be the top right corner of a square. Bring the needle down through the bottom left corner of the square.
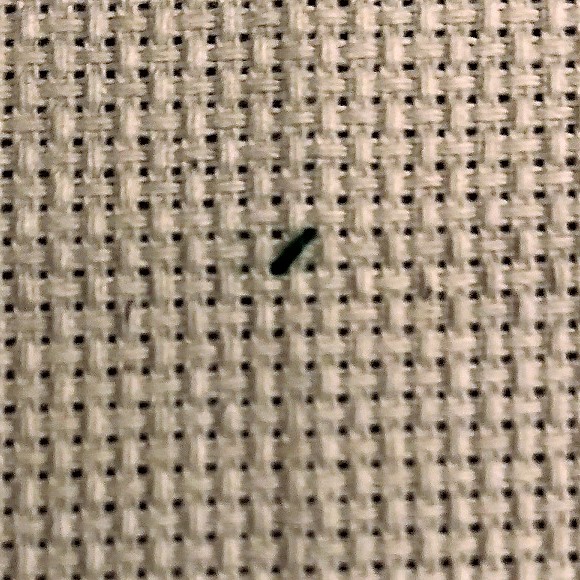
Stitch from top right to bottom left
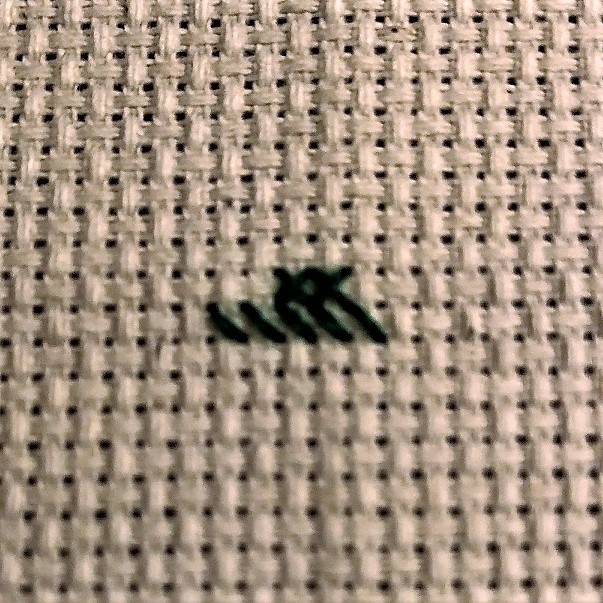
Now, come through the back of the cloth through the top left corner of the square and bring the needle back down through the bottom right corner of the square.
It’s as simple as that! You have made a cross stitch! Now do the same thing to add another X to the left of this one. After that, we will add the row underneath it. Count two squares over to start the top left corner of the next row of stitches. When you have a row of similar colored stitches coming up, you can do multiple stitches in the same direction (below, we are stitching from top left to bottom right) before reversing your direction to finish the row (stitching top right to bottom left).
Stitching in a row
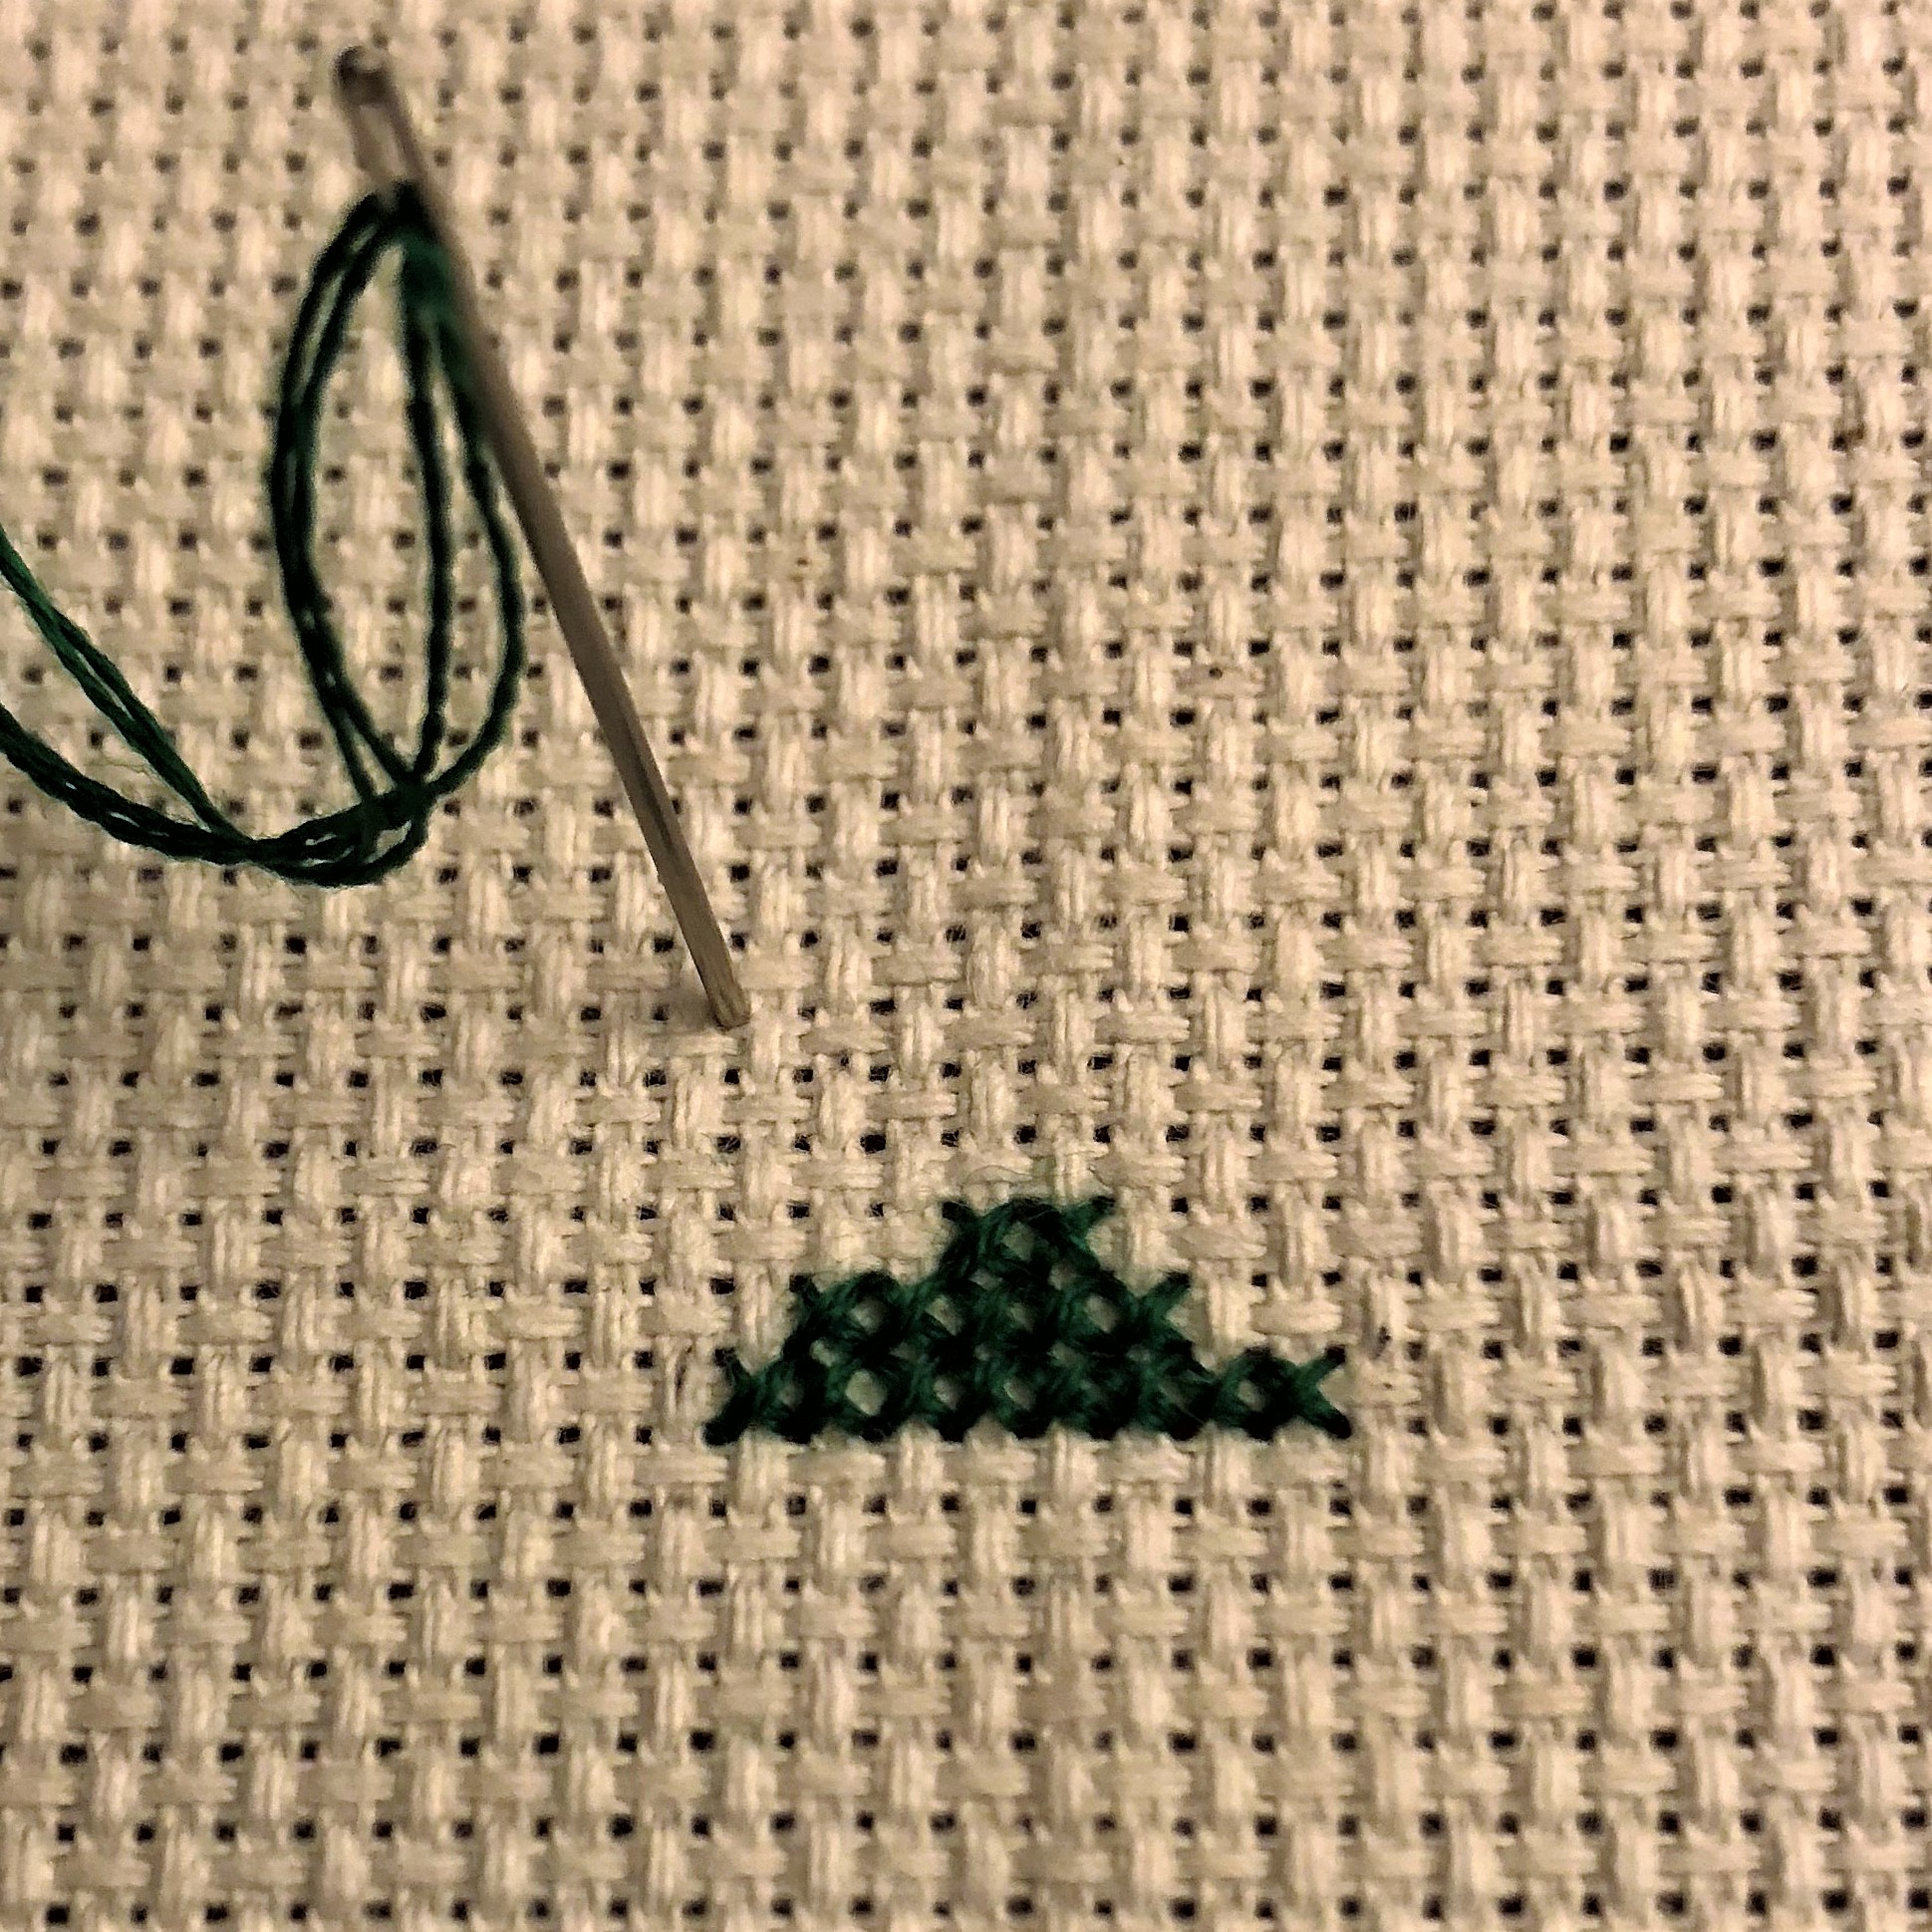
Finishing rows
Look! Rows! Now we are getting somewhere! Once you know how to make a cross stitch and are able to count, the rest is up to you. Look at your pattern, count how many stitches are in the row you are working on and count how far away from your current row you need to shift. After finishing the top of the middle mountain and running out of thread, I decided to move over and start the left mountain with some new thread and work around the marshmallow sticks, which will be filled in with white thread.
Adding another mountain
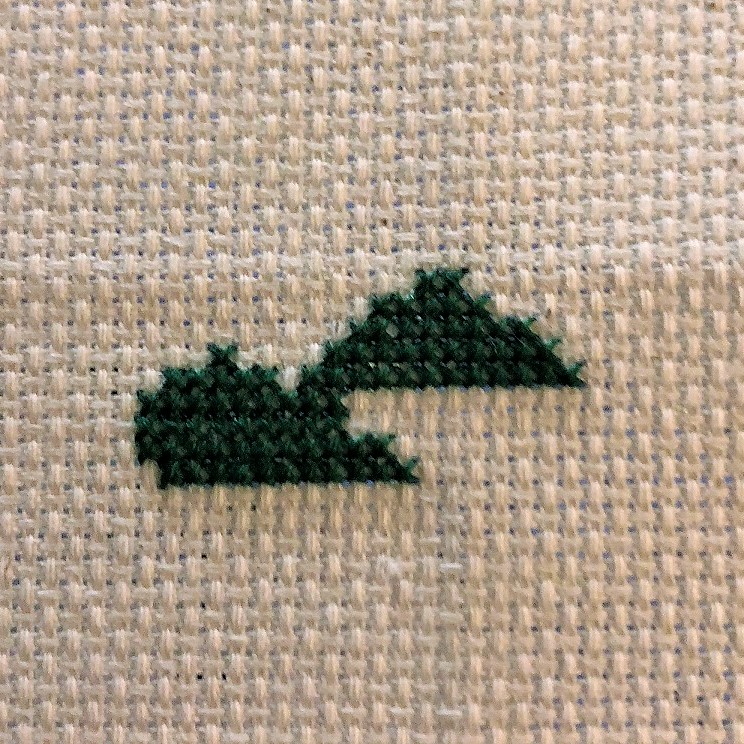
Here is the finished green area! This took maybe about 2 hours to work on while I listened to a podcast. Your pace will vary according to skill.
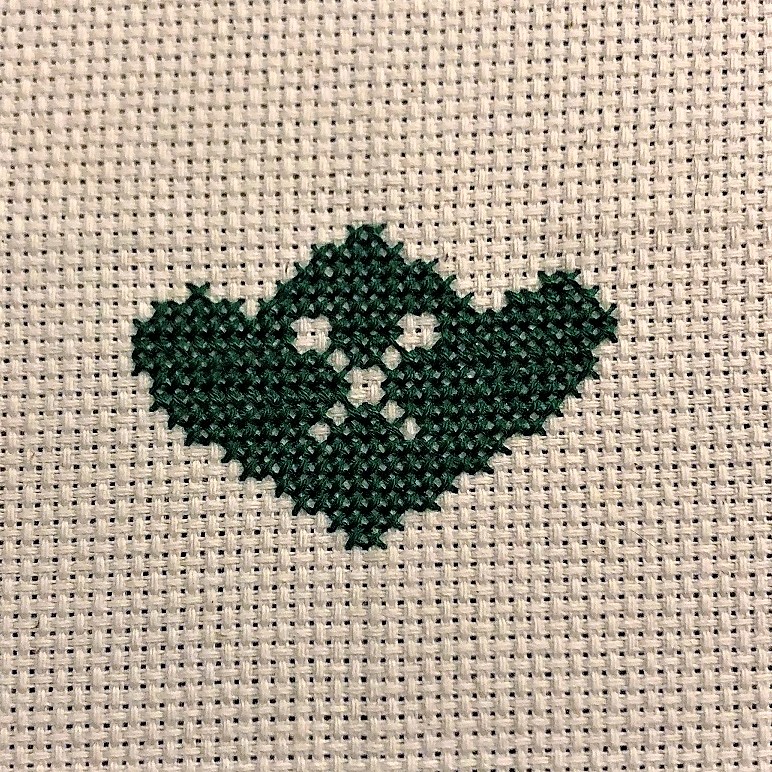
Finished green section
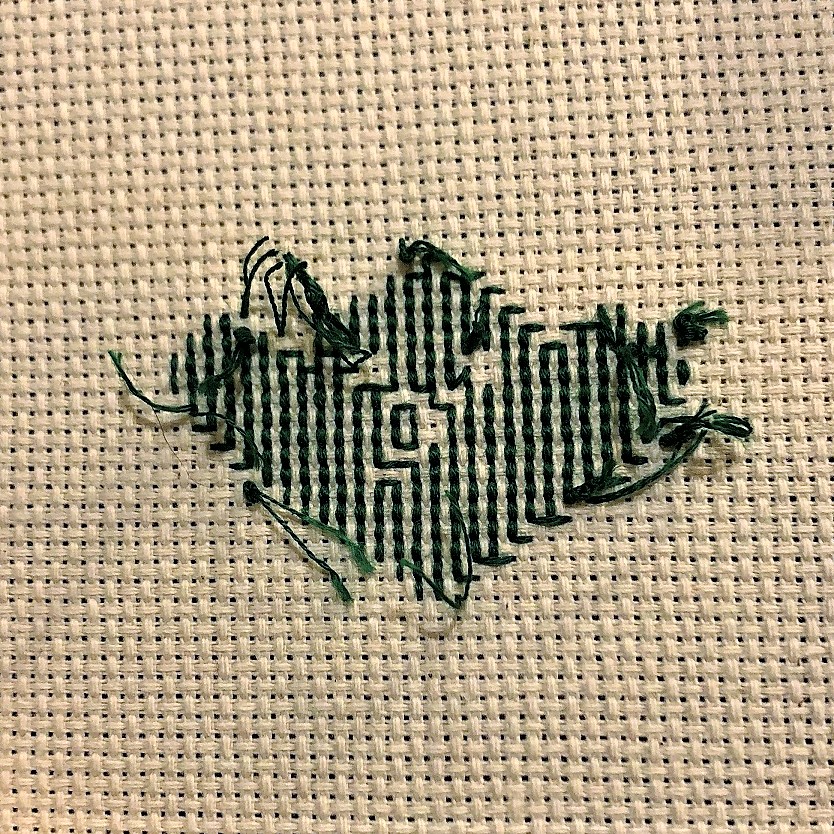
Here is the back of the finished green section. A more skilled stitcher than myself may have made it neater but I am fine with having it a little sloppy. I leave the ends of thread loose and snip them so there’s about 1″ or less left. If you want to, you can try to stitch over the loose ends when stitching across the back side of the cloth so they don’t dangle.
Next, I have added the blue stripes, the hot pink section and some white thread in the marshmallow sticks and around the perimeter of the sigil. When working on the blue stripes, you can do the same thing as we did the horizontal rows above, only in a vertical fashion. You would stitch down the row from top left to bottom right and come back up the row from bottom left to top right.
By the way, it’s not actually important which corner of the square you start the cross stitch squares with! Whatever fits best with the position of the squares and results in the most conserved use of thread is fine! Sometimes, a section of the pattern might require you to stretch a distance from one square to another. In these situations, you can either snip your thread and start a section anew, or just stretch the thread across the back and snip it in the middle.
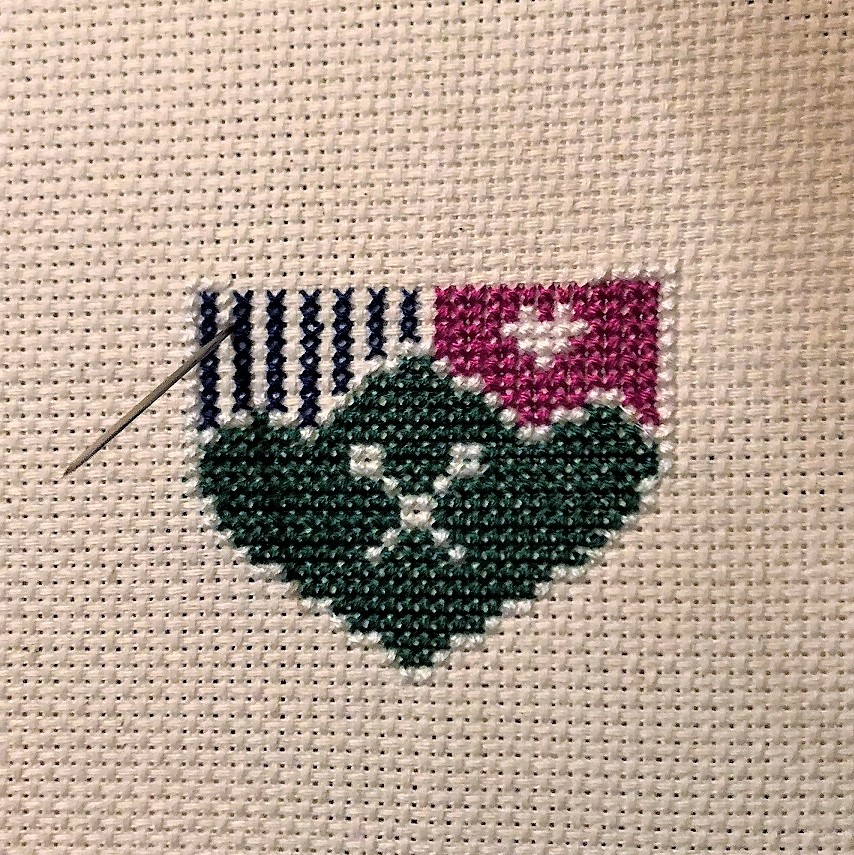
Blue, pink and some white added
So close to finishing! Just gotta finish that red section and fill in the border with white thread.
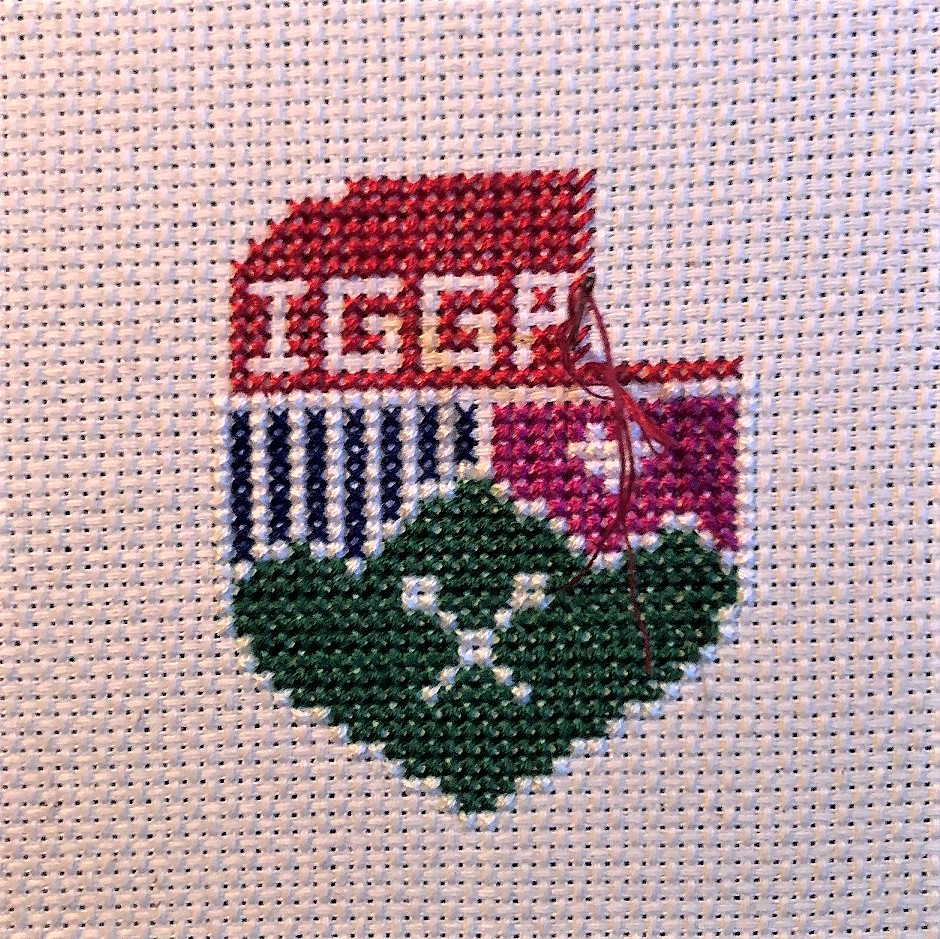
Almost there!
Finally, we have a finished result!! The full project took me about 2 hrs each day for 4 days, while listening to podcasts, music and watching movies (progress goes slower with the TV on, just FYI).
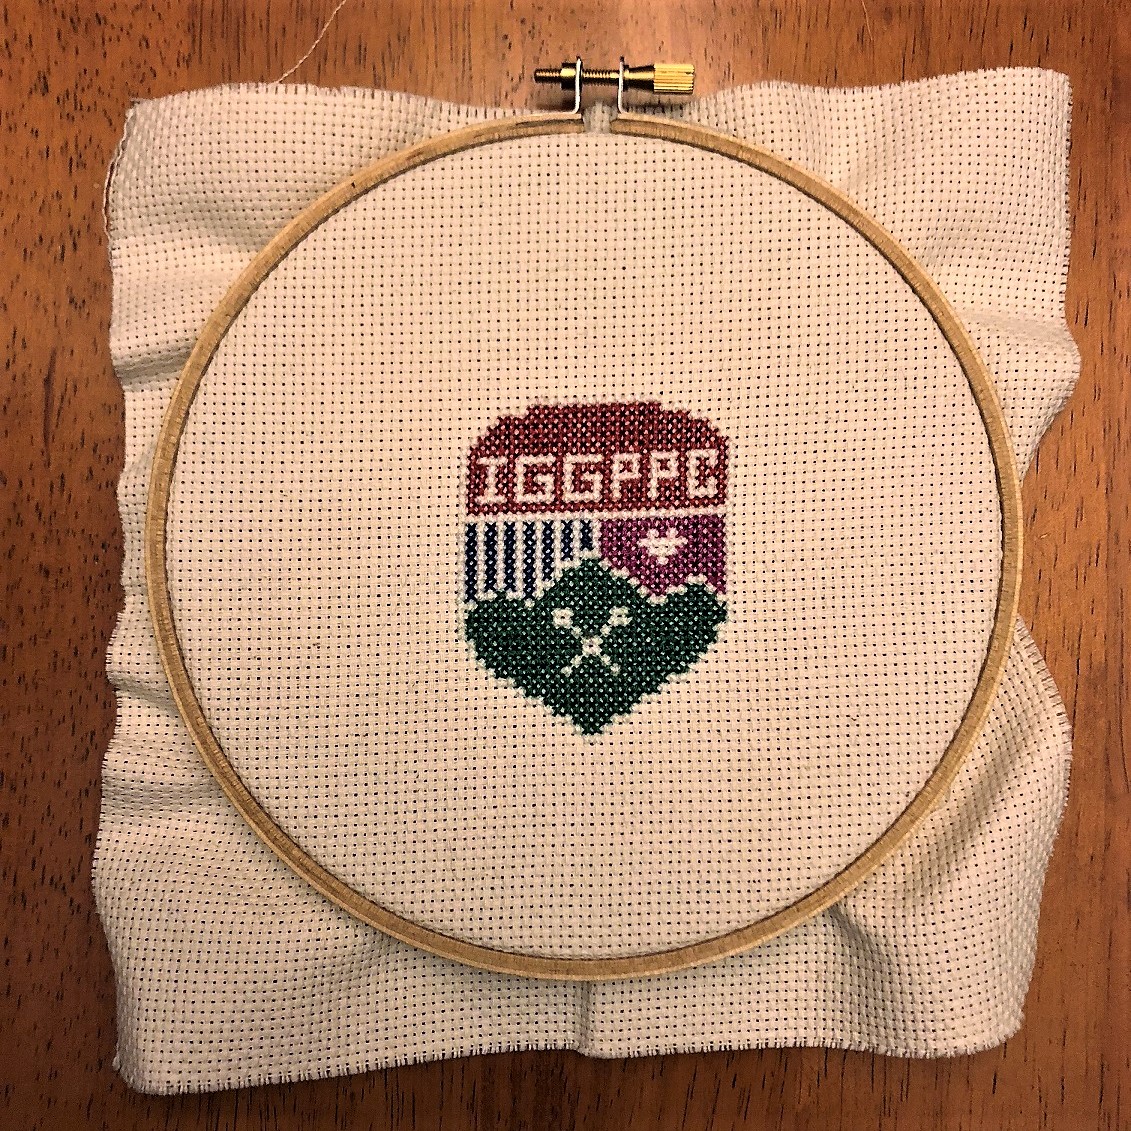
At this point, you can either keep the cross stitch in this hoop or a small display hoop and use your scissors to trip the excess cloth, or you can hang it in a picture frame! I recommend using an iron to steam out the creases left over from the hoop if you plan on framing it.

Finished project!
Here are some more resources if my instructions were lacking! YouTube is great if you need visuals.
Thanks for stitching with me!

[…] you all get on! And if you want to stitch more, here’s another IGGPPCamp cross stitch patternhttps://geekgirlpenpals.com/iggppcamp-2018-camp-sigil-cross-stitch-project/ for the camp sigil […]
[…] will just be more white space left over. If you want to review how to cross stitch, check out an old IggleStitch post or check out this […]