
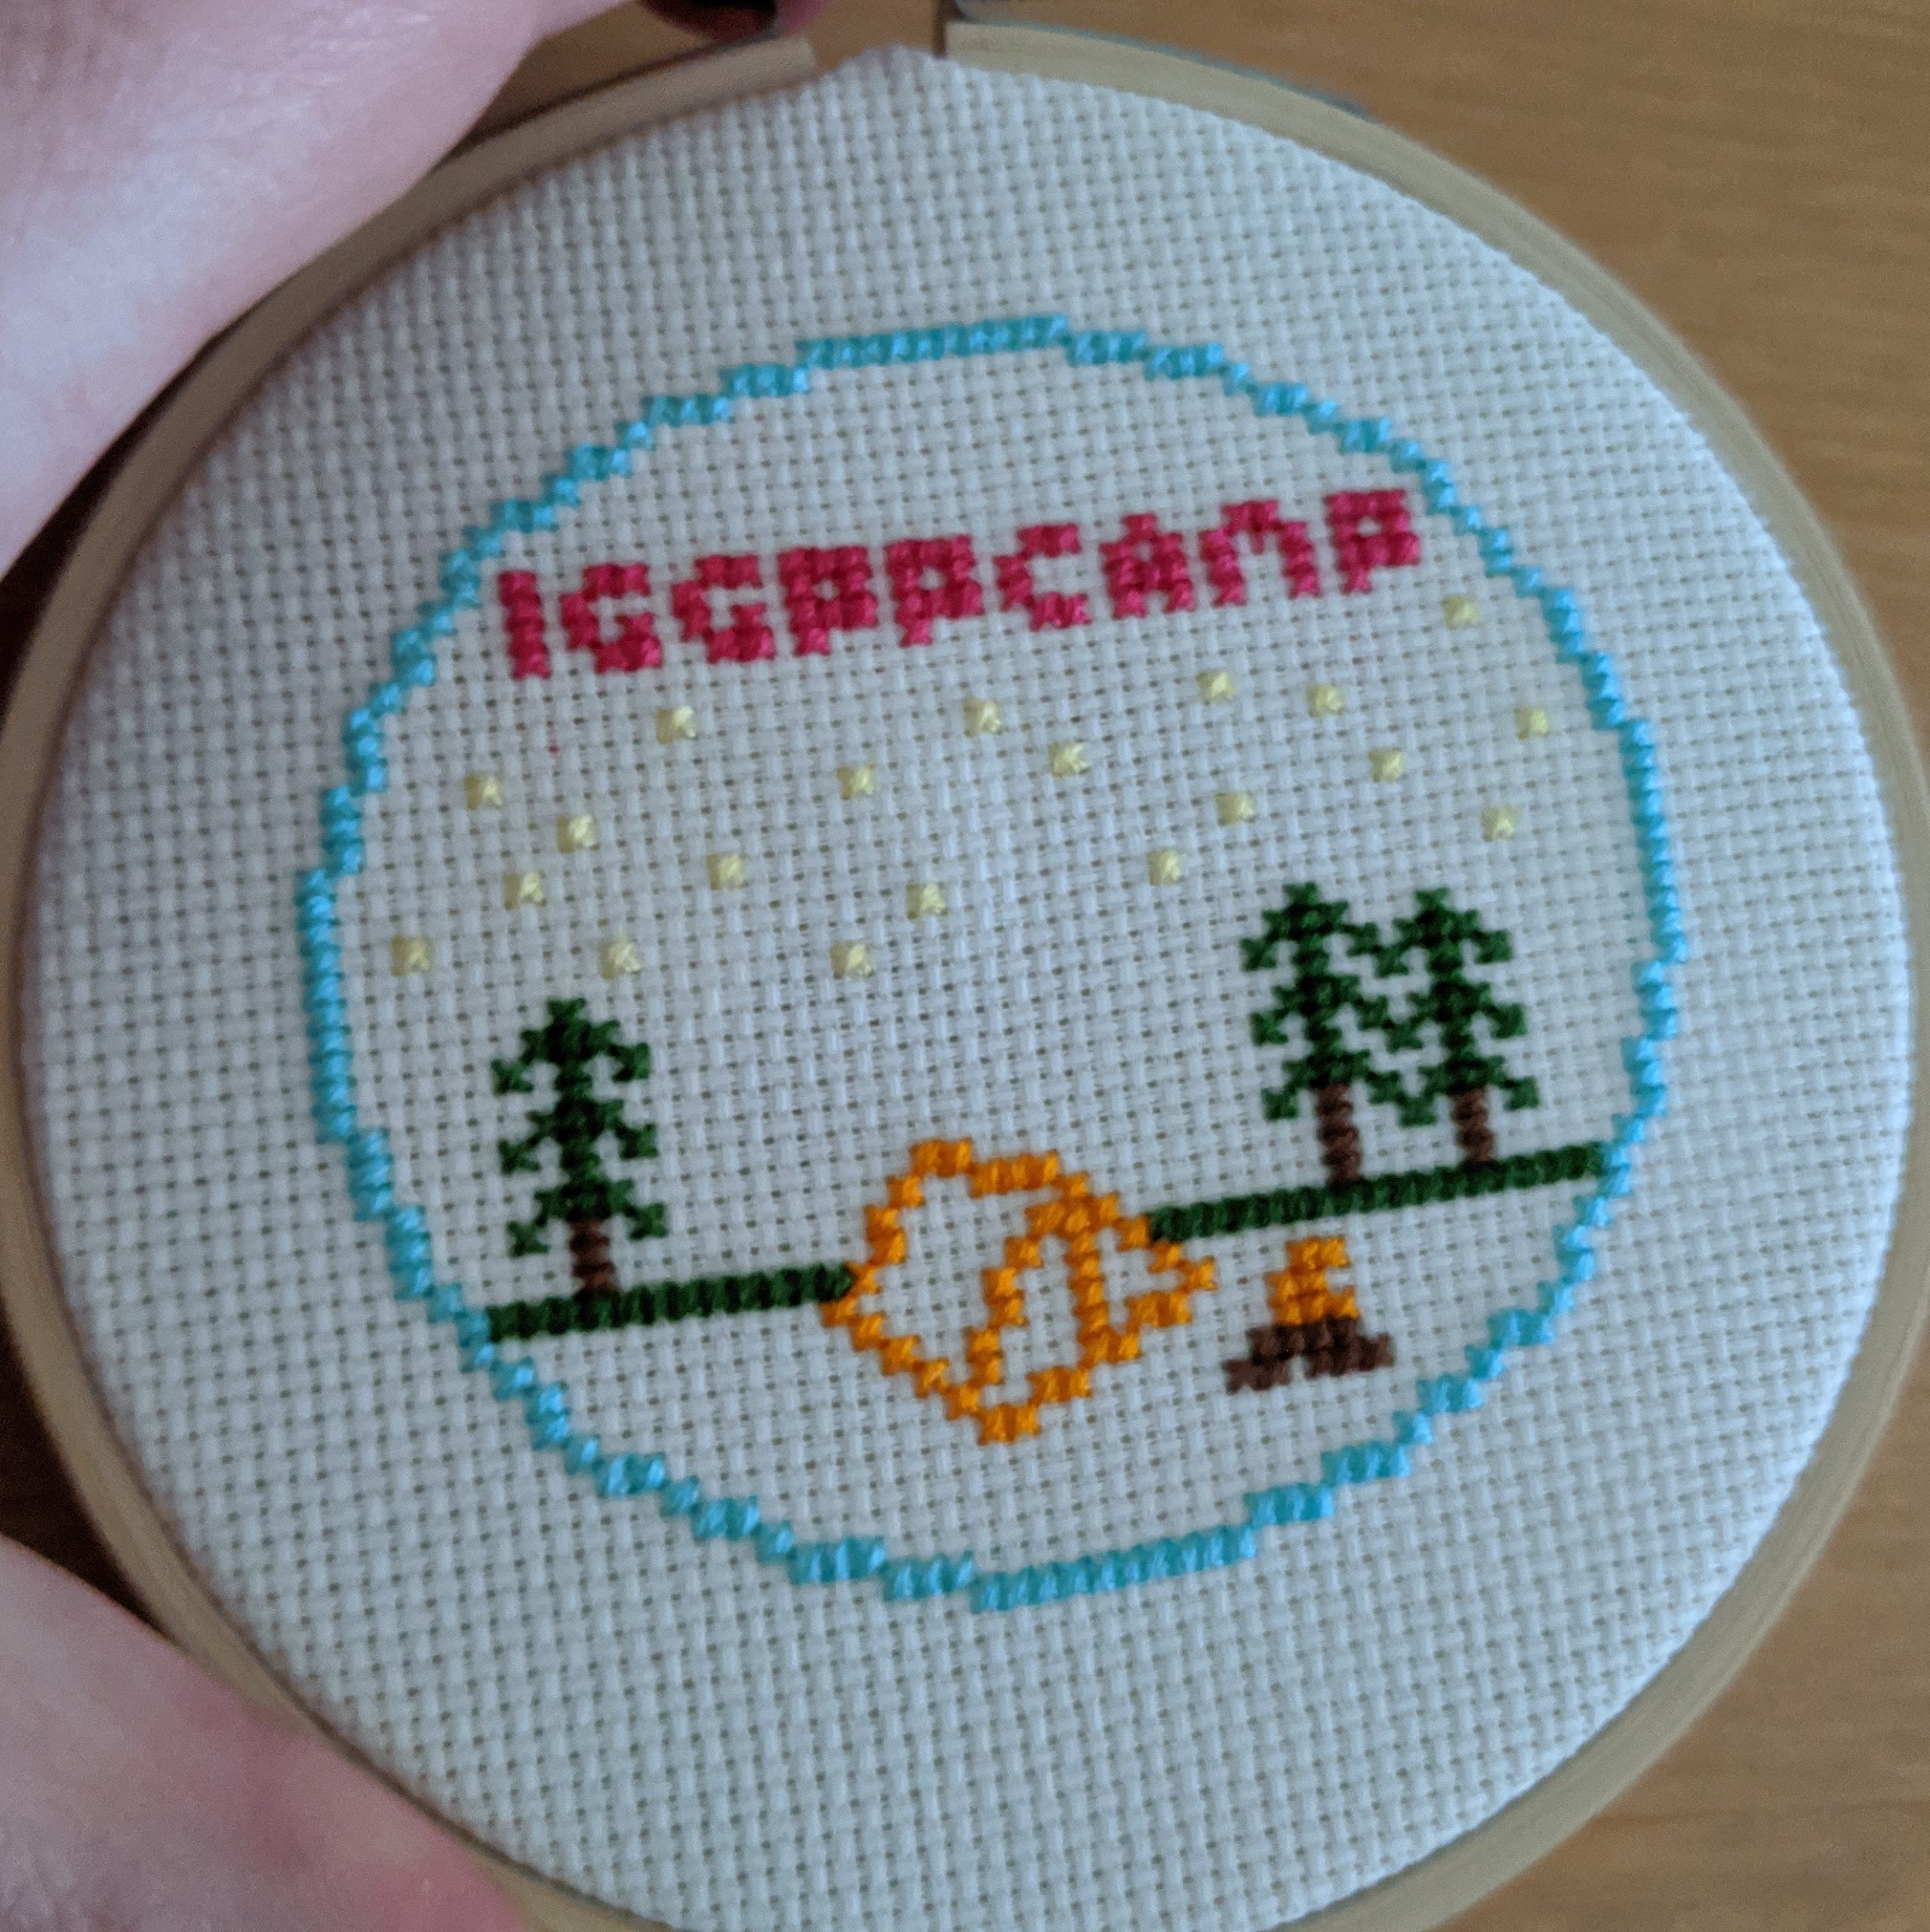
It’s time for a camp-themed cross-stitch activity! Whether you’re camping this year or not, this is a small project that’s ideal for beginners to cross-stitch. It will probably take you around 4-6 hours, if you’re also watching a show or listening to a podcast at the same time. Here’s the pattern, it comes out at 50 stitches wide.

I’m going to take you through this as carefully as I can, but if you have any questions or you think I might have skipped a step, you can get in touch with me in the Camp Discord (Camper Pyxis), or on twitter (@klff_)!
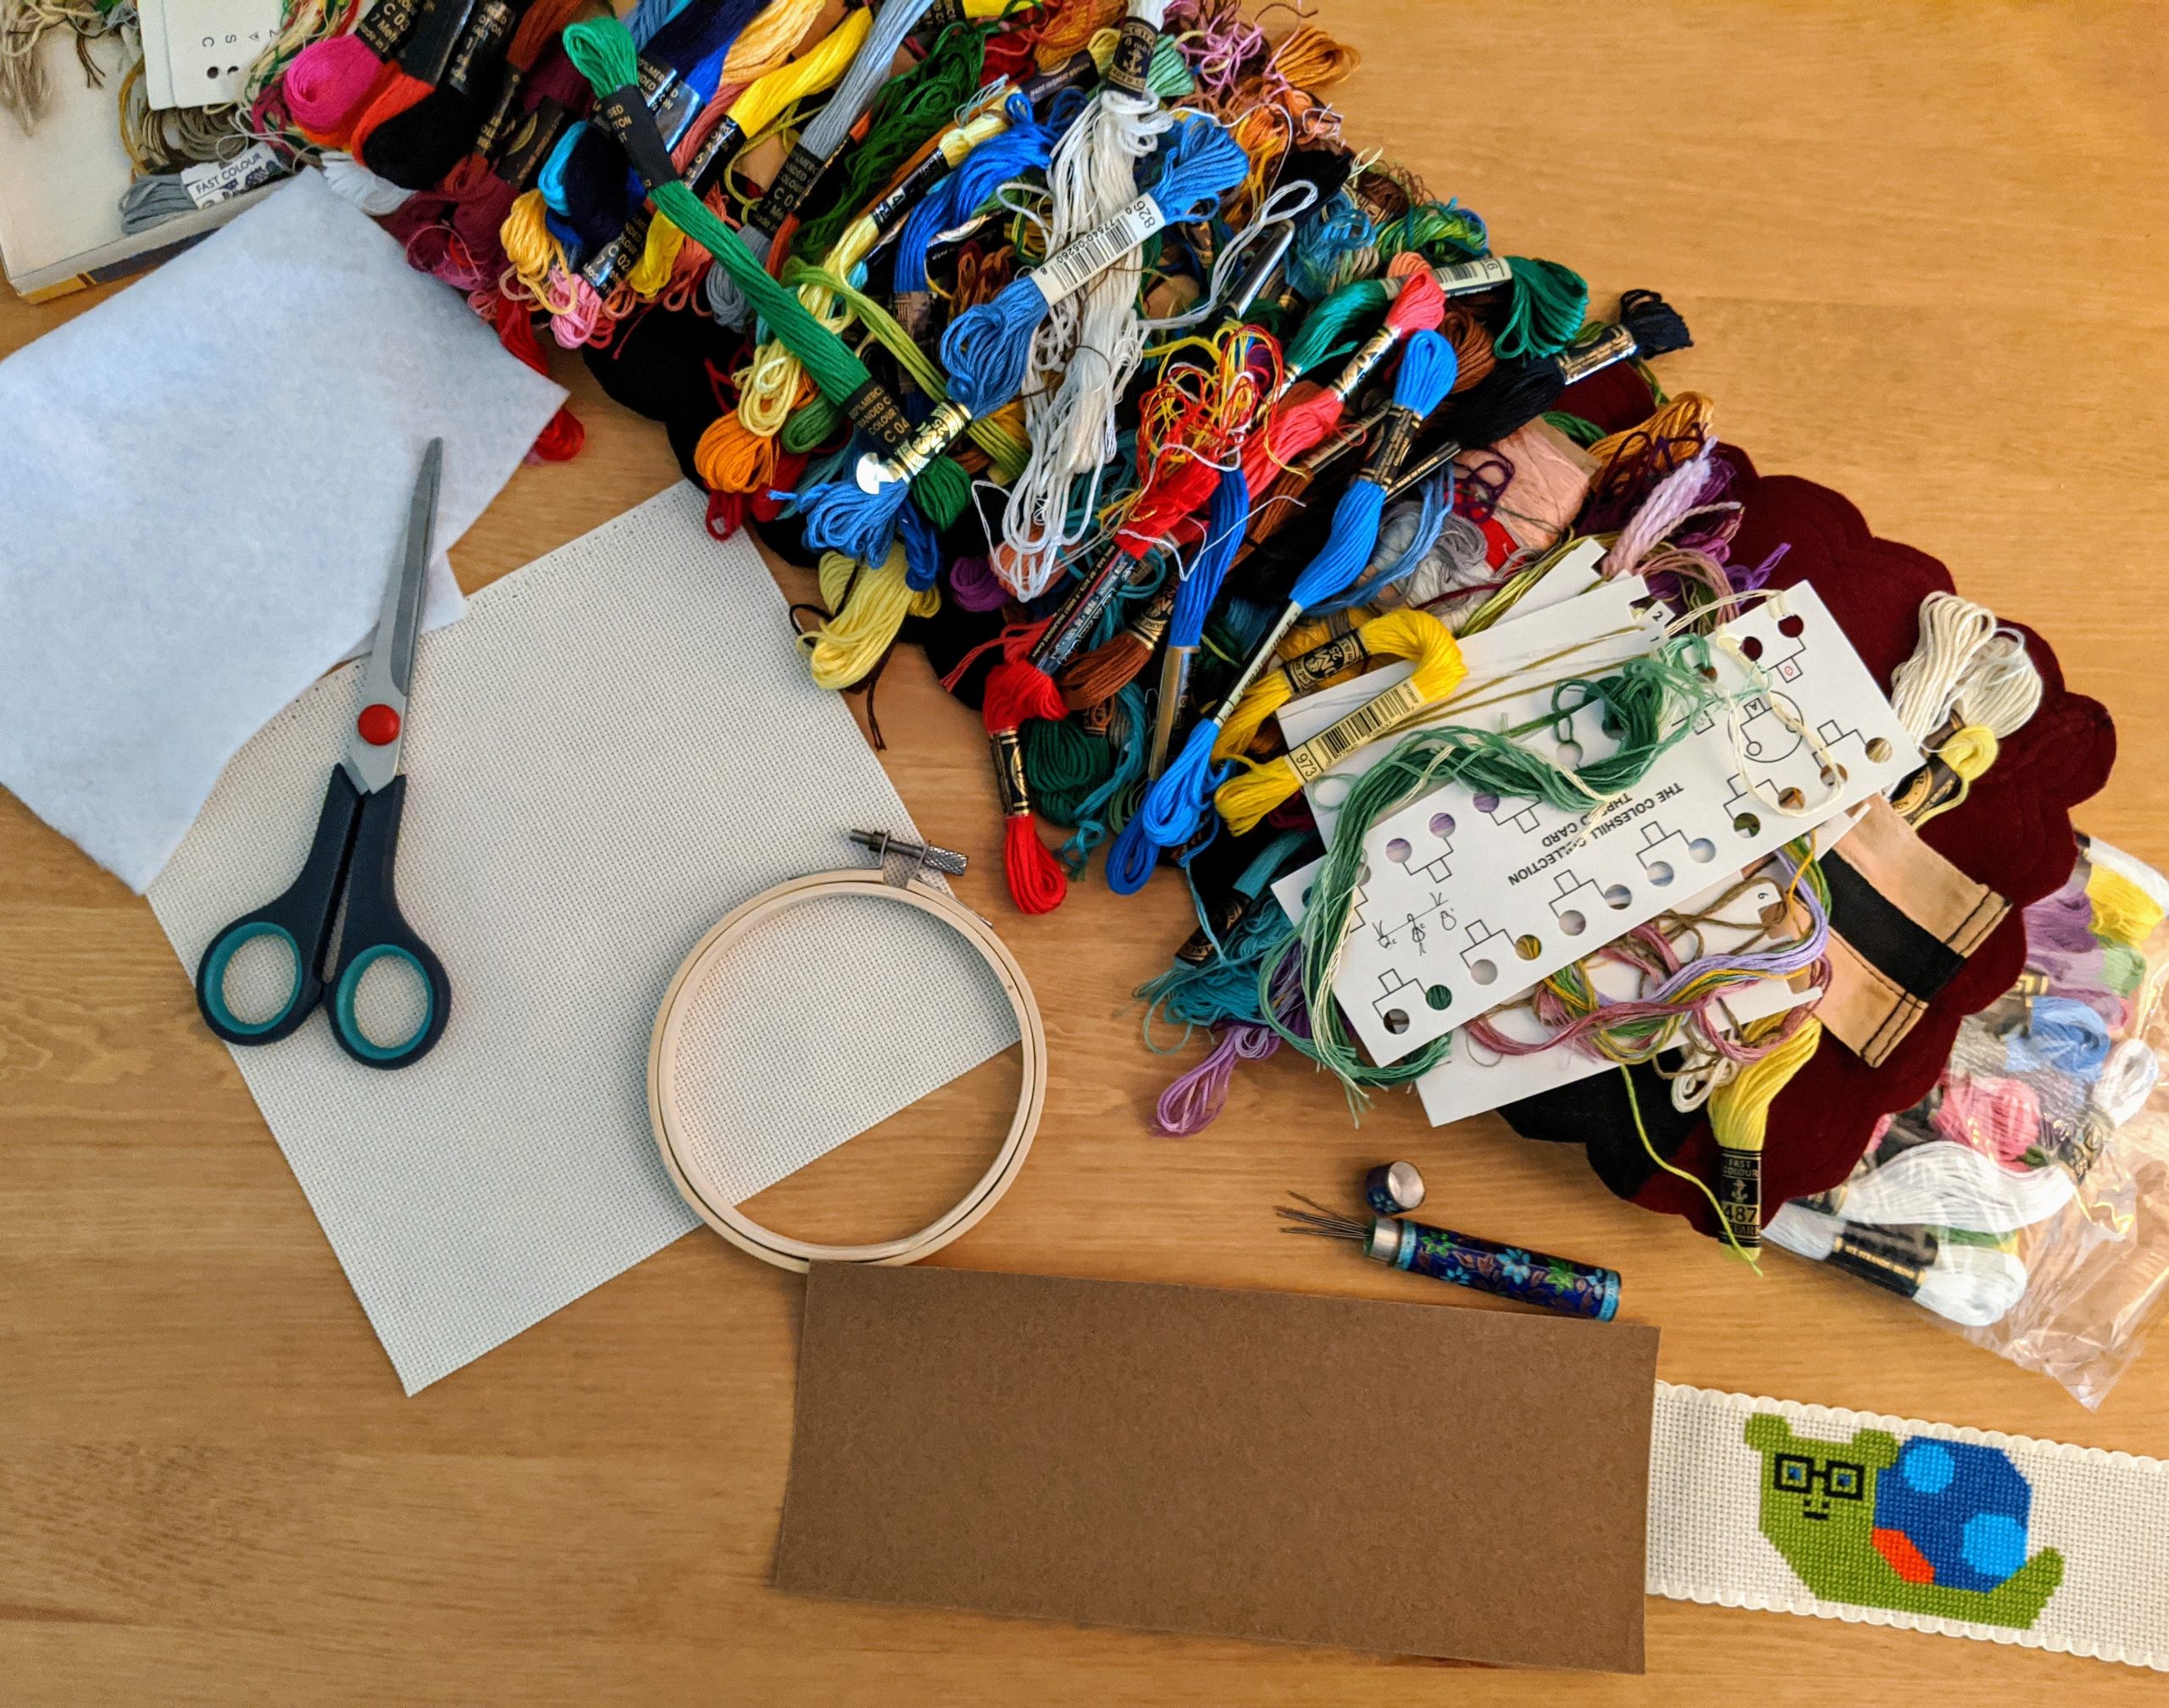
Supplies List:
If you don’t have everything exactly the same on this list, that’s okay! It’ll make your project even more unique! Here’s the basics:
- 18-count evenweave fabric (this is really quite small, so you can try 14-count if you’re new to cross-stitch)
- 4” / 10cm bamboo hoop (if you use 14-count you may need a 5” hoop)
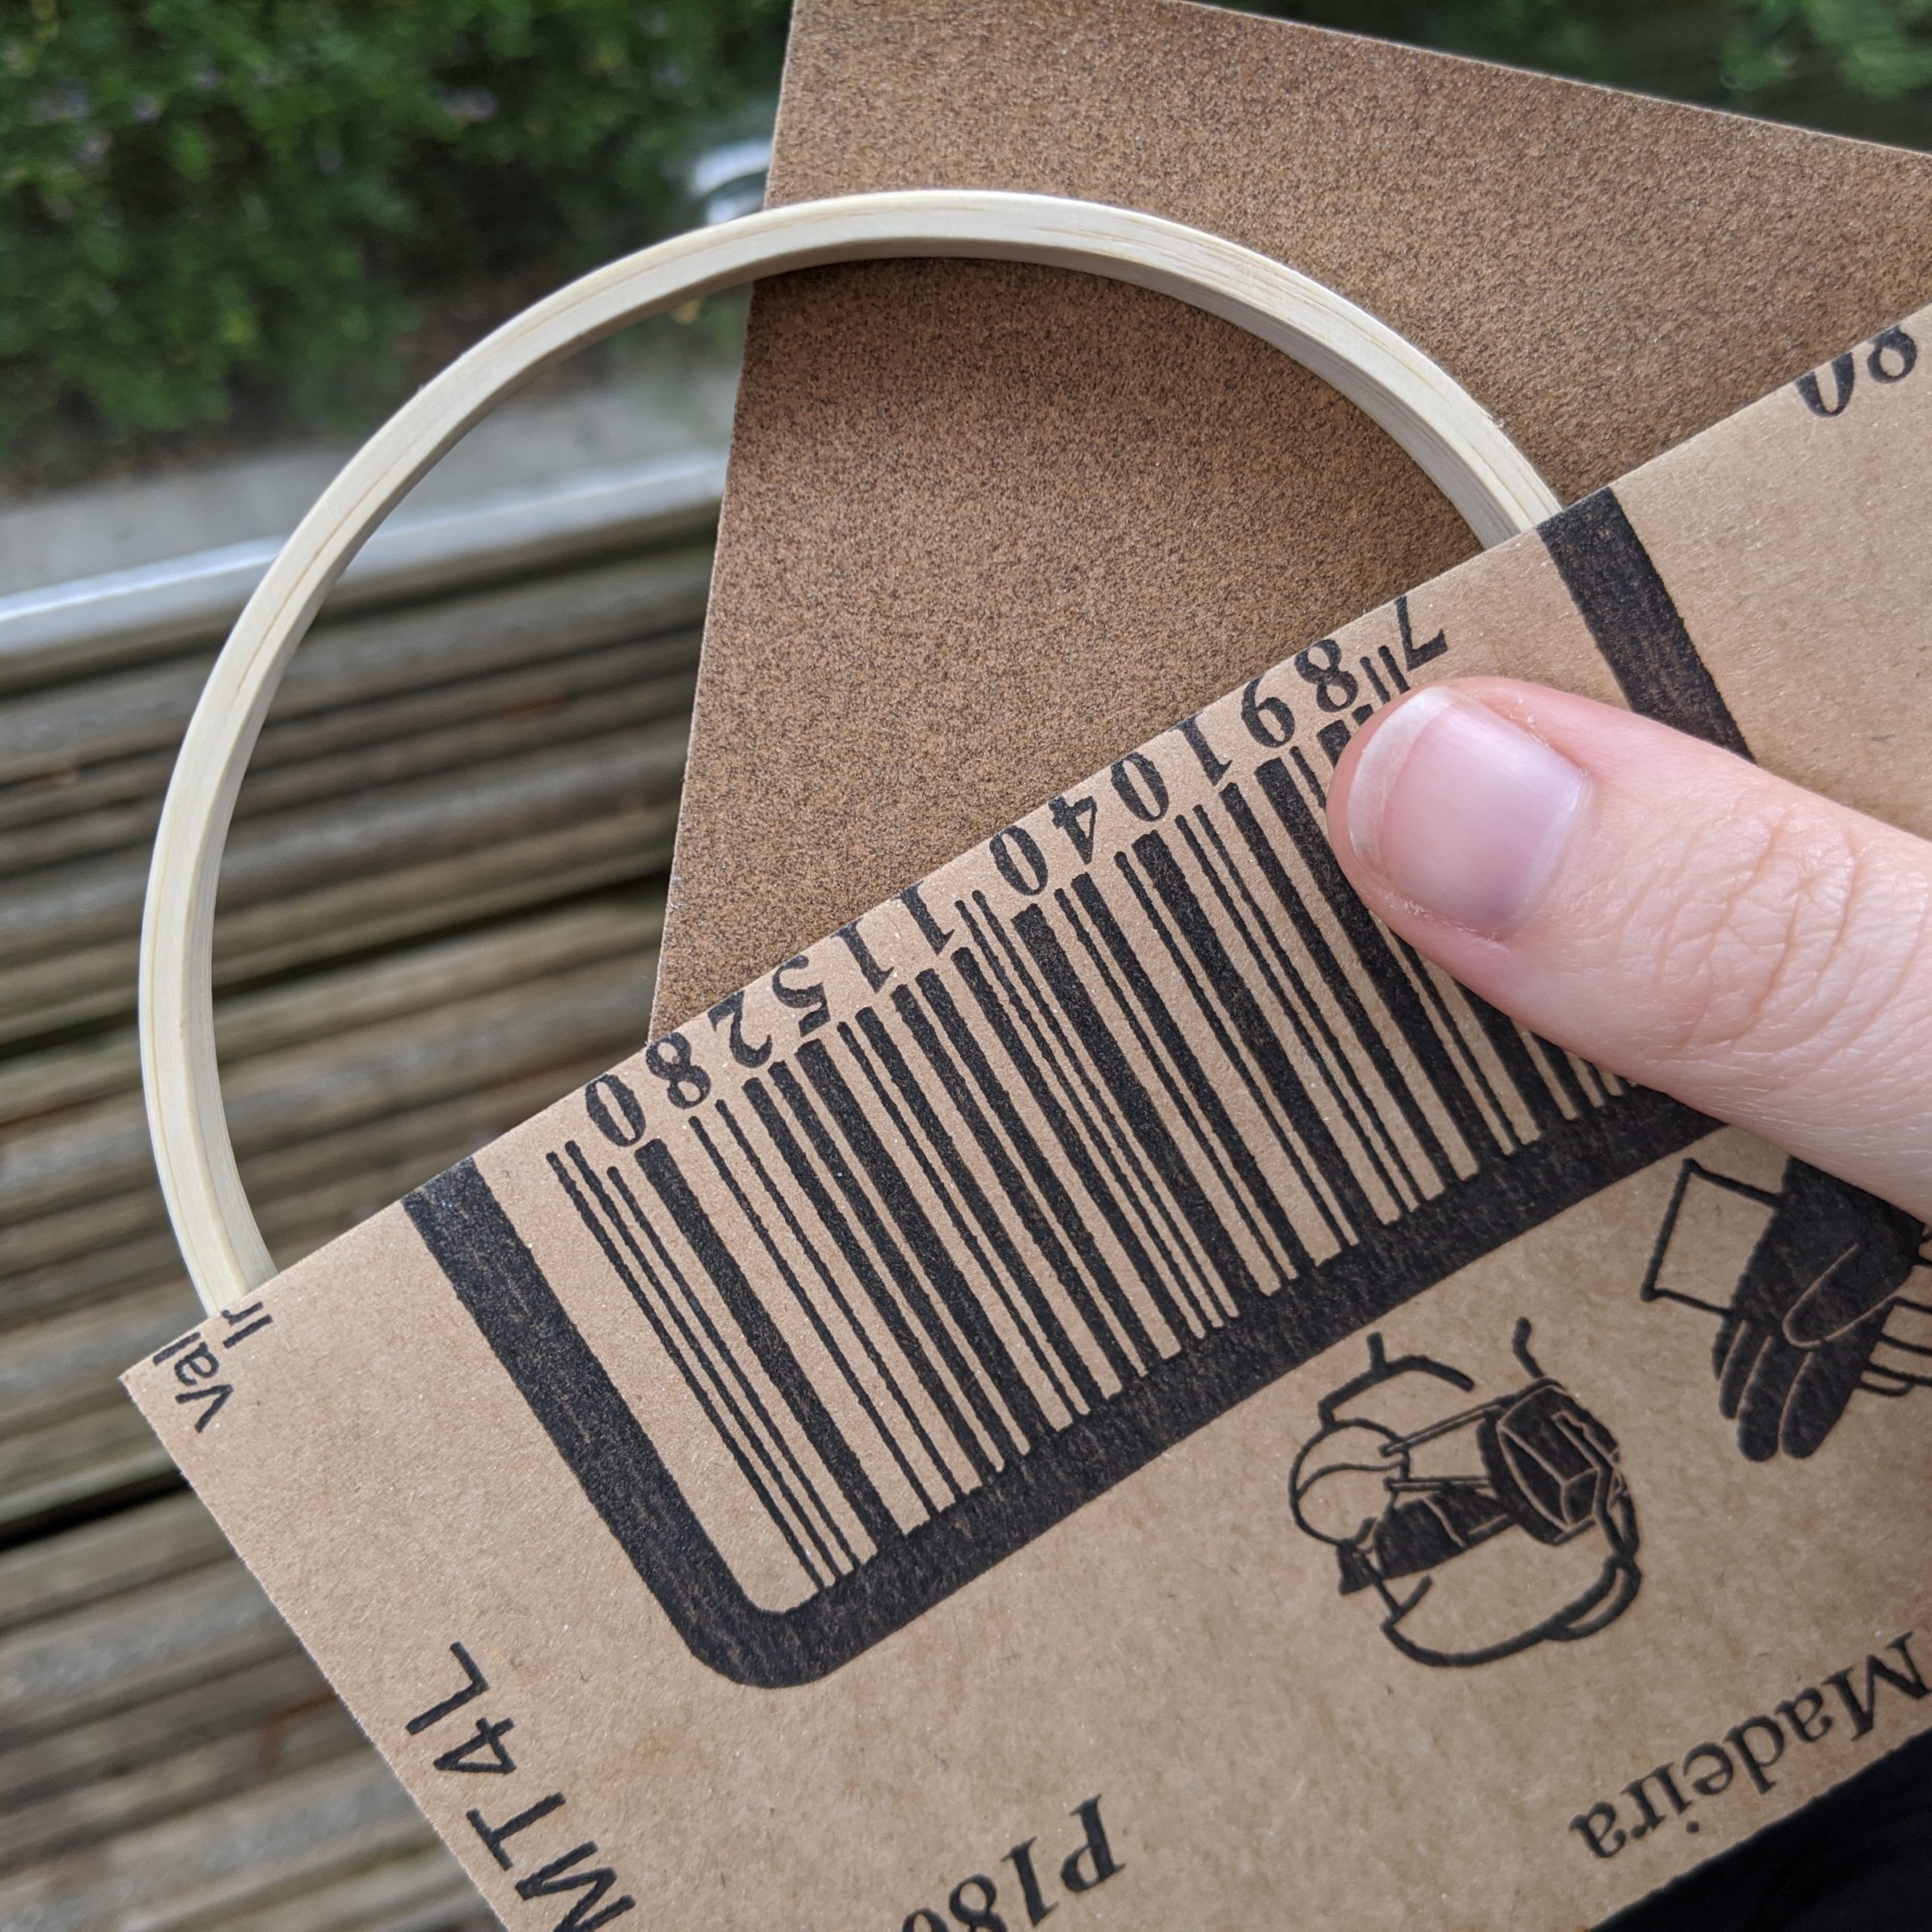
- Sandpaper
- Cross-stitch needle
- Threads – 6 colours
- Scissors
- Felt
- Craft glue
Camp Cross Stitch Instructions:
Before we start stitching, you may need to sand down any rough edges on that bamboo hoop. Best to do that outside so you don’t end up with tiny splinters in the carpet.
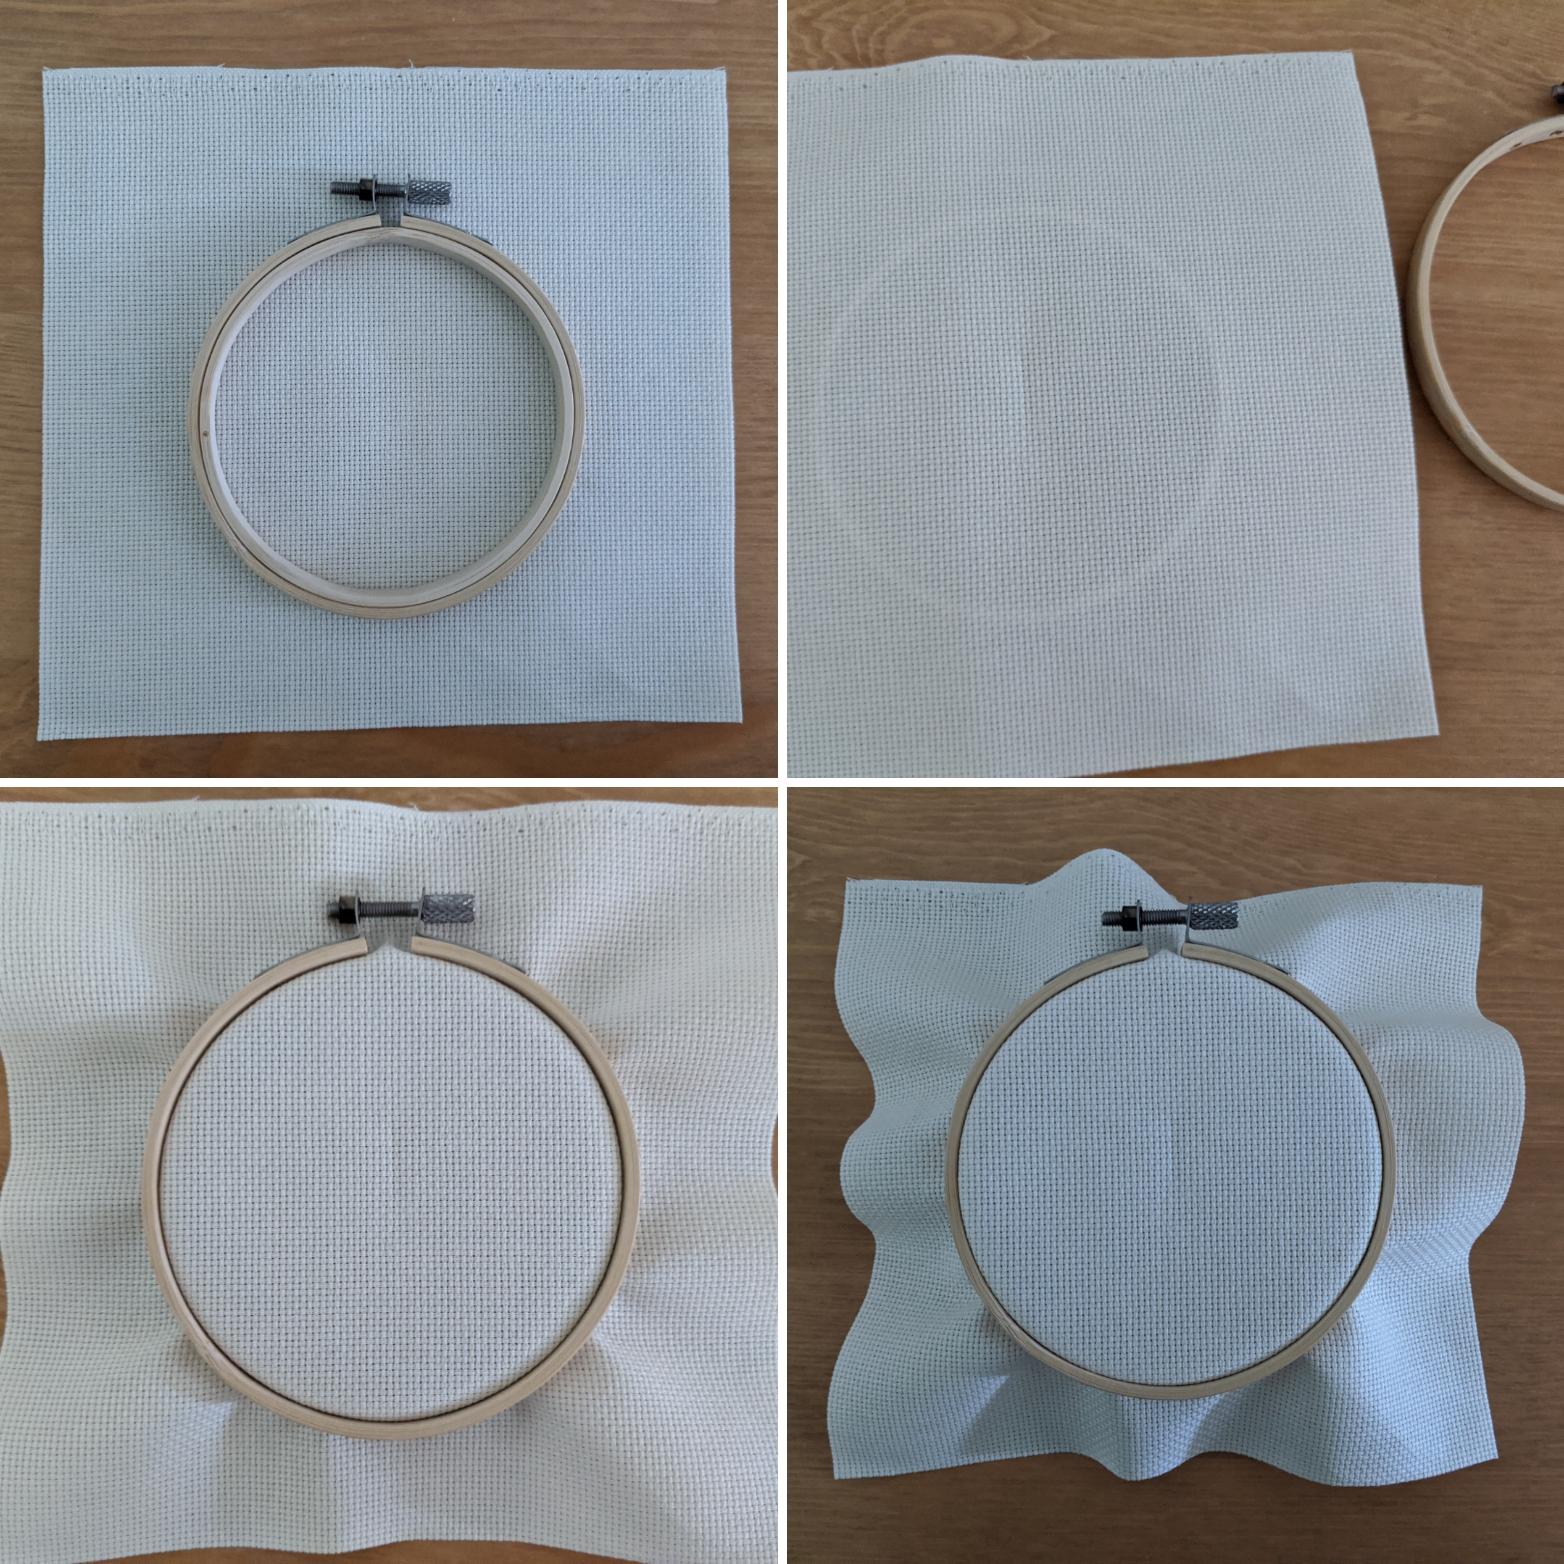
Now you can set up your fabric in the hoop. Fold the fabric in half, and then into quarters. This will give you an easy guide to where the middle roughly is, which will be important later. Then put the inner circle of the hoop under the fabric, and press the outer circle down on top of it. This will squeeze the fabric so it’s kept taut in the hoop.
It’s time for the really fun part: choosing your colours!
I’ve included a picture here of two needles, one is a cross-stitch needle (above) and the other is an embroidery needle (below) – you’ll notice that the embroidery needle is sharper than the cross-stitch needle, and this is because cross-stitch fabric already has the holes made for us so we don’t need a sharp needle to pierce the fabric.

I picked out six colours from my stash, and you can use whatever colours you like. I chose the bright pink and blue to try to match the IGGPPC logo, and orange for the tent so that it was the same colour as the fire. But you could have a red tent with a red fire. Or a lime green tent and a lime green fire. Whatever pleases Her Moistness you most.
How to cross-stitch:
I’m going to pause at this point, because you may be completely new to cross-stitch (in which case, welcome to this really great craft!) and so you might need to know actually how to do the thing. Luckily, I have a friend who can help with that. He’s called Mr X Stitch, and he has some really useful videos on starting off a project. Check out this one using the Waste Knot technique – I confess, this isn’t how I do it when I start off but it does work and is very neat! I also found this beginner’s guide on The Sewing Directory, which is really comprehensive, and great for returning stitchers who maybe need a little refresher too. It gives you really clear step by step guides to the basic stitches with images, and we only use “full cross stitches” in this pattern so you don’t have to go too deep into the guide to find the essentials.
If you’re feeling ready, we can now begin!
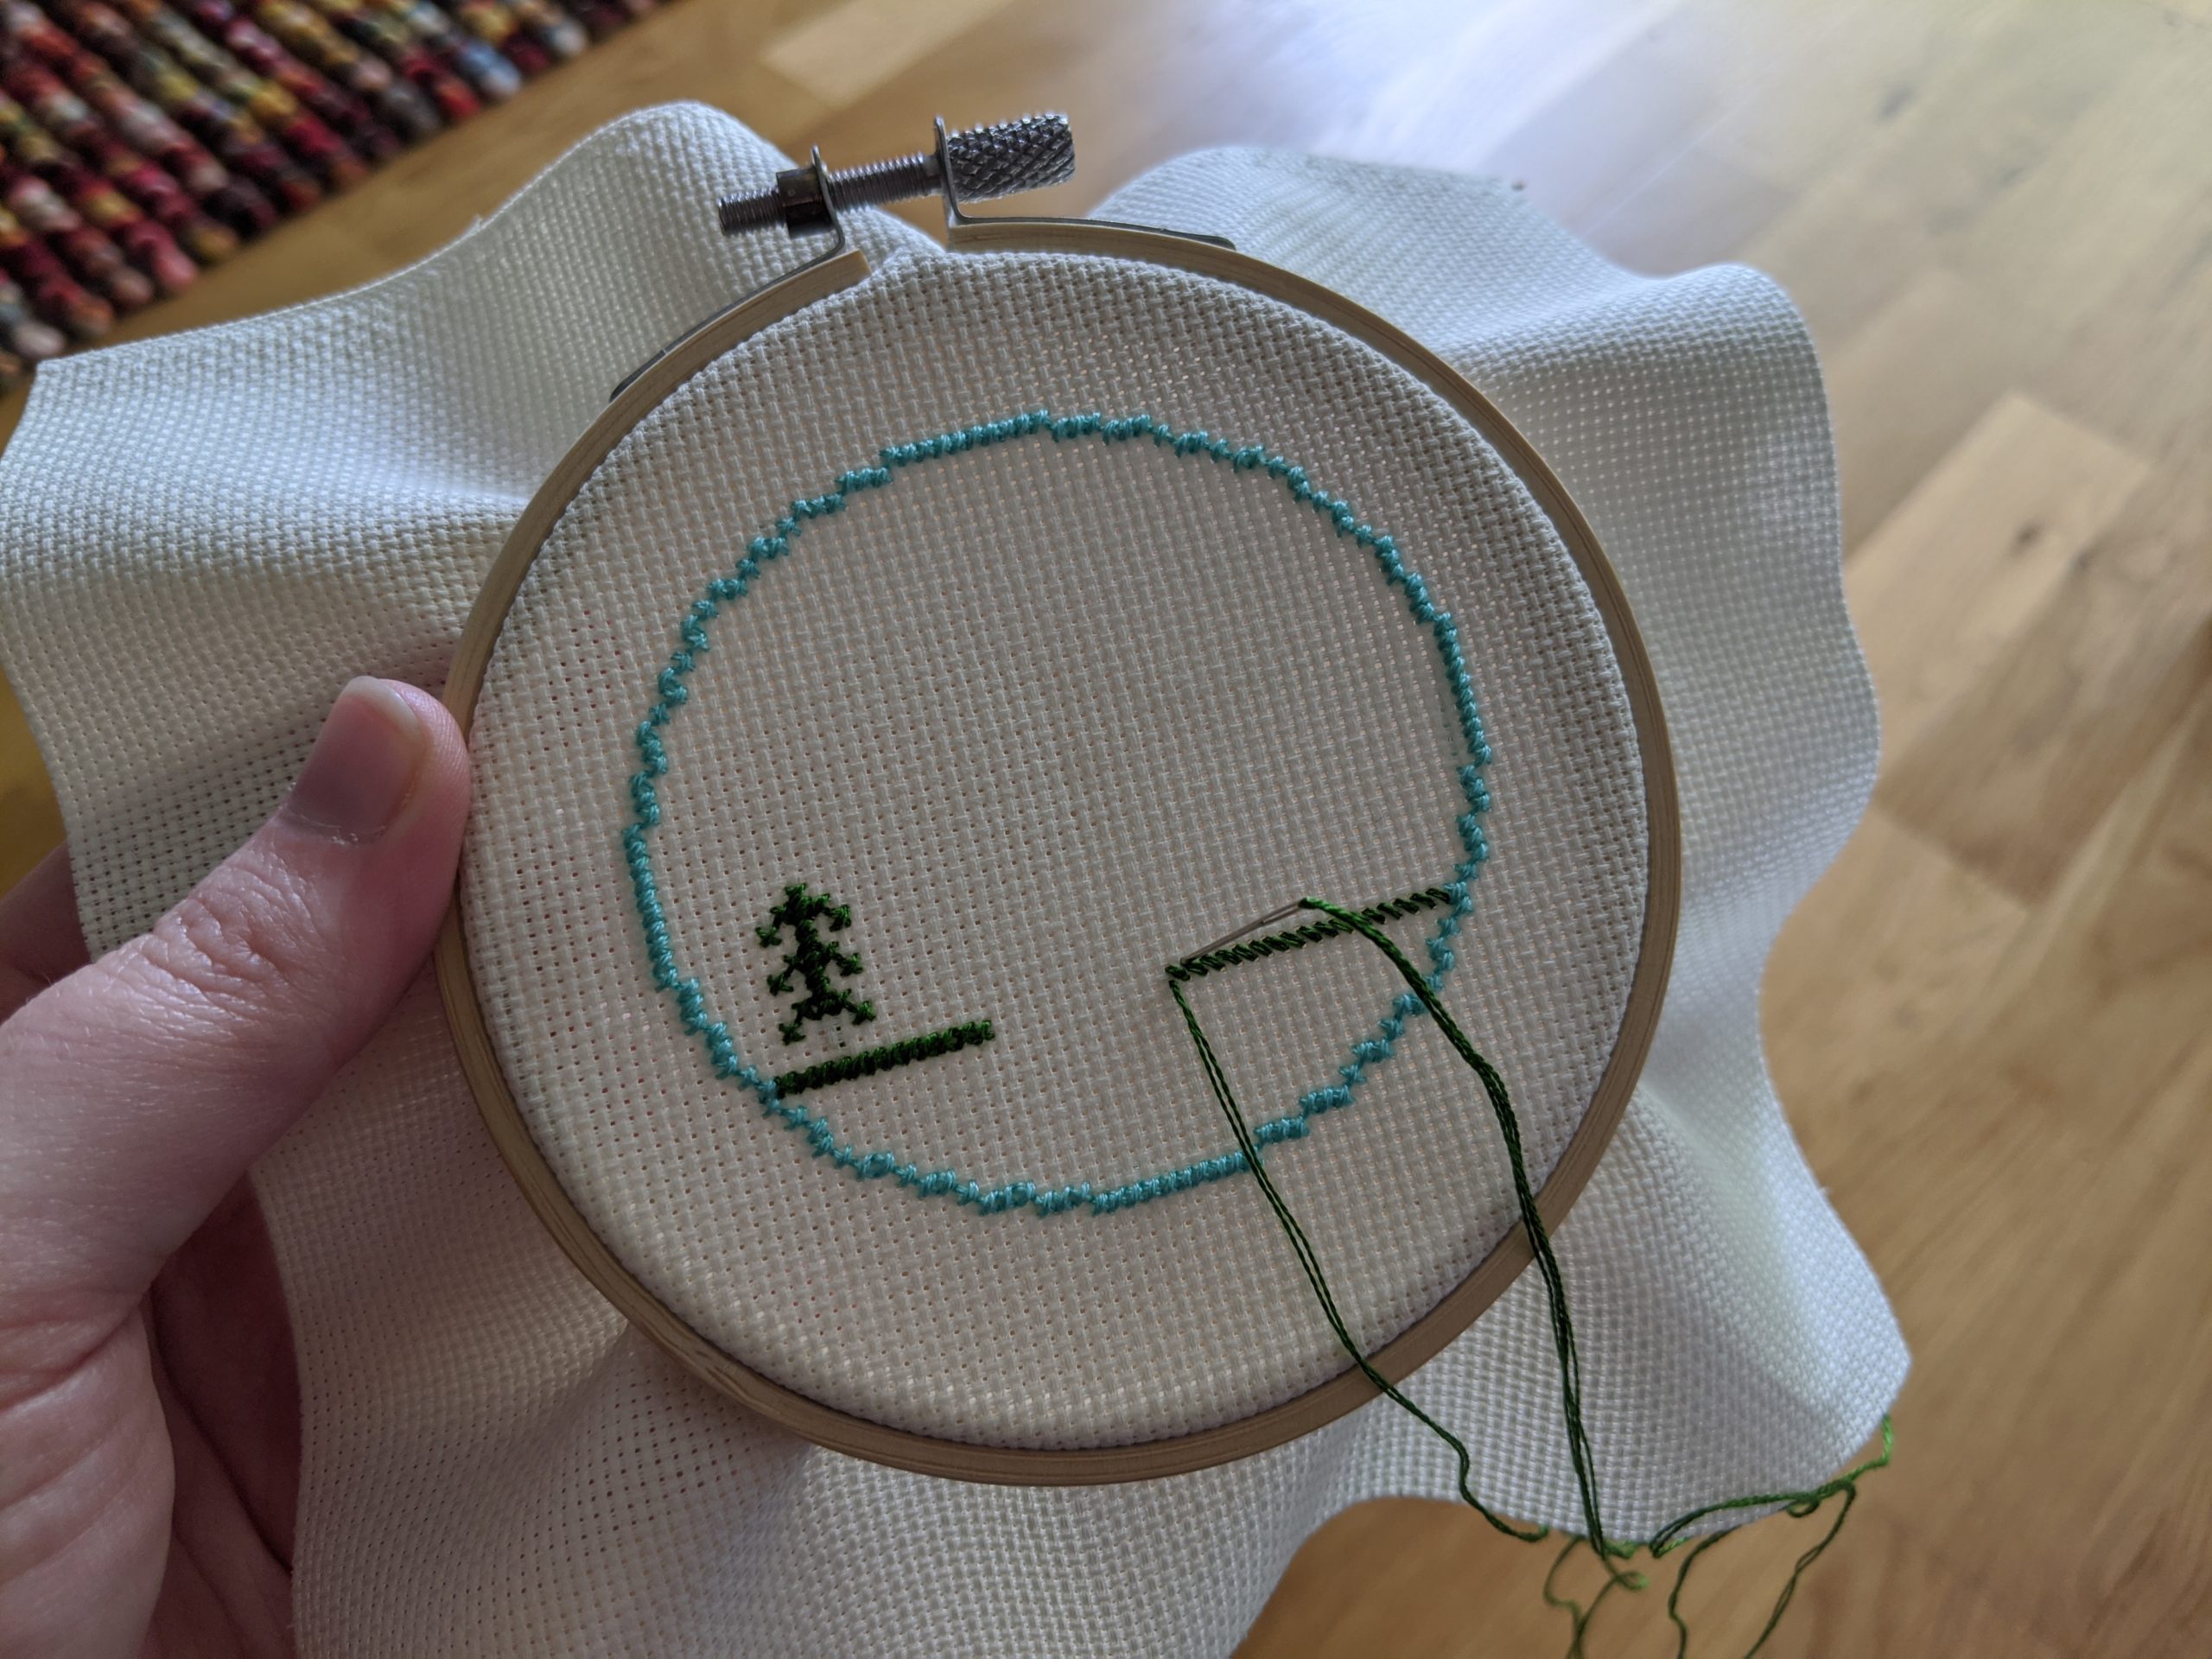
When cross-stitching, you use two strands of thread to make the crosses. When you use evenweave fabric that is a high-count (like my 18-count), this makes the finished stitches look full and lush, but a lower count like 12- or 14-count will look more rustic. I love both, so I encourage you to go for whichever you prefer.
Starting off, it’s a really good idea to start from the middle of the fabric and count outwards. That way you can be sure you have enough space for the whole pattern without moving the hoop. I found the middle using my folds from earlier, which are not apparent in any photo I tried to take of them (far too subtle!), but I promise they’re there. Then you just have to count 25 stitches out to the side to begin with the circle edge. This circle is probably the most important bit, so starting with this means that if you go a bit wrong and decide you want to completely start over then you can without having lost much. I can tell you that every cross-stitch pattern I’ve ever sewn has had at least one mistake in that I’ve had to figure out how to fix, so try not to fret too much about it (you can even check my finished version of this pattern, and you’ll find the mistake!).
If you run out of thread and still have more to complete, it’s not the end of the world! You can tie the thread off by turning the hoop over and running the needle parallel to the fabric underneath some stitches you’ve already made to secure the thread before you trim the excess away. Then prep your needle with the same colour and carry on where you left off.
Finishing off the camp cross stitch project:
I’m notoriously bad at completing projects. I encourage you to do as I say, not as I do, for this last bit… When you’ve finished your stitching, trim the fabric so it’s about half an inch or one centimetre around the hoop. You’re going to fold the fabric over the inner circle of the hoop to enclose it and keep the whole thing looking neat. You may need to make a few cuts inwards towards the hoop to help the fabric fold evenly. Use some craft glue to glue the fabric to the inner circle of the hoop and then leave to dry. Prep your square of felt (do not cut the felt yet!) and put more glue on the back of the hoop before you press it onto the felt and leave that to dry as well. When it’s dry, you can trim the felt so you can’t see it from the front but it protects the back of your work.
Now you’ve finished your cross-stitch badge you can hang it up in your blanket fort and take a photo of it to show us and your troop! I’m really looking forward to seeing how you all get on! And if you want to stitch more, here’s another IGGPPCamp cross stitch patternhttps://geekgirlpenpals.com/iggppcamp-2018-camp-sigil-cross-stitch-project/ for the camp sigil badge!
Happy camping!

Leave A Comment
You must be logged in to post a comment.