During a camp, we never have enough bags. First we need them to carry all our stuff, and then they are always useful for camp activities like picking up mushrooms, collecting leaves, taking candies everywhere… So, what about sewing your own bag ? Let me guide you through this simple task.
What you’ll need :
- 1 piece of fabric, 50cmx100cm or 20inchesx40inches
- Thread(s) to match your fabric
- A sewing machine or needle and thread if sewing by hand
- 1 patch to appliqué
- Sewing scissors
- 1 piece of paper, pattern paper or tracing paper
- A chalk
What to do :
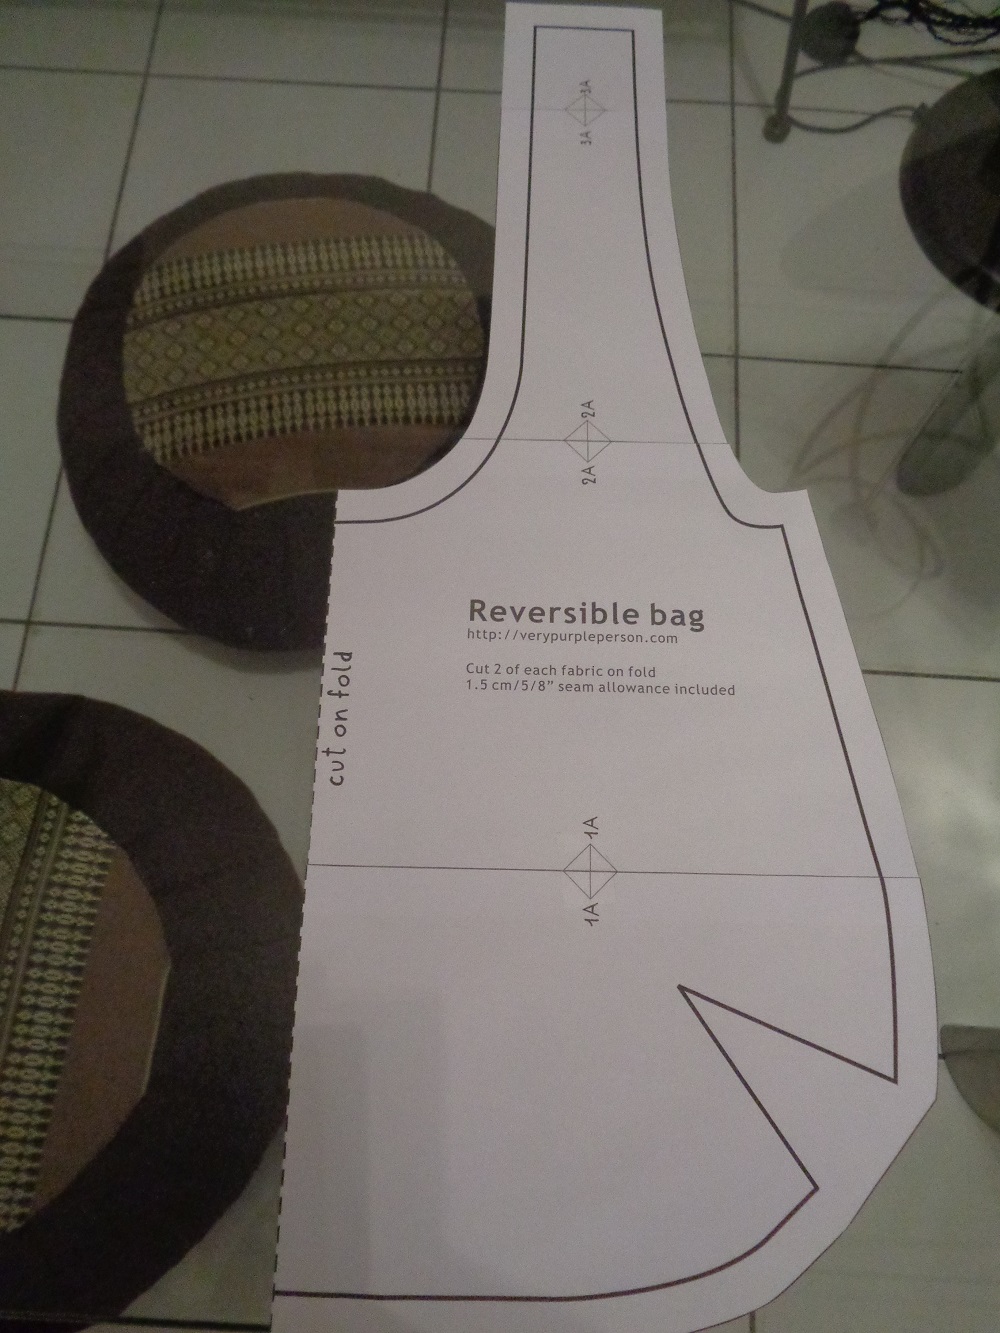
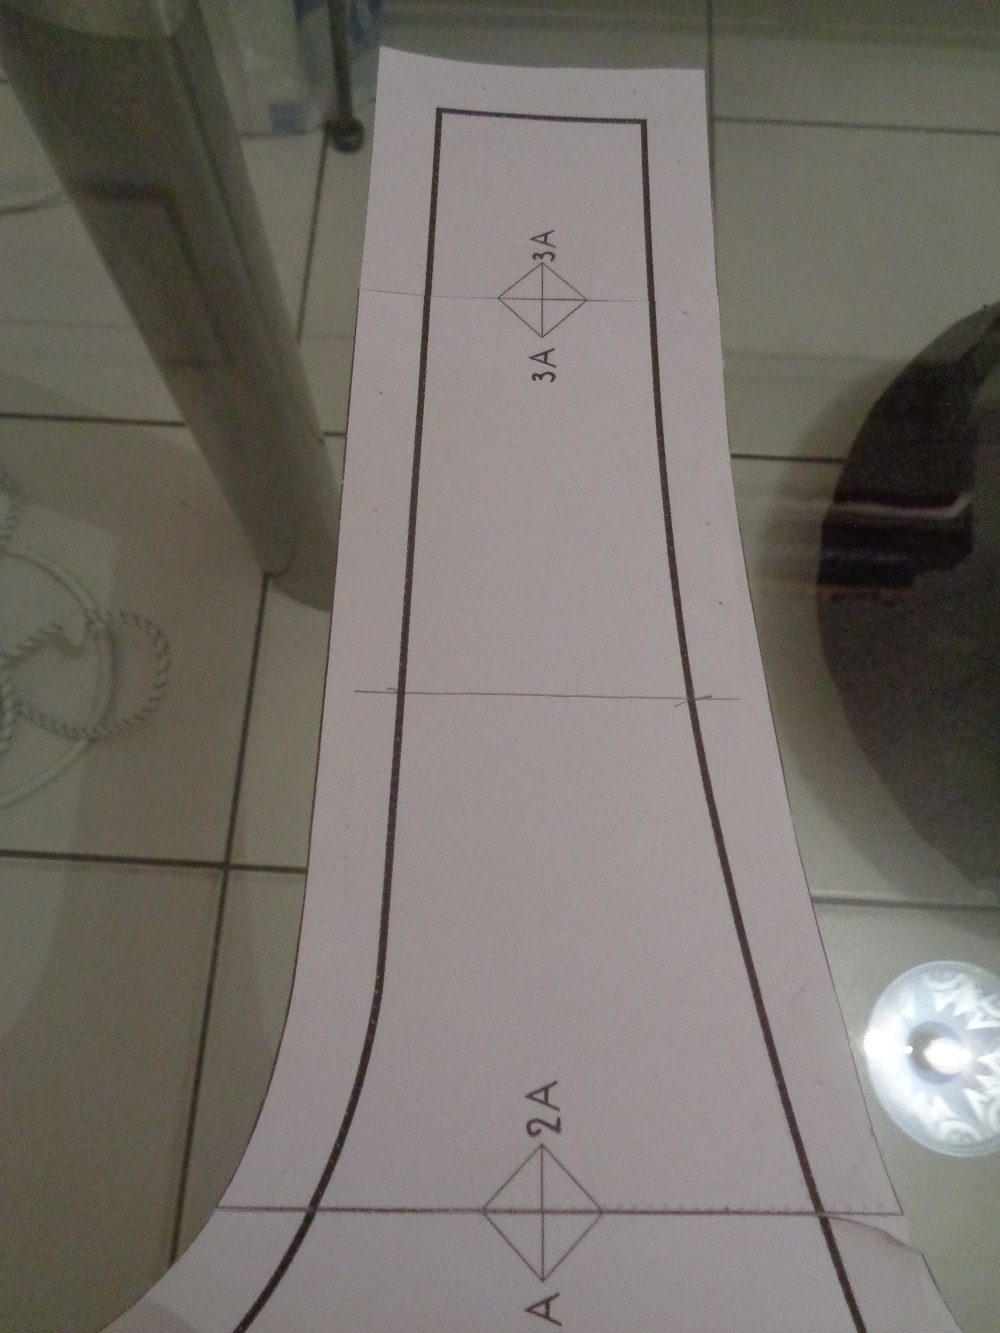
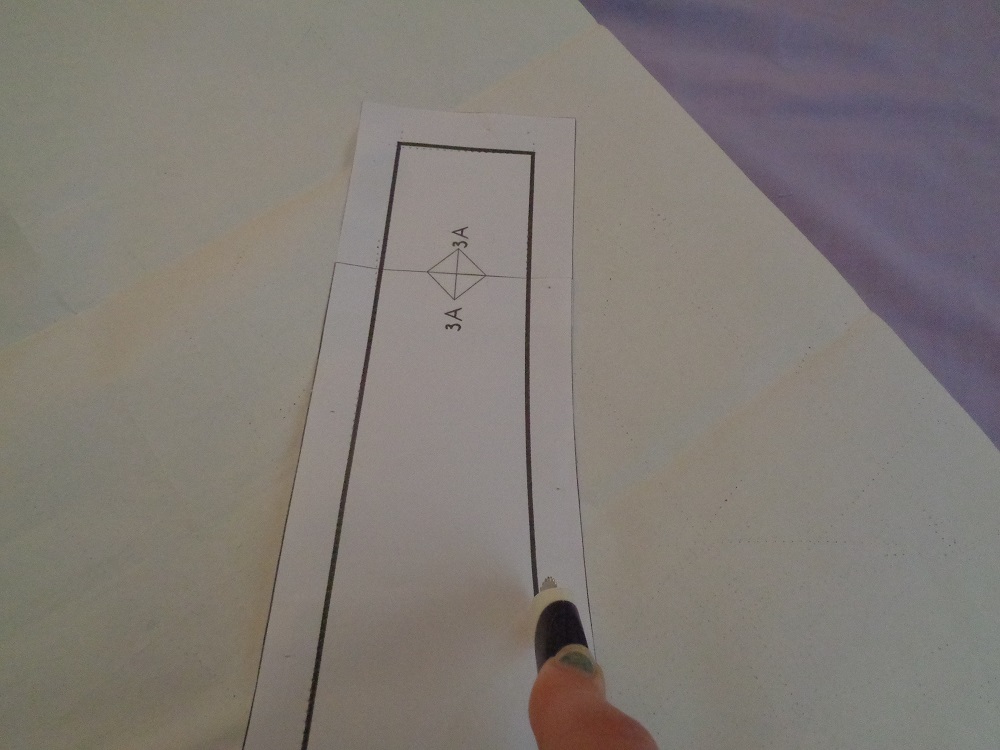
1.Print this pattern created by verypurpleperson. Cut carefully around it and stick it together. Add a mark at 14cm/5,5 inches down from the top sewing line.
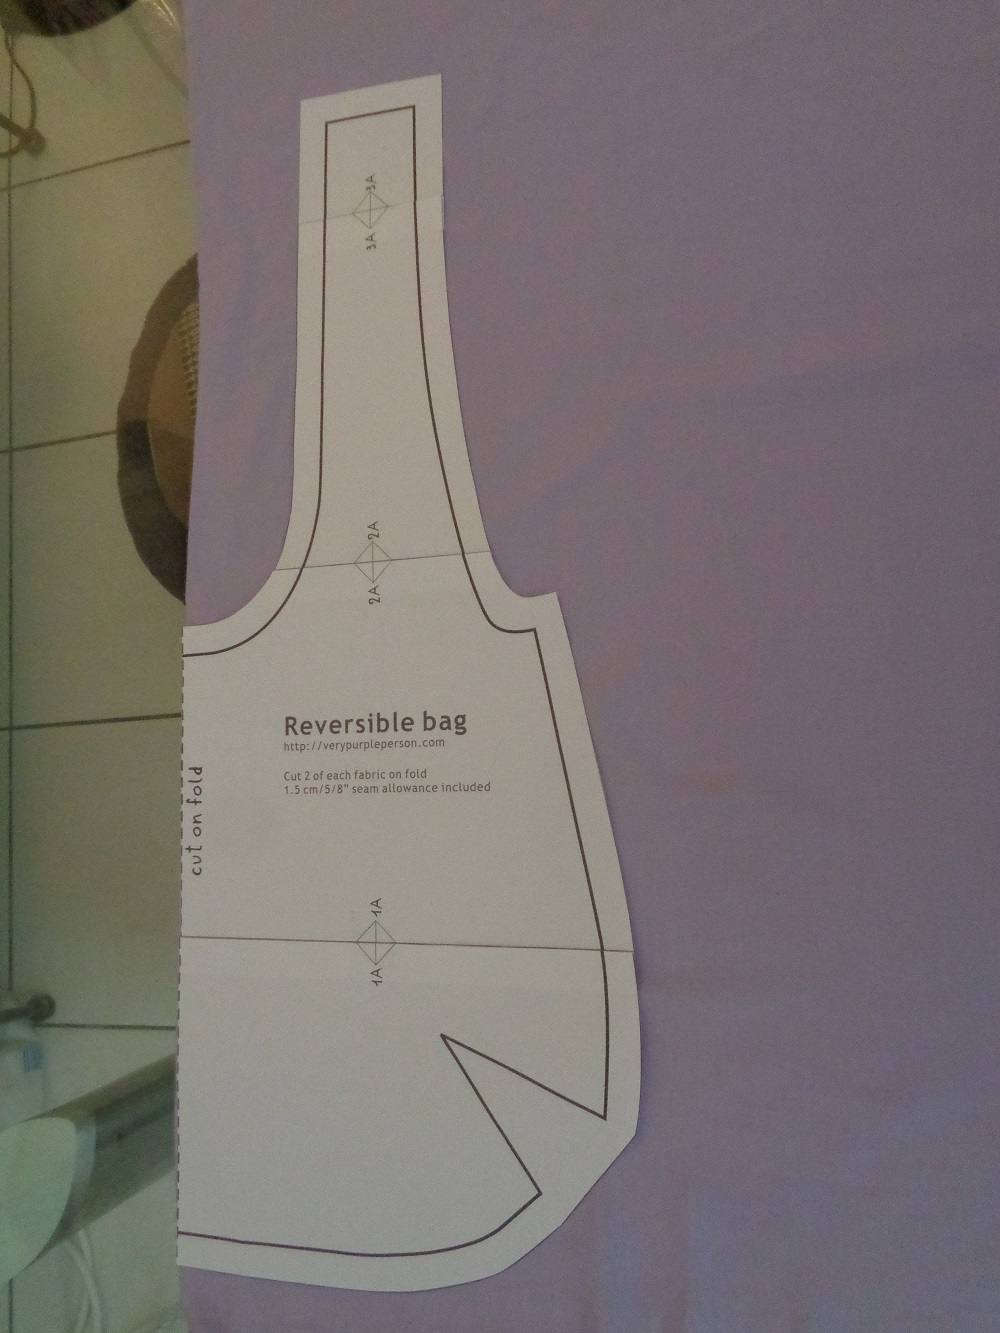
2. Fold your fabric in two, front sides together, and transfer the pattern on the fabric using your chalk. Don’t forget to translate all the marks on both sides of your folded fabric! Do this for both pieces.
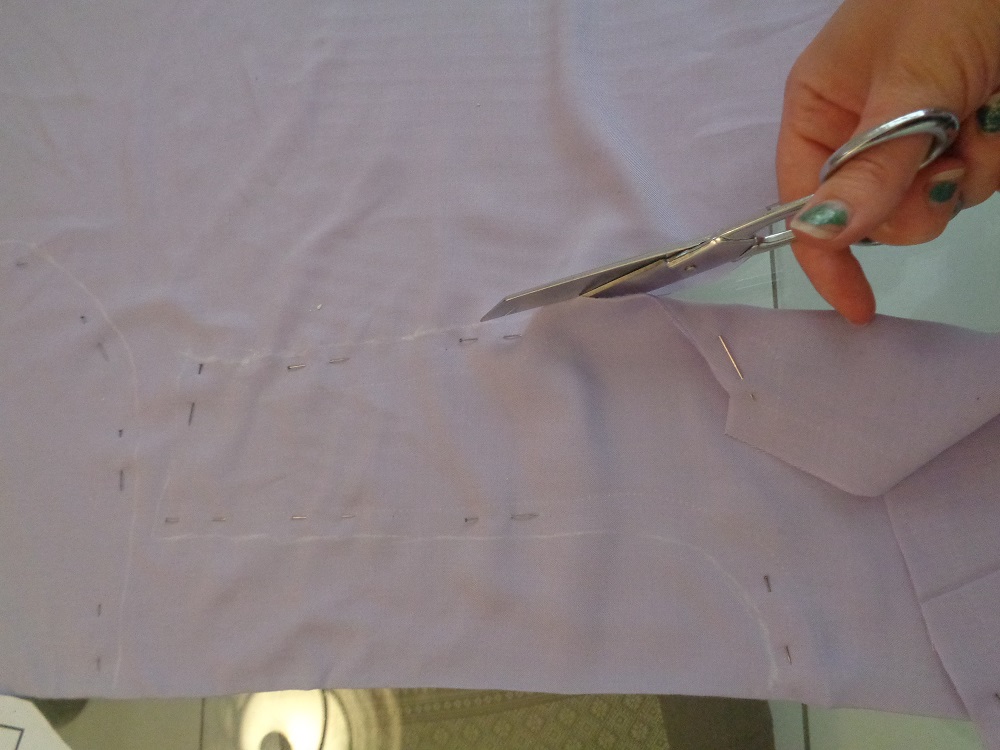
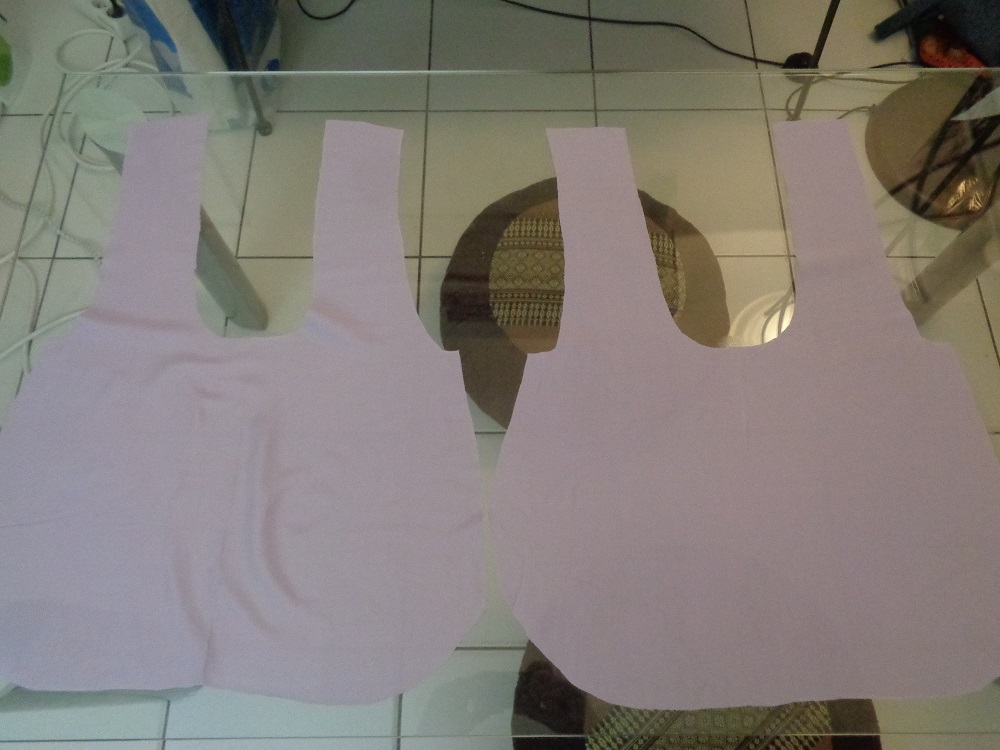
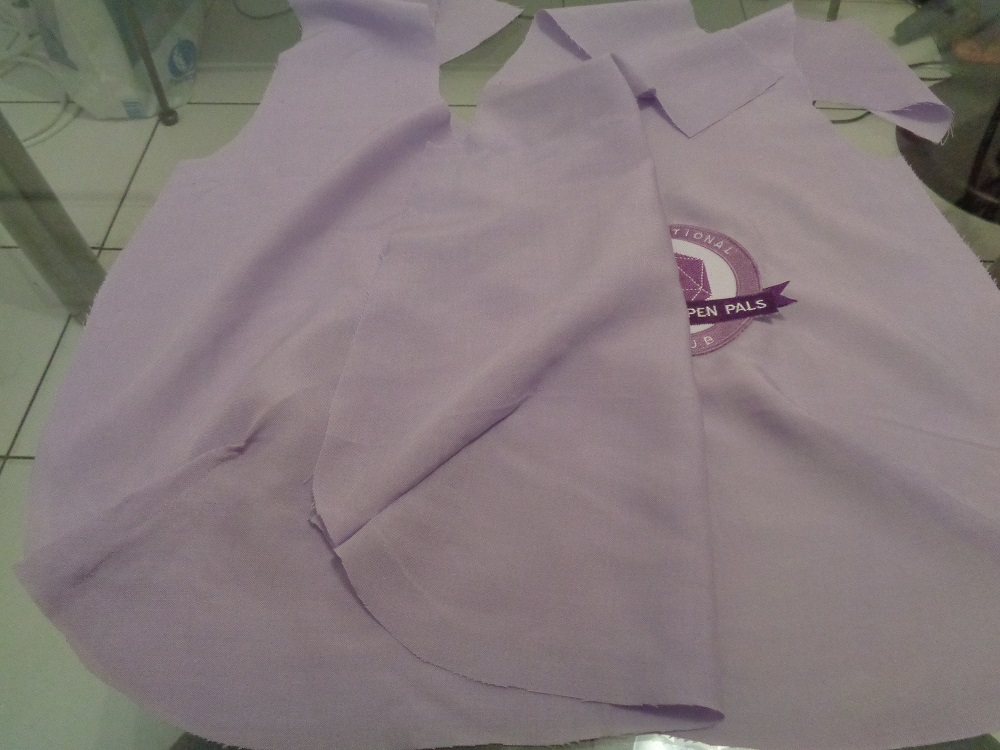
3. Cut the fabric carefully round your pattern pieces. You can either cut two side by side, or pin it to cut 2 layers at the same time. You should end up with 2 pieces of fabric which look like flat bags.
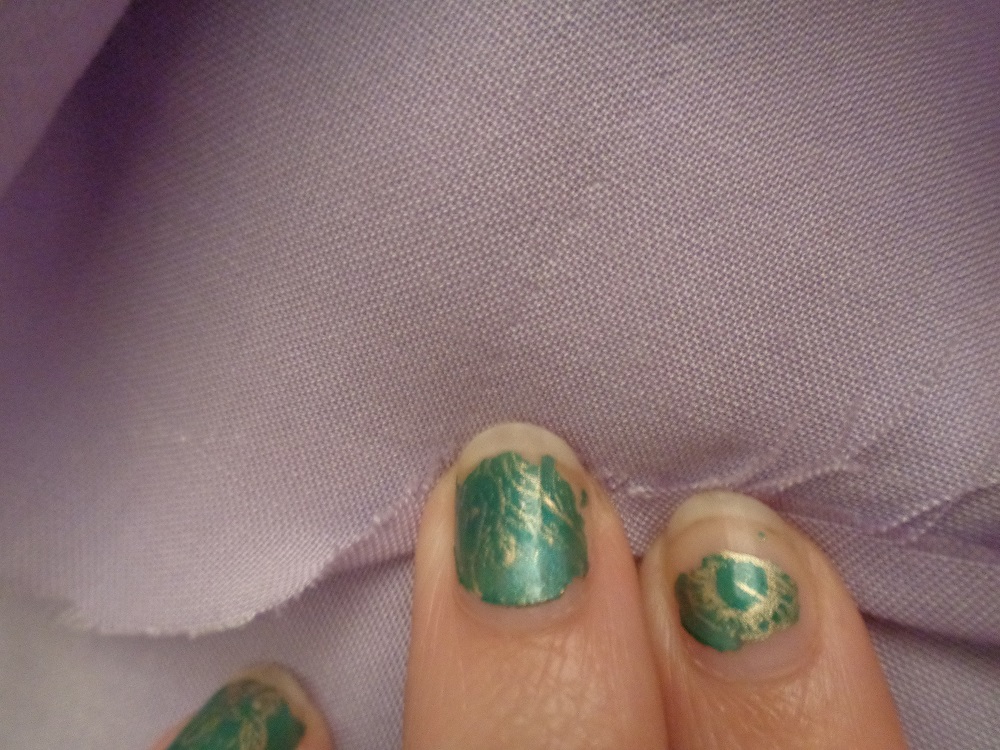
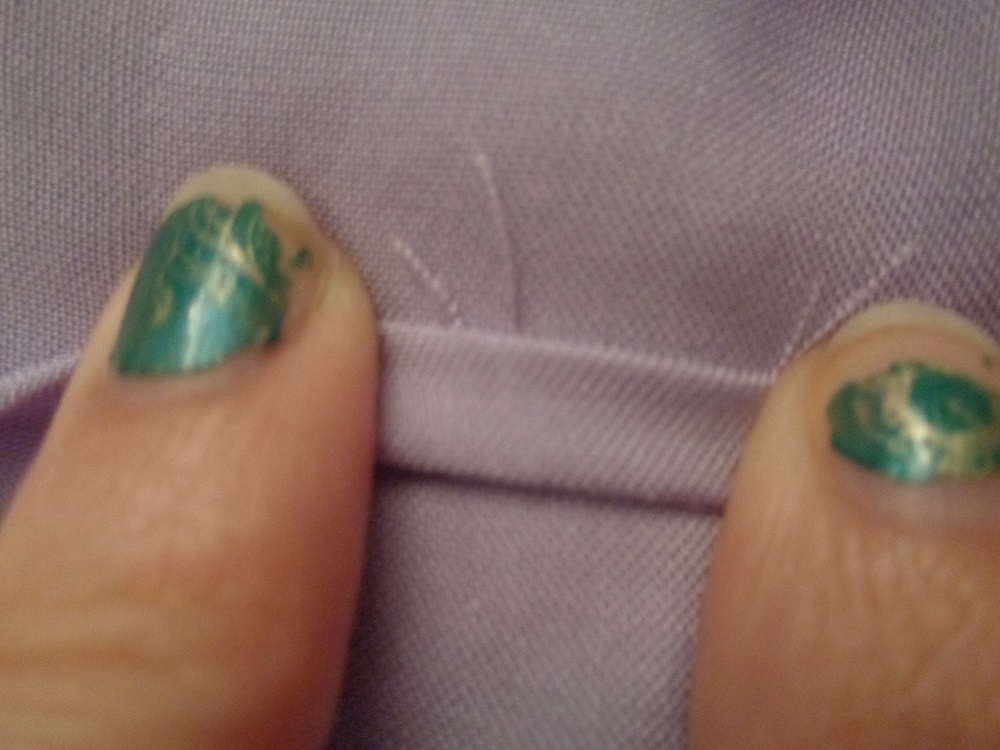
4. Now the dart : Use your chalk to put one “V” shape in front of you. With a pin, join the two top points of the “V”, so the fabric is front sides together. I put one pin at the end of the “V” to know when I have to stop sewing; you might like to do the same. Add one or two more pins, making sure they follow the line in both sides of the fabric. Sew the dart along the line you have created with your pins.
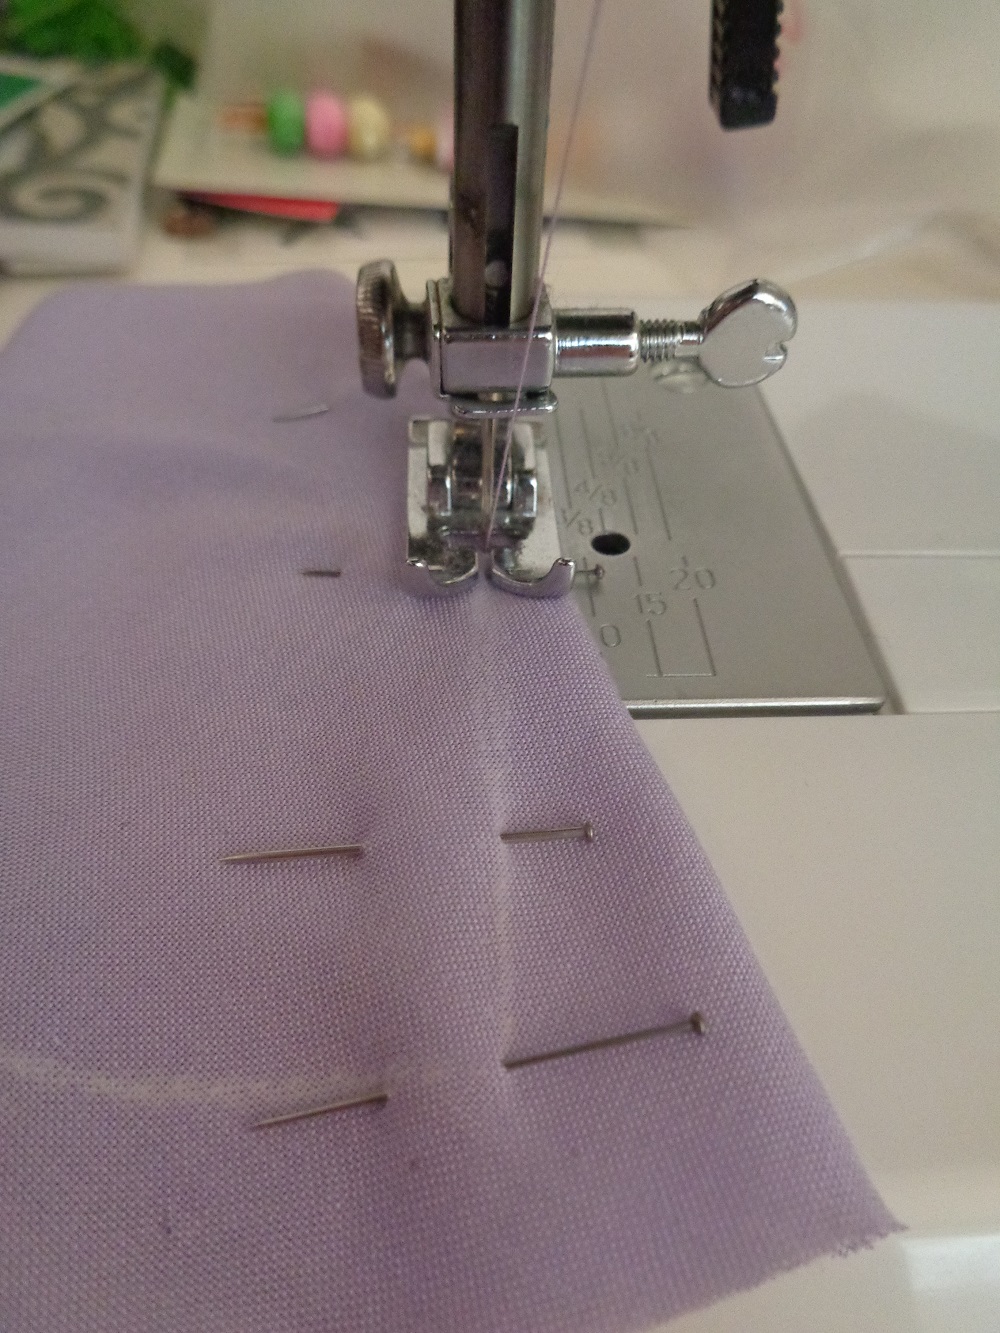
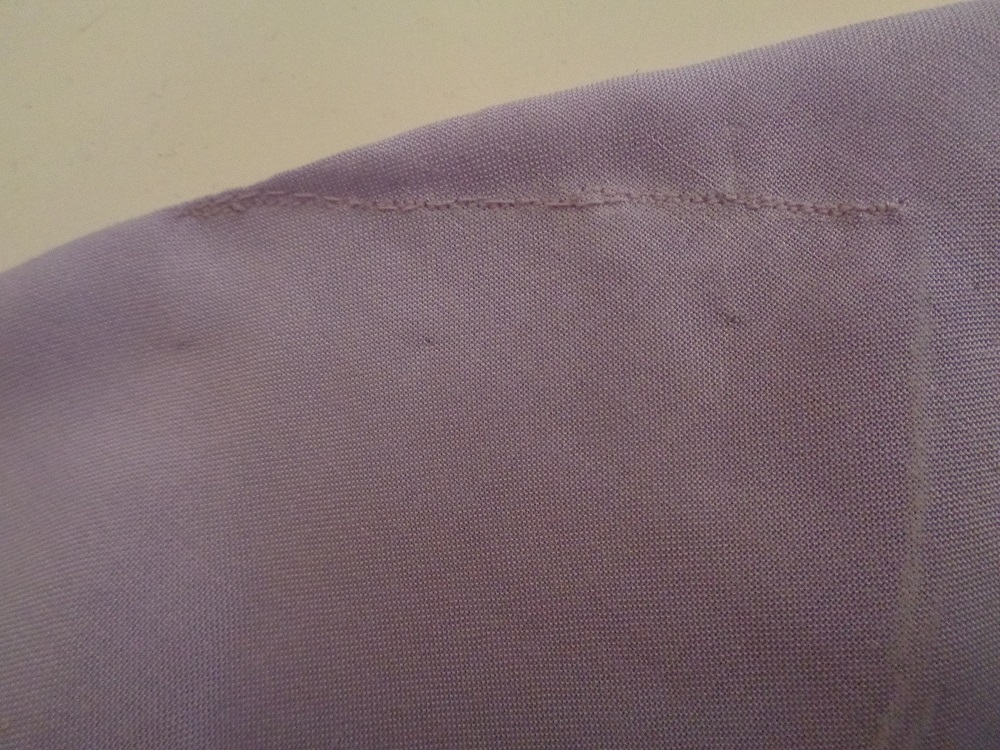
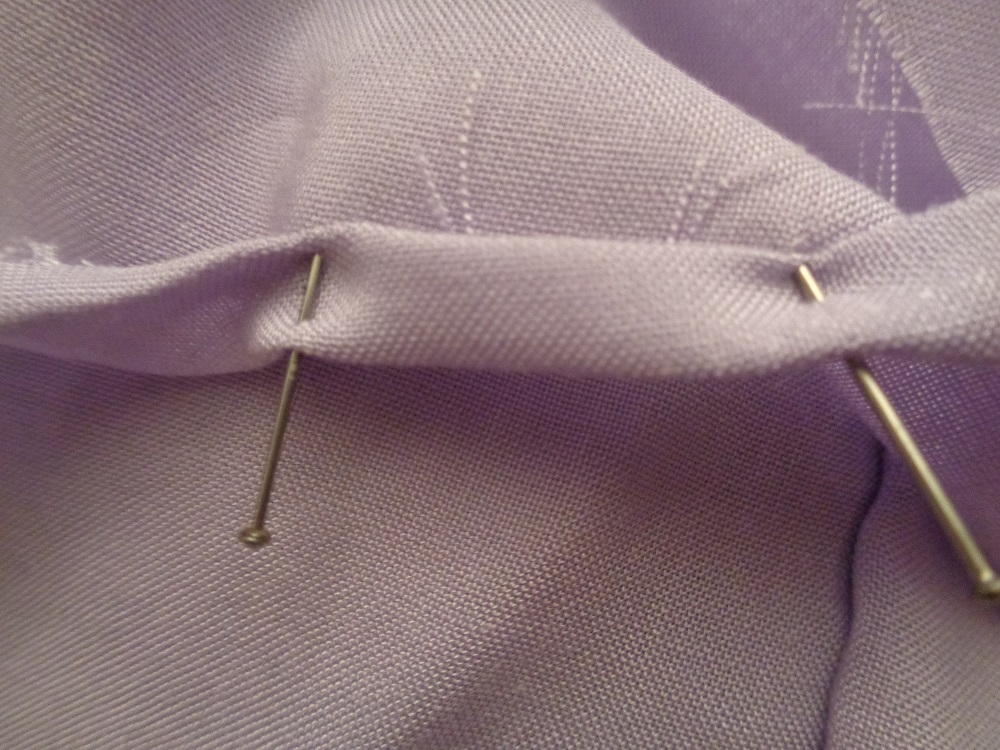
This is what a dart looks like when finished. Repeat for the other 3.
5. Lay one piece of fabric out in front of you. Choose where you want to place your patch. Mark the location of the patch with a chalk or pin it on.
- Some patches are fusible, usually they have a kind of white veil at their back side. You only have to iron those to fix them.
- For the other type, you can glue them with fabric glue or sew them on. If you are sewing your patch, try to keep the stitches as near as the border as you can so it will not be visible.

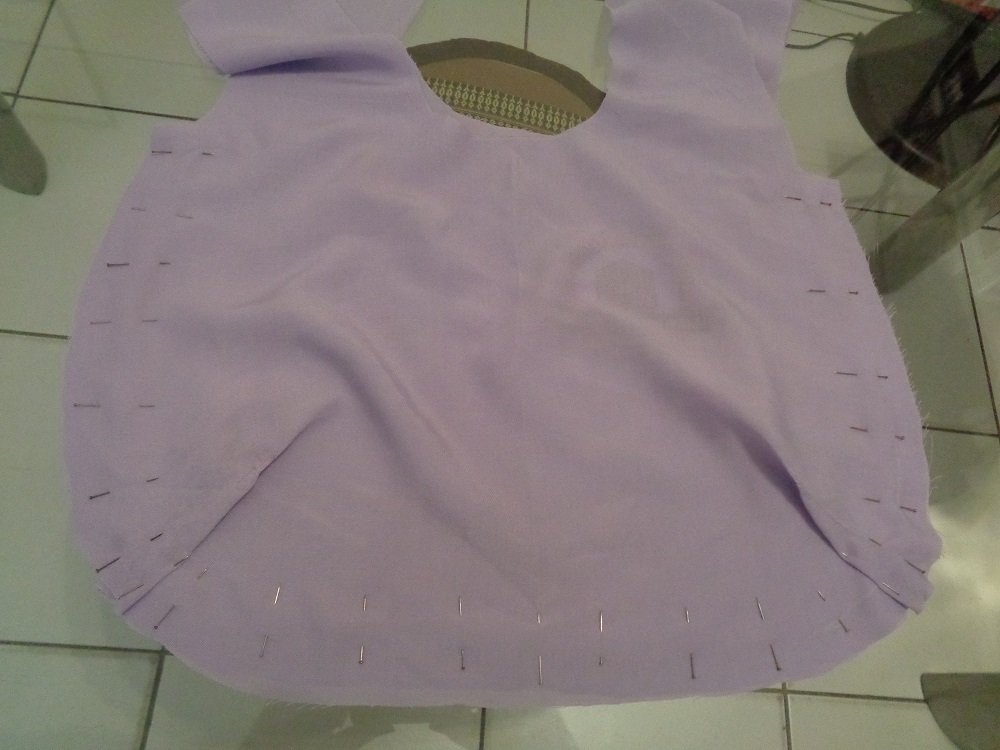
6. Lay the fabric with the patch out in front of you again, and then lay down the other fabric on top, front sides together. Make sure the darts are folded toward the bottom. Pin the bottom and the sides of the two fabrics together, beginning with the darts because it is easier to have them match then use the sewing line to help you. Once you are done, you can sew the side and the bottom in one seam.
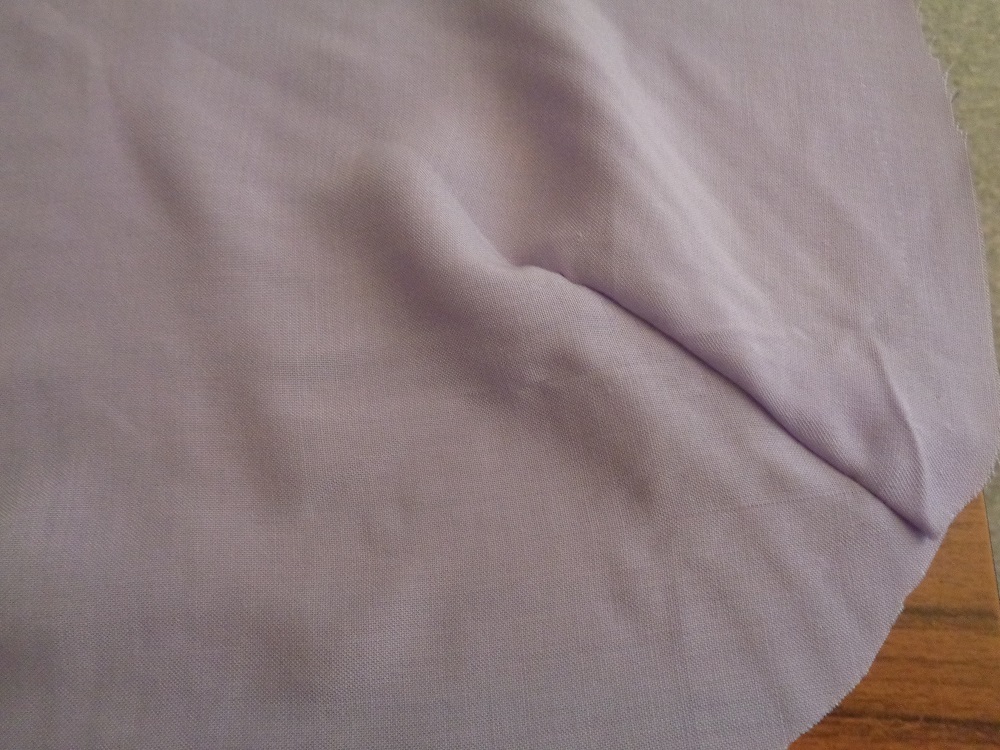
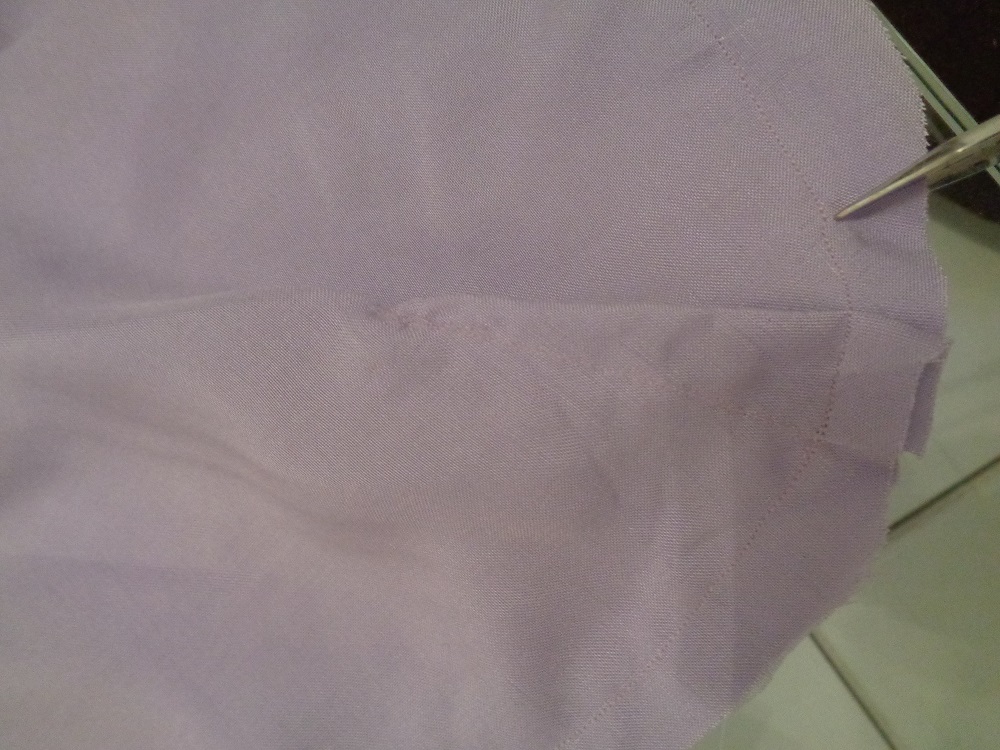
7. Clip around the darts to help the corners sit correctly.
8. Take the two sides of the handle of the front of the bag. Pin them front sides together on the top. Sew them together, and now you should have a loop over the front side of the bag. Do the same with the sides of the handle on the reverse of the bag. Pull the fabric through so the front side of the fabric and the patch are in front of you rather than on the inside.
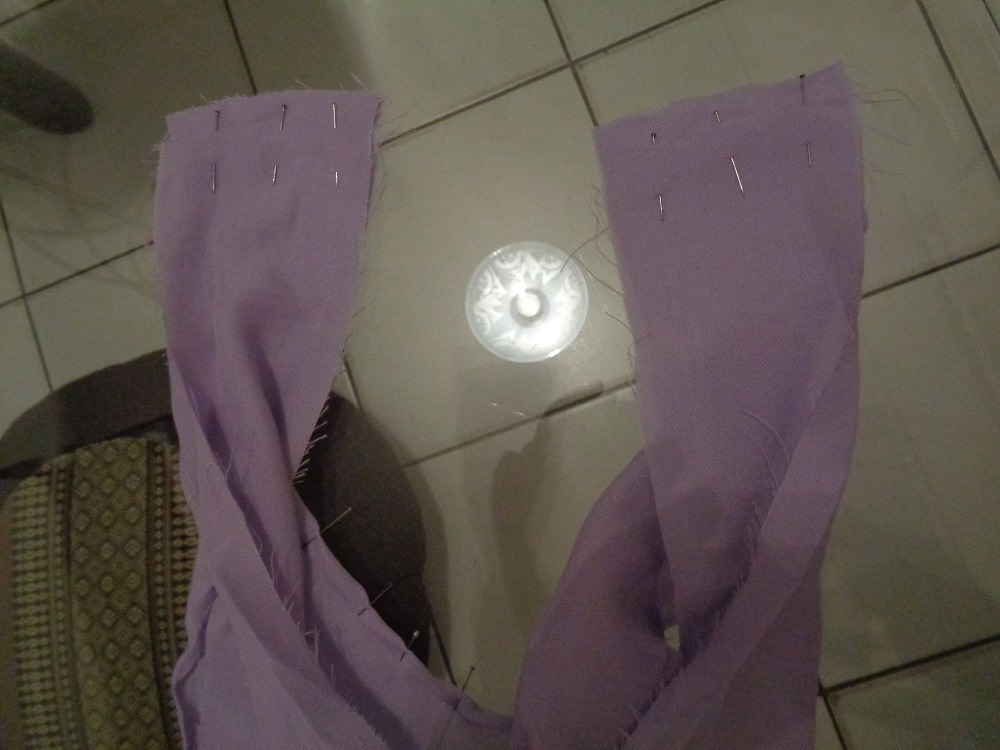
9. Hem the first handle. To do this, fold the fabrics along the stitched line reverse sides together (only between the 2 marks). Press the 2 folded sides and pin. Do this for the other handle.
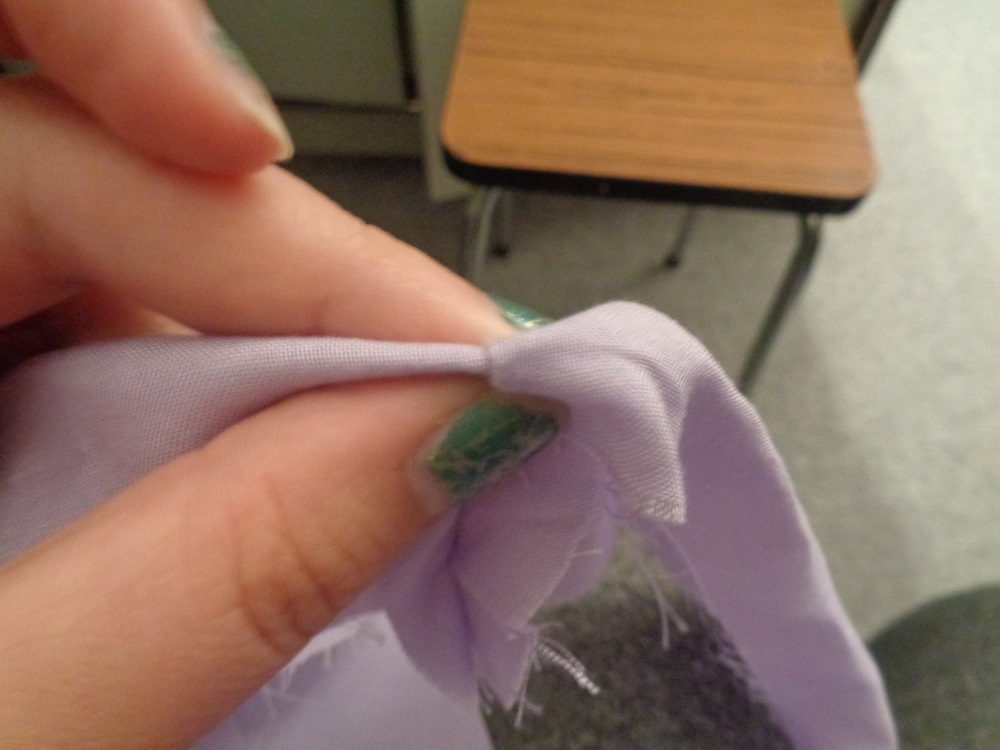
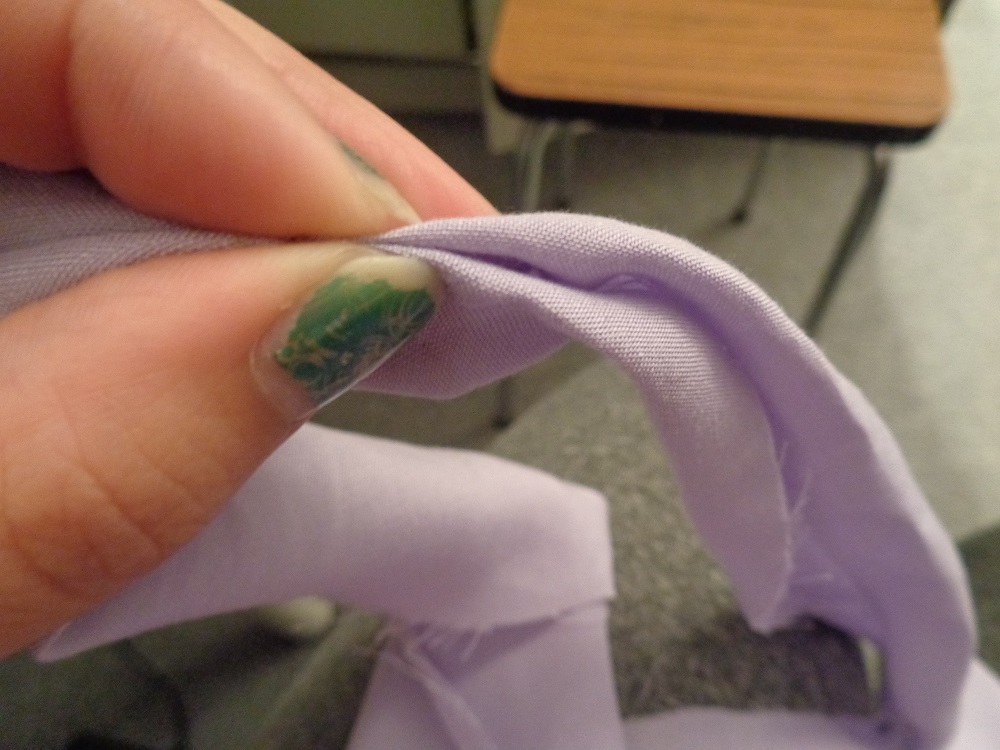
NB: where you sewed the 2 sides of the handle, you need to open the sewing, which means that on each side of the sewing, you fold the fabric back side against back side. This way, when you will sew the handle in the other way, you will have the same thickness on both sides of the sewing.
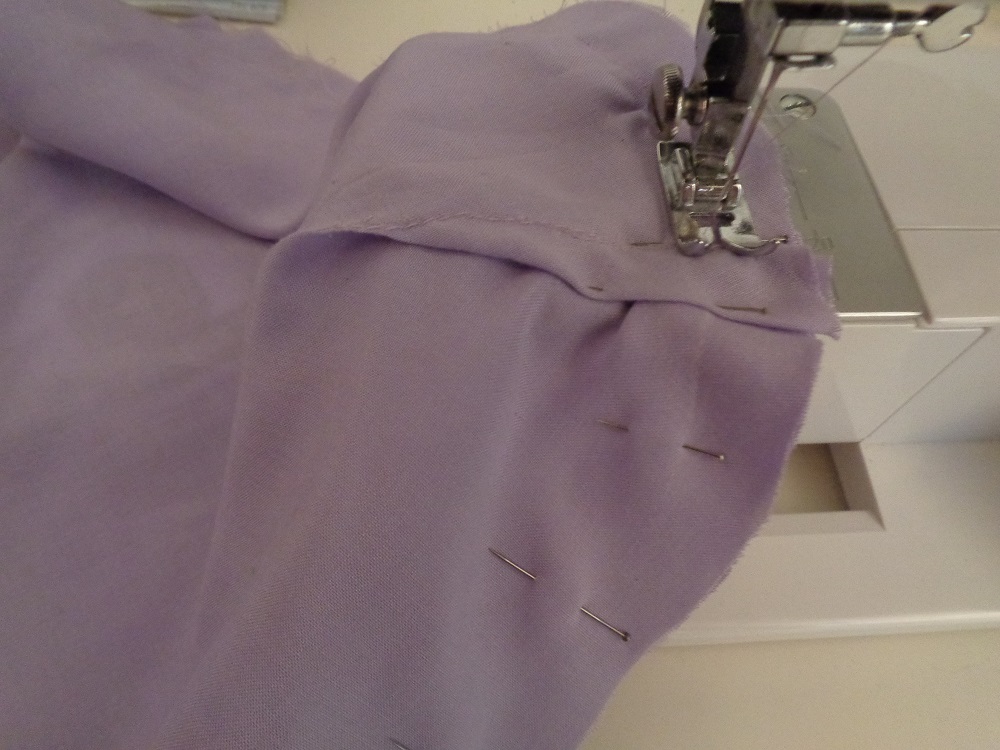
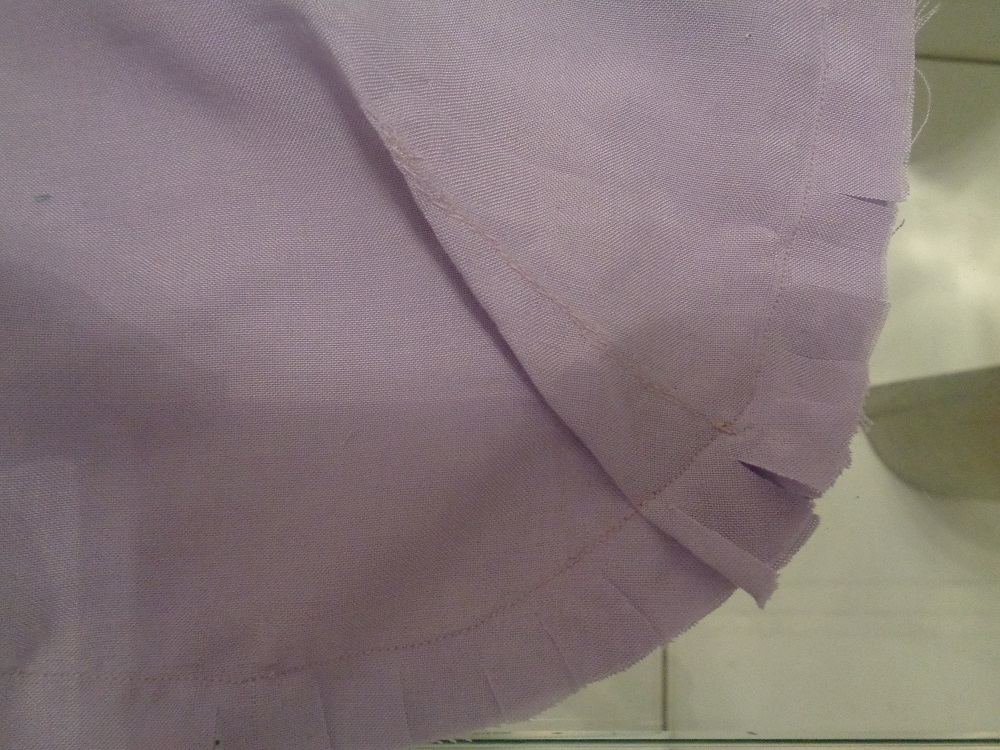
10. With all the other borders of the bag, we are doing a double fold hem. First, fold your fabrics along the stitch line. Then fold a second time so the sewing line is on the back. Pin it.
NB : Don’t worry if there is “too much” fabric after the second folding, it’s because of the curve. Try to distribute it along the hem as it will make small pleats that are nearly invisible.
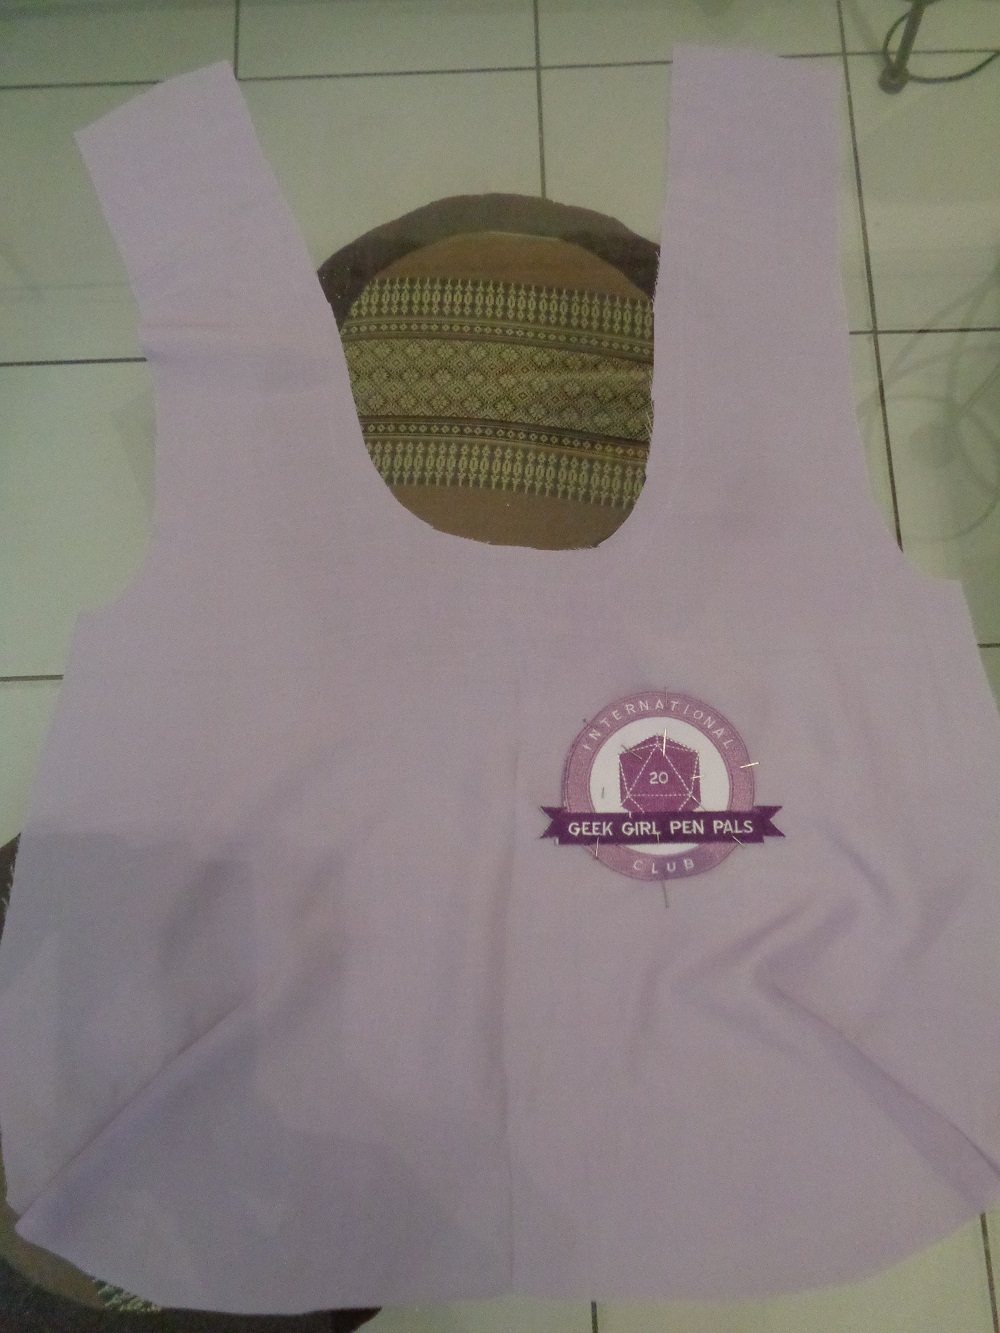
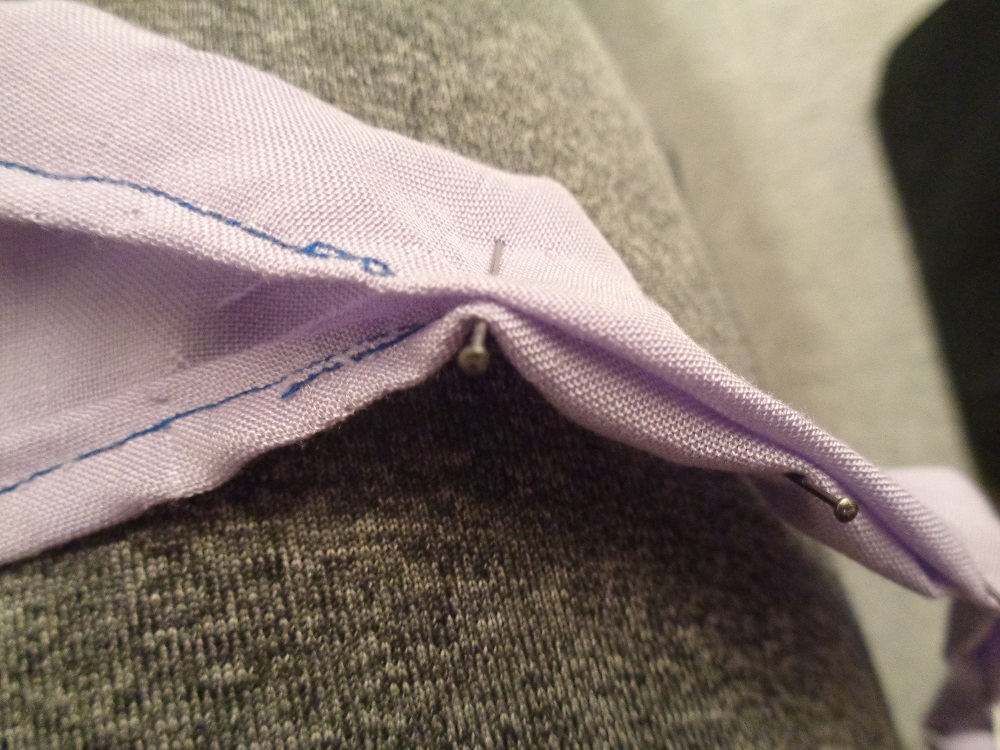
11. This is what my bag looked like before starting to sew the top.
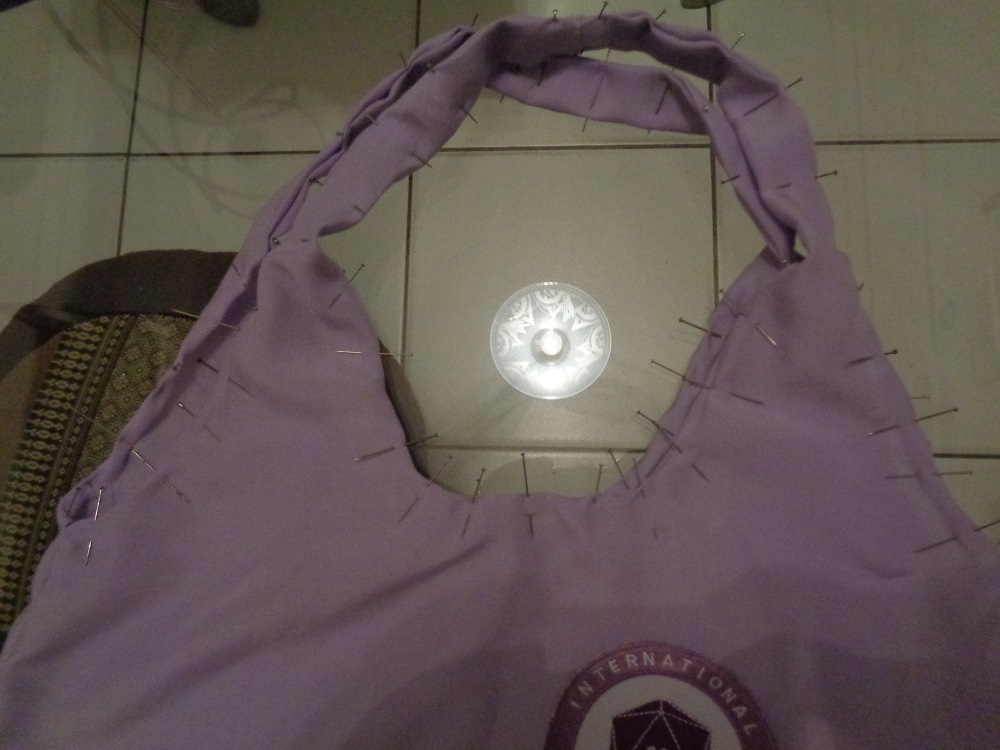
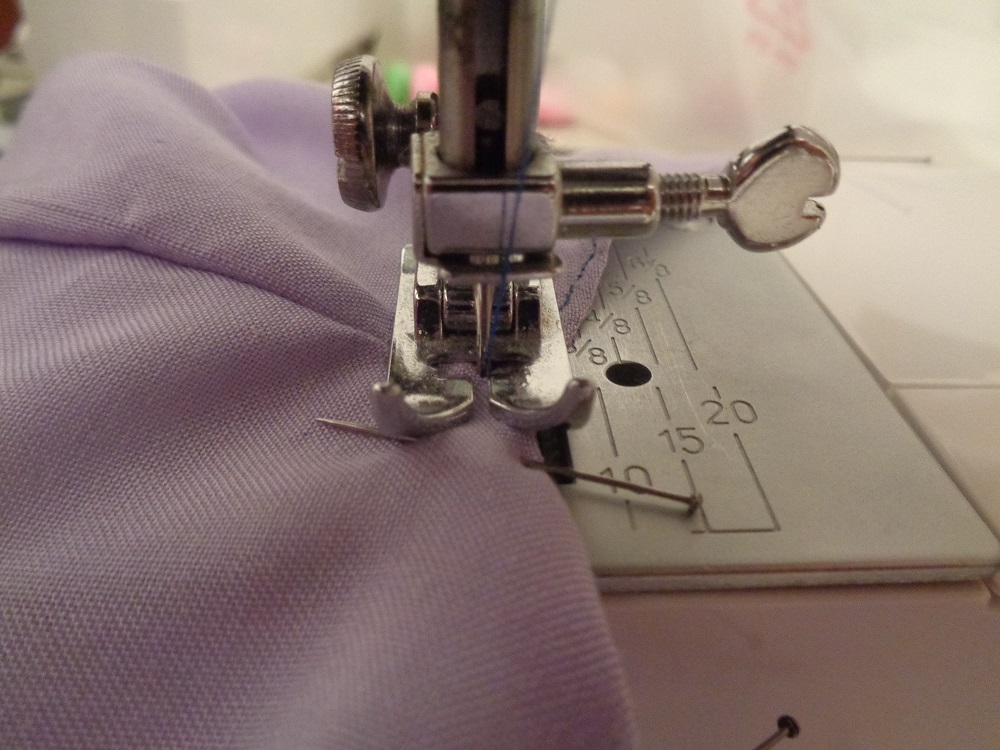
Begin the sewing with the double fold hem, then the handles. I use different colour thread for this because they are going to be visible and I like the effect.

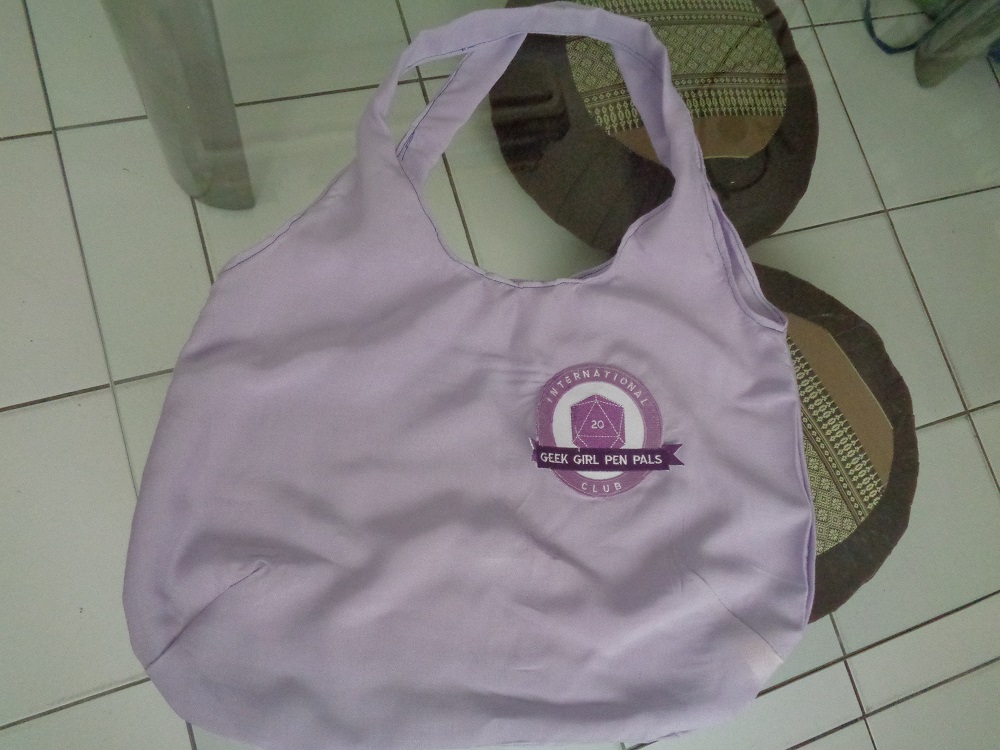
12. Your bag is finished !
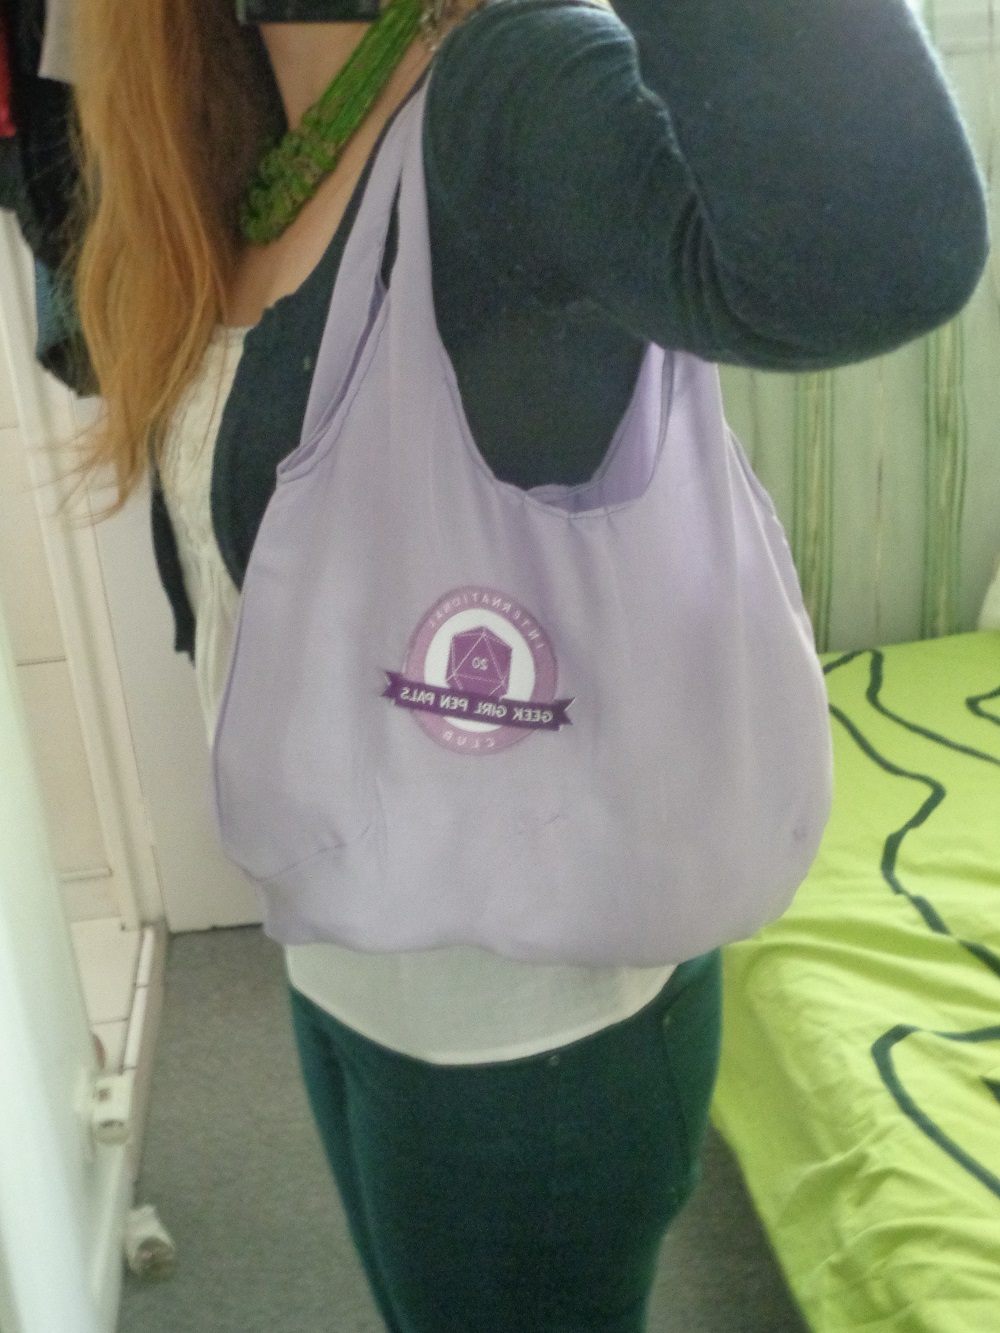
Thank you for following this tutorial! From the moment I printed the pattern to the moment I finished the bag took me 3 hours. If you have questions, I’ll be happy to answer you on the 2016 IGGPPCamp thread related to this activity.
I use my bag to take a scarf everywhere with me because I feel the cold. What are you going to do with yours?

THIS IS SOOOO FANCY. I wish I still had my sewing machine!
You can do it with a needle but it might be less strong and it will take a lot of time !
You can do it with a needle but it might be less strong and it will take a lot of time !