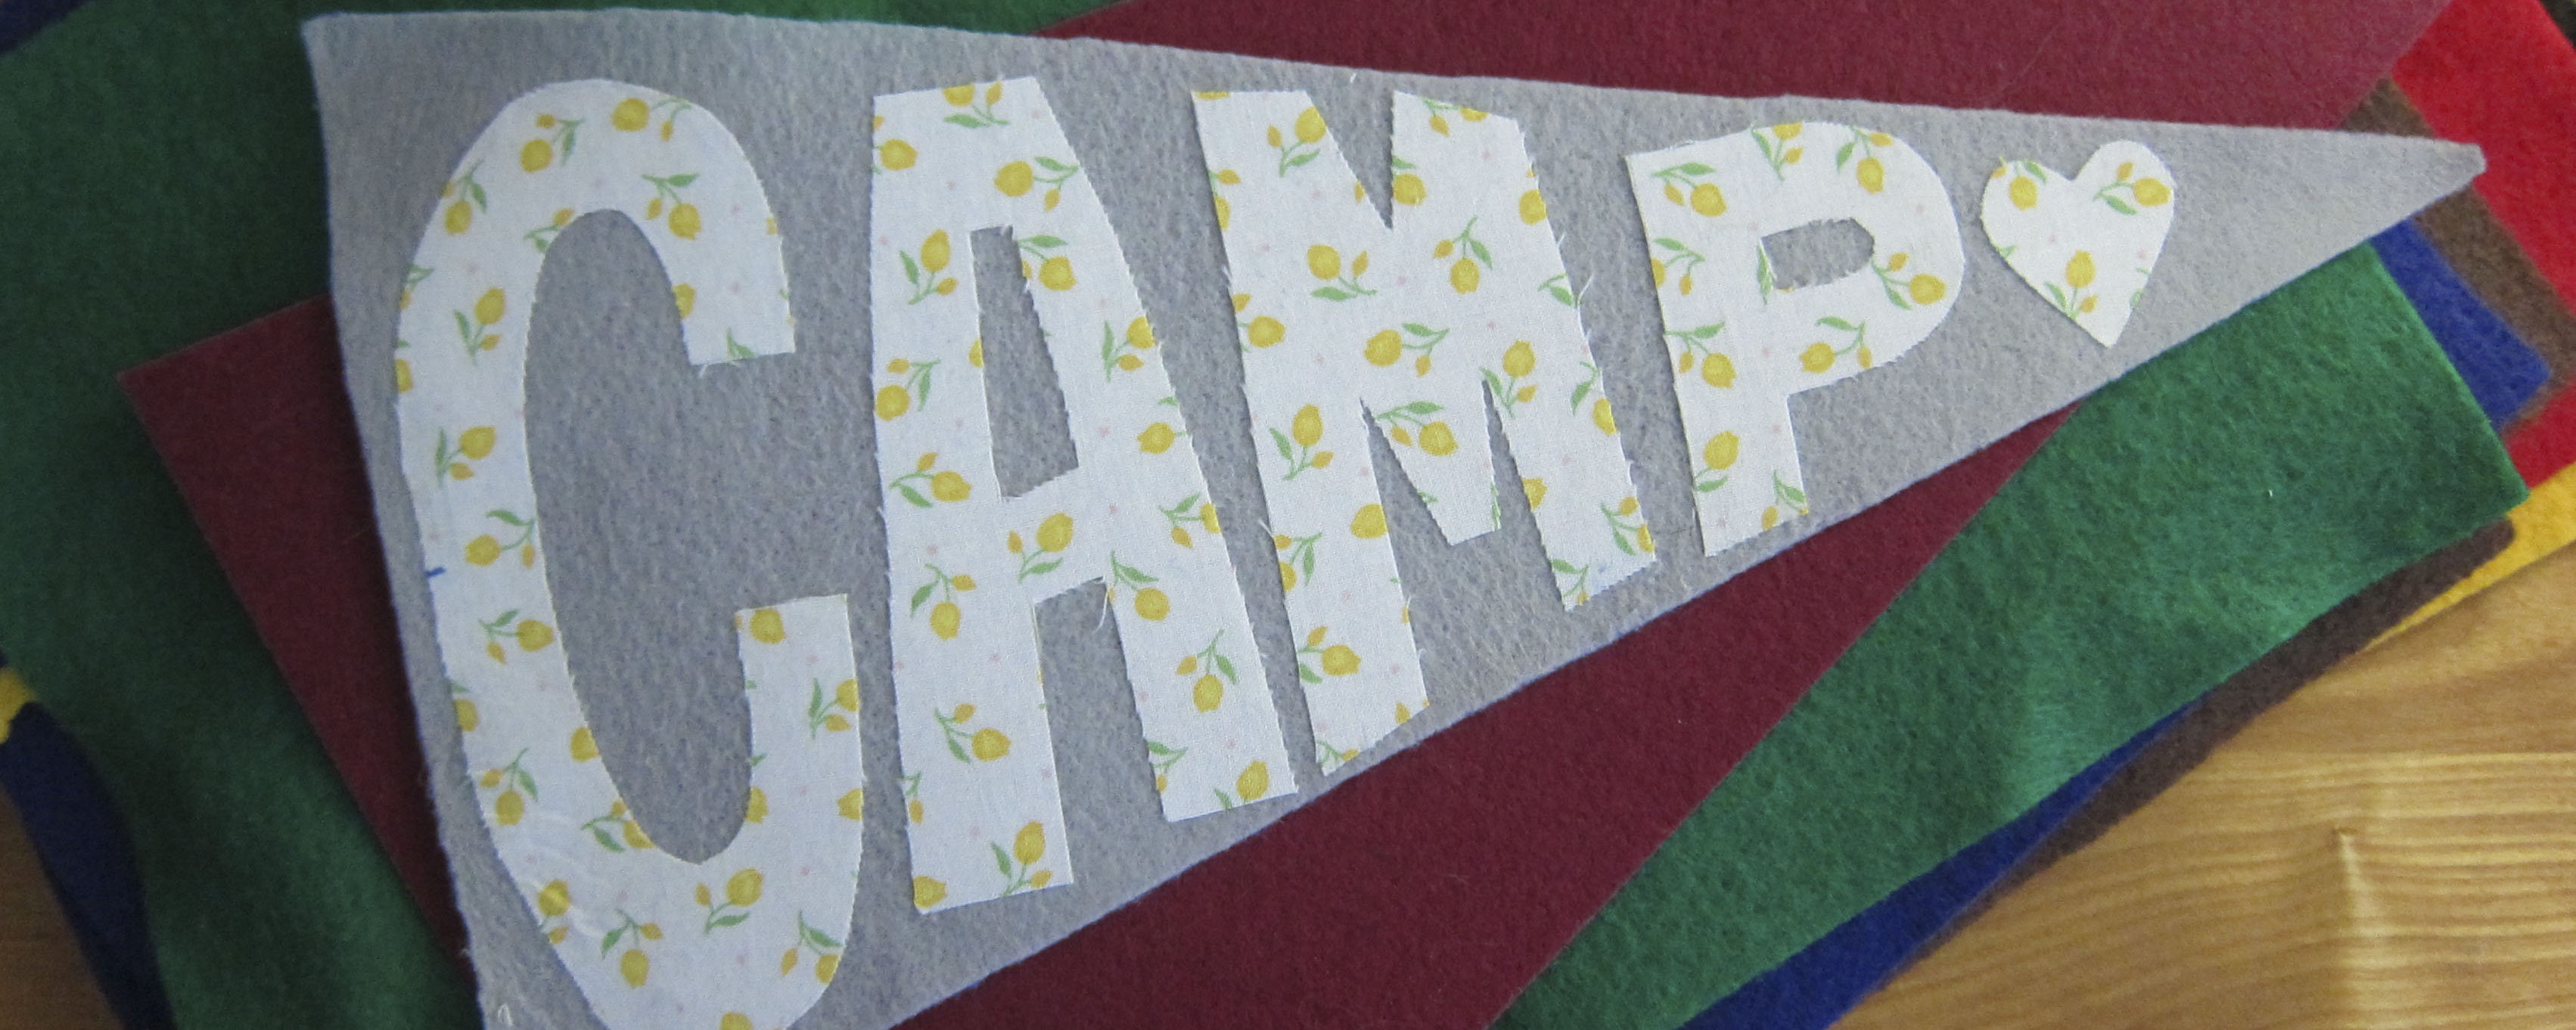
GO CAMP GO! Every camper knows that the best way to decorate your bunk is with a little bit of camp flair, and today we are going to make quick, no sew pennants. These pennants are not only cute, but are SUPER easy to make!
Step One
You’ll need to gather your materials:
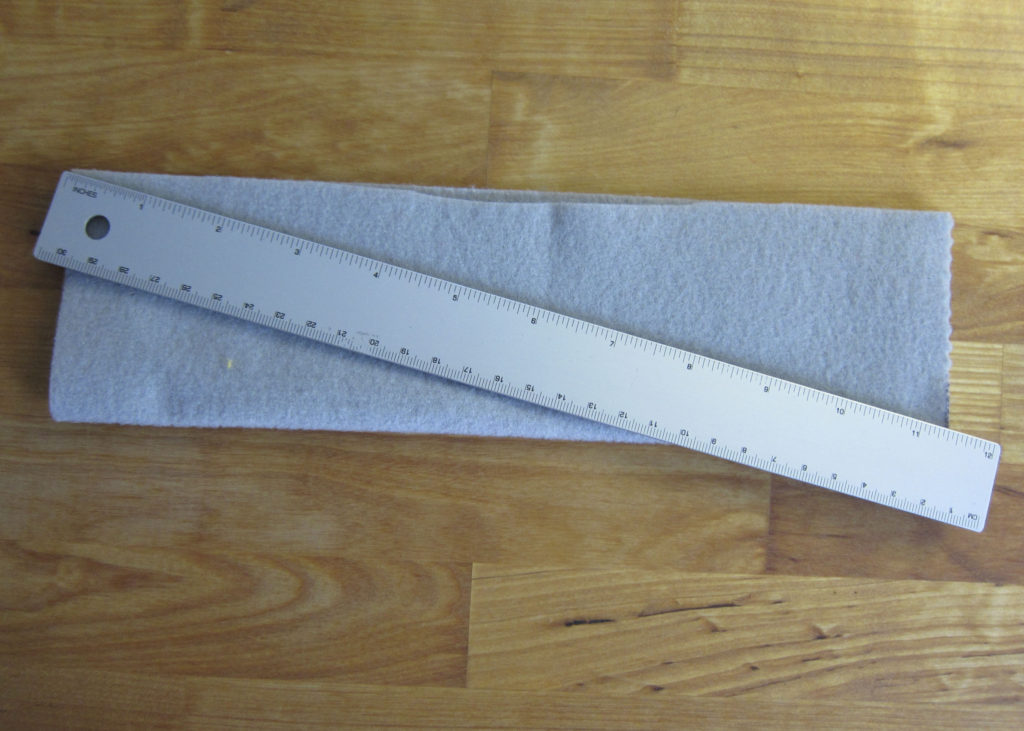
- One rectangle of felt – the larger your rectangle, the larger the pennant. You can make yours to any dimensions you’d like, just note that the width and length of the rectangle will be the same width and length of your pennant.
- One same size rectangle of a contrast fabric – I recommend a cotton weave, like a fun quilting fabric, but you can do this will just about any fabric.
- One same size rectangle of Iron-on Adhesive – Check your local craft store for this!
- Iron
- Ruler
- Scissors
- A marking device – pen, pencil, fabric chalk, etc…

Step Two
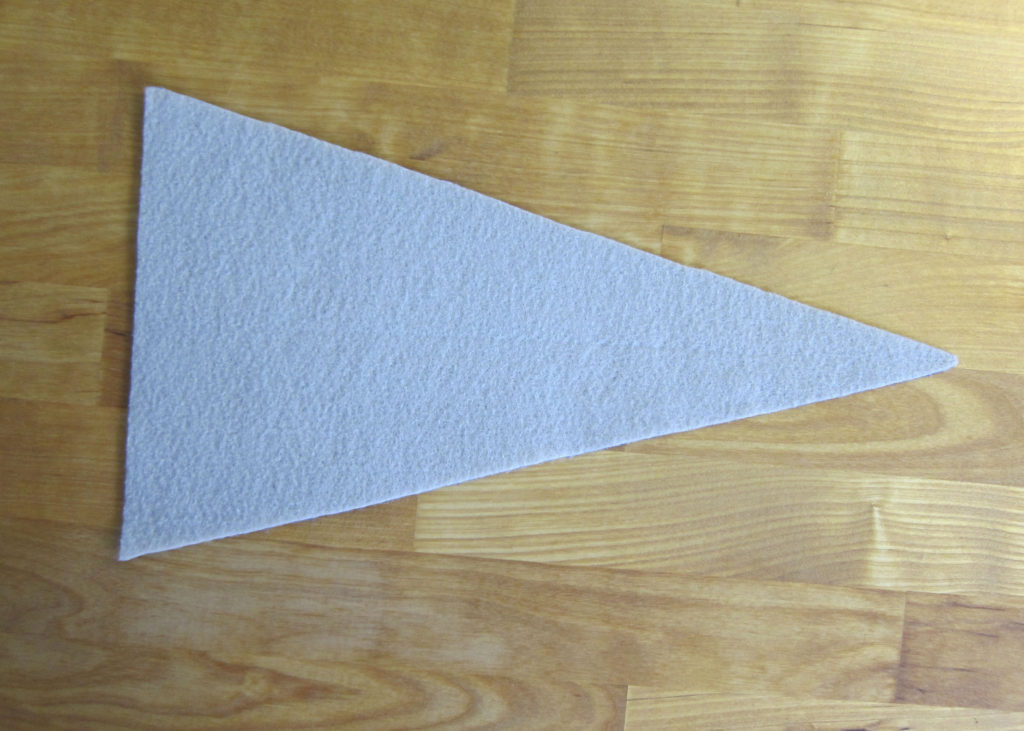
Fold your rectangle of felt long way, then cut diagonally from end to end making a triangle.
Step Three
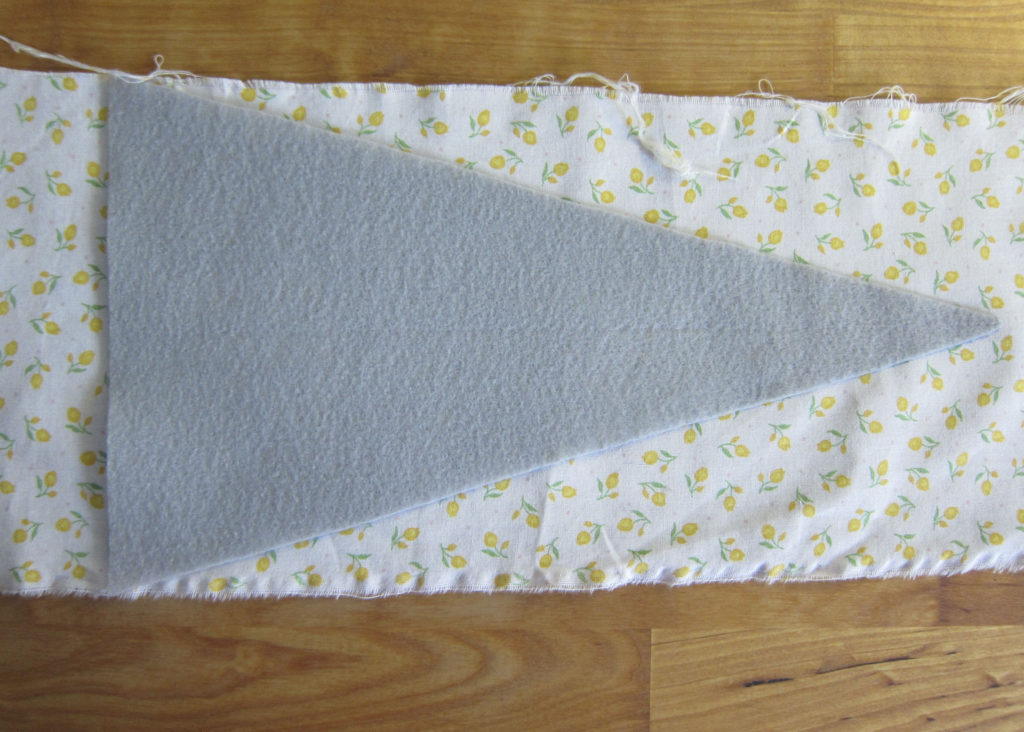
Cut your contrast fabric and adhesive paper to the same triangular shape. (In fact, this should be a SLIGHTLY smaller triangle! You don’t want your letters going all the way to the edge of your pennant.
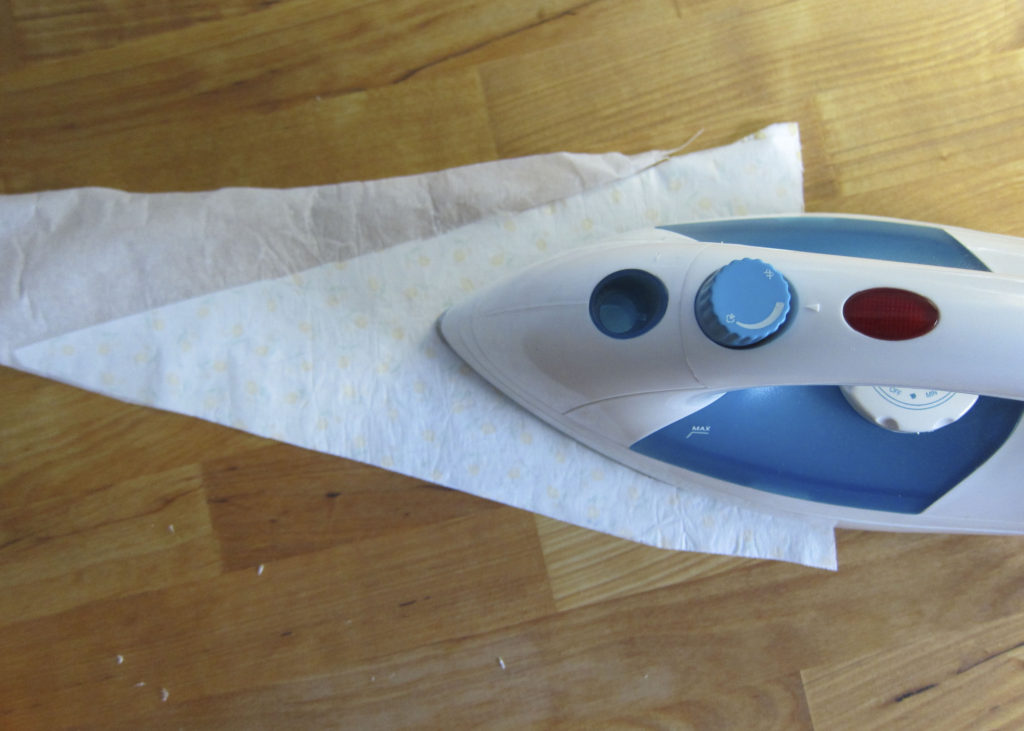
Step Four
Iron your adhesive paper to the wrong side of your fabric. This is the side of the fabric without the pretty pattern or color. (Alert – in this photo I’m showing poor ironing skills. Note that the adhesive will be STICKY once you get it hot. Please iron with the sticky side FACE DOWN, and put paper or scrap fabric underneath you so you don’t get adhesive all over your iron or desk!)
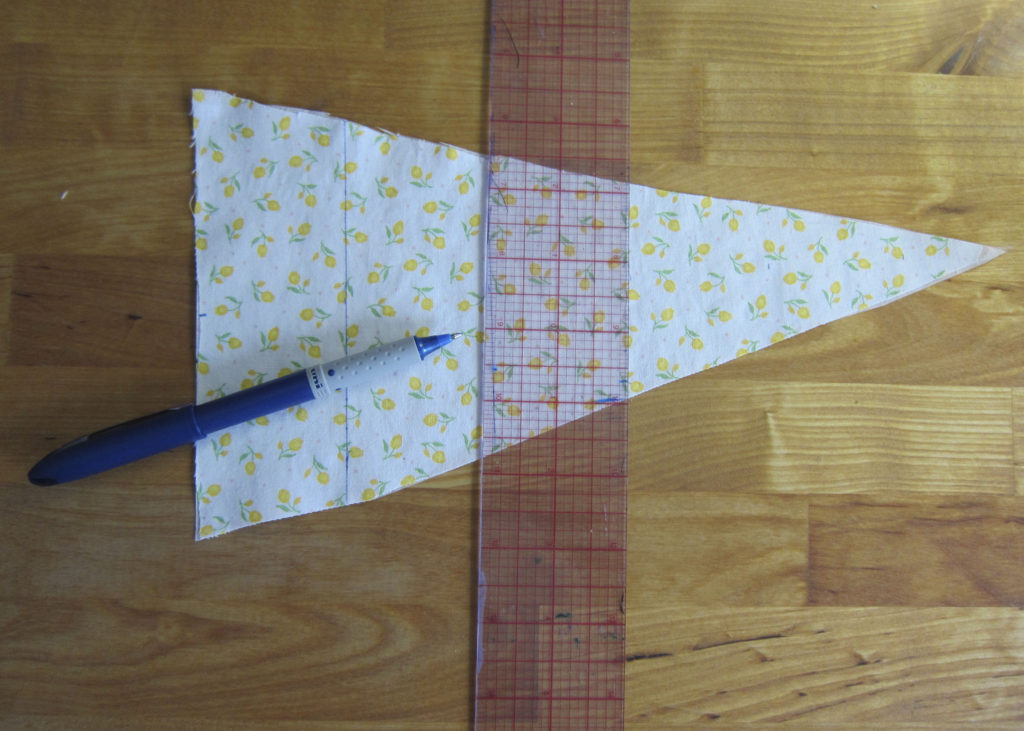
Step Five
Count your letters. What word are you going to spell on your pennant? Your camper name? Troop name? Your neighbor’s cat’s name? Count up the letters. Measure the length of the pennant, then divide that by the number of letters in the word. That’s how wide each letter gets to be. (My pennant is about 12 inches wide, so each letter/character will get 2 inches.)
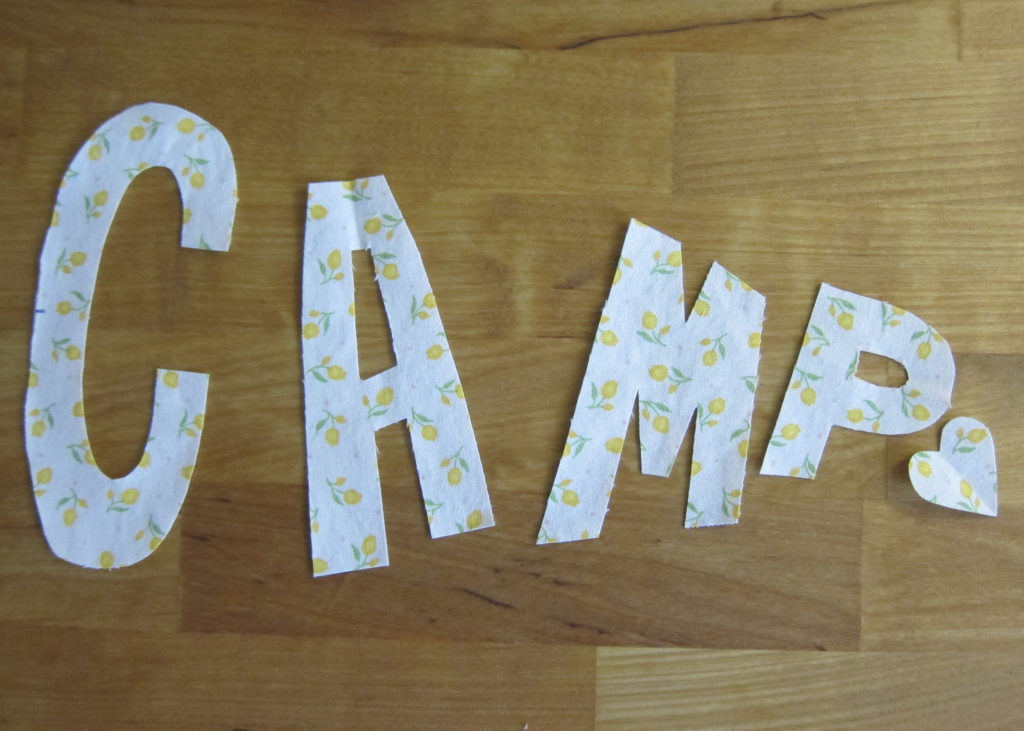
Step Six
The fun bit! Cut out your letters/characters. Feel free to do it by eye, or to draw the shapes out first. Make sure you are doing the on the right/pretty side of the fabric!
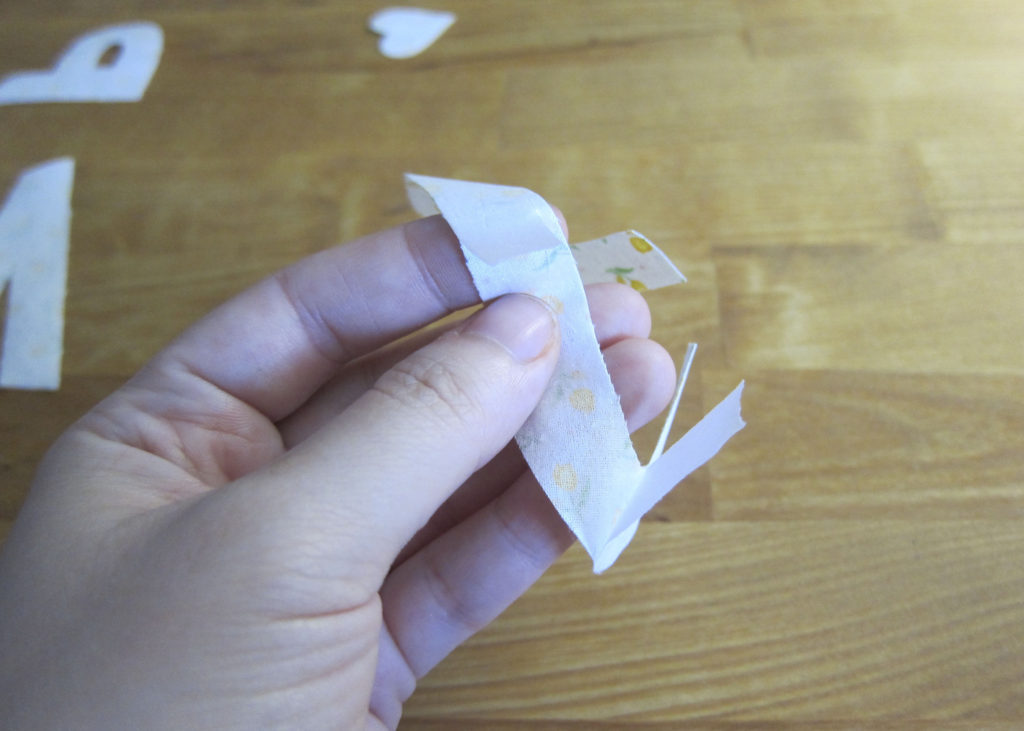
Step Seven
Peel the paper bit off your adhesive backing. Not pictured – I like to give it one more go over with the iron before I do this, just to make sure all the adhesive has transferred from the paper to the back of the fabric.
Step Eight
Align your letters on your felt. If you need to make any last minute trims so everything fits, do that now!
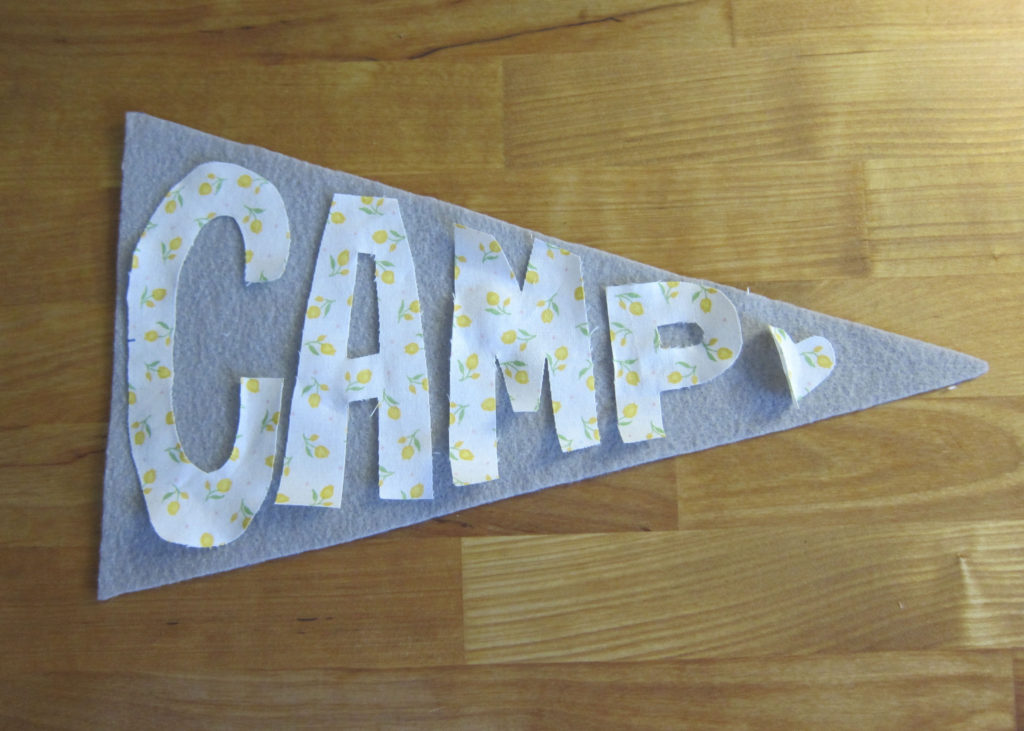
Step Nine
Iron those letters! Go letter by letter, and make sure to press and not rub at first so nothing shifts around.
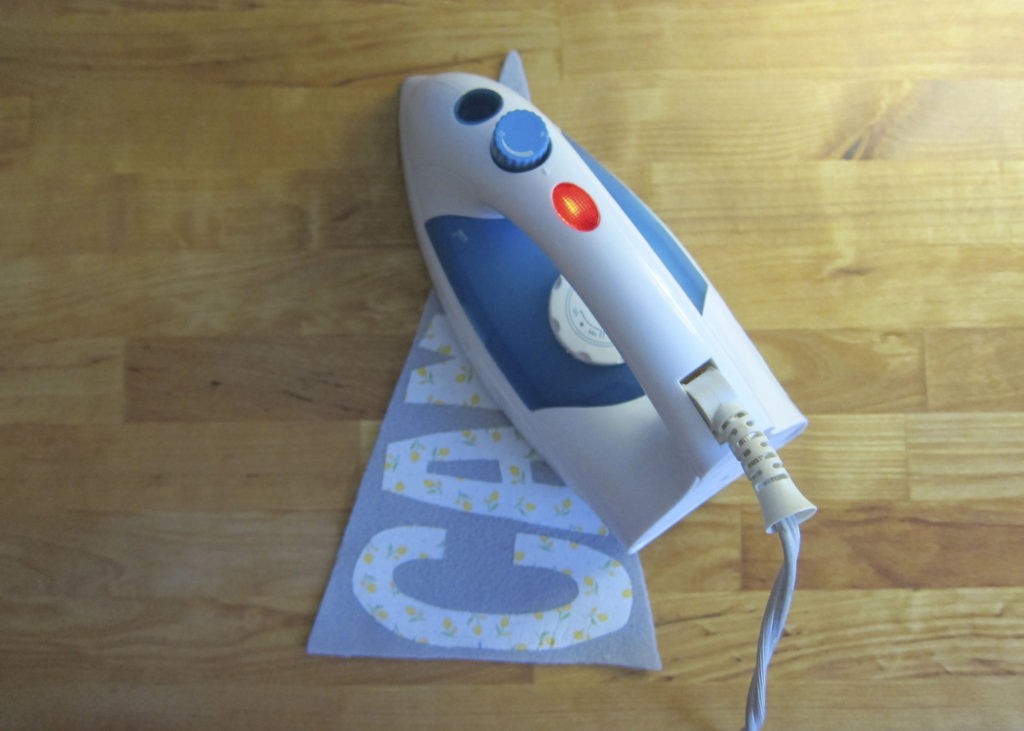
Step Ten
ENJOY! Hang your pennant proudly above your sleeping bag so everyone knows it’s yours! If you left a bit more space than me, you could hot glue the short end of the pennant to a twig or wooden dowel and way it around at campfires!


[…] Alrighty campers! Let’s get this day started! I’m teaching you a how to make Camp Pennants over in the arts and crafts tent! We also have a Mad Libs Scavenger Hunt happening in the forums […]