
Have you ever wanted to bring a little piece of the night sky indoors so you could look at it all of the time? Well, stars are billions of miles away do that’s not going to happen, but what we CAN do is create a lovely piece of custom string board art based on our favorite constellations!
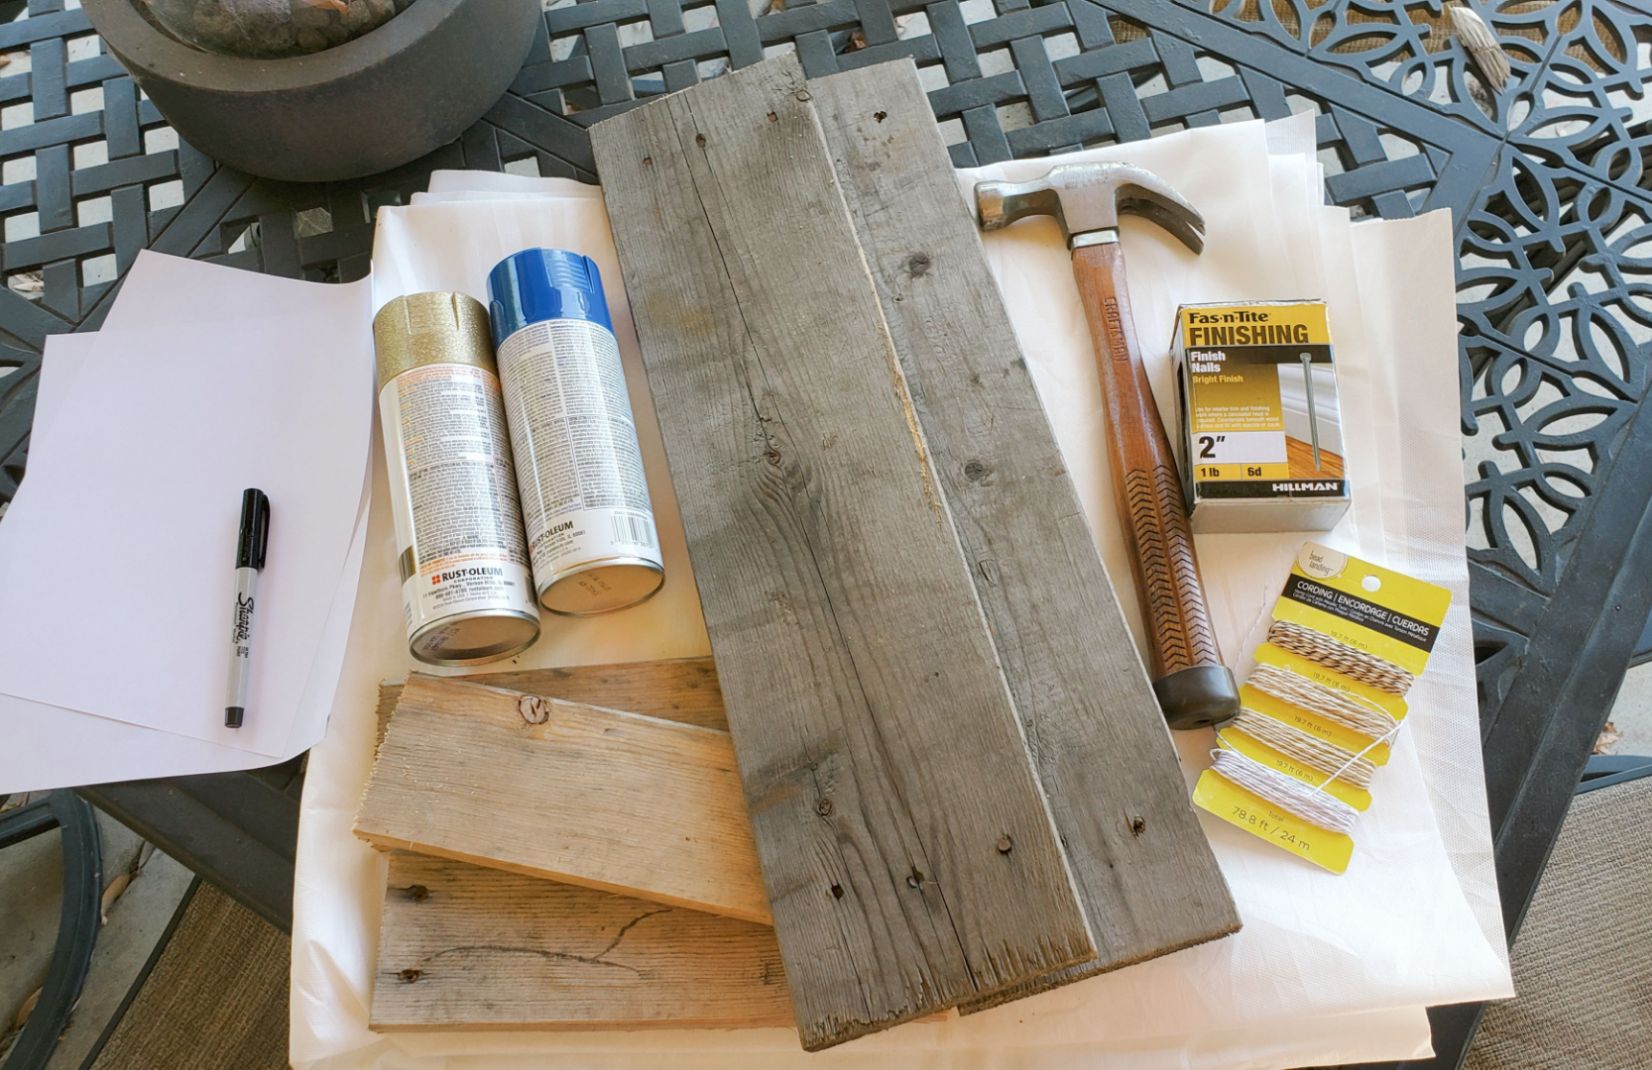
Supplies:
- Wood pieces (or a single piece of wood, or a cork board)
- Nails (small tack nails work well but anything on hand will do!), or push pins if using cork
- Sandpaper or sanding sponge
- Hammer
- String
- Paper
- Pen
- Paint (optional)
Constellation String Board Instructions:
The first step is choosing your surface for applying the pattern. I’m using wood for this tutorial, but you can use cork board with pins to create a less permanent version if you like! You can also use a single piece of wood or several attached together. This is very customizable.
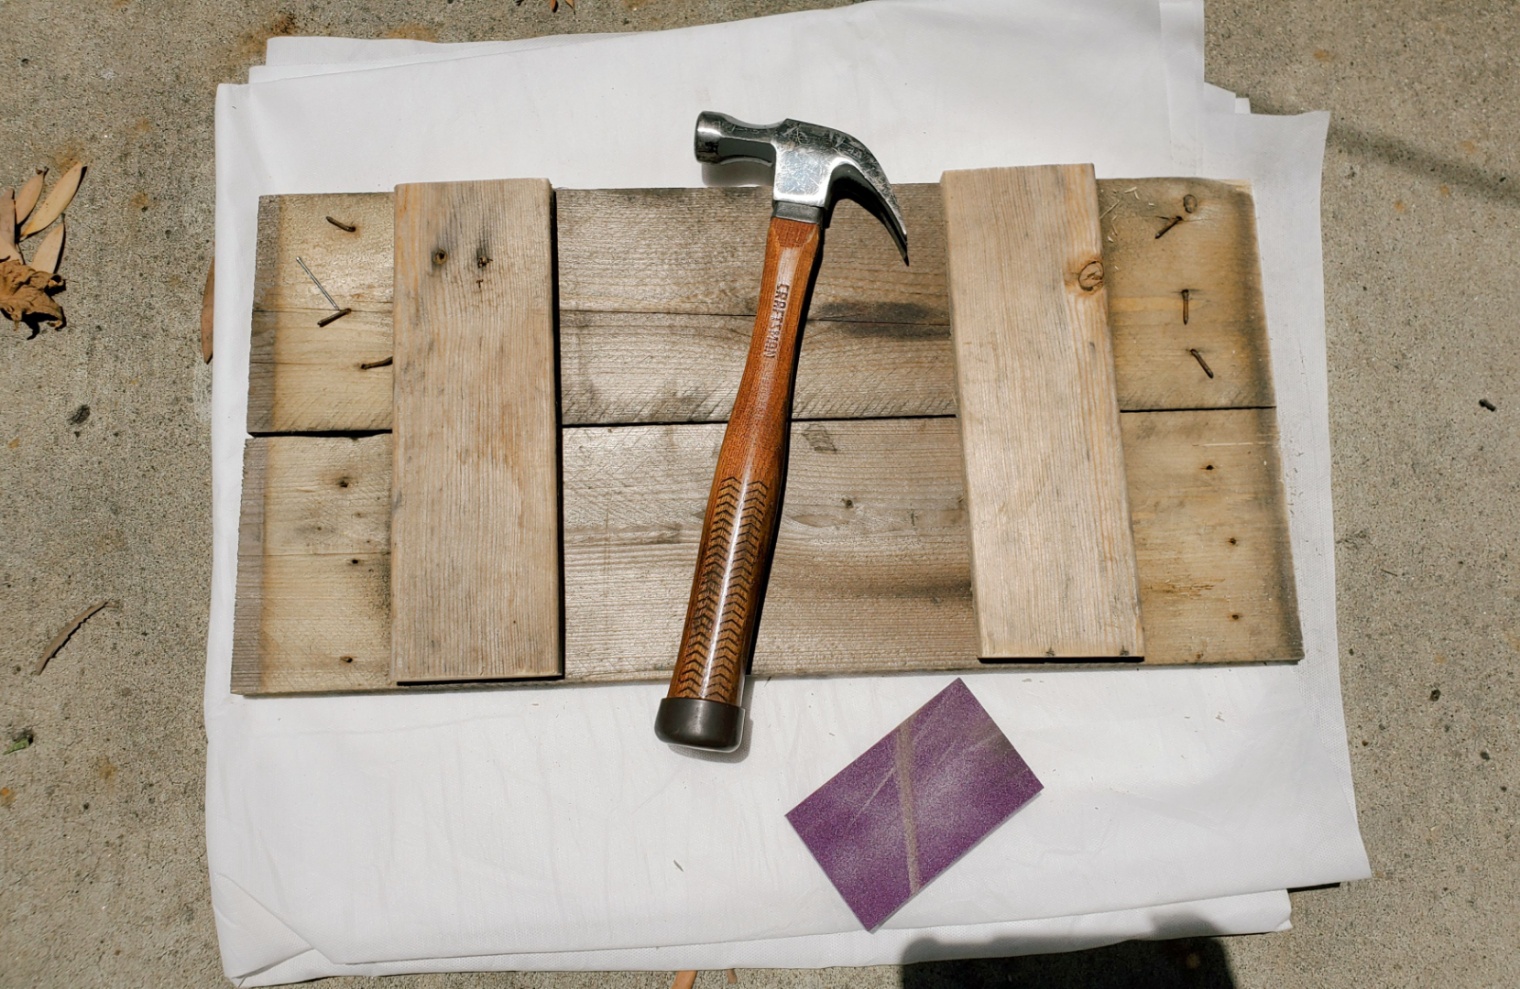
I started with two longer pieces of wood to create a wider surface for my constellation string board. To connect them, I laid them down and hammered two other pieces of wood perpendicularly across the backs of the main board.
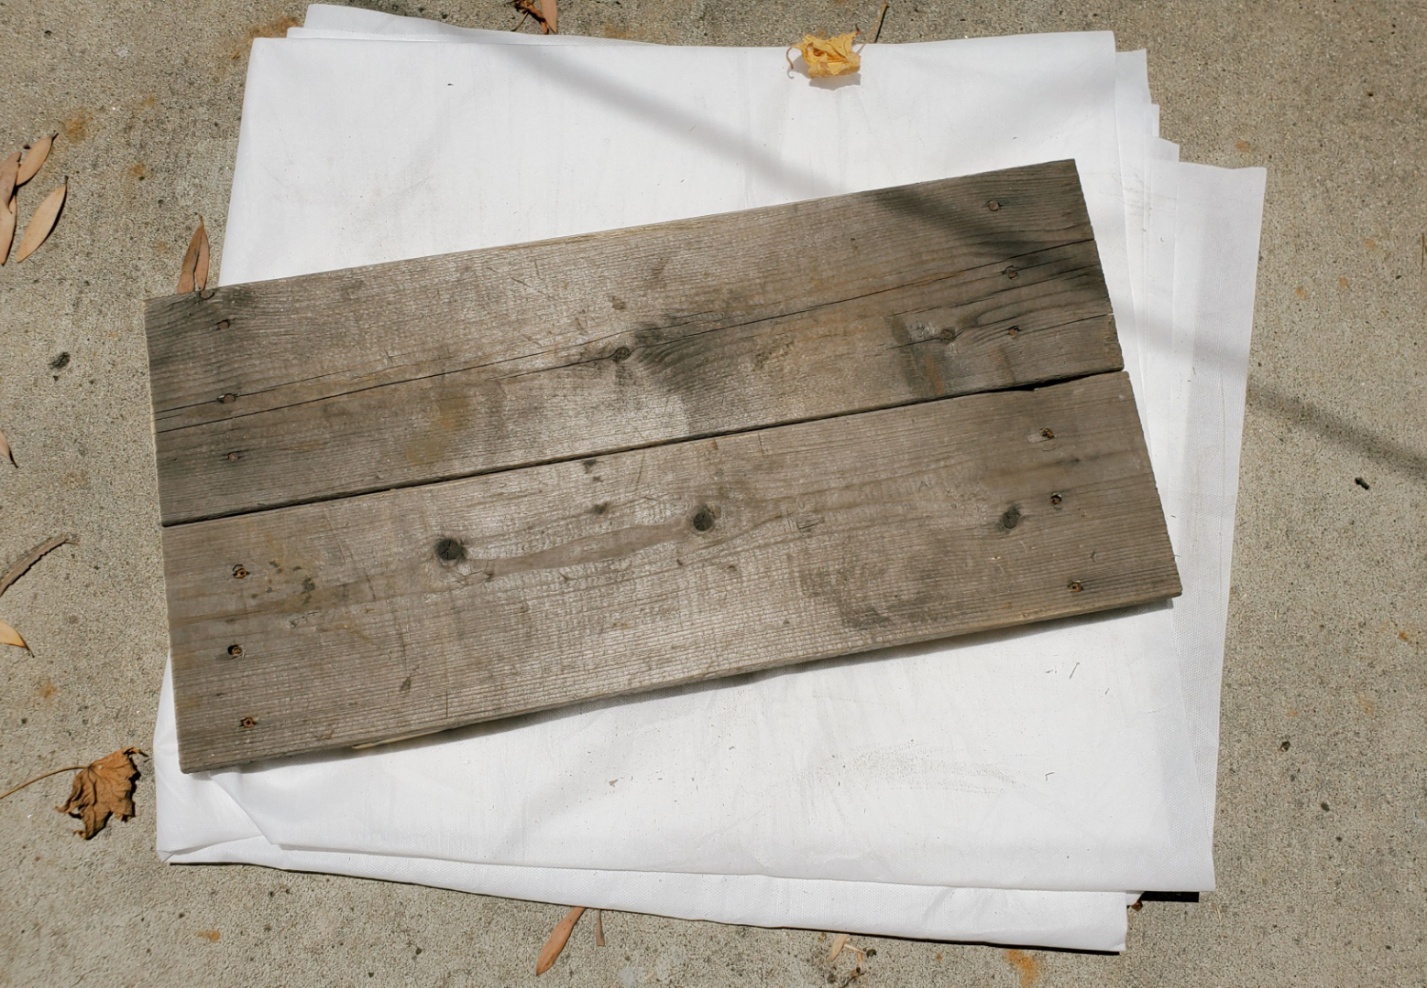
Sanded wood pieces
Once you have the wood the way you want it (or if you are using a single piece without nailing anything together, sand it down around the edges until it’s smooth and not going to give you splinters.
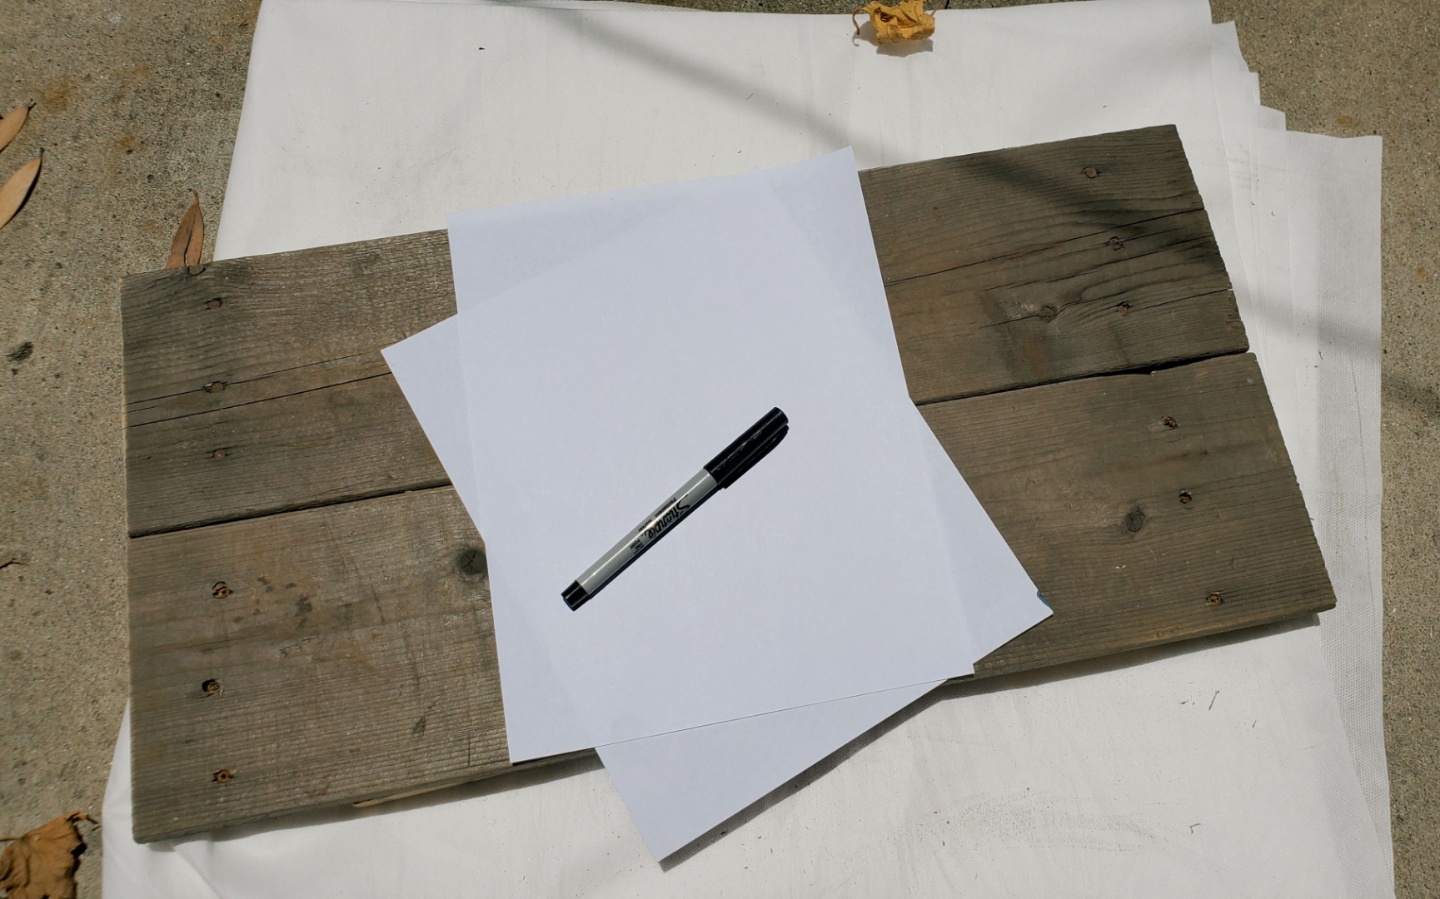
Now it’s time to prepare your constellation design. I measured the amount of paper I needed to fill most of the board before I started, to make sure I wouldn’t have too much empty space. Research the constellation you want to create. You can use your star sign if you like, or choose something fun from a star chart! I chose to do the Pleiades, or the Seven Sisters.
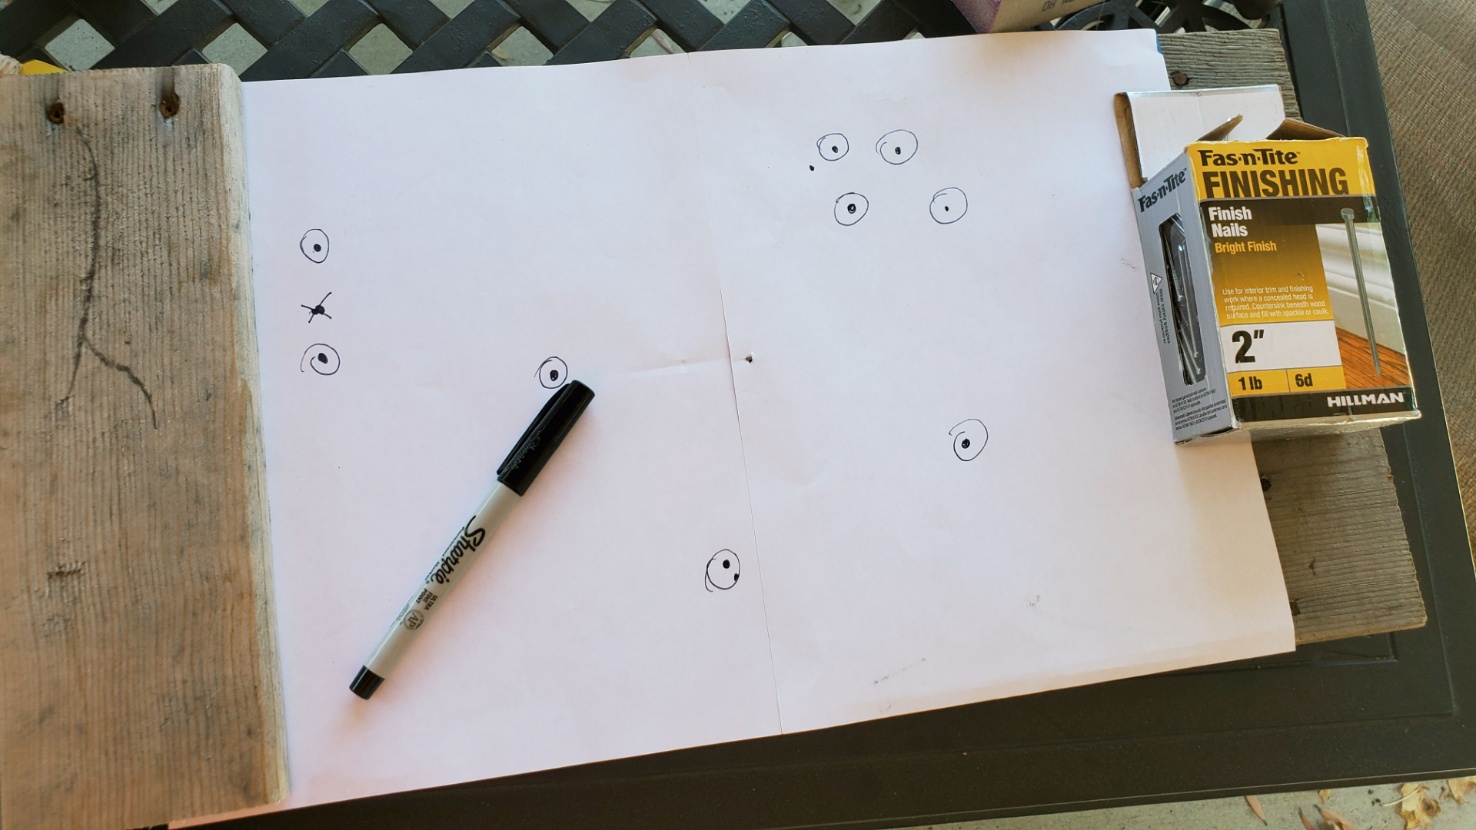
Now use the marker to sketch out where the stars in your constellation are. If you have a printer, you can also print one of the constellations to use! You can see that I had to adjust my design because I was drawing freehand, so the circles represent the final “star” placement.
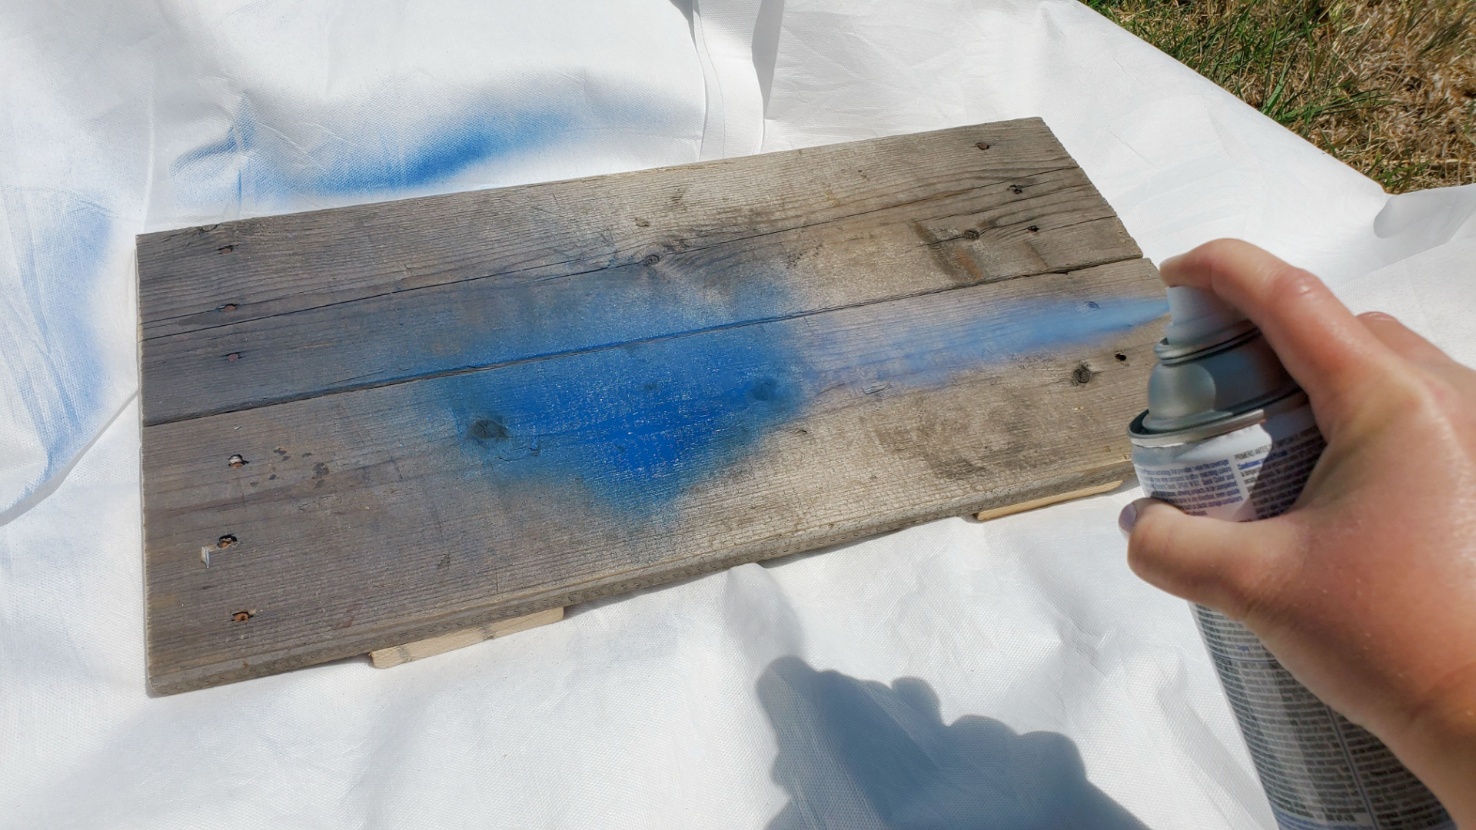
Optional step: paint! You can skip this step if you want to use the unfinished wood (which is a very nice look!). I’m slightly obsessed with spray paint as a medium at the moment, though, so I decided to paint my wood blue, black, and gold.
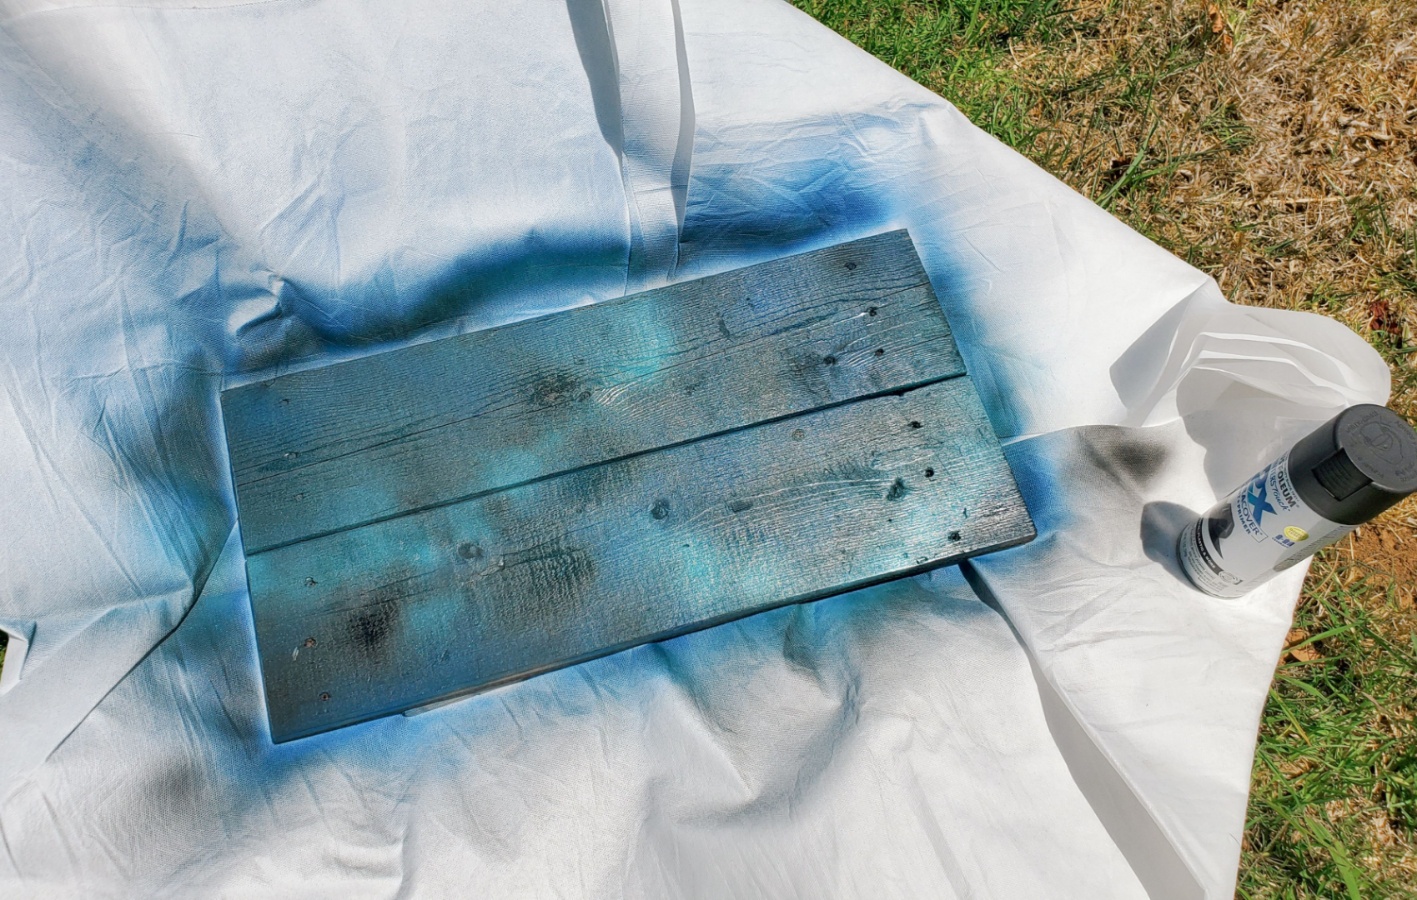
If painting, be sure to use in a well-ventilated area, and to follow all of the instructions on your paint container. I find that with spray paint, it’s best if I hold the paint about half an arm’s length away and spray back and forth in a sweeping motion to cover the surface. I layered my paint to create this swirling pattern.
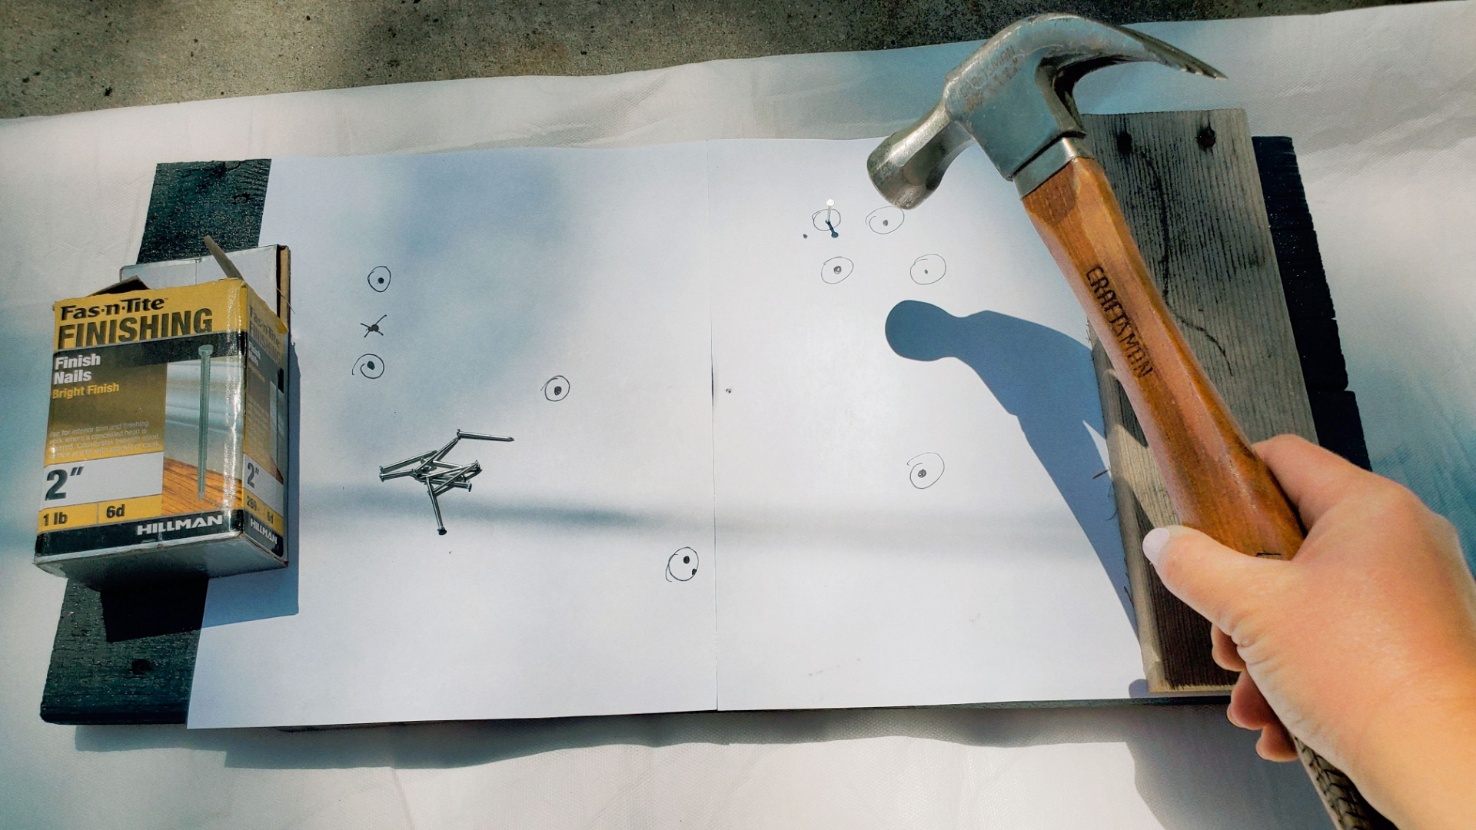
Once the paint is fully dry to the touch, lay your paper star pattern onto the wood surface. Use the dots you drew as a guide, and hammer nails into the wood so that they are embedded but still sticking out of the surface. You’ll need space to wrap and tie the string, so don’t hammer them too far into the wood.
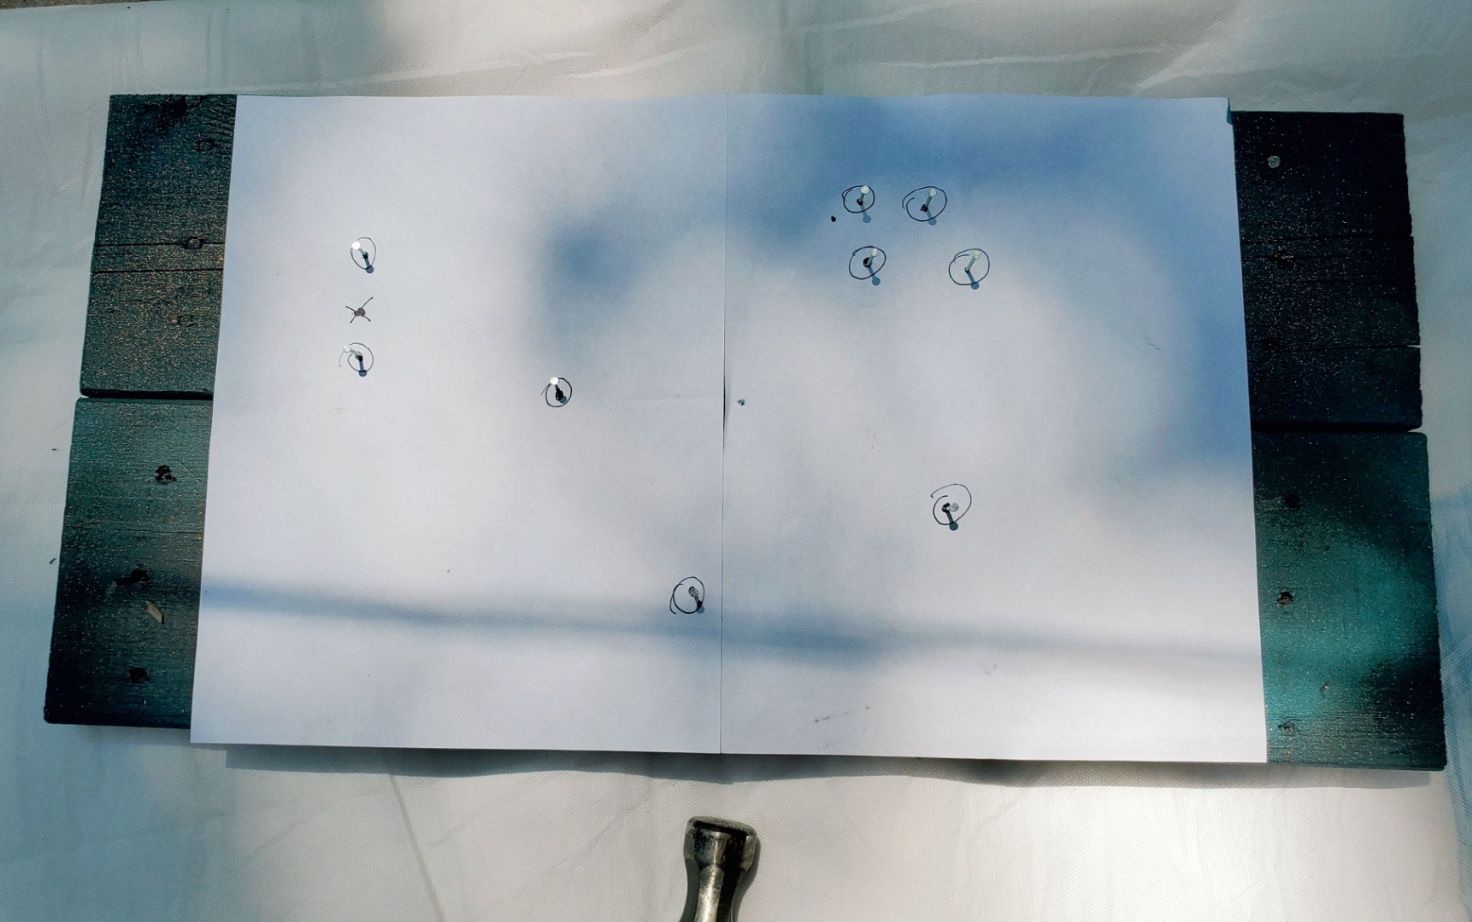
This is what your piece should look like at this point: the paper pattern is essentially hammered onto the board with nails in all of the star locations.

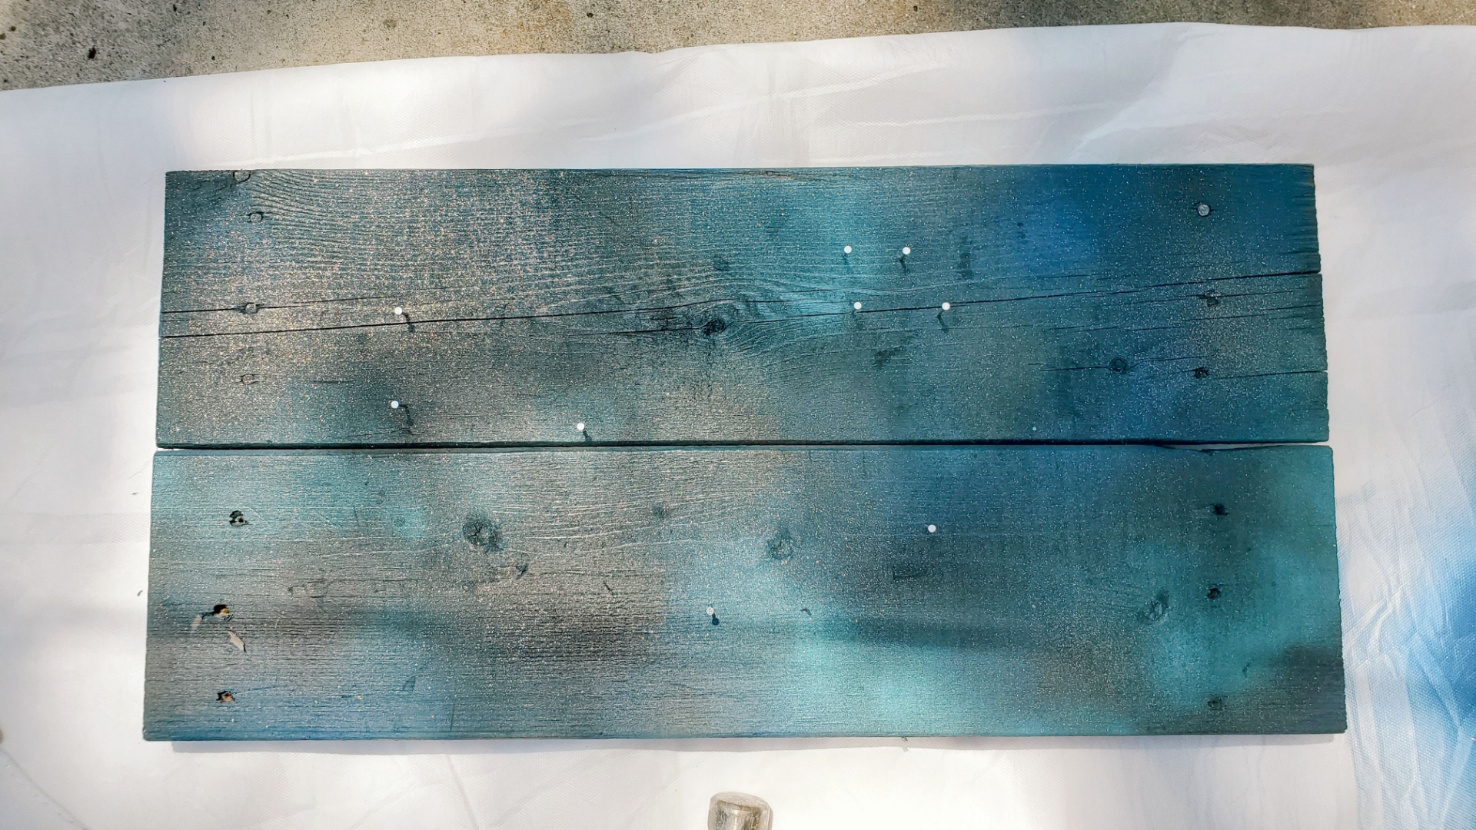
Now gently peel the paper away so that the nails stay in the wood, but the pattern is removed completely.
You’ve got a constellation pattern! Huzzah! But this is a string board, not a nail board, so we need some string, right?
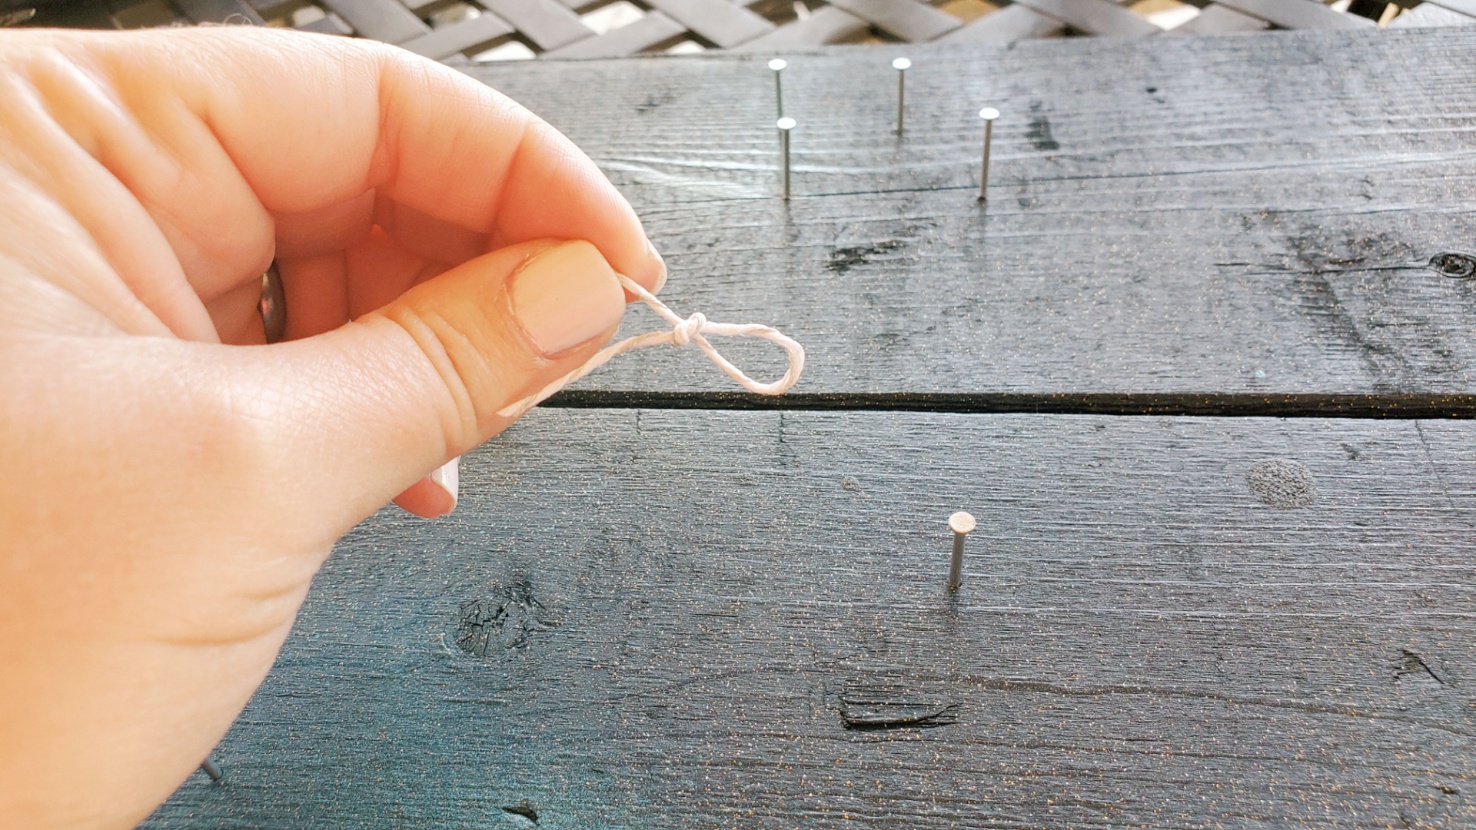
Take your chosen string and tie a small slip knot in one end.
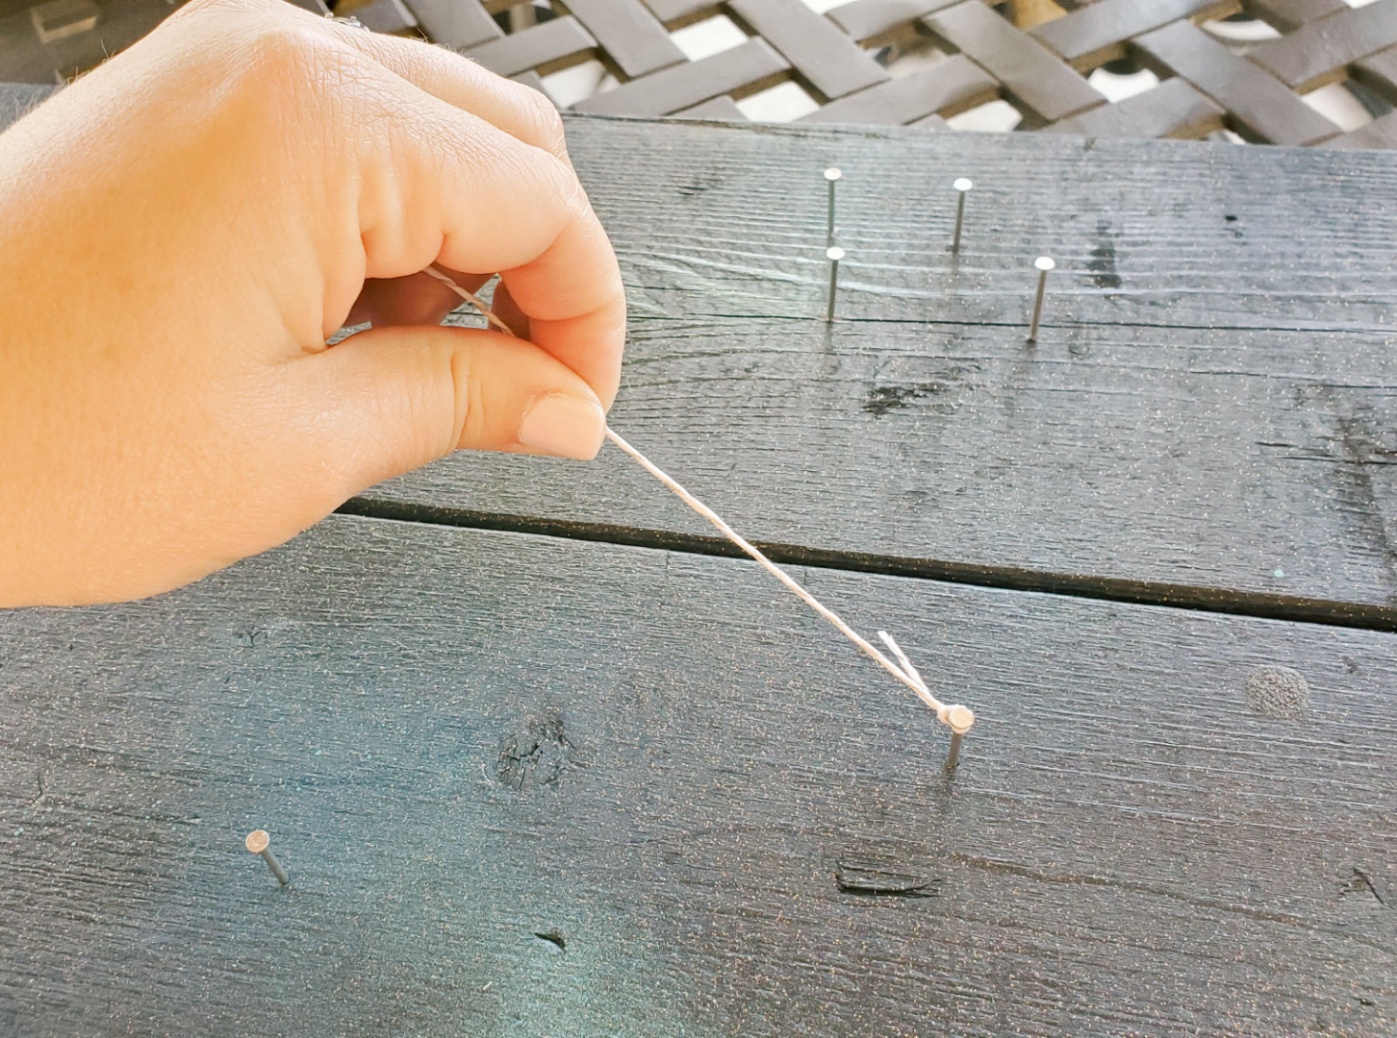
Attach the slip knot to one of the nails and pull it tight to secure it. You can start anywhere on the board you like. I chose to start in a bottom corner.

Pull the loose end of the string toward another nail on the board, and wrap the string all the way around that nail, so that it loops. This will help secure the string as you continue. I prefer to always wrap in the same direction, either clockwise or counterclockwise, for a full project.
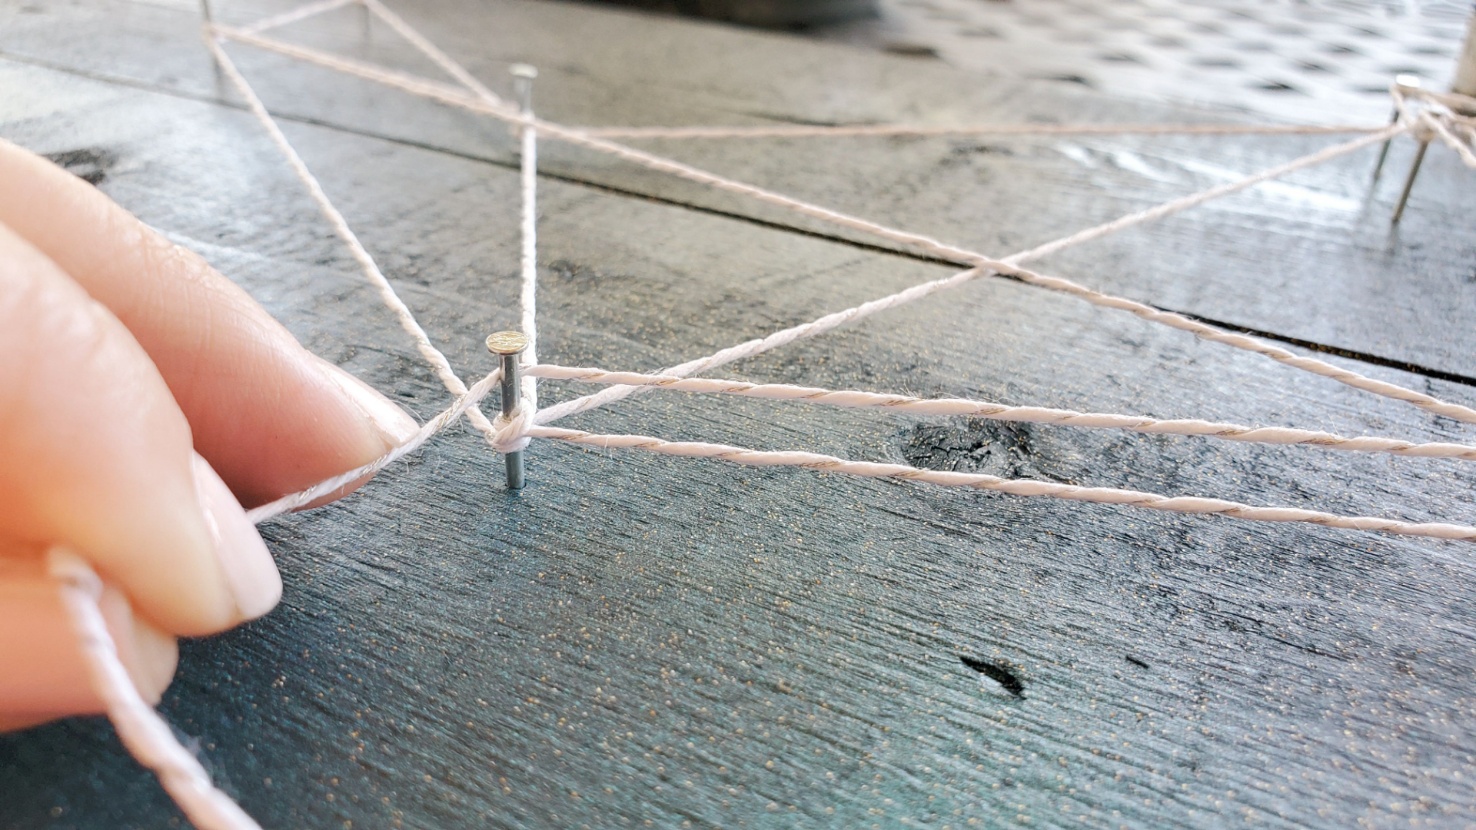
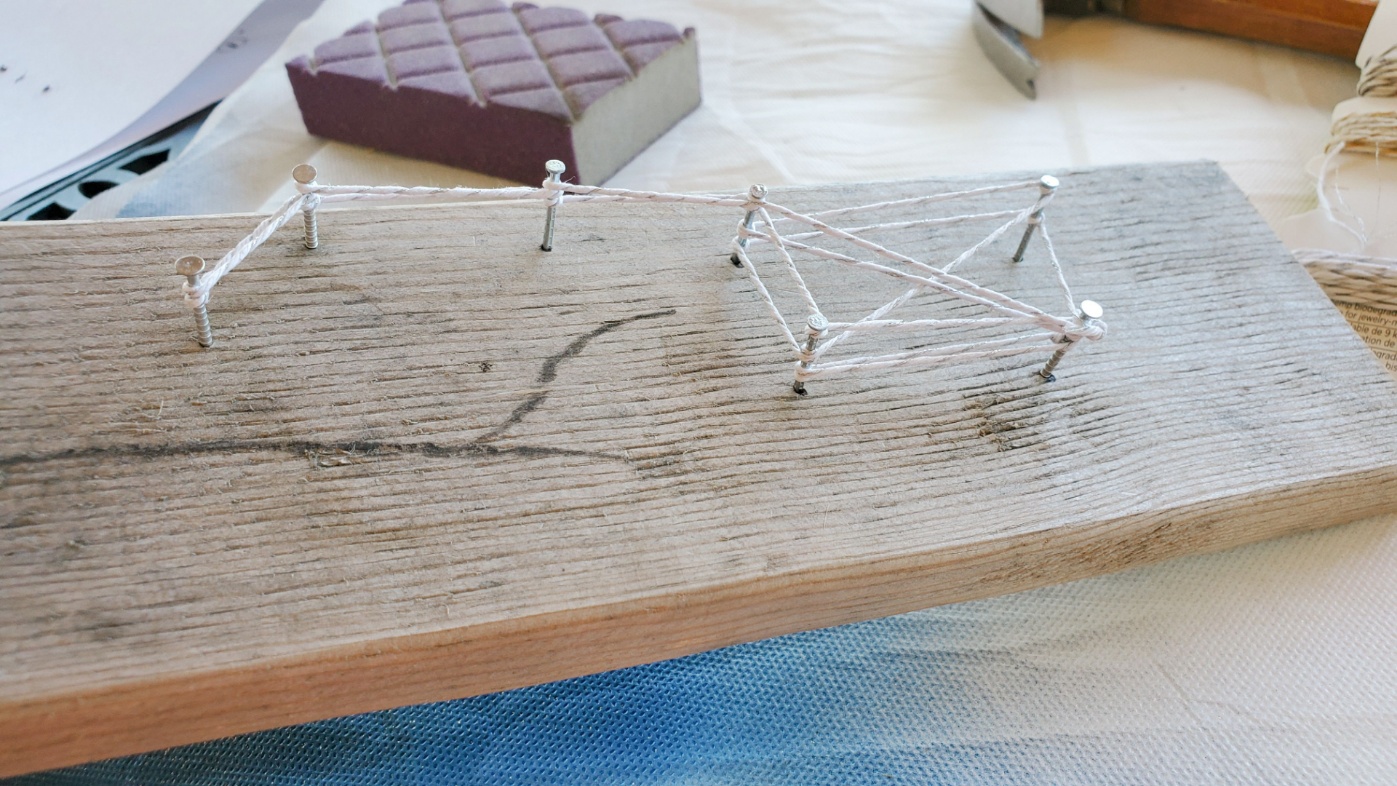
Run the string back and forth between nails, wrapping the string around each nail head in progression. Slide the wrapped parts down the nail to make room if you pass a nail several times. This will also create depth to your pattern.
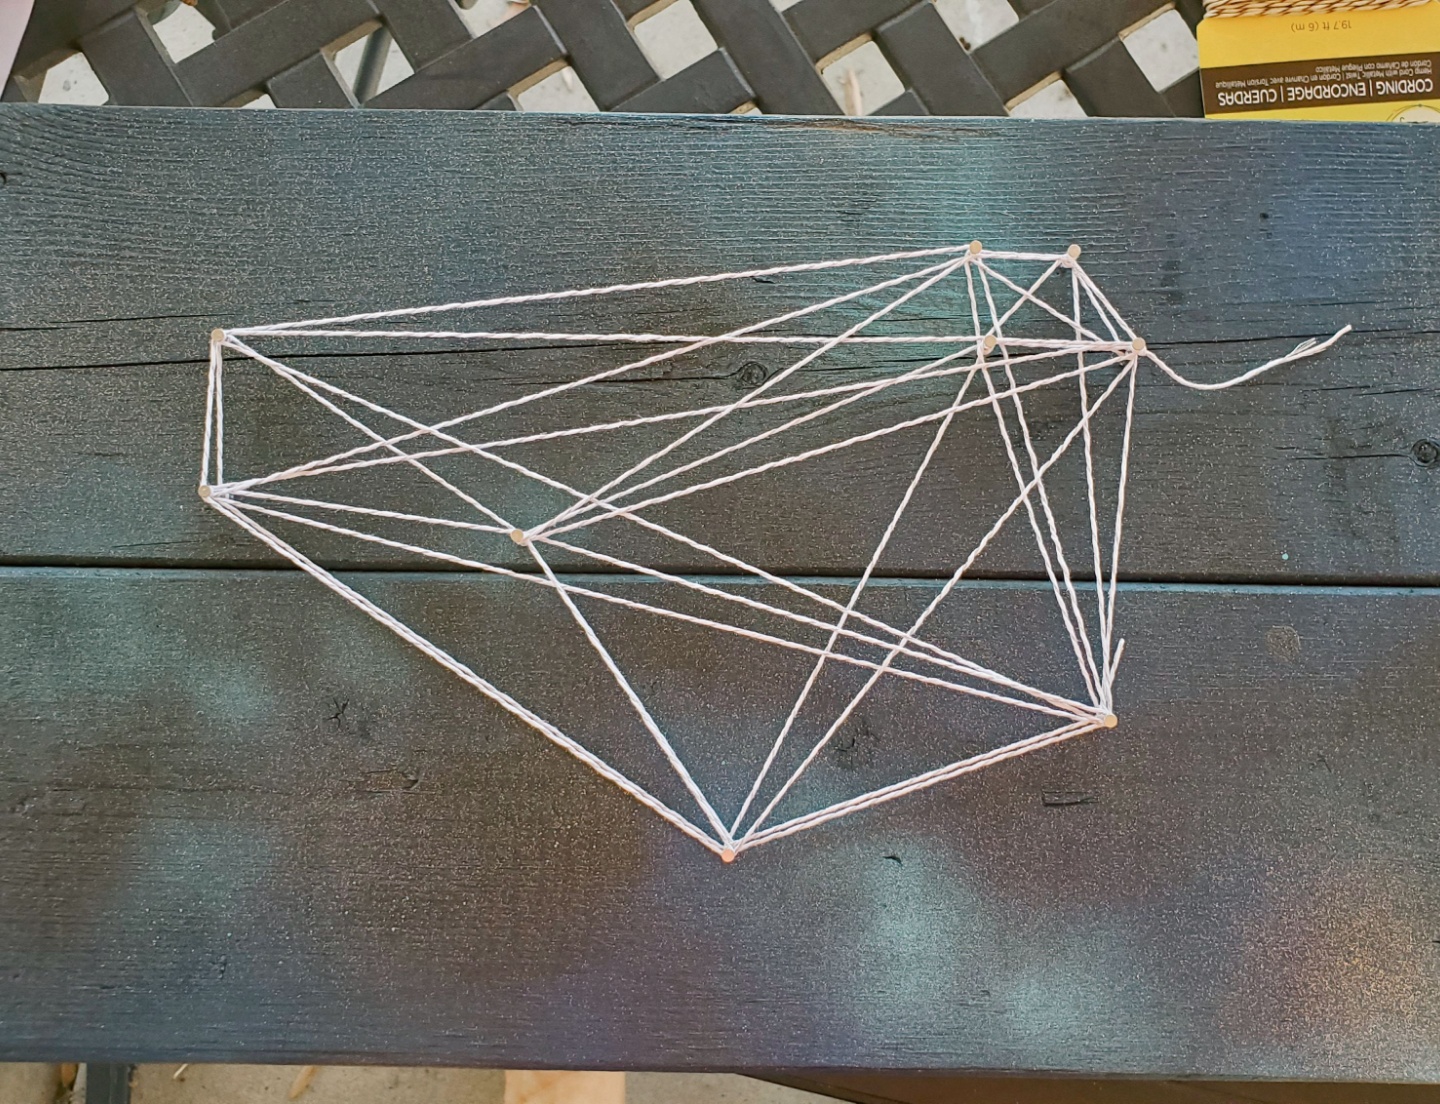
You can wrap the nails in any order you choose, and as many times as you choose. There is no right or wrong way to wrap the string! I like to make sure that each nail has be “tied” to at least two or three others, but this is fully your preference and what looks nice to you. In fact, I didn’t love the first pattern (and decided I wanted to use different string), so after I made the first pattern, I unwrapped and re-wrapped the whole thing!
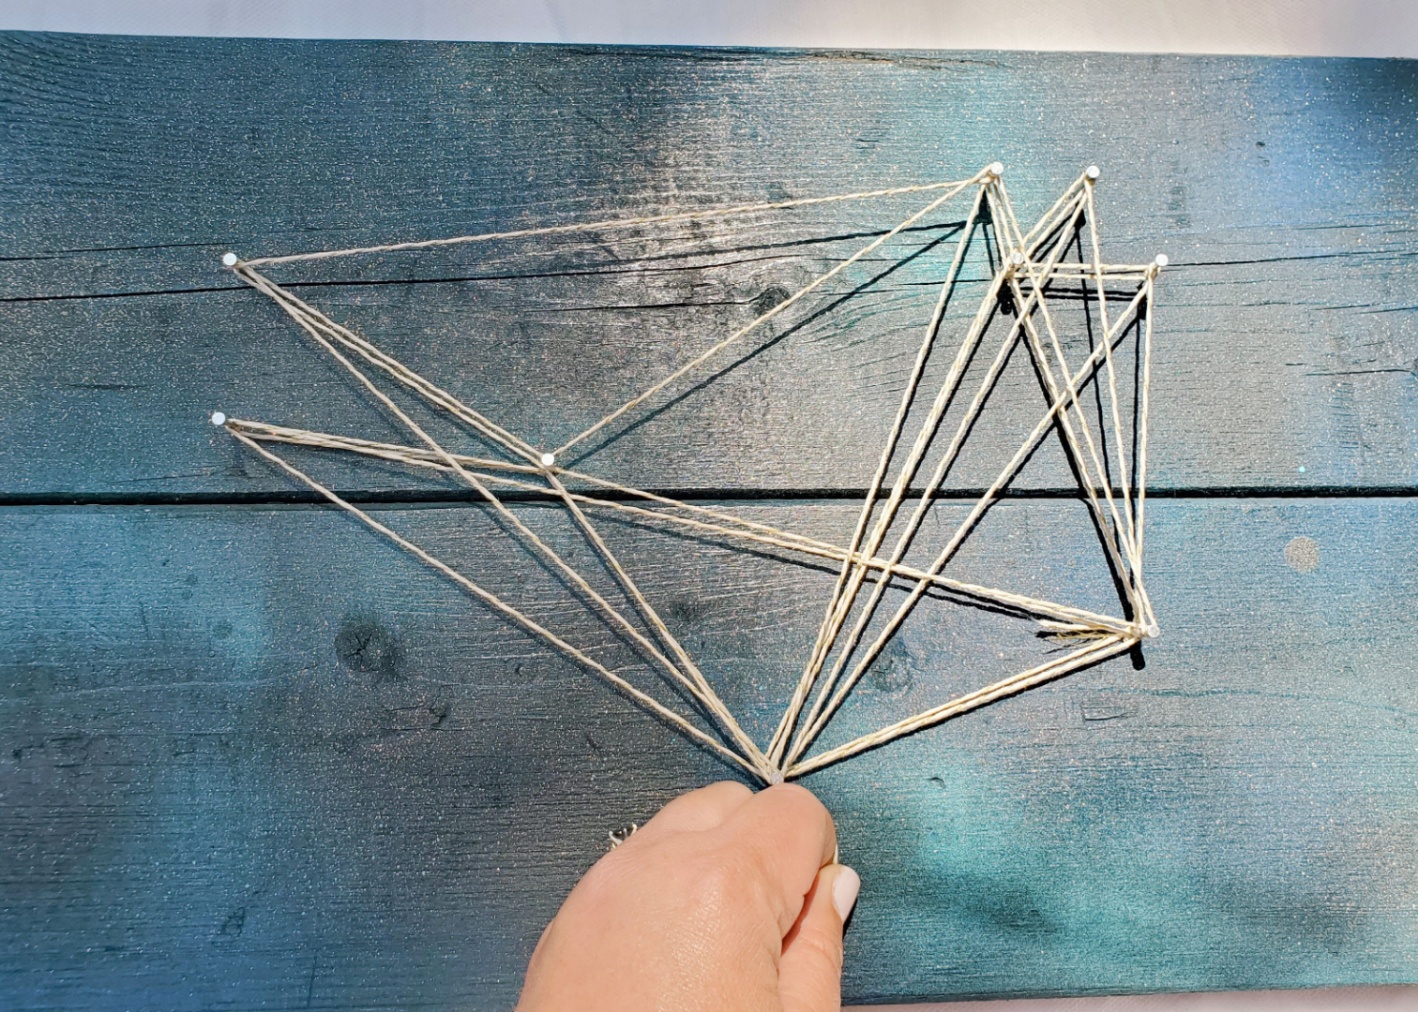
When you run out of string, pull the last piece tight and tie it onto the nearest nail. Trim the end of the string or tuck it into one of the wrapped loops to secure.
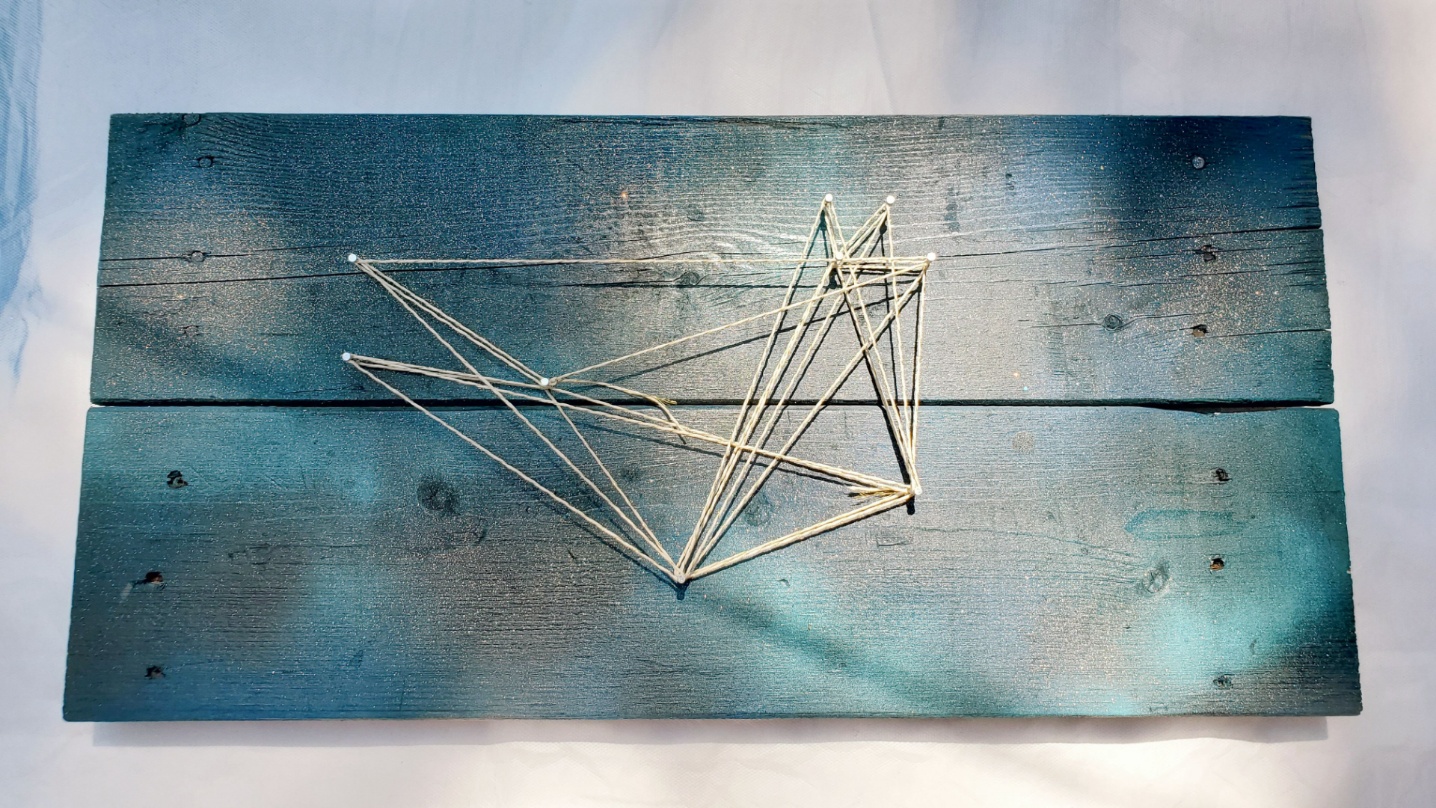
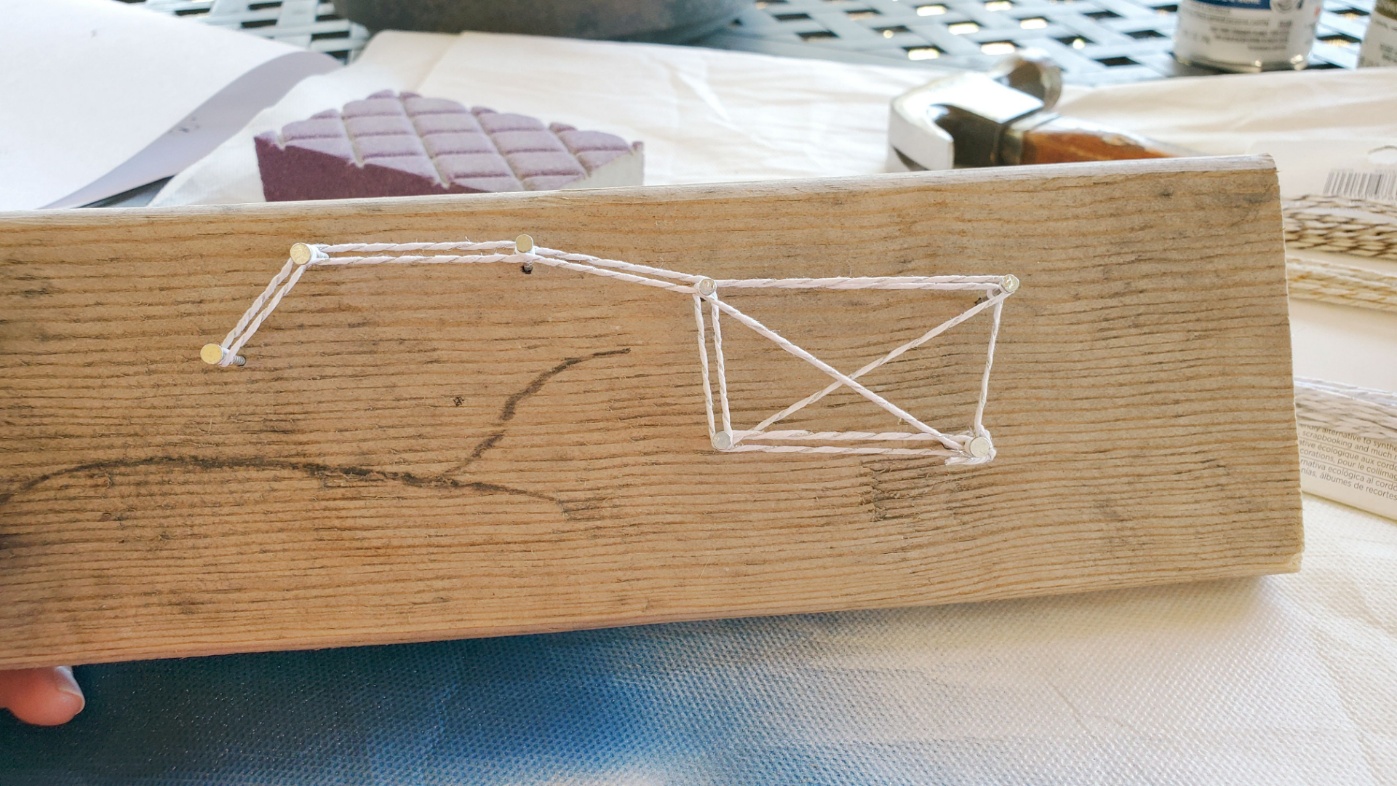
You’re done! You’ve got a custom constellation string board!
This project can be as simple or as complex as you want it to be. I had string and a board left over, so I made another constellation to look like the Big Dipper, which was the first constellation I learned to spot as a child. You can see it makes a very simple pattern, but is very recognizable!
What constellation did you make? Tag #IGGPPCamp on social media or share in the Arts & Crafts channel on our IGGPPCamp Discord!

[…] Home/IGGPPCamp 2020/IGGPPCamp 2020: Day 2 Previous […]