
If you have ever wanted to stare into a vortex of time and color, this is the craft for you! Putting together a sensory bottle can be very easy and lots of fun!
Time Vortex in a Bottle Supplies:
- 1 clear container with a lid (an empty drink bottle, a jar, a craft bottle, anything clear with a lid that you can easily seal and hold in your hands)
- Water
- 1 bottle of clear glue
- Glitter (any color)
- Beads, buttons, or small toys (optional)
- Food coloring (optional)
- Hot glue gun or super glue (optional)
Time Vortex in a Bottle Instructions:
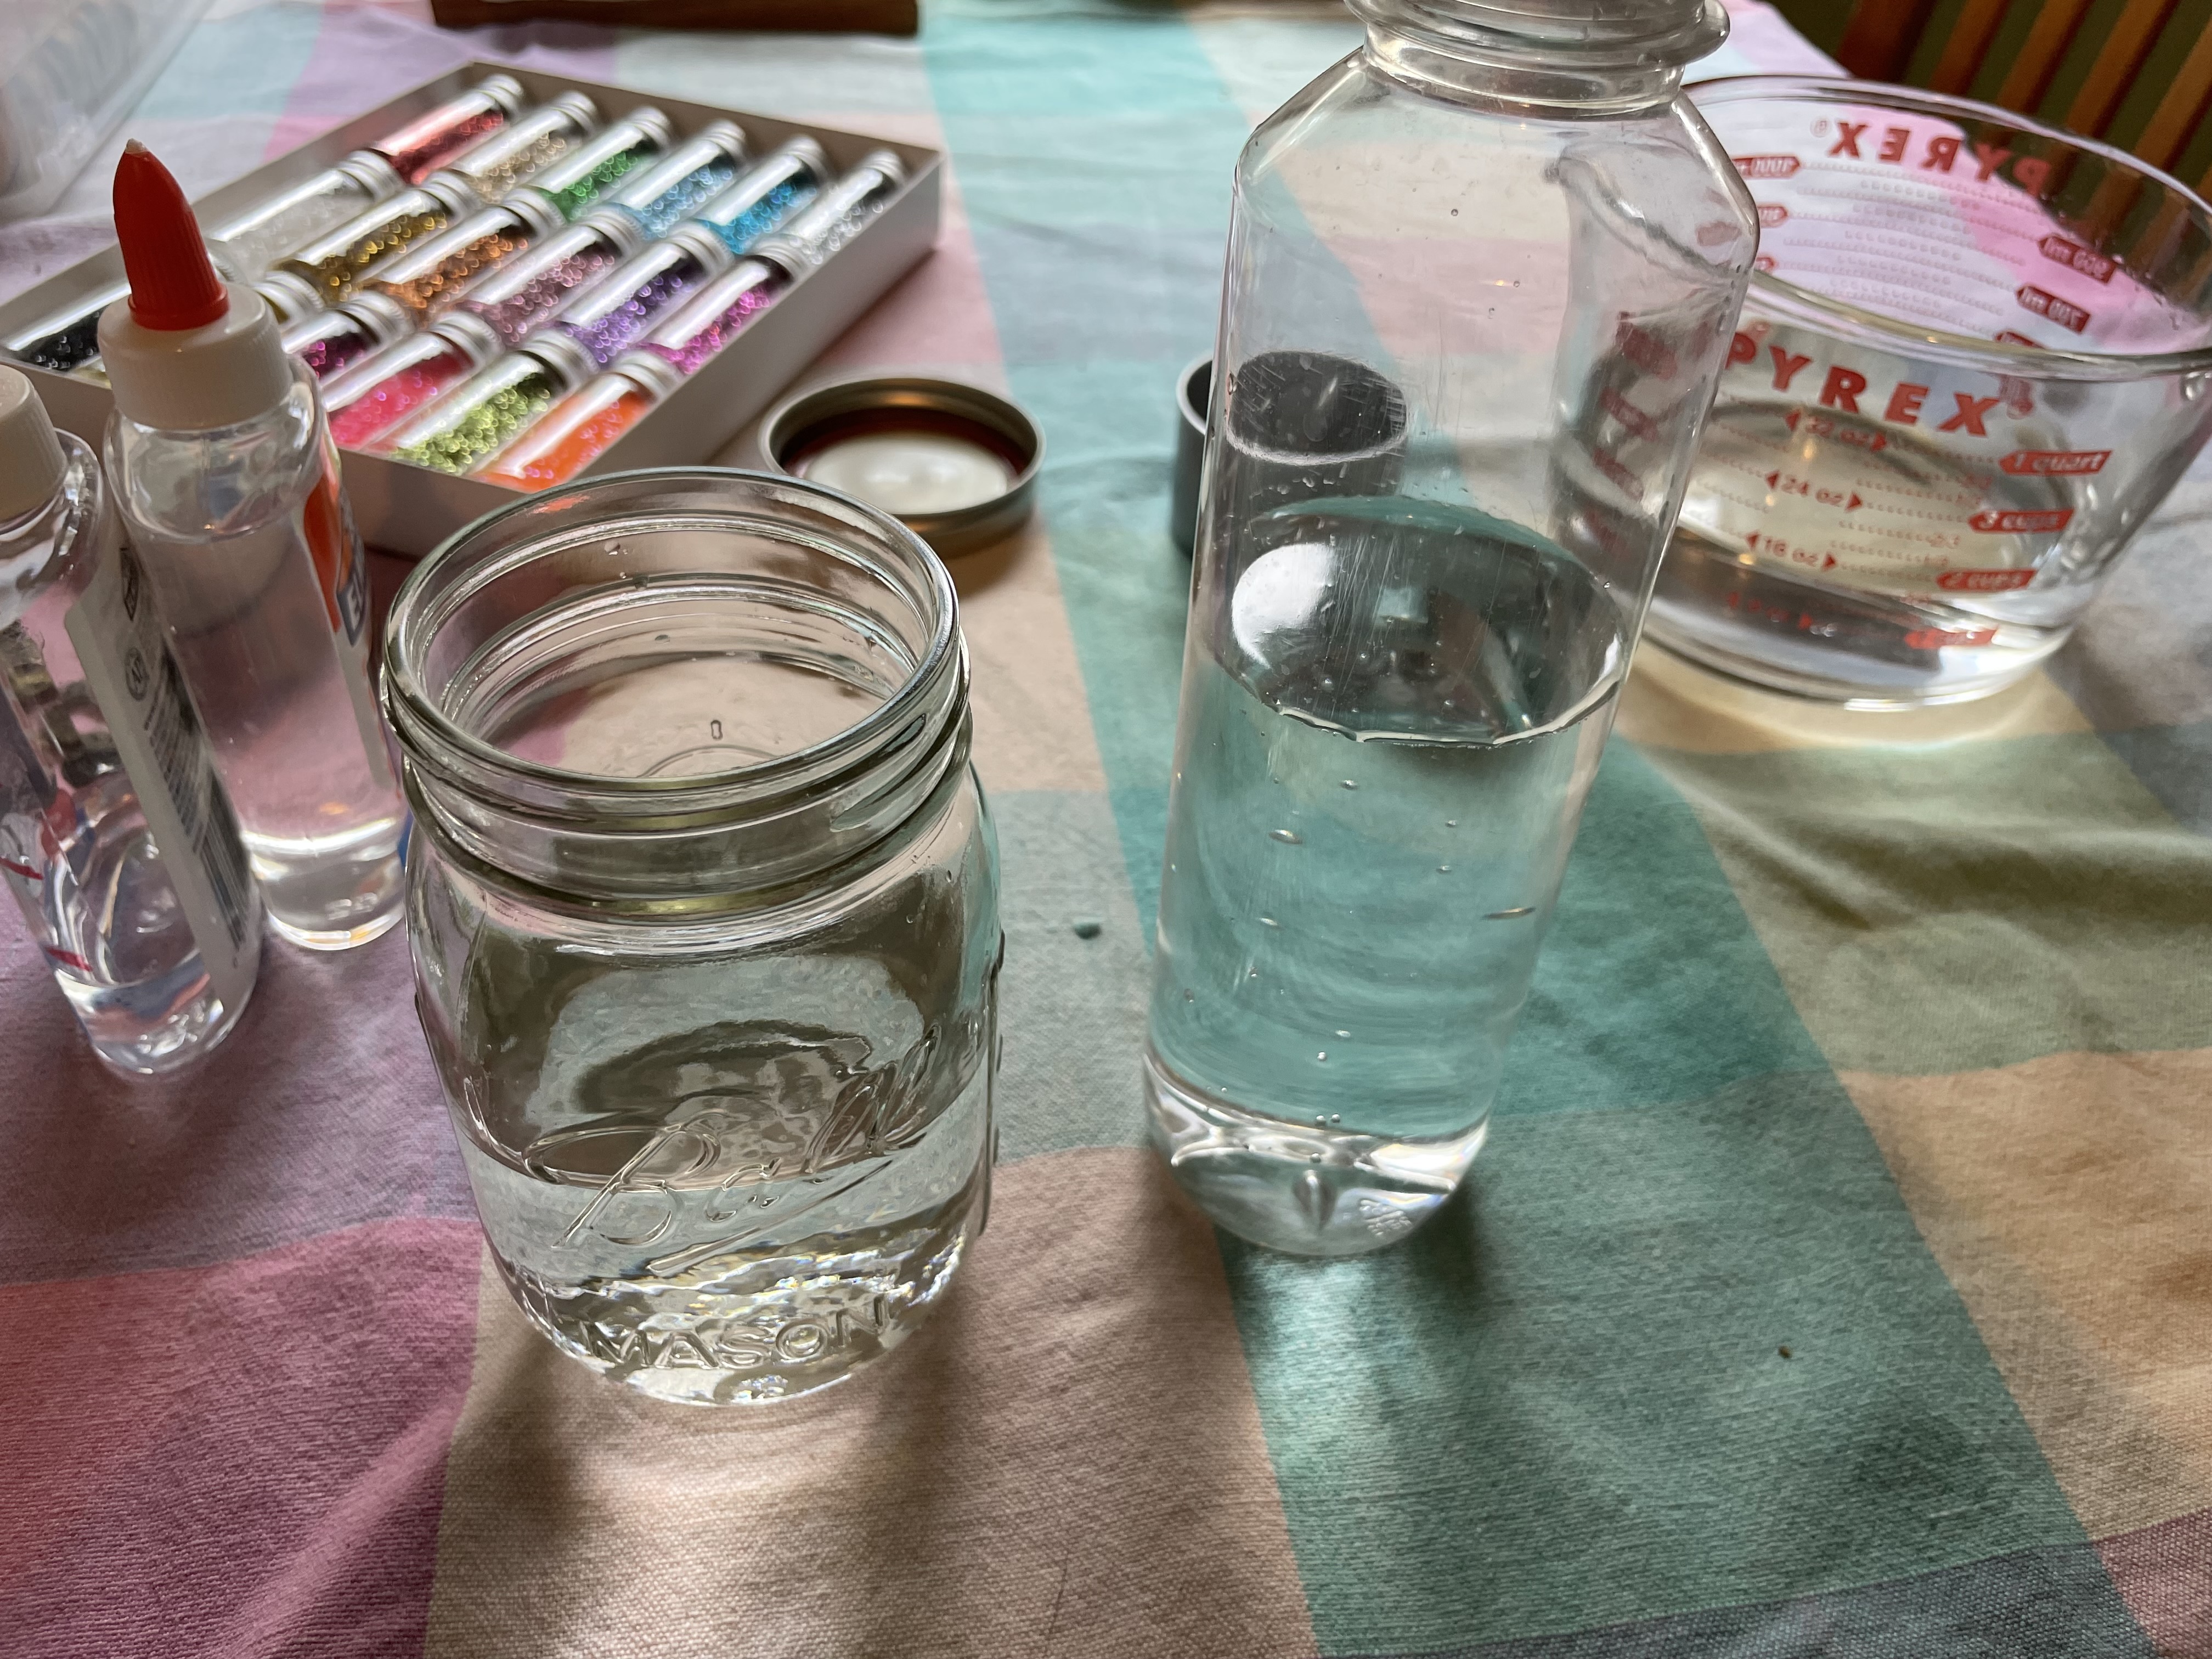
Step 1- Gather materials and set up your space. You will be using glue and glitter so you may want some protection for your surfaces.
Step 2- Fill your container about half way with water. This will give you some room if your other materials raise the waterline.

Step 3- Add your clear glue. You can add as much or as little glue as you would like. Less glue and the materials inside your bottle will settle to the bottom faster, more glue and they will settle to the bottom slower.
Step 4- Add your glitter. Again, the amount is up to you. Less glitter will lead to a smaller vortex and more glitter will create a larger vortex.
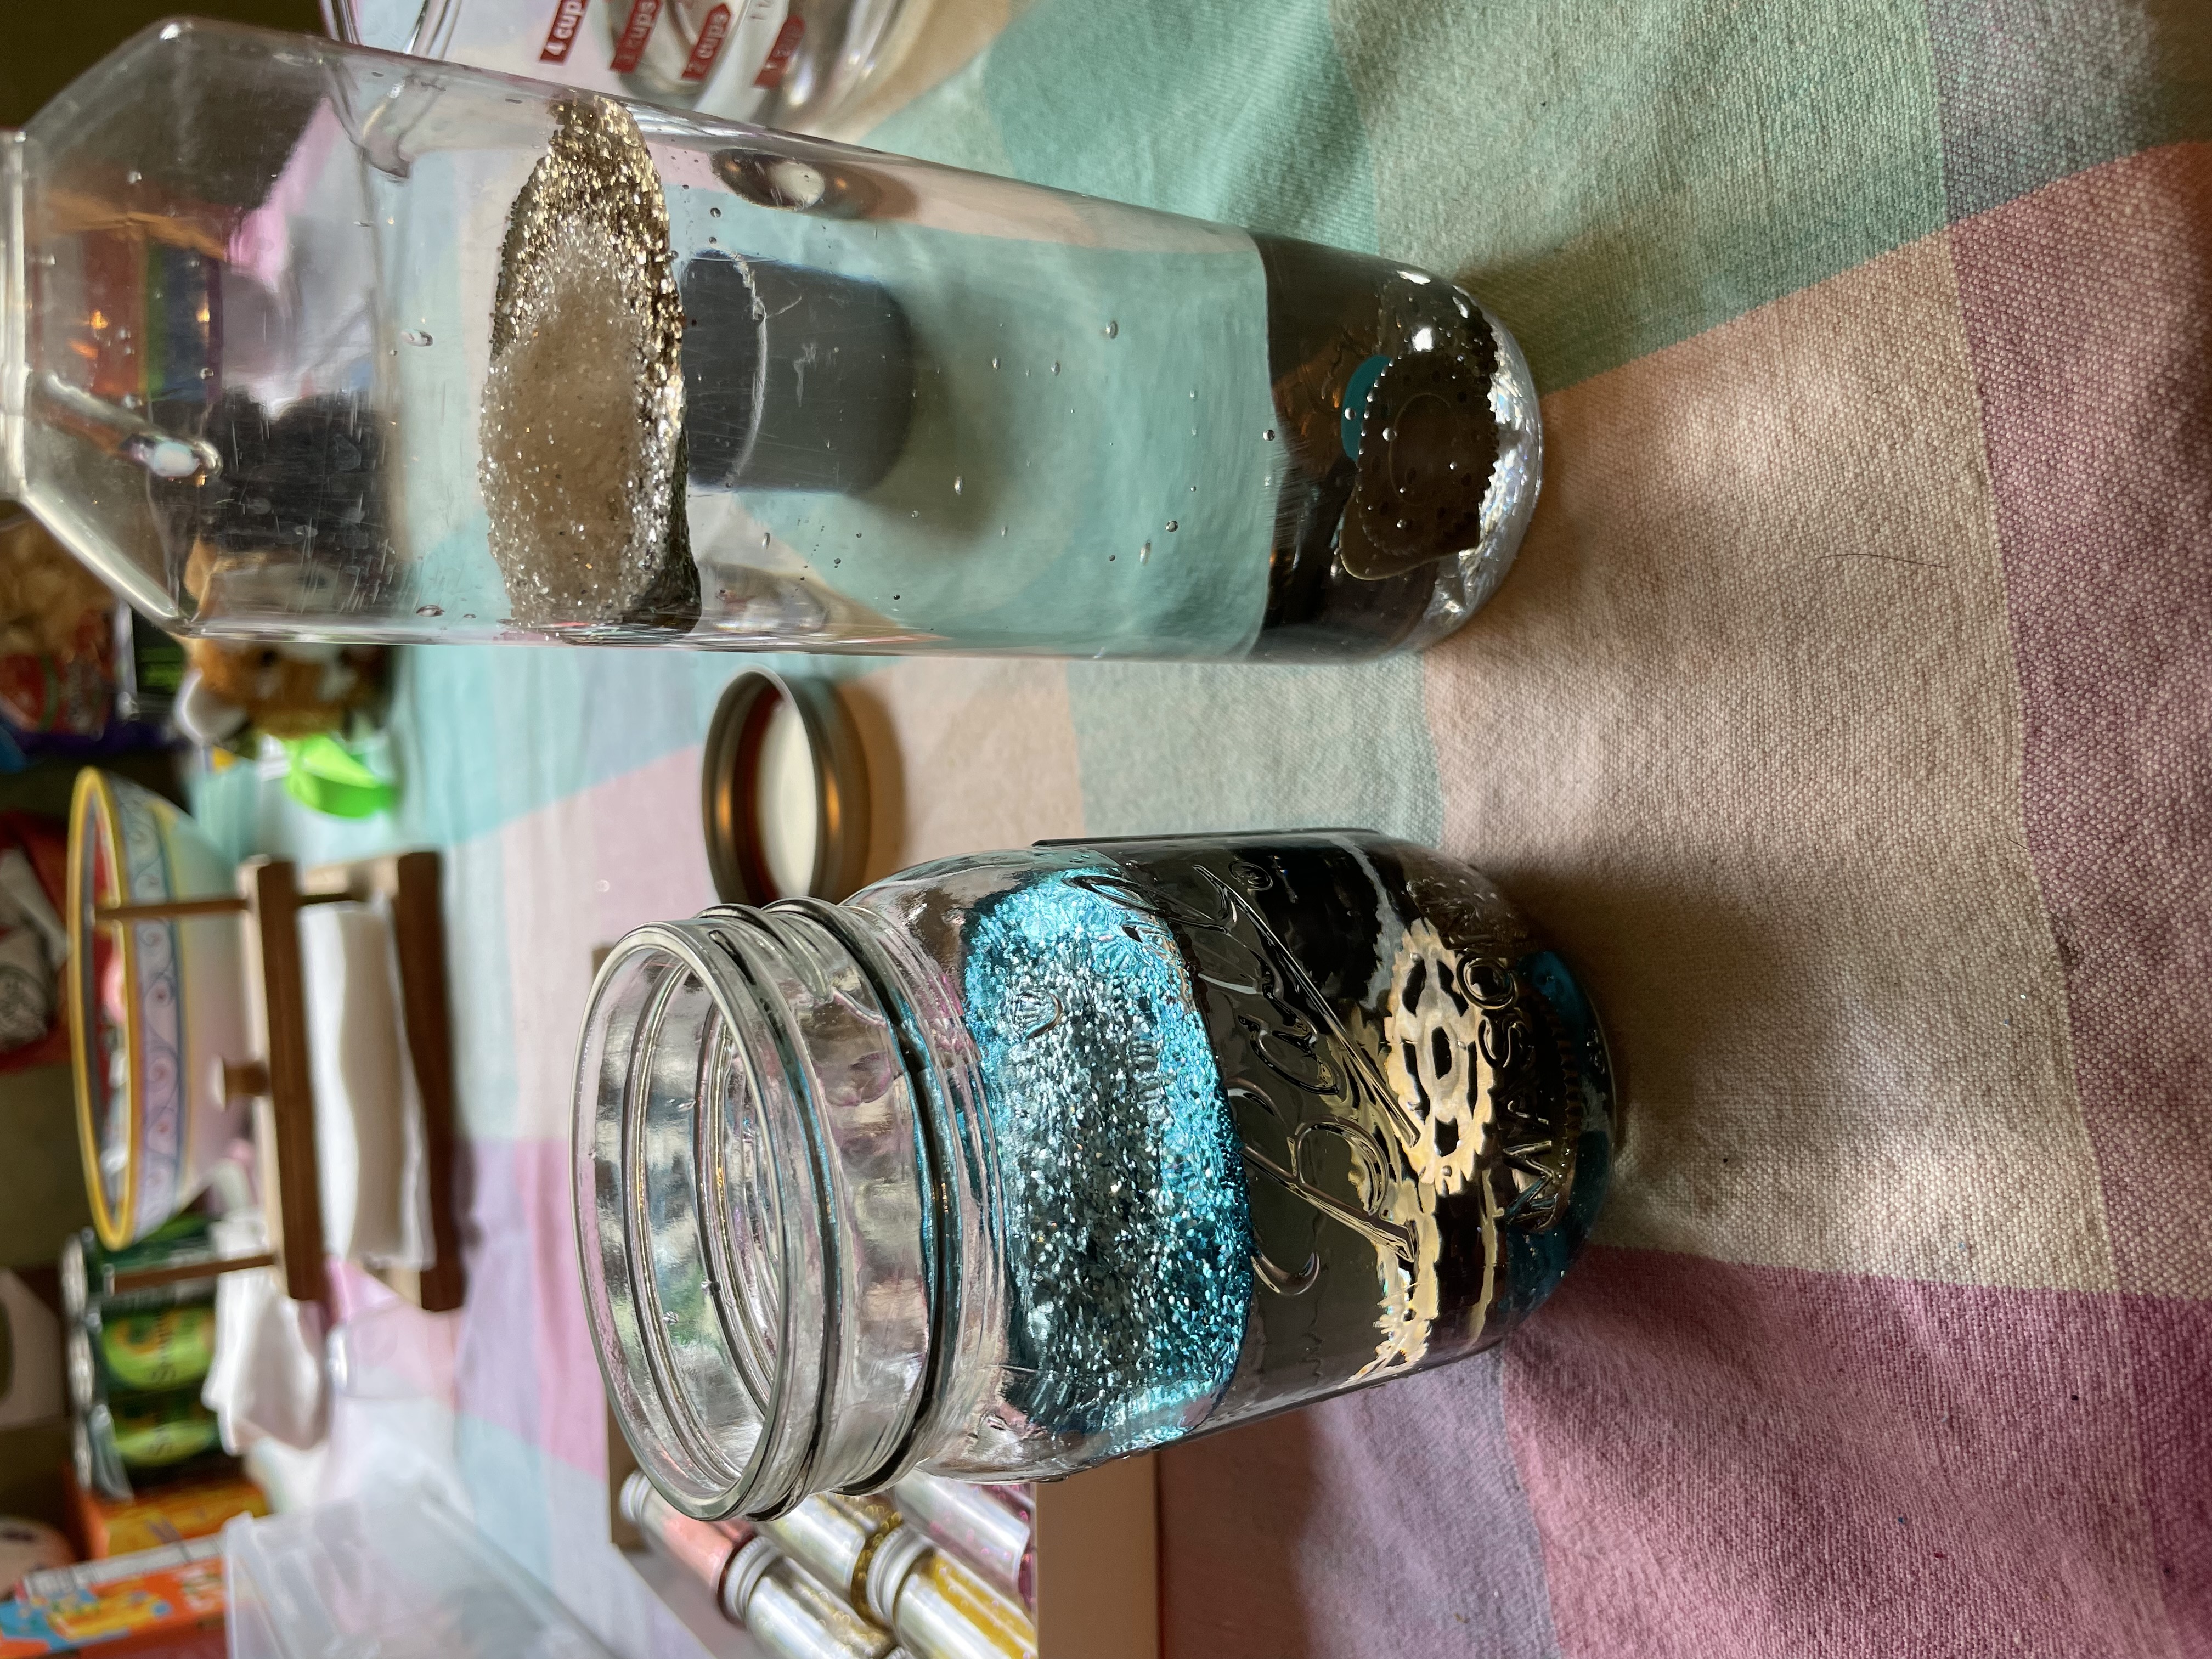
Step 5- Add your optional materials. This is when you can add your food coloring and small objects of your choosing. Food coloring changes the color of the water and can create an interesting contrast with your glitter, and the small objects can add an interesting rattle sound when you shake your bottle. The objects will settle on the bottom of your container faster than your glitter.
Step 6- Add more water until the container is as full as it can be without spilling when you put the lid on.

Step 7- Put the lid on tight and shake your container to mix up the materials until you can no longer see the glue. If you are unsatisfied with the speed of the settling materials you can remove some water and add more glue to the mix.
Step 8- If you would like to protect your jar from attempts to open it, now is when you should glue the lid to the bottle with hot glue or super glue. Both materials tend to need reapplication after several months.
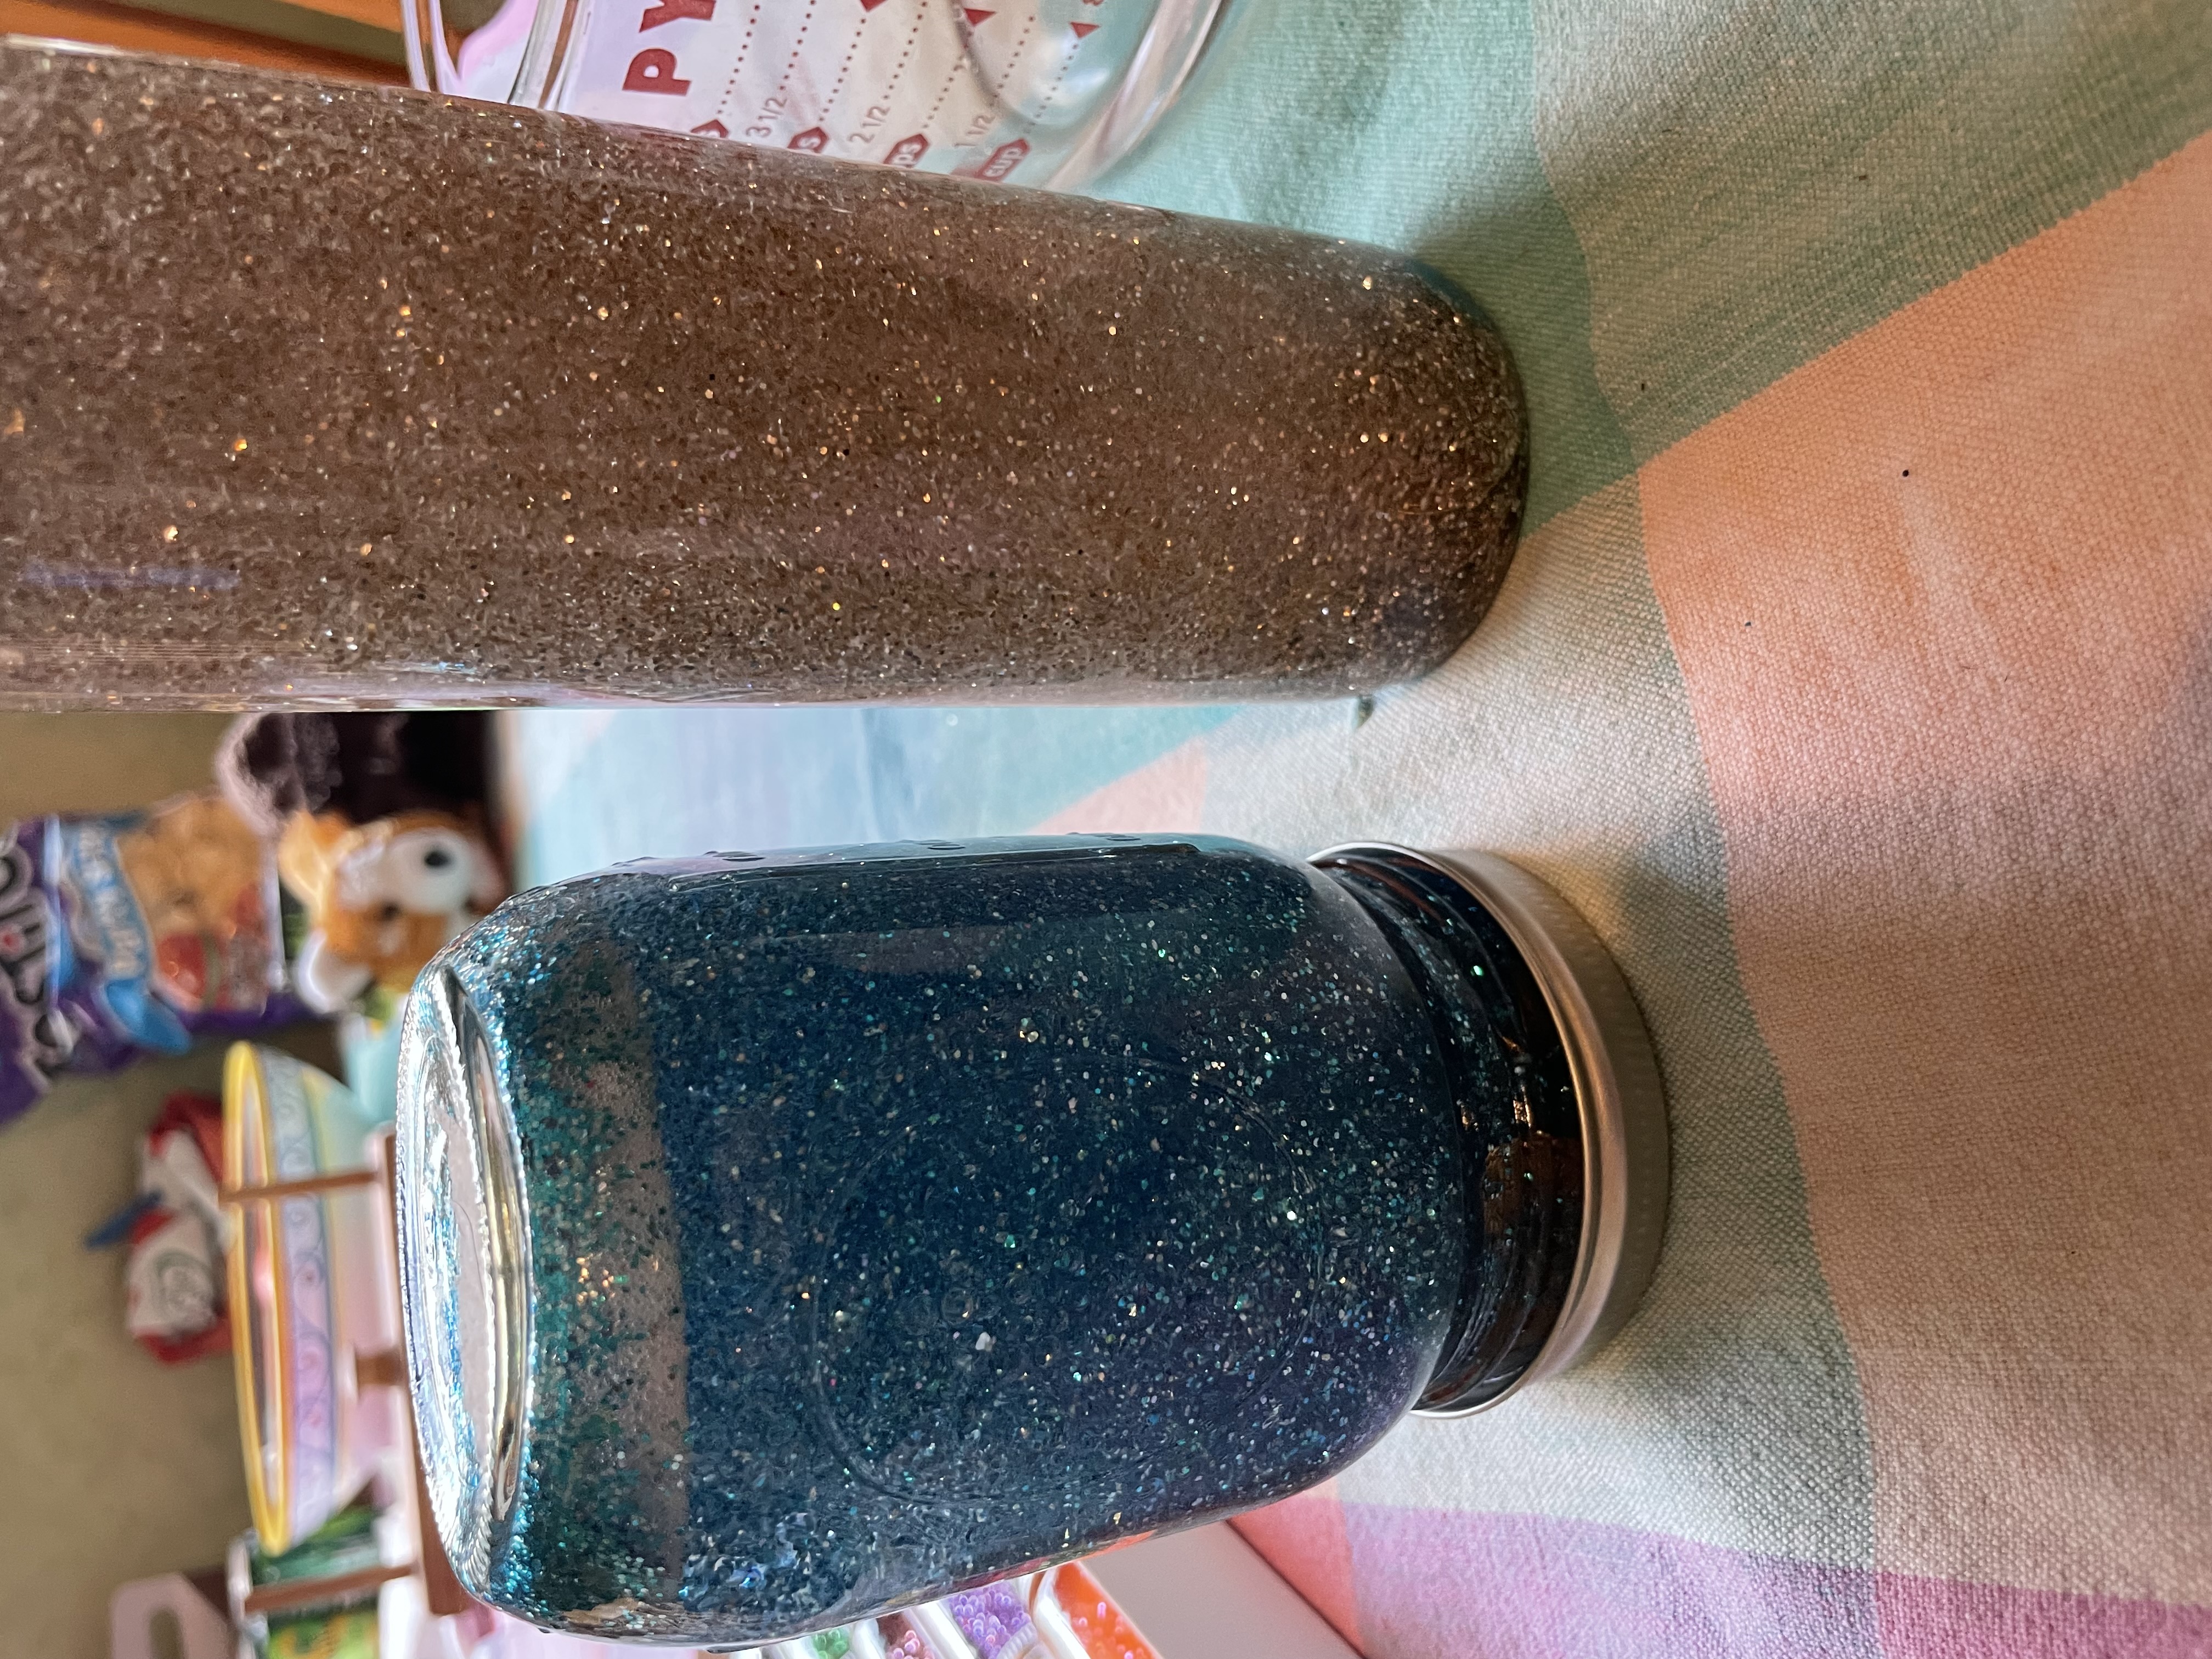
Step 9- Shake, swirl or turn over your vortex and enjoy!
Contributed by Morgan
Morgan (aka Camper Nutmeg)(she/her) is a time traveling hammock reader with a penchant for mischief and relaxing crafts. Find her on Instagram and discord as Logicalbibliophile.

Leave A Comment
You must be logged in to post a comment.