
Hello, fellow campers! Take a break from the extreme weather and come indoors for some arts and crafts. Today, we have a very simple yet very versatile craft: salt dough! “What is salt dough?” you ask? Well…it’s fairly self explanatory. It’s a dough that is made of three ingredients: flour, salt and water. Once you have made the dough, it is a cheap, homemade alternative to modeling clay. Interested yet? Let’s get started!
Supplies:
- 1 cup salt*
- 2 cups flour
- 3/4 cups water
- Measuring cups
- Mixing bowl
- Spoon/whisk
- Cooking tray and oven
- Cookie cutters, lids, skewers, acrylic paint, whatever you want to help you with shaping and creating your crafts
*Not using cups? Here’s a handy converter to find out the amount you need!
Creating the Salt Dough
Gather up your supplies in an area that you don’t mind getting messy. The kitchen is probably best!
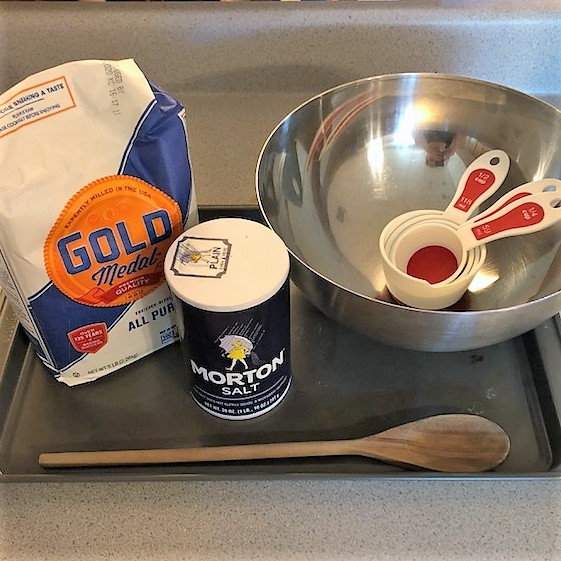
Supplies needed include salt, flour, and measuring cops.
Measure out your flour, salt and water. Here, I am using 2 cups of flour, 1 cup of salt and 3/4 to 1 cup of water. This ends up making a lot more salt dough than I can use in one go but fortunately, you can refrigerate it for a few days if you want to use it all up! Otherwise, you may adjust the amount of ingredients you use while keeping the above ratio.
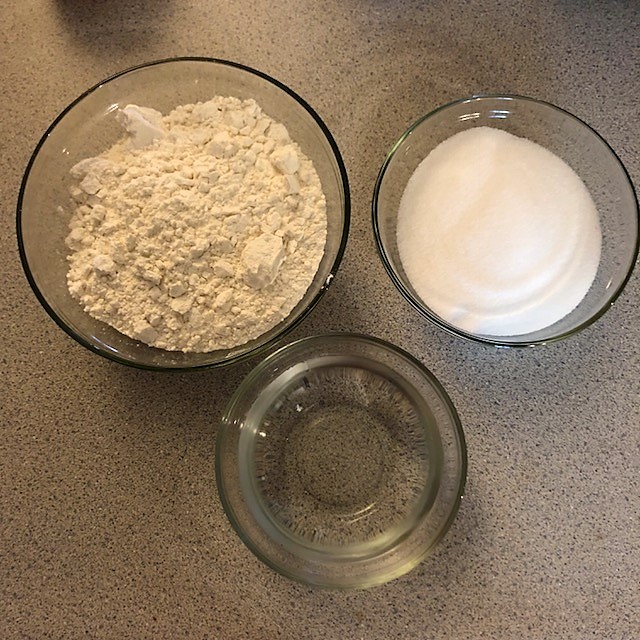
Flour, salt and water
Mix the flour and salt into the mixing bowl. If you have a mixer, go ahead and use that. A wooden spoon worked fine for me.
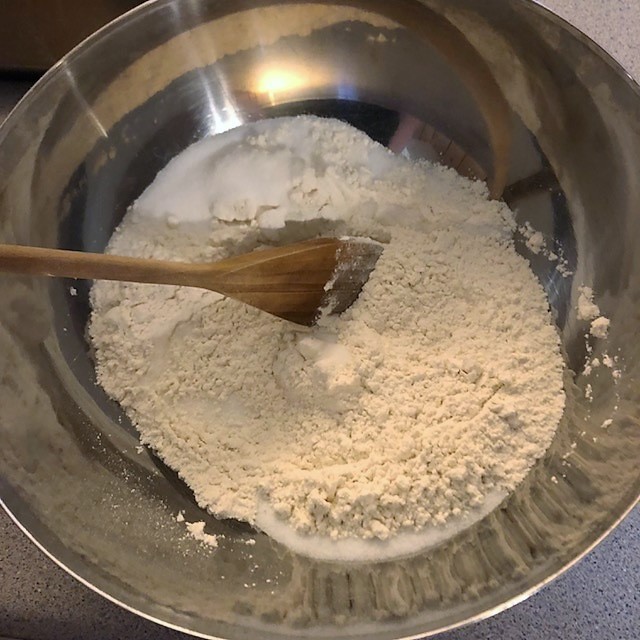
Mix the dry ingredients
Once the dry ingredients have been thoroughly mixed, I start adding the water bit by bit. In the past, I have had issues with making the salt dough by adding too much water. This makes the dough very, VERY sticky. Therefore, I am taking my time today with getting the perfect consistency.
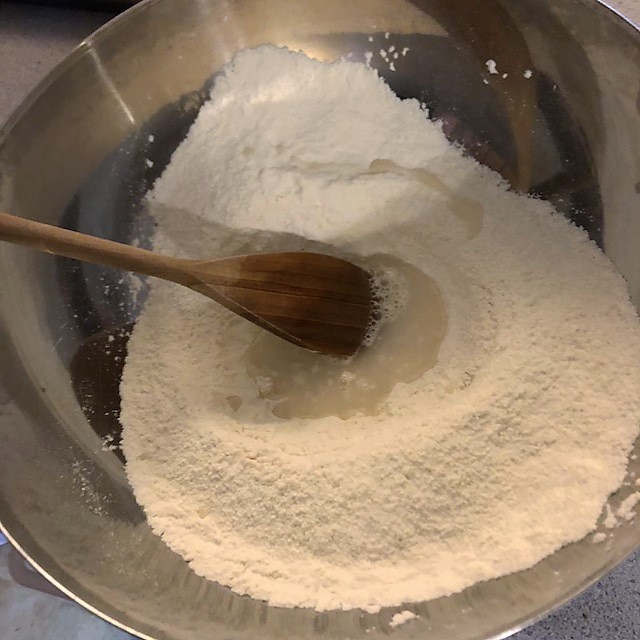
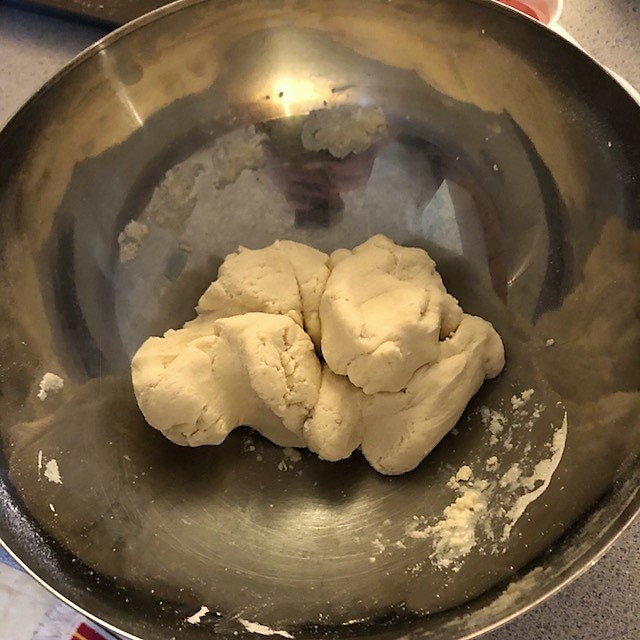
After adding the water, the dough starts to get hard to mix. I ditch the spoon at this point and get my hands in there to knead. I end up adding a little more than 3/4 cup of water to get that perfect consistency. Once the dough is holding together but not leaving a sticky residue on your hands, you are golden!
Molding with the Salt Dough
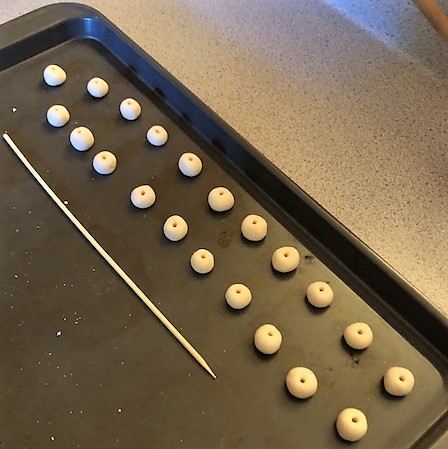
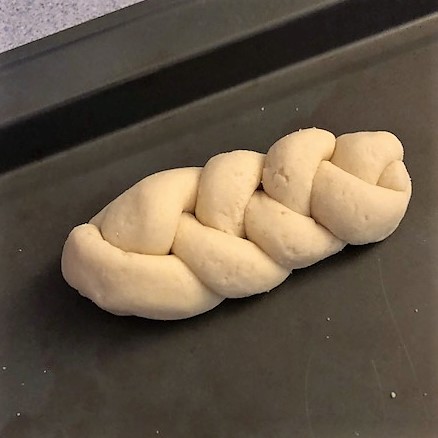
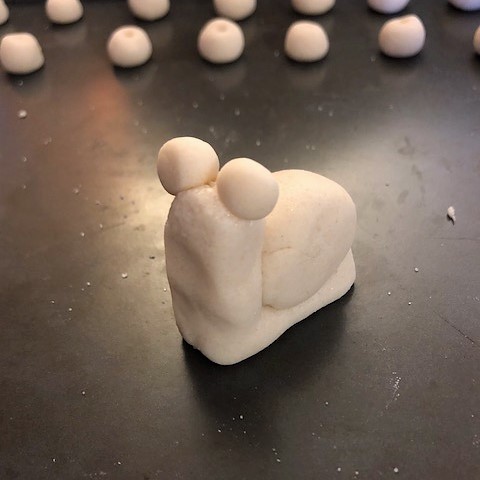
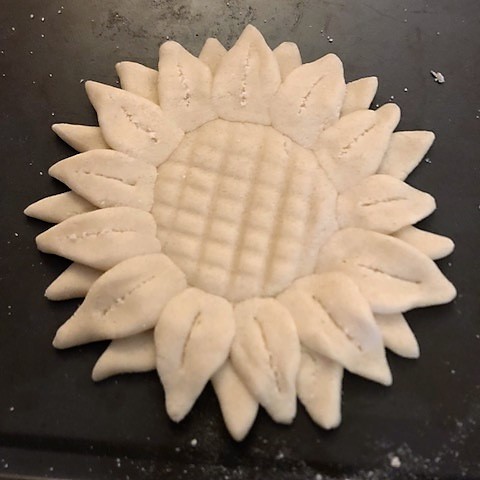
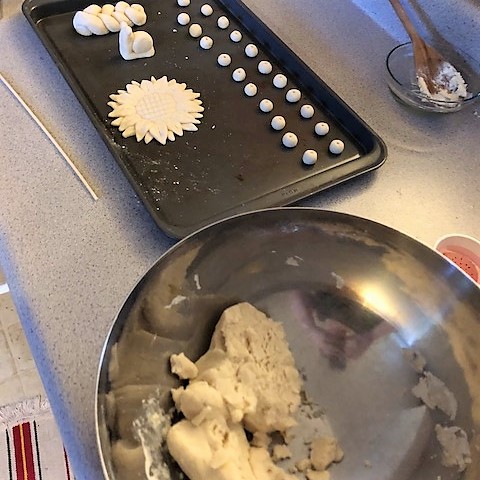
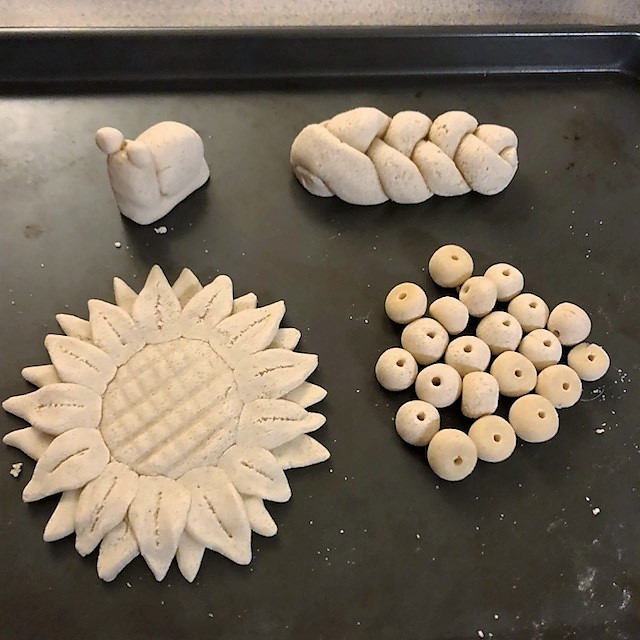
Here is the fun part! What should we make?? The options are almost endless. Try Googling “salt dough crafts” if you are having trouble getting inspired. Today, I decided to make little beads that I will paint for a bracelet, a little loaf of bread, a JimBob Snail and a sunflower plaque. I considered making little candle holders for tea light candles but felt that I already had enough on my tray for the day.
All that made and still a good amount of salt dough leftover! I put the remains in a Tupperware in the fridge. It CAN go bad, so make use of it in a few days.
Baking and Painting Your Salt Dough
Now that you have molded what you have planned to make, set them all on your cooking tray. There is an option to air dry these crafts, but that will take a few days. I’m impatient to paint these so I am going to put them in the oven. Set the oven to 200 degrees F/95 degrees C (though if you have prior experience or success at a different temperature, go right ahead!). Once the oven is preheated, set your tray inside. Keep an eye on your tray; different thickness of dough will result in different cooking times.
Being honest now…I have yet to nail out the perfect amount of time to let these babies cook. Tonight, I did about three 30 minute intervals with the above crafts. The beads were ready pretty quickly but the remaining crafts are still a bit soft on the side that rested on the tray.
At this point, I am satisfied that my salt dough is MOSTLY hard enough.
Baked crafts
Once everything is baked, feel free to decorate! I highly recommend using acrylic paint, because I didn’t happen to have acrylic available tonight and used watercolor paints instead (not nearly as good). Regardless, here is the finished Jimbob!
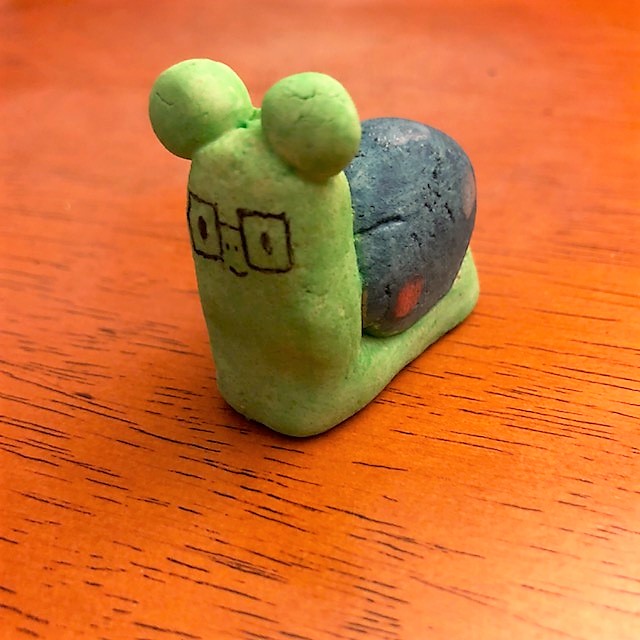
JimBob!
That is all there is too it! I look forward to seeing everyone’s salt dough creations. Get creative, get wild! And clean up when you are finished. No one likes when the craft supplies aren’t put away properly 😉

Leave A Comment
You must be logged in to post a comment.