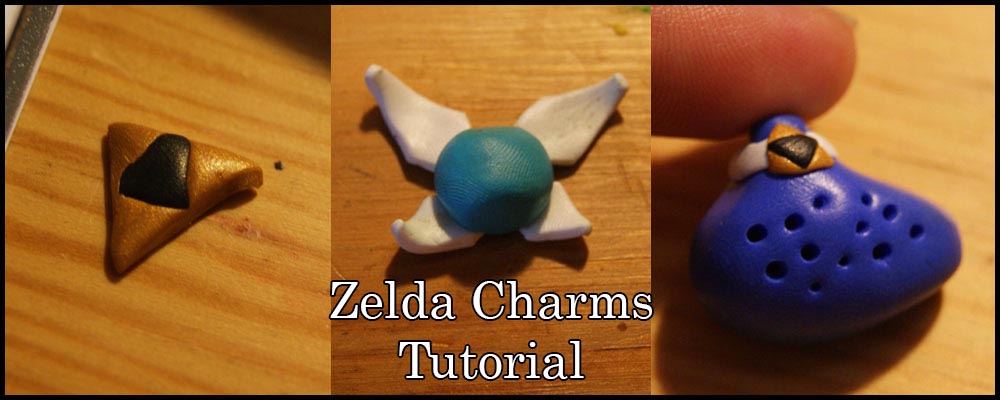
Welcome back to another installment of this series Crafting with Polymer Clay. Last time we learned a little about the general materials you need to get started. So for this lesson on polymer clay, we’ll jump right into making things: I am going to show you how to do a few simple Legend of Zelda charms that are super beginner friendly. They require a small amount of clay, no tools are really required as you can use everyday items to help you, plus they are really cute!
Navi Charm
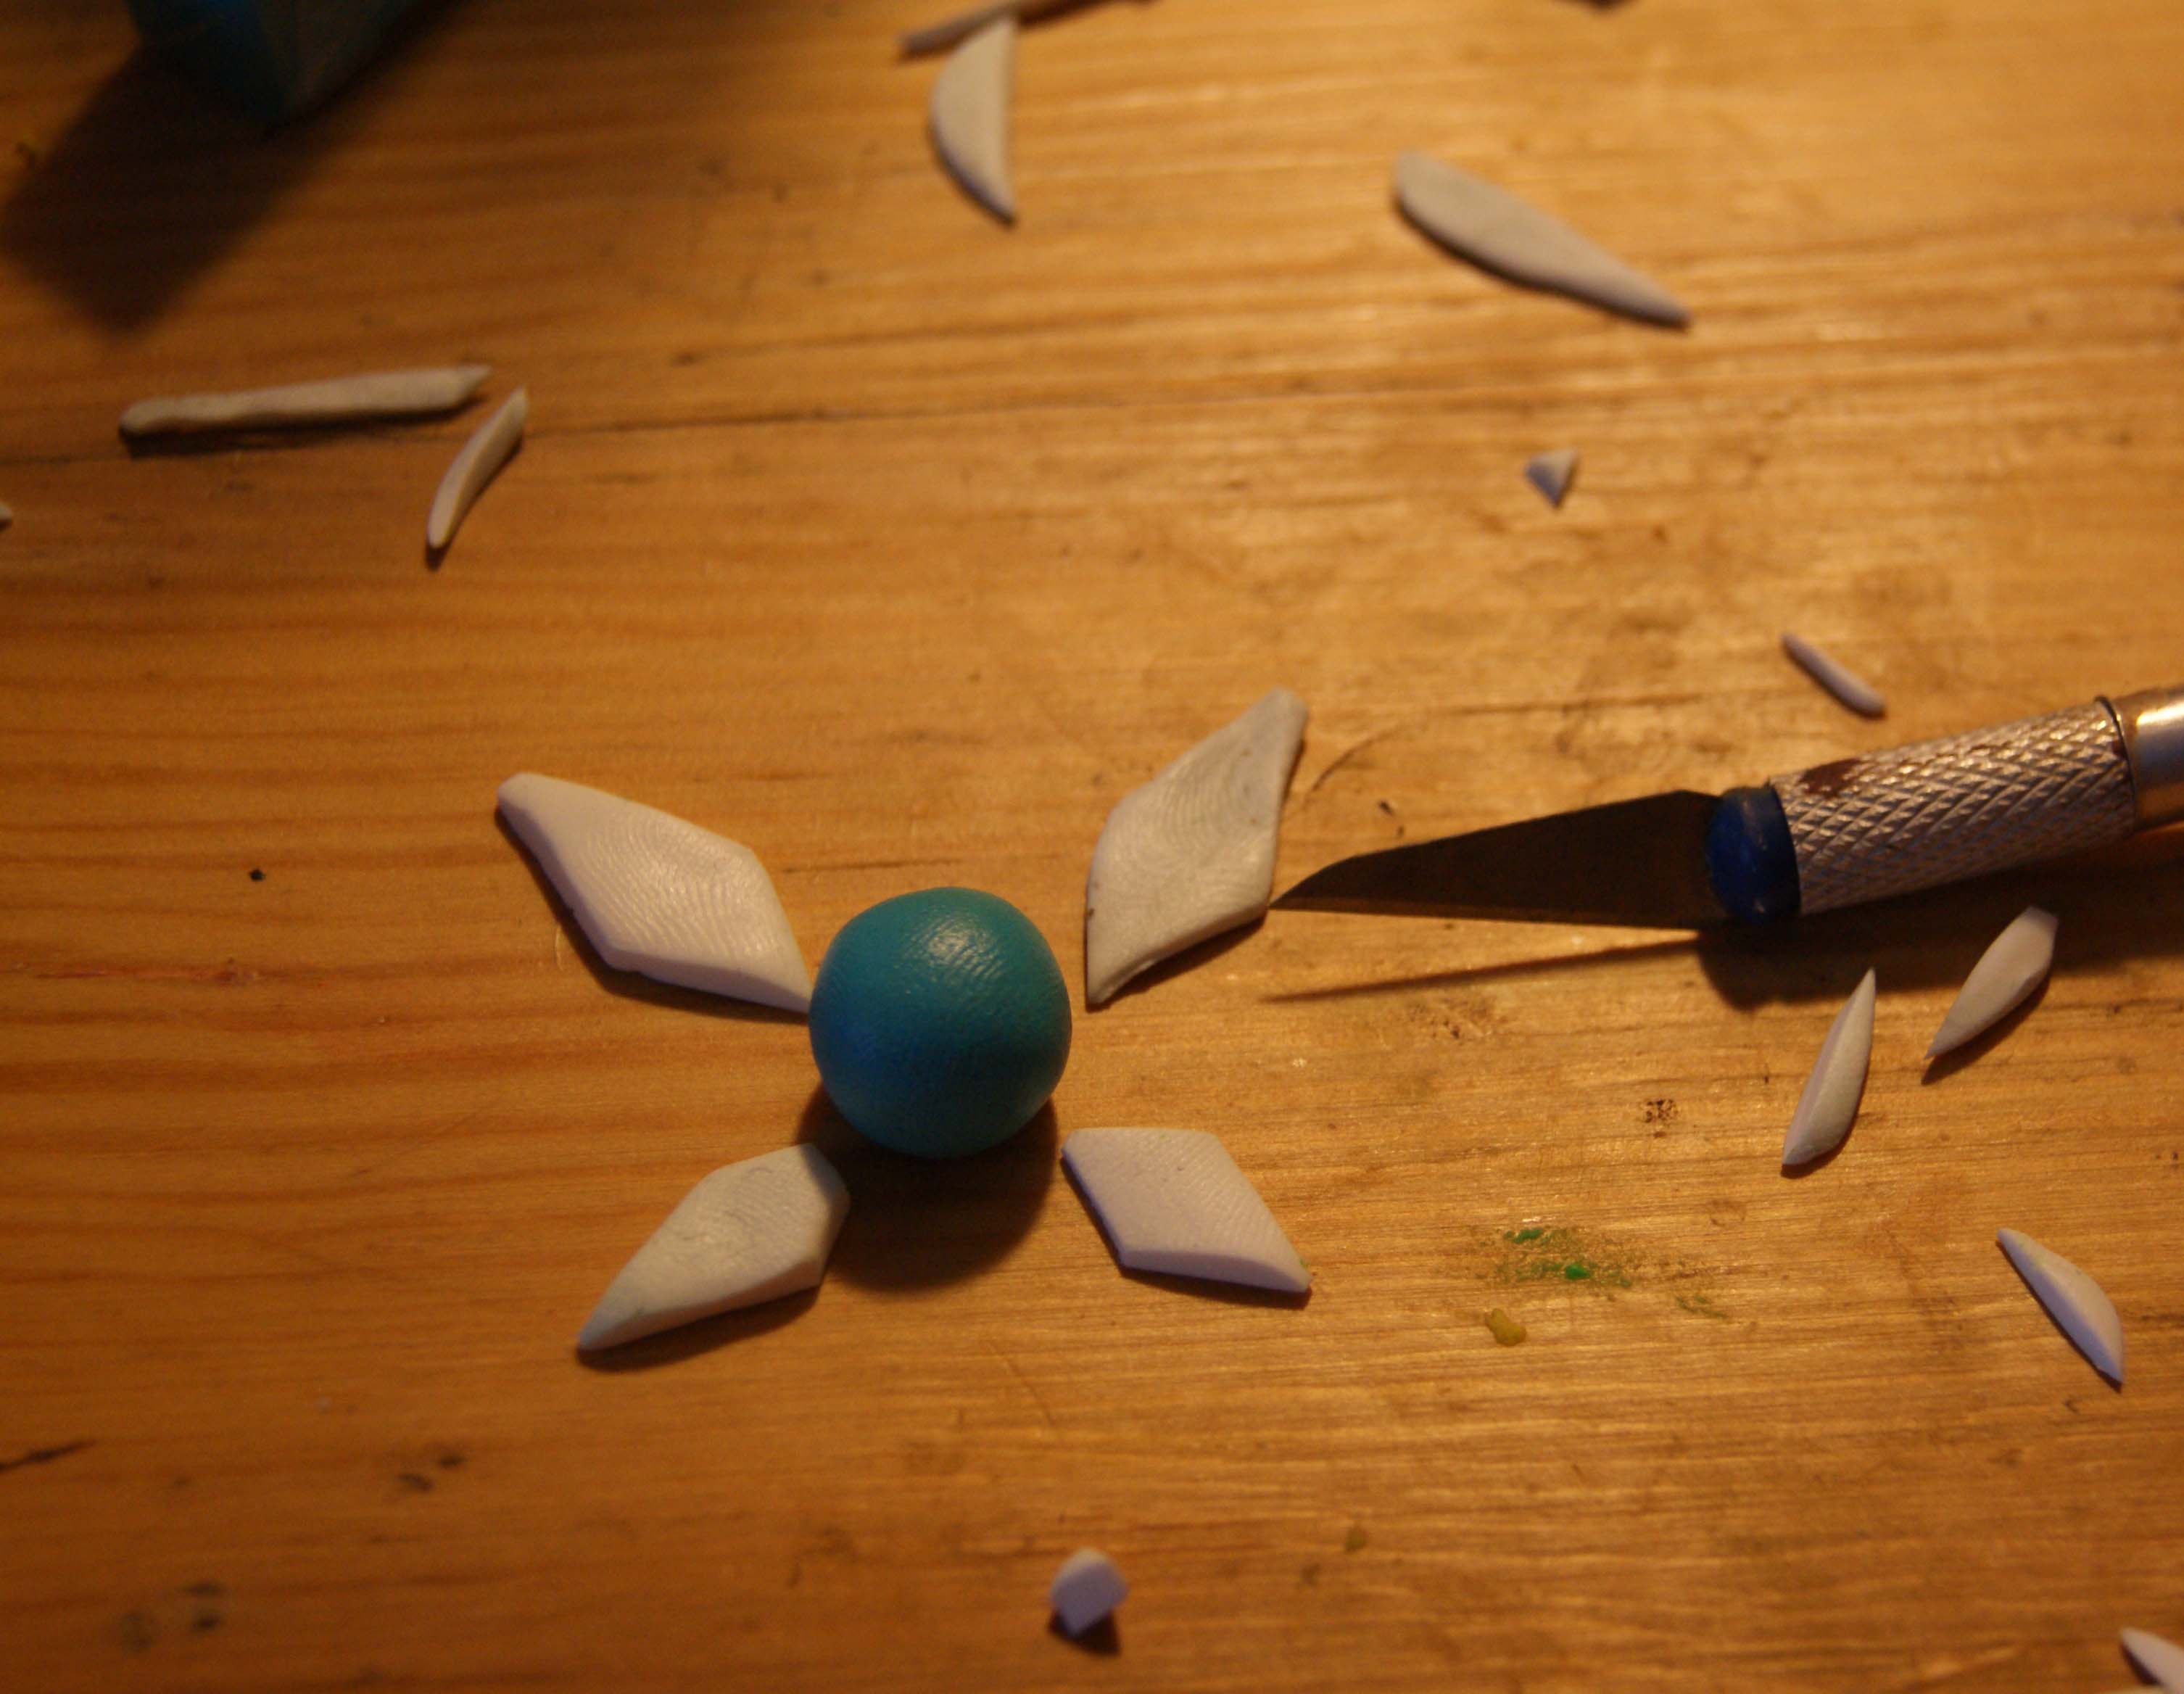
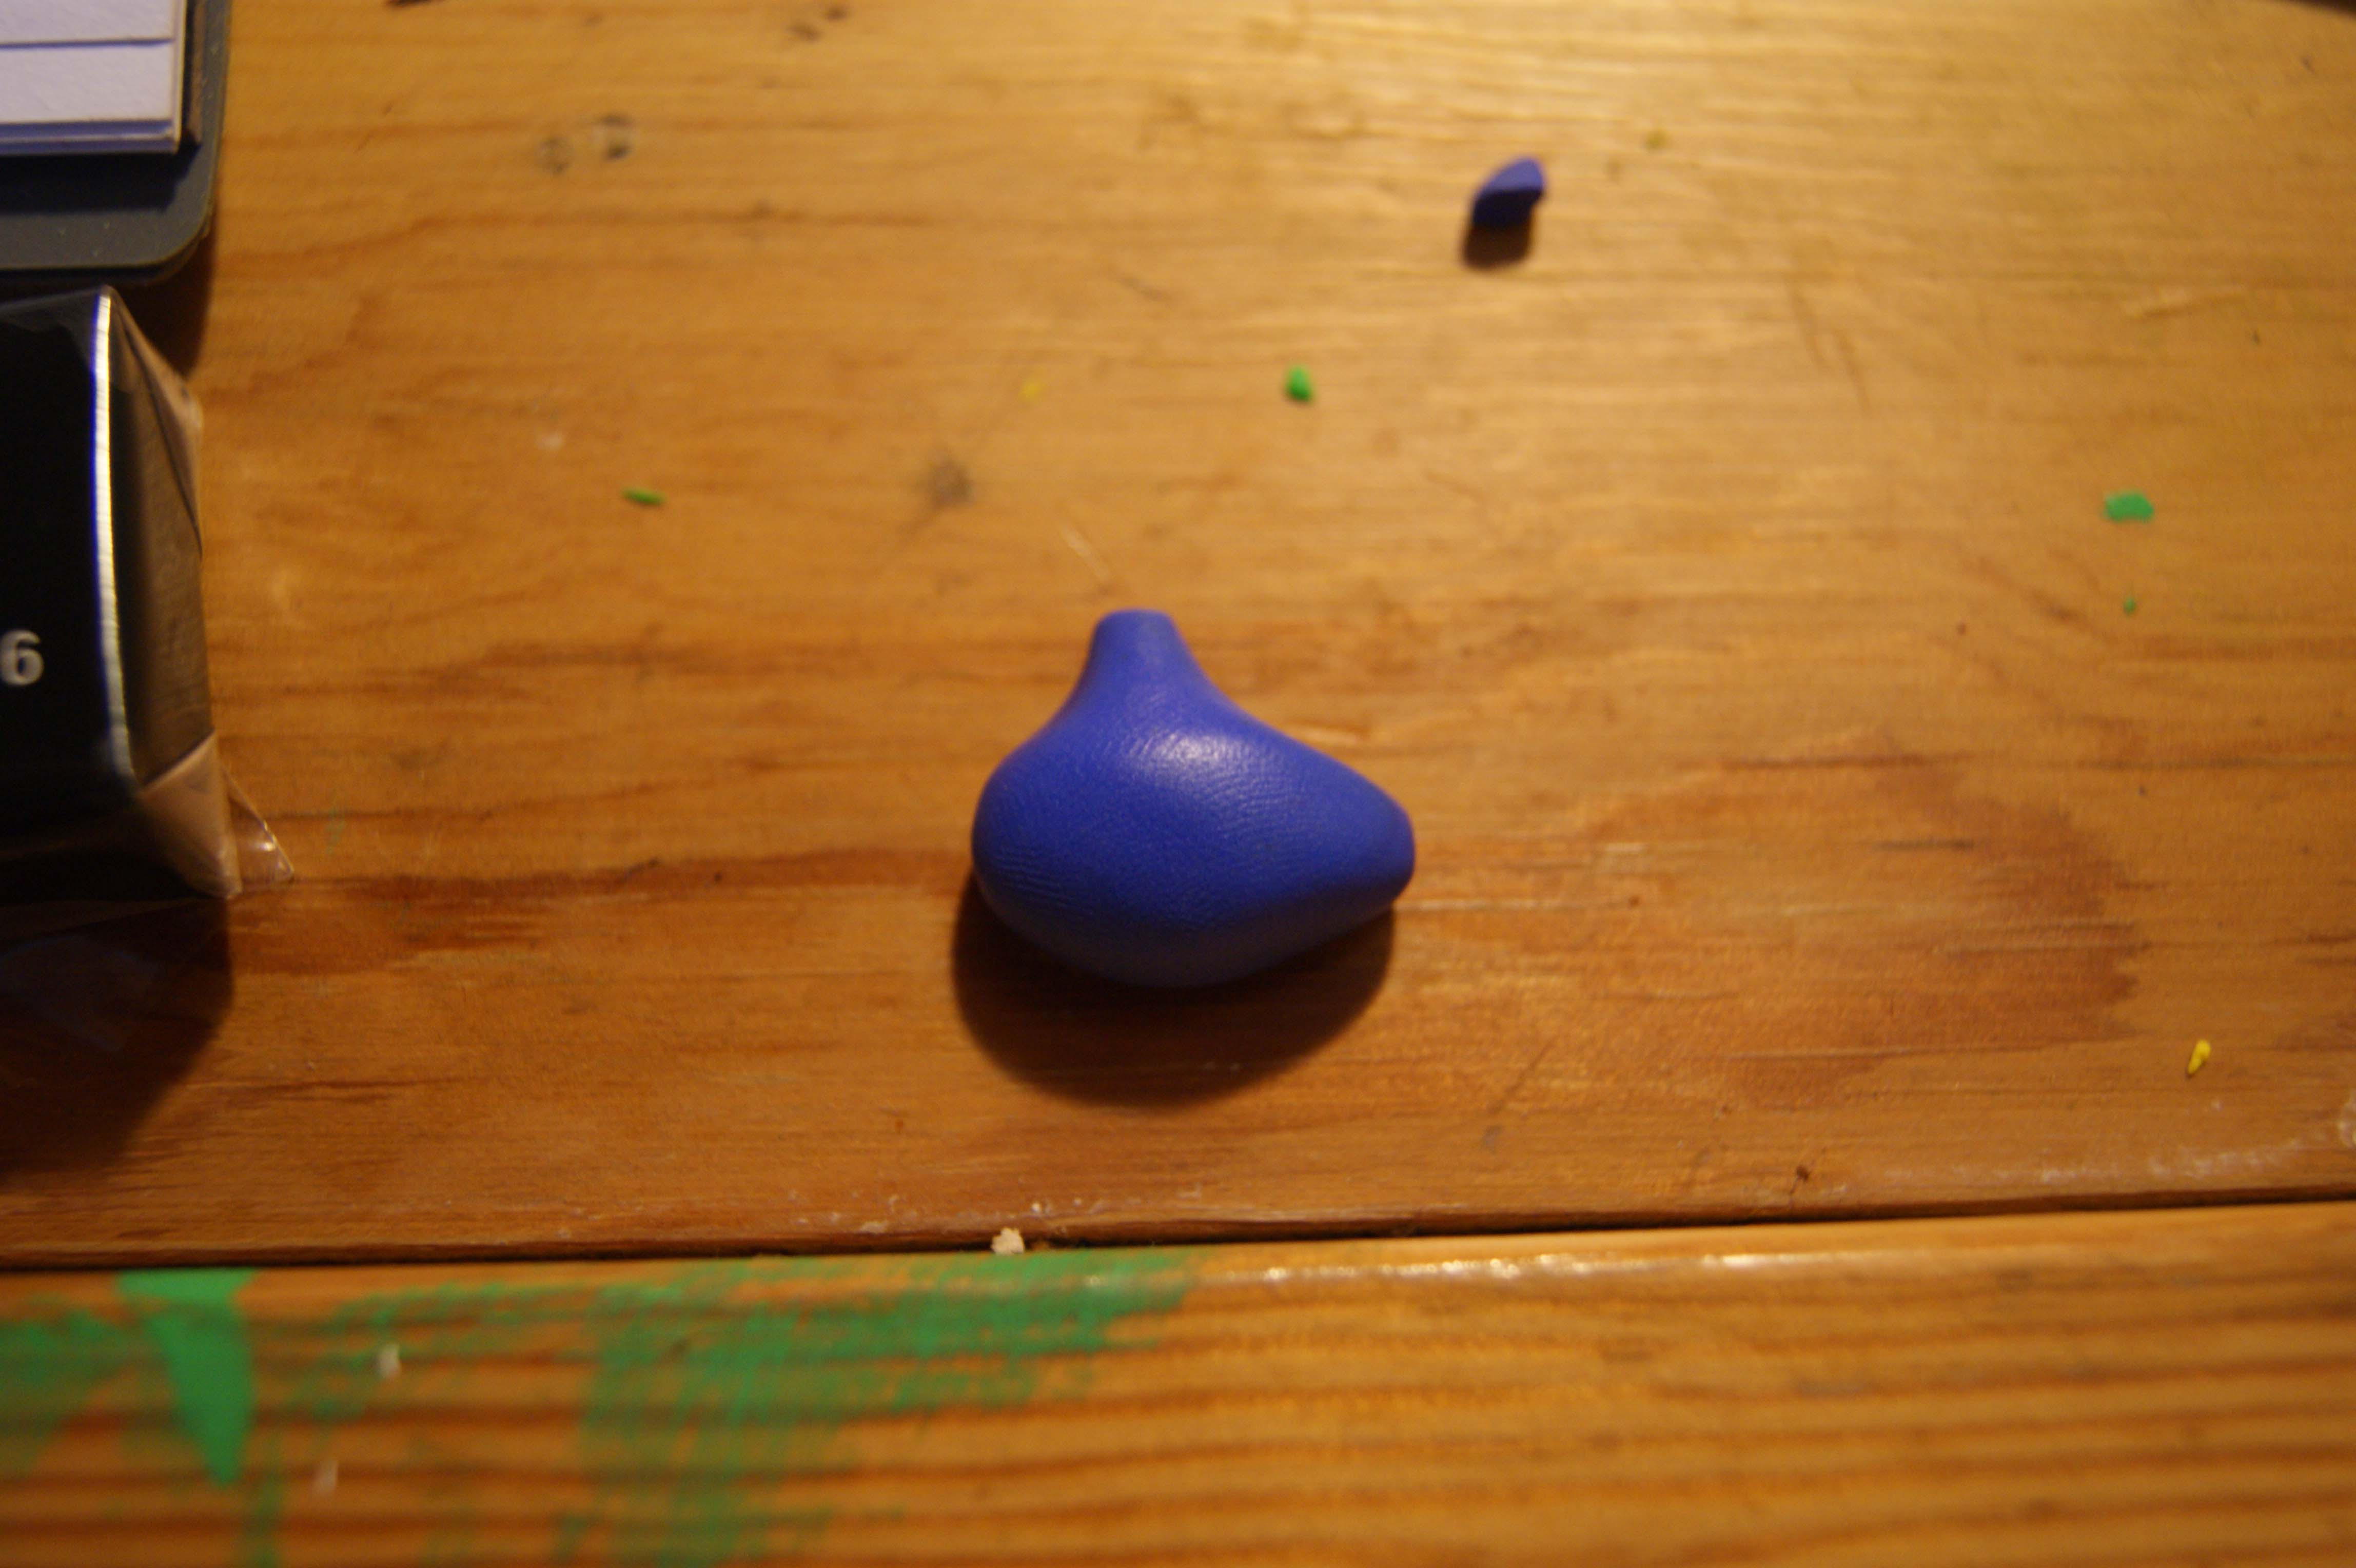
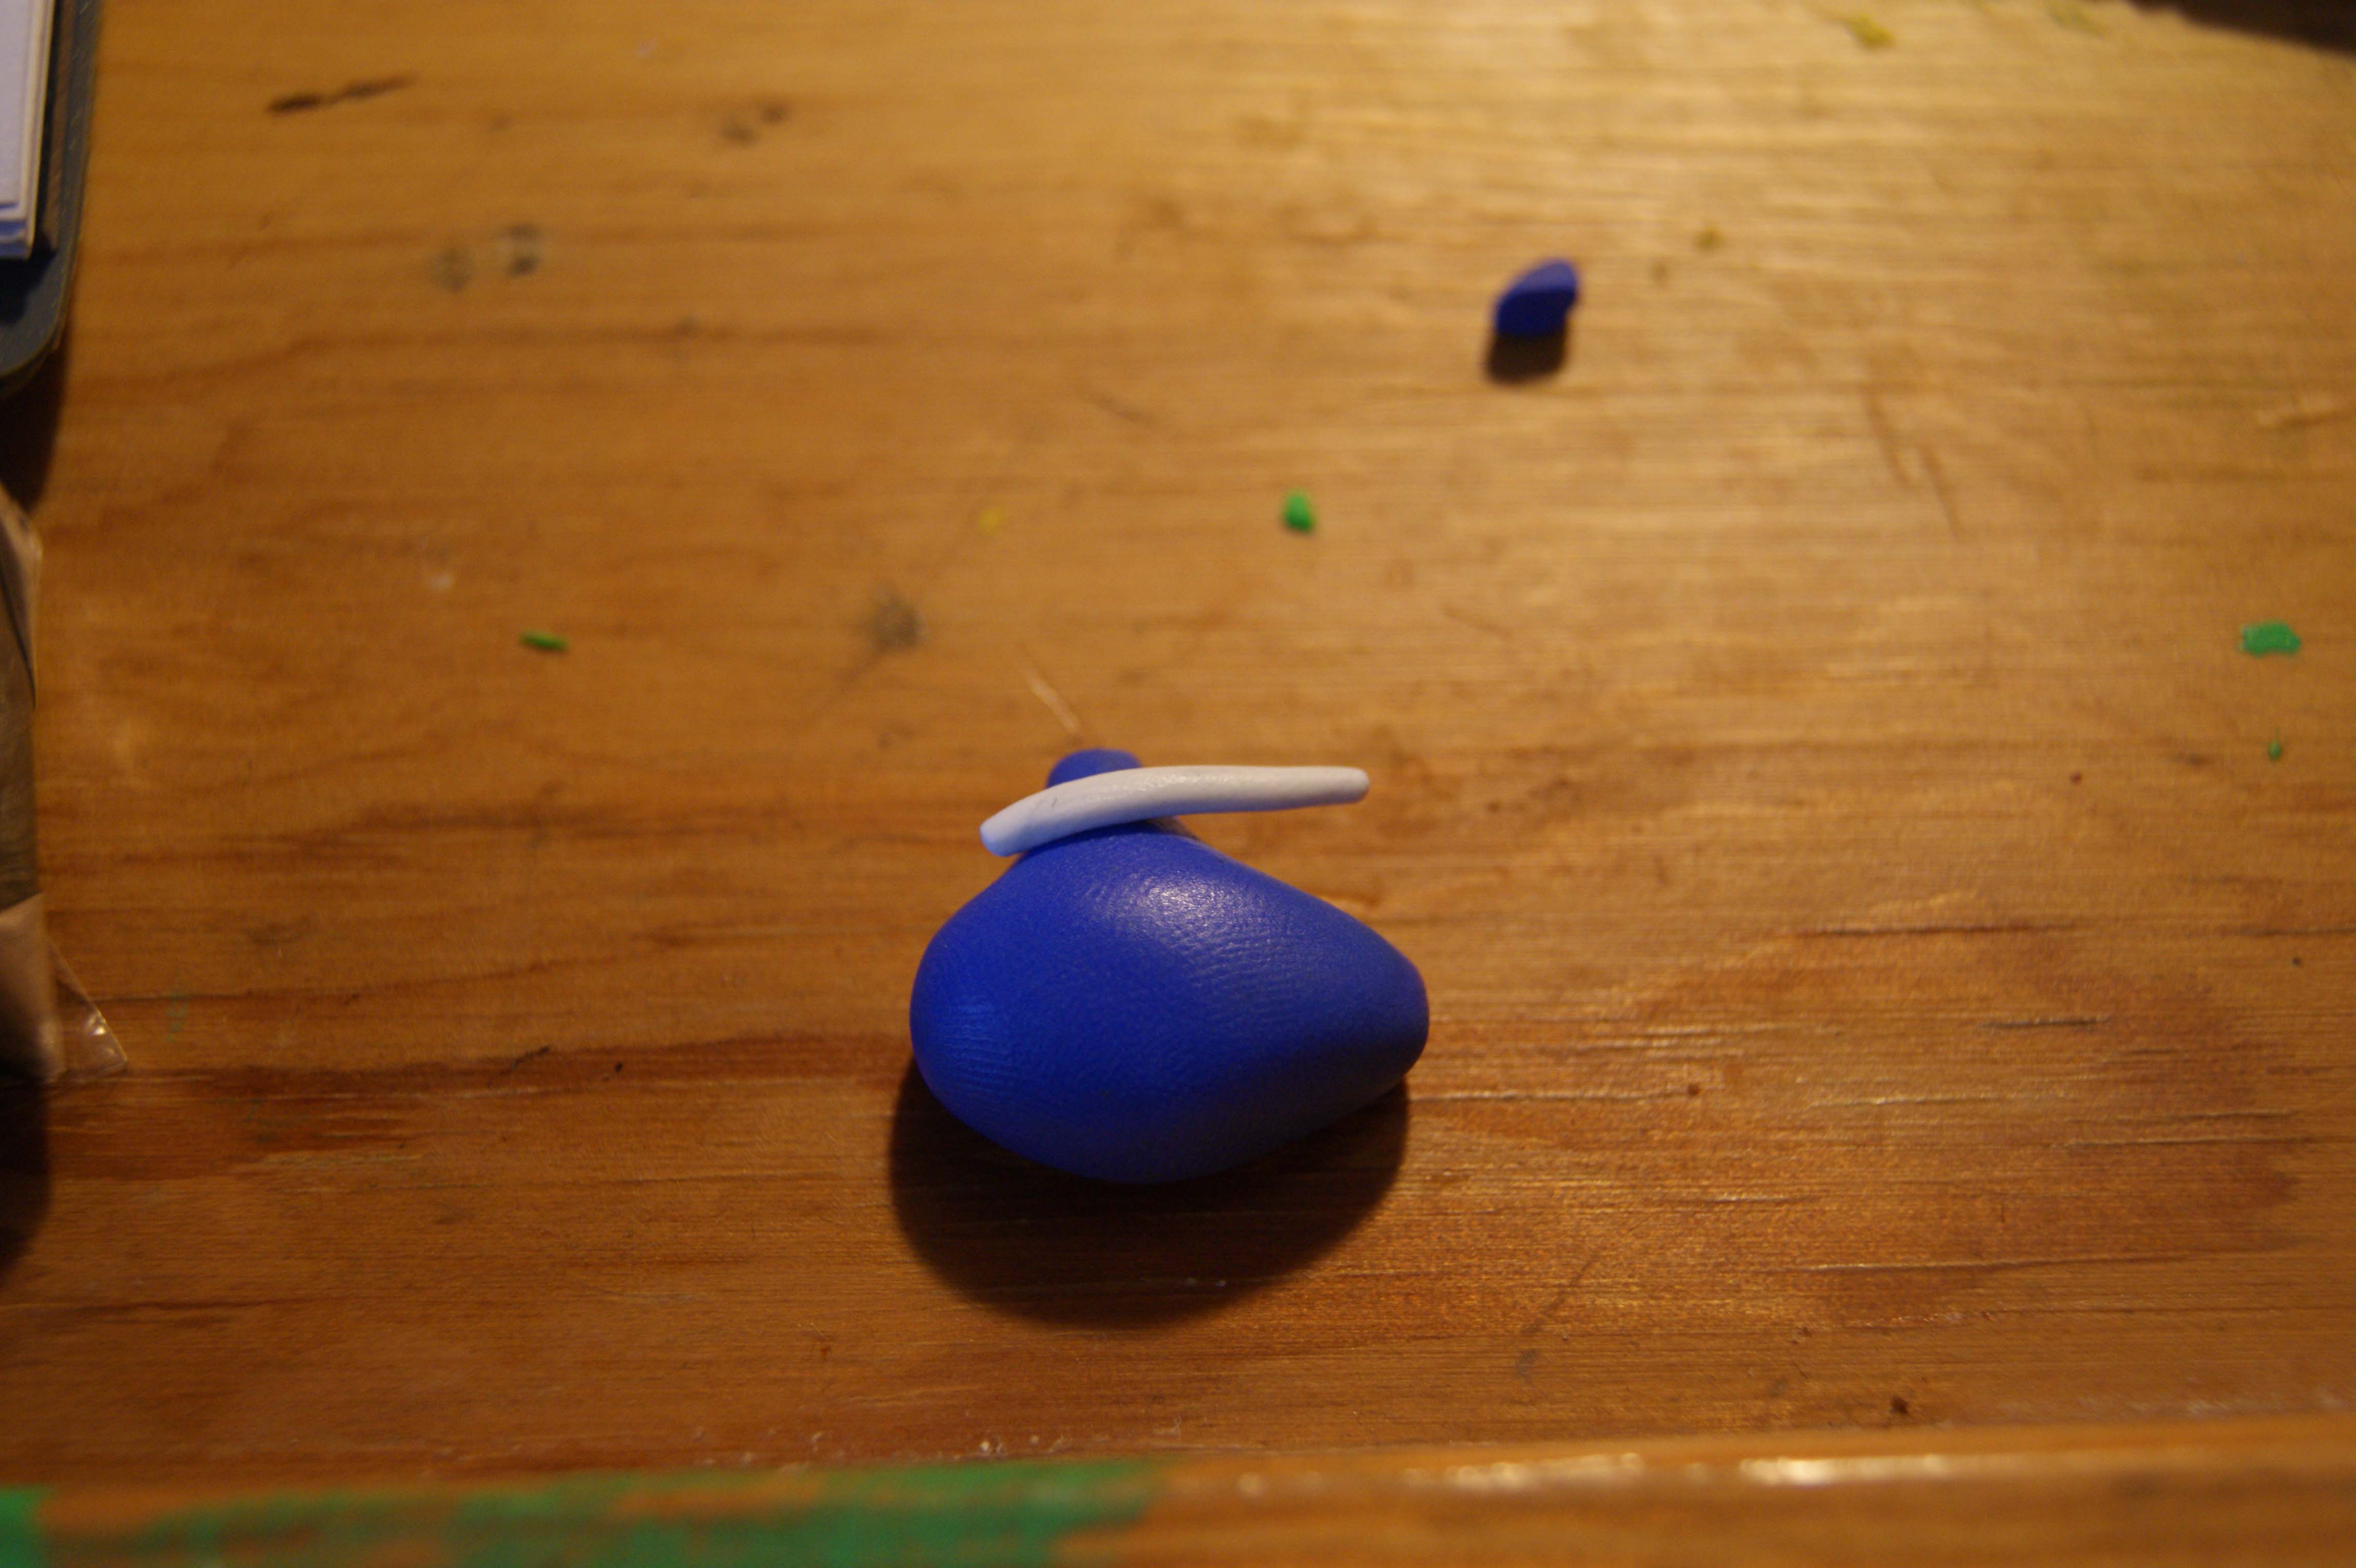
This first Zelda charm is a little tricky as you have the four wing attachments, but fret not! You will need some blue/turquoise clay and white clay. First, roll a ball for the body using the blue clay. Then roll a bit of white clay into a sausage and slice it into four. (The sizes are up to you depending on how big you want the charm). After that, you want to flatten the white bits in a long oval kind of shape to then cut into wings.

Cut the wings at one end, making a point, giving the wings a long diamond shape. All we have to do then is to attach the wings, which I did by placing the blue ball onto them and then gently turning it over to smooth them into place.
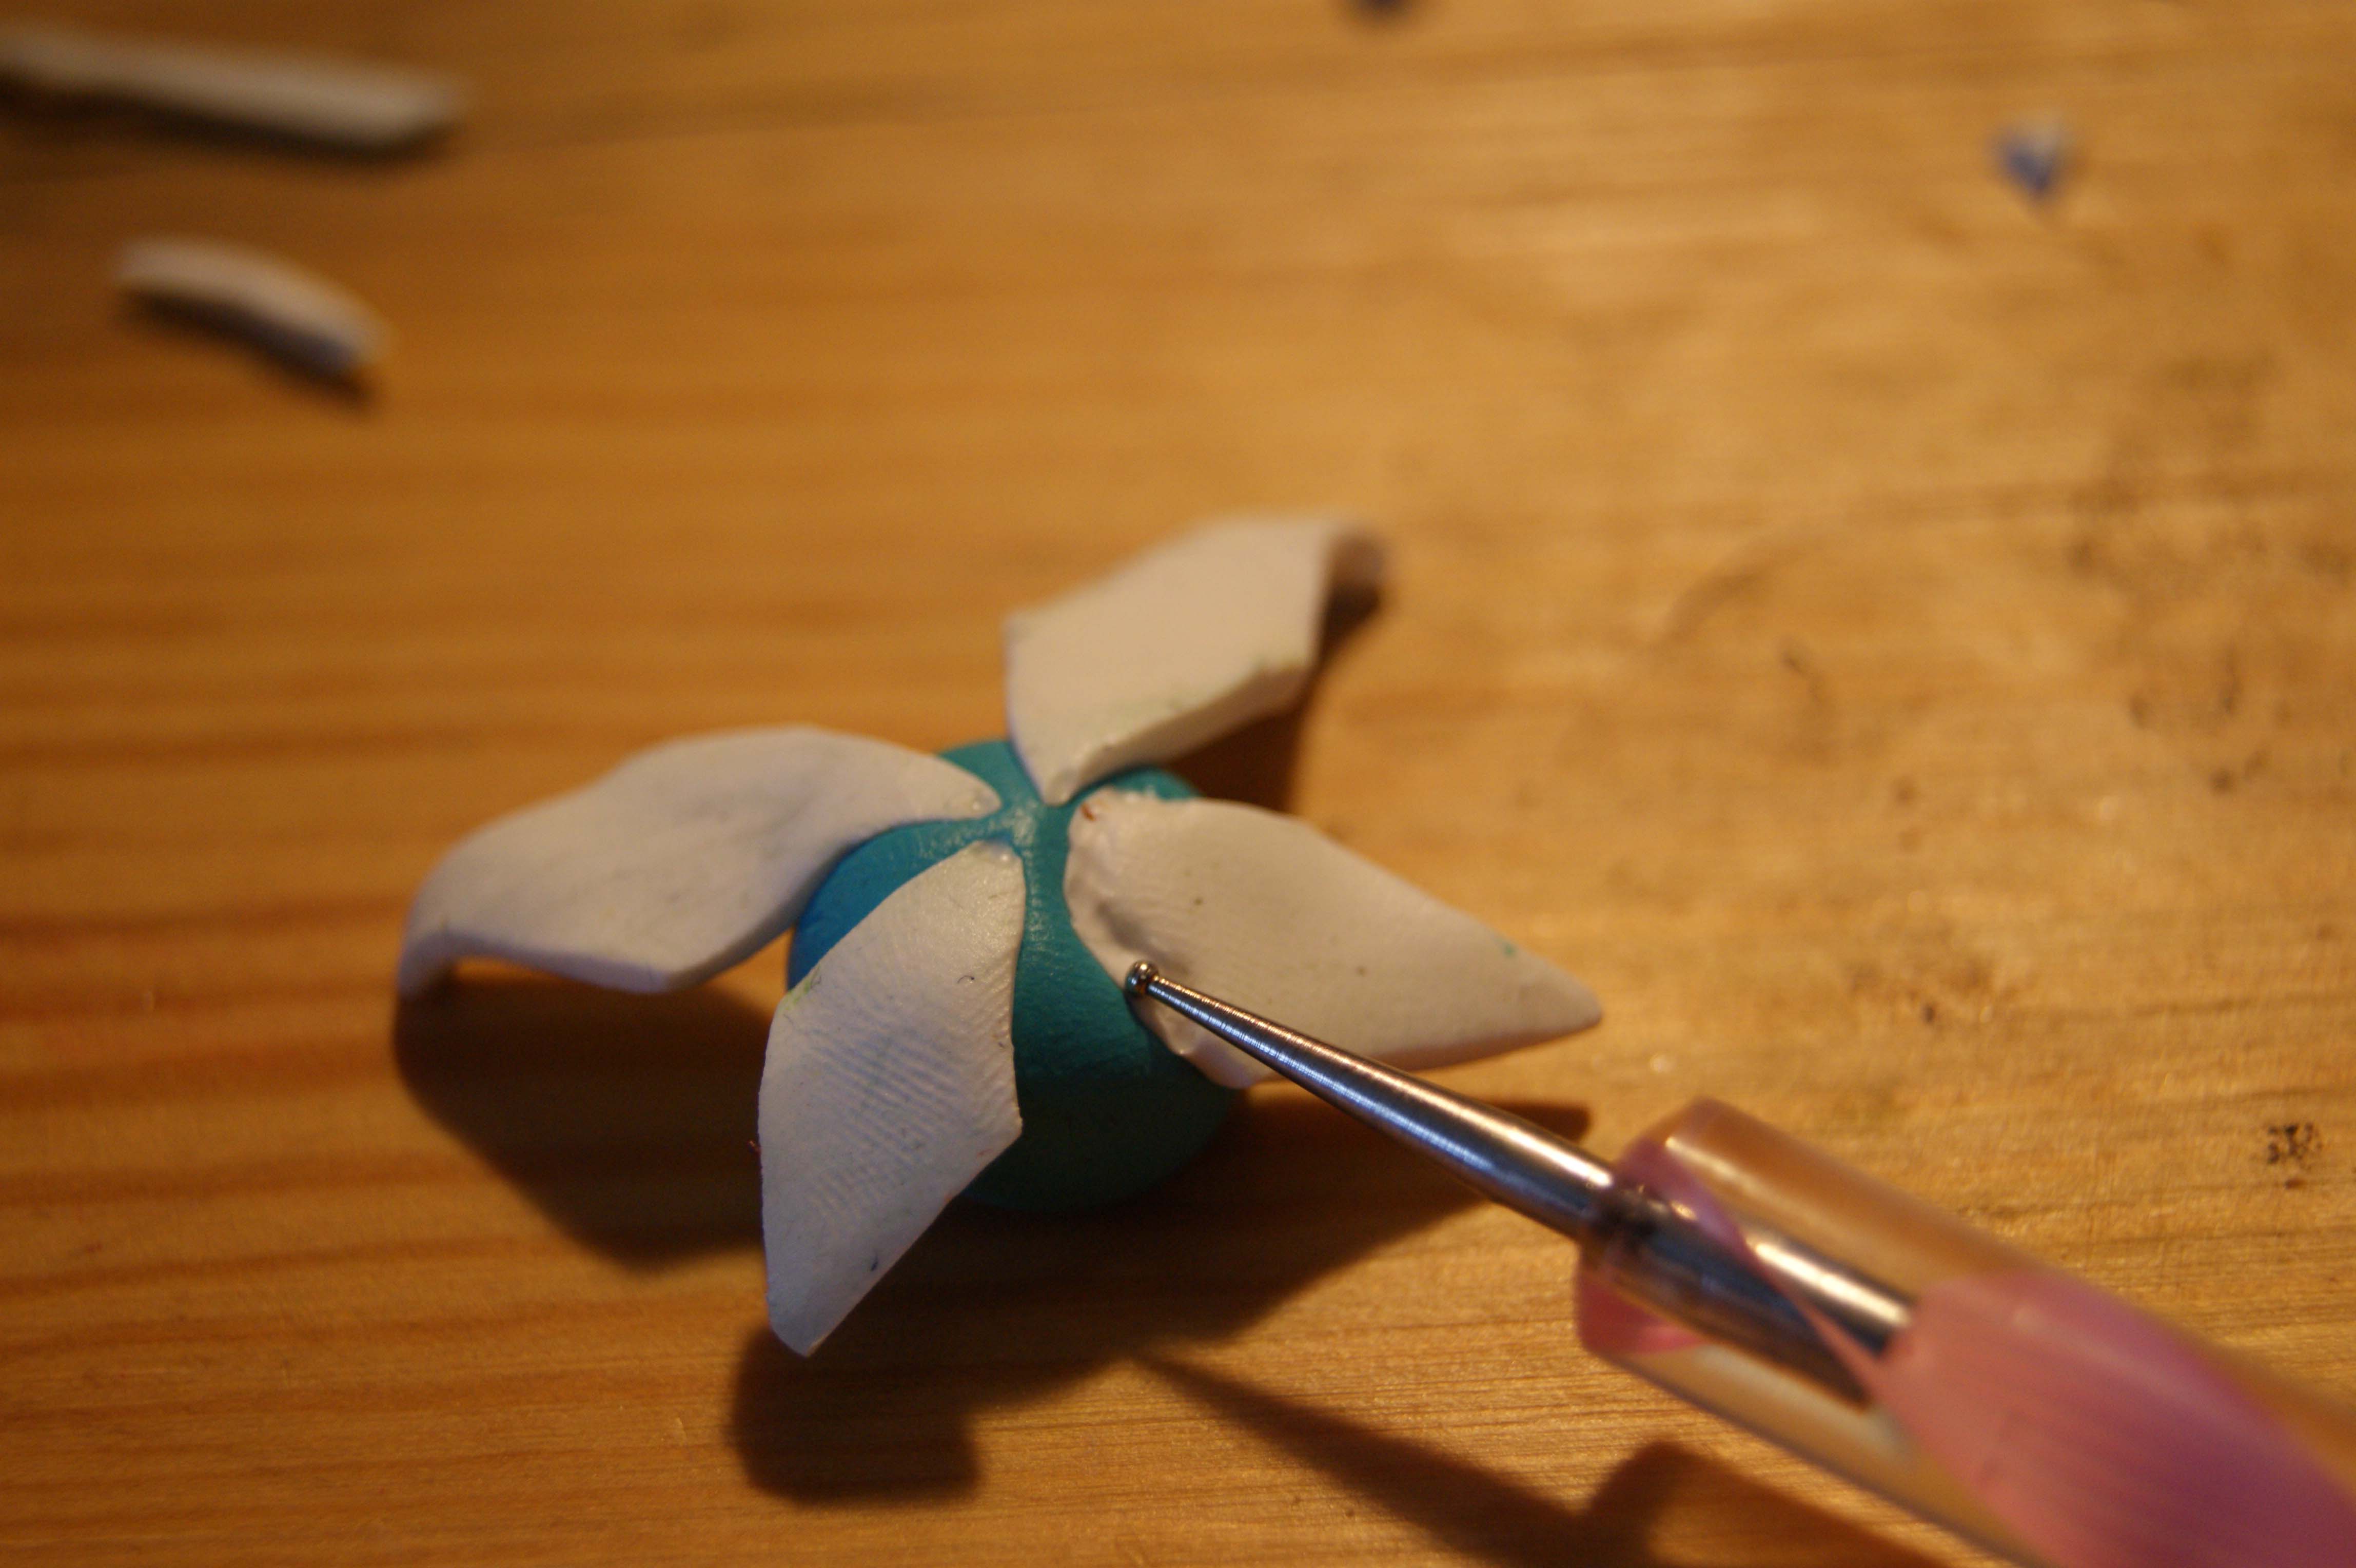
Remember to keep an eye out for misshaping and fingerprints and adjust the charm as you go. If you want to add a clasp, simply pop a little hole in the top before putting in the oven.

Done!
Triforce Charm
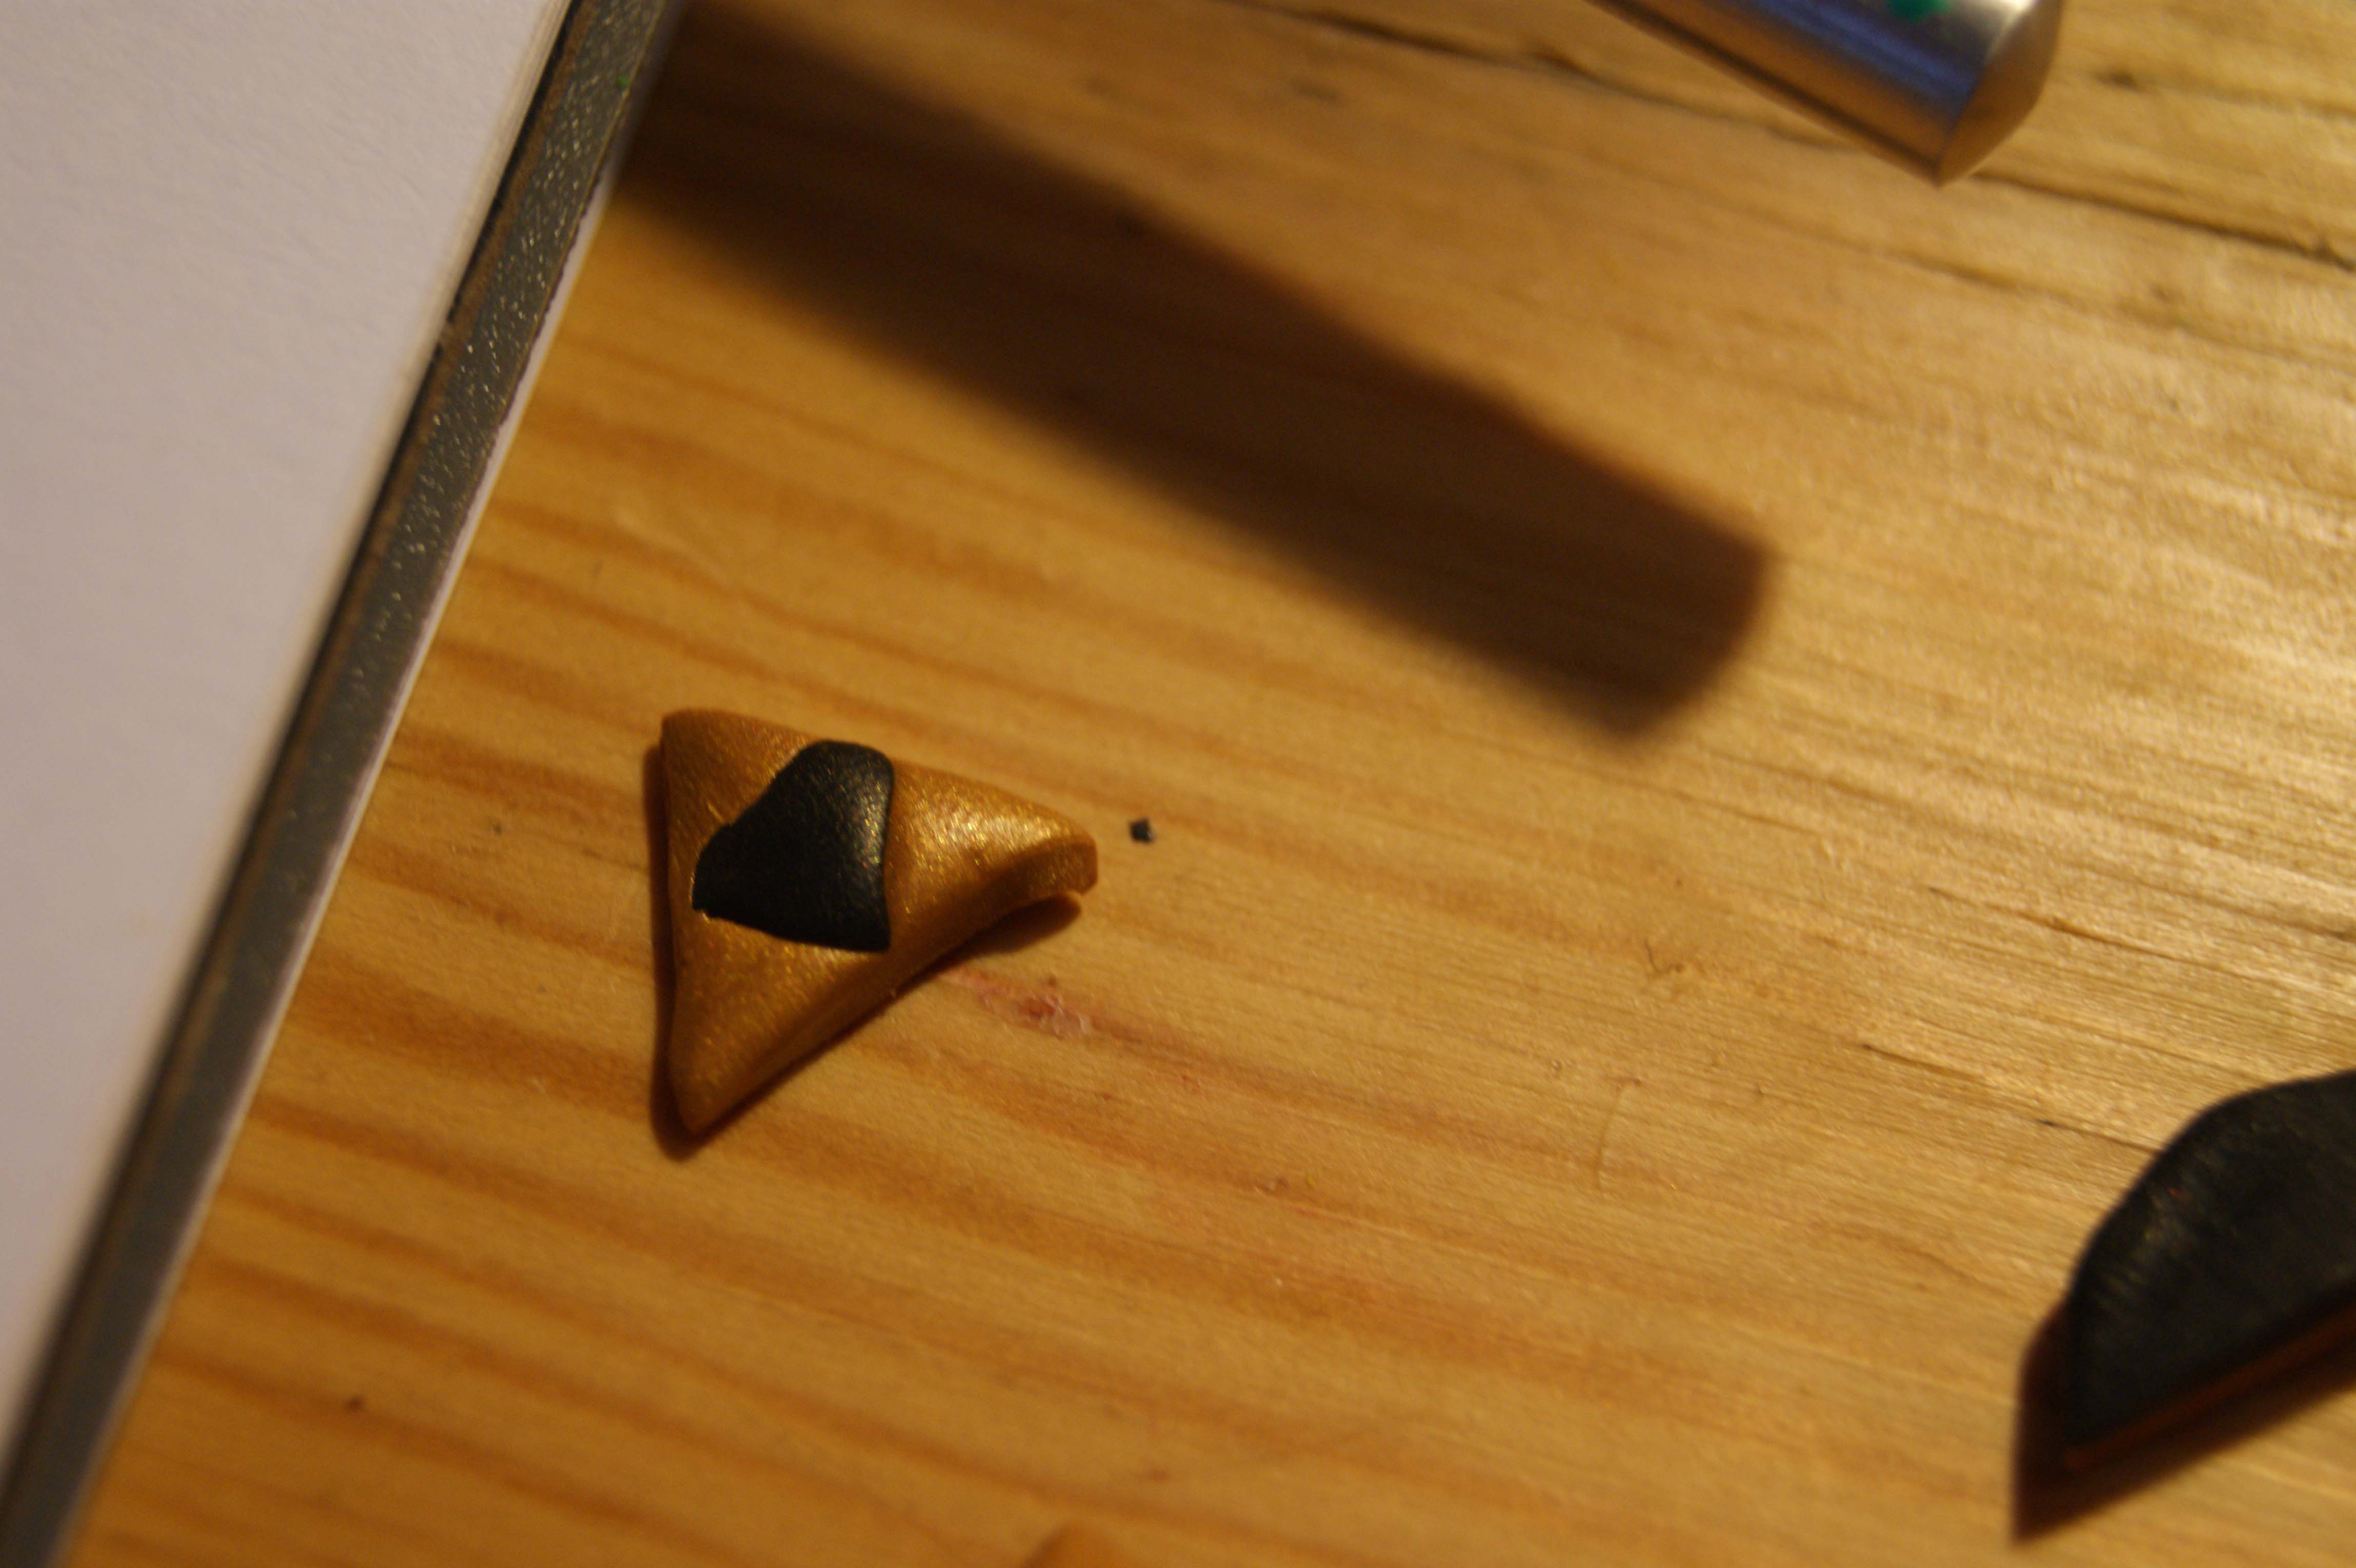
For the Triforce, you will need a knife and a pin if you want clasps. You will need gold and black clay. This is very simple but a little fiddly. Take a bit of gold and cut it into a flat triangle, which can be tricky as it may stick to your work surface.
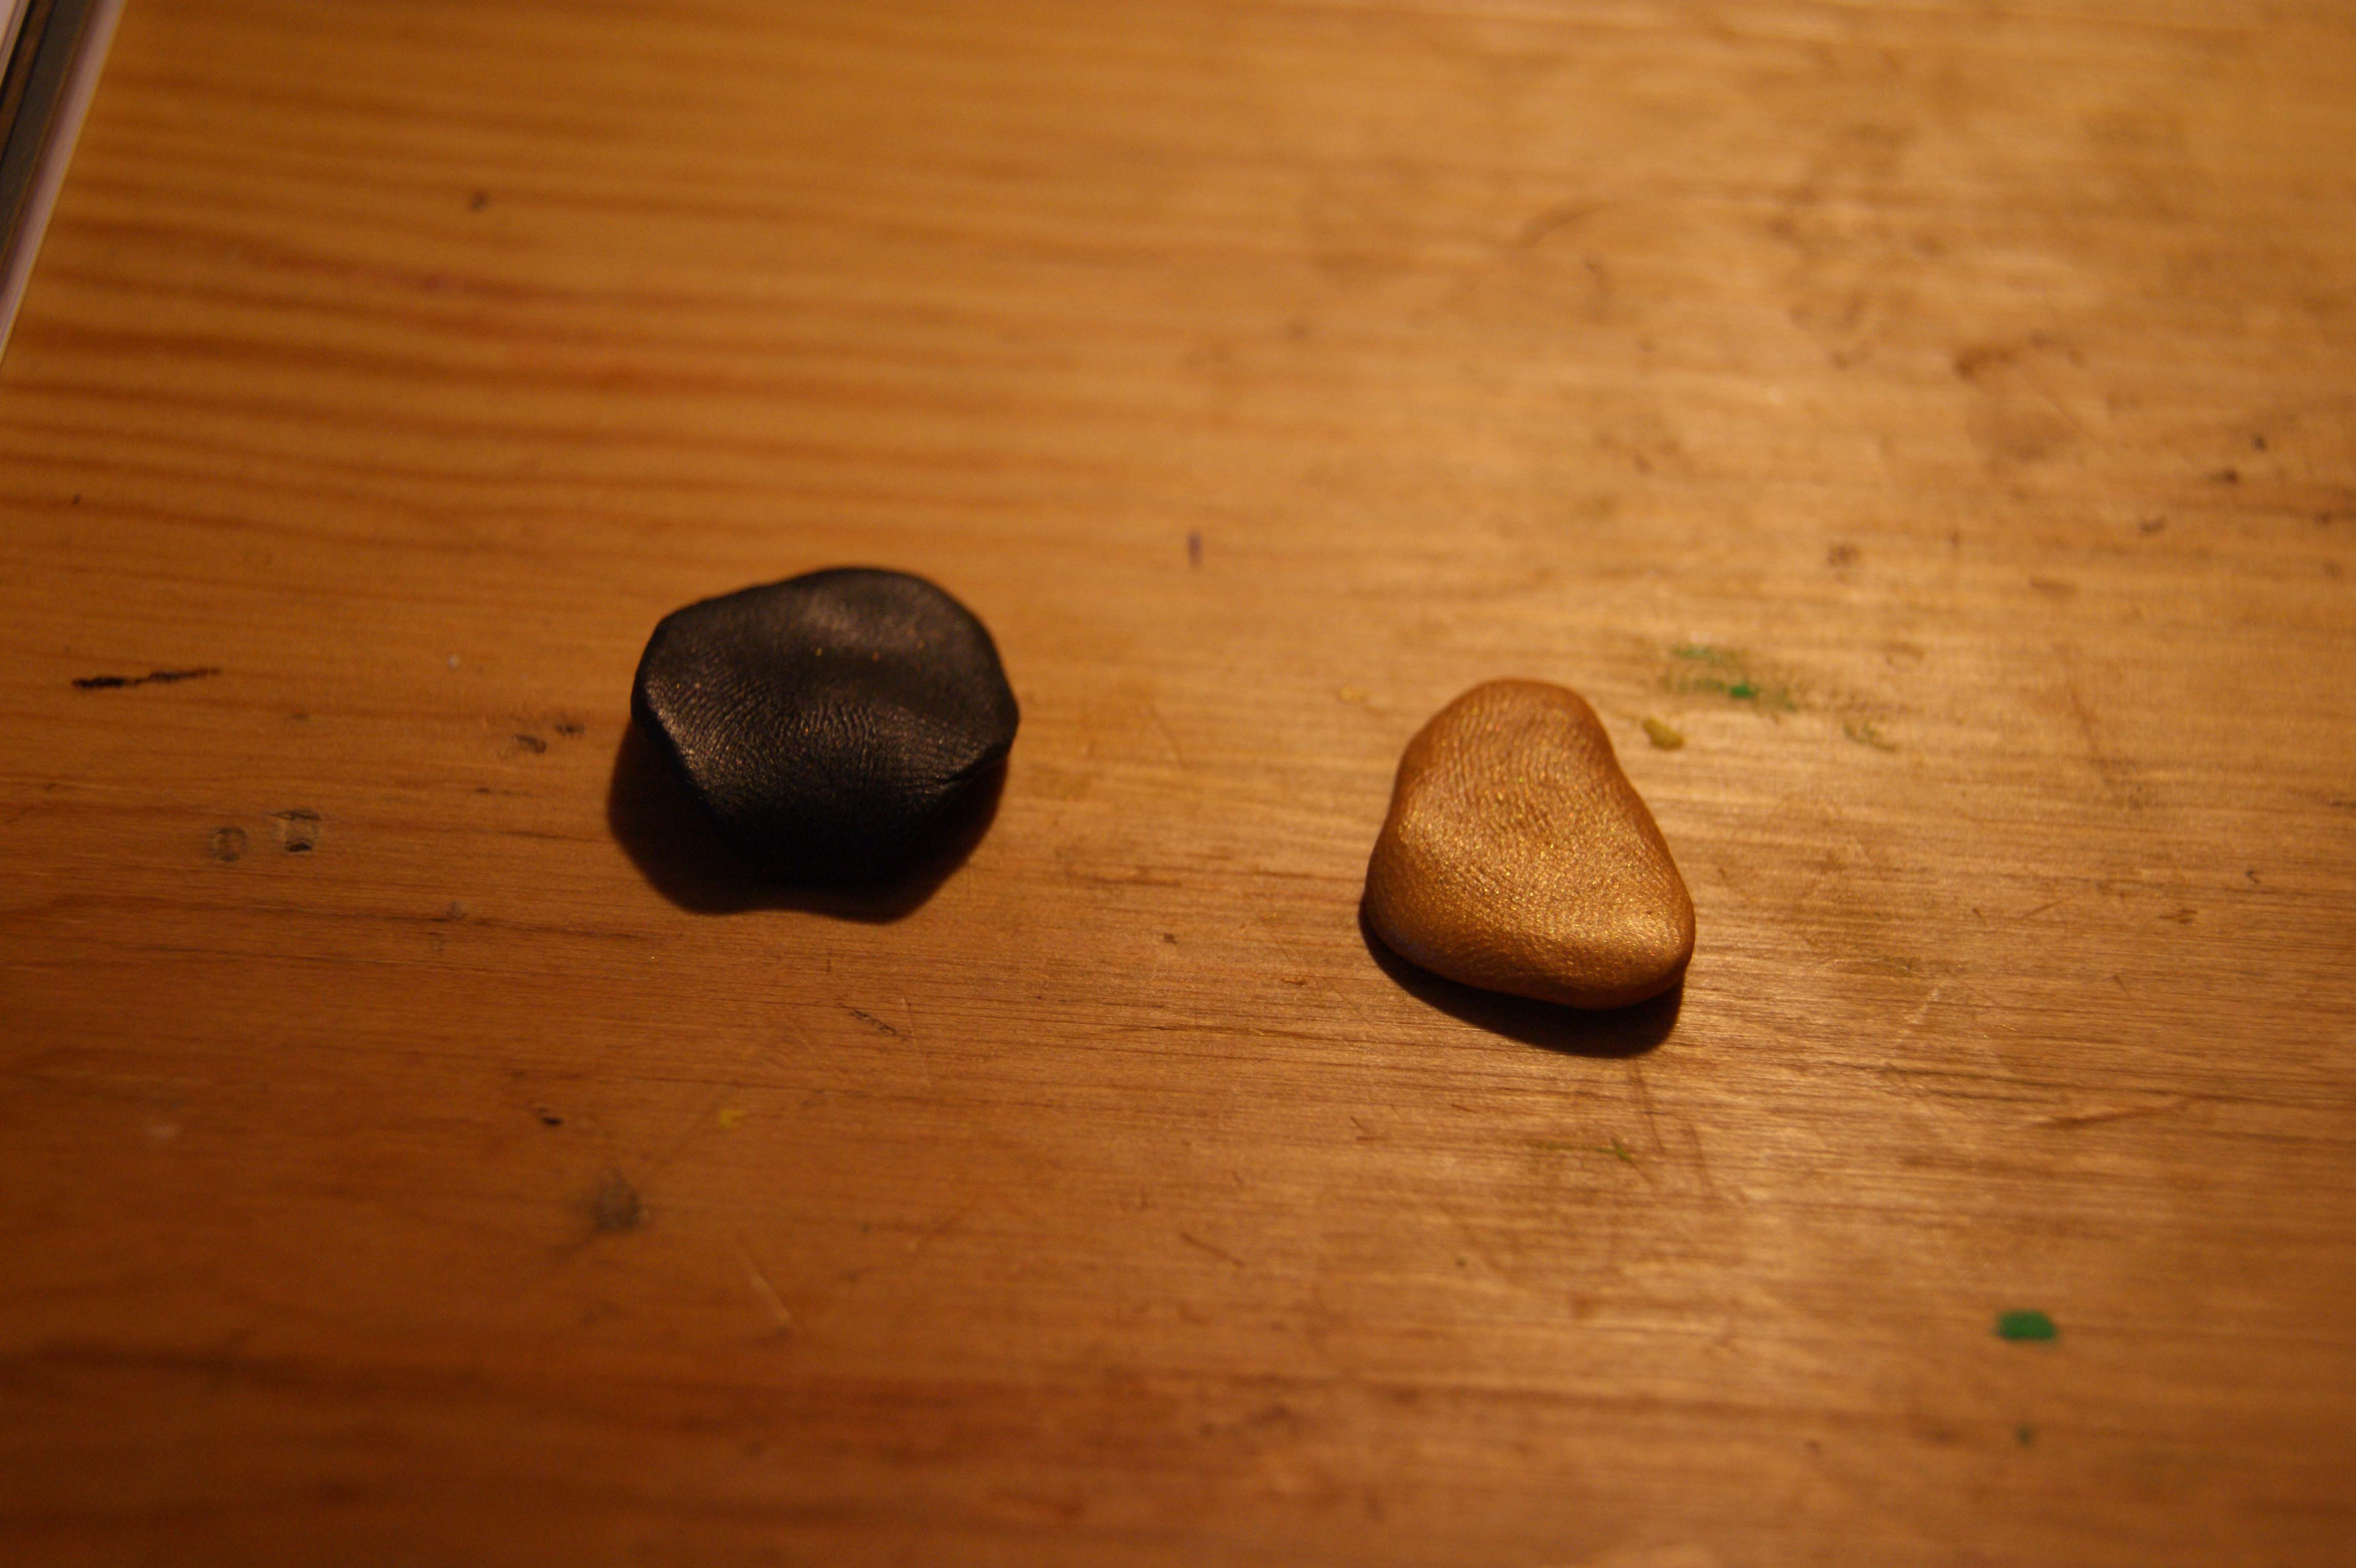
Just use your knife to unstick the clay from time to time. Then, cut your black clay the same way and add it to the gold to make your Triforce symbol.
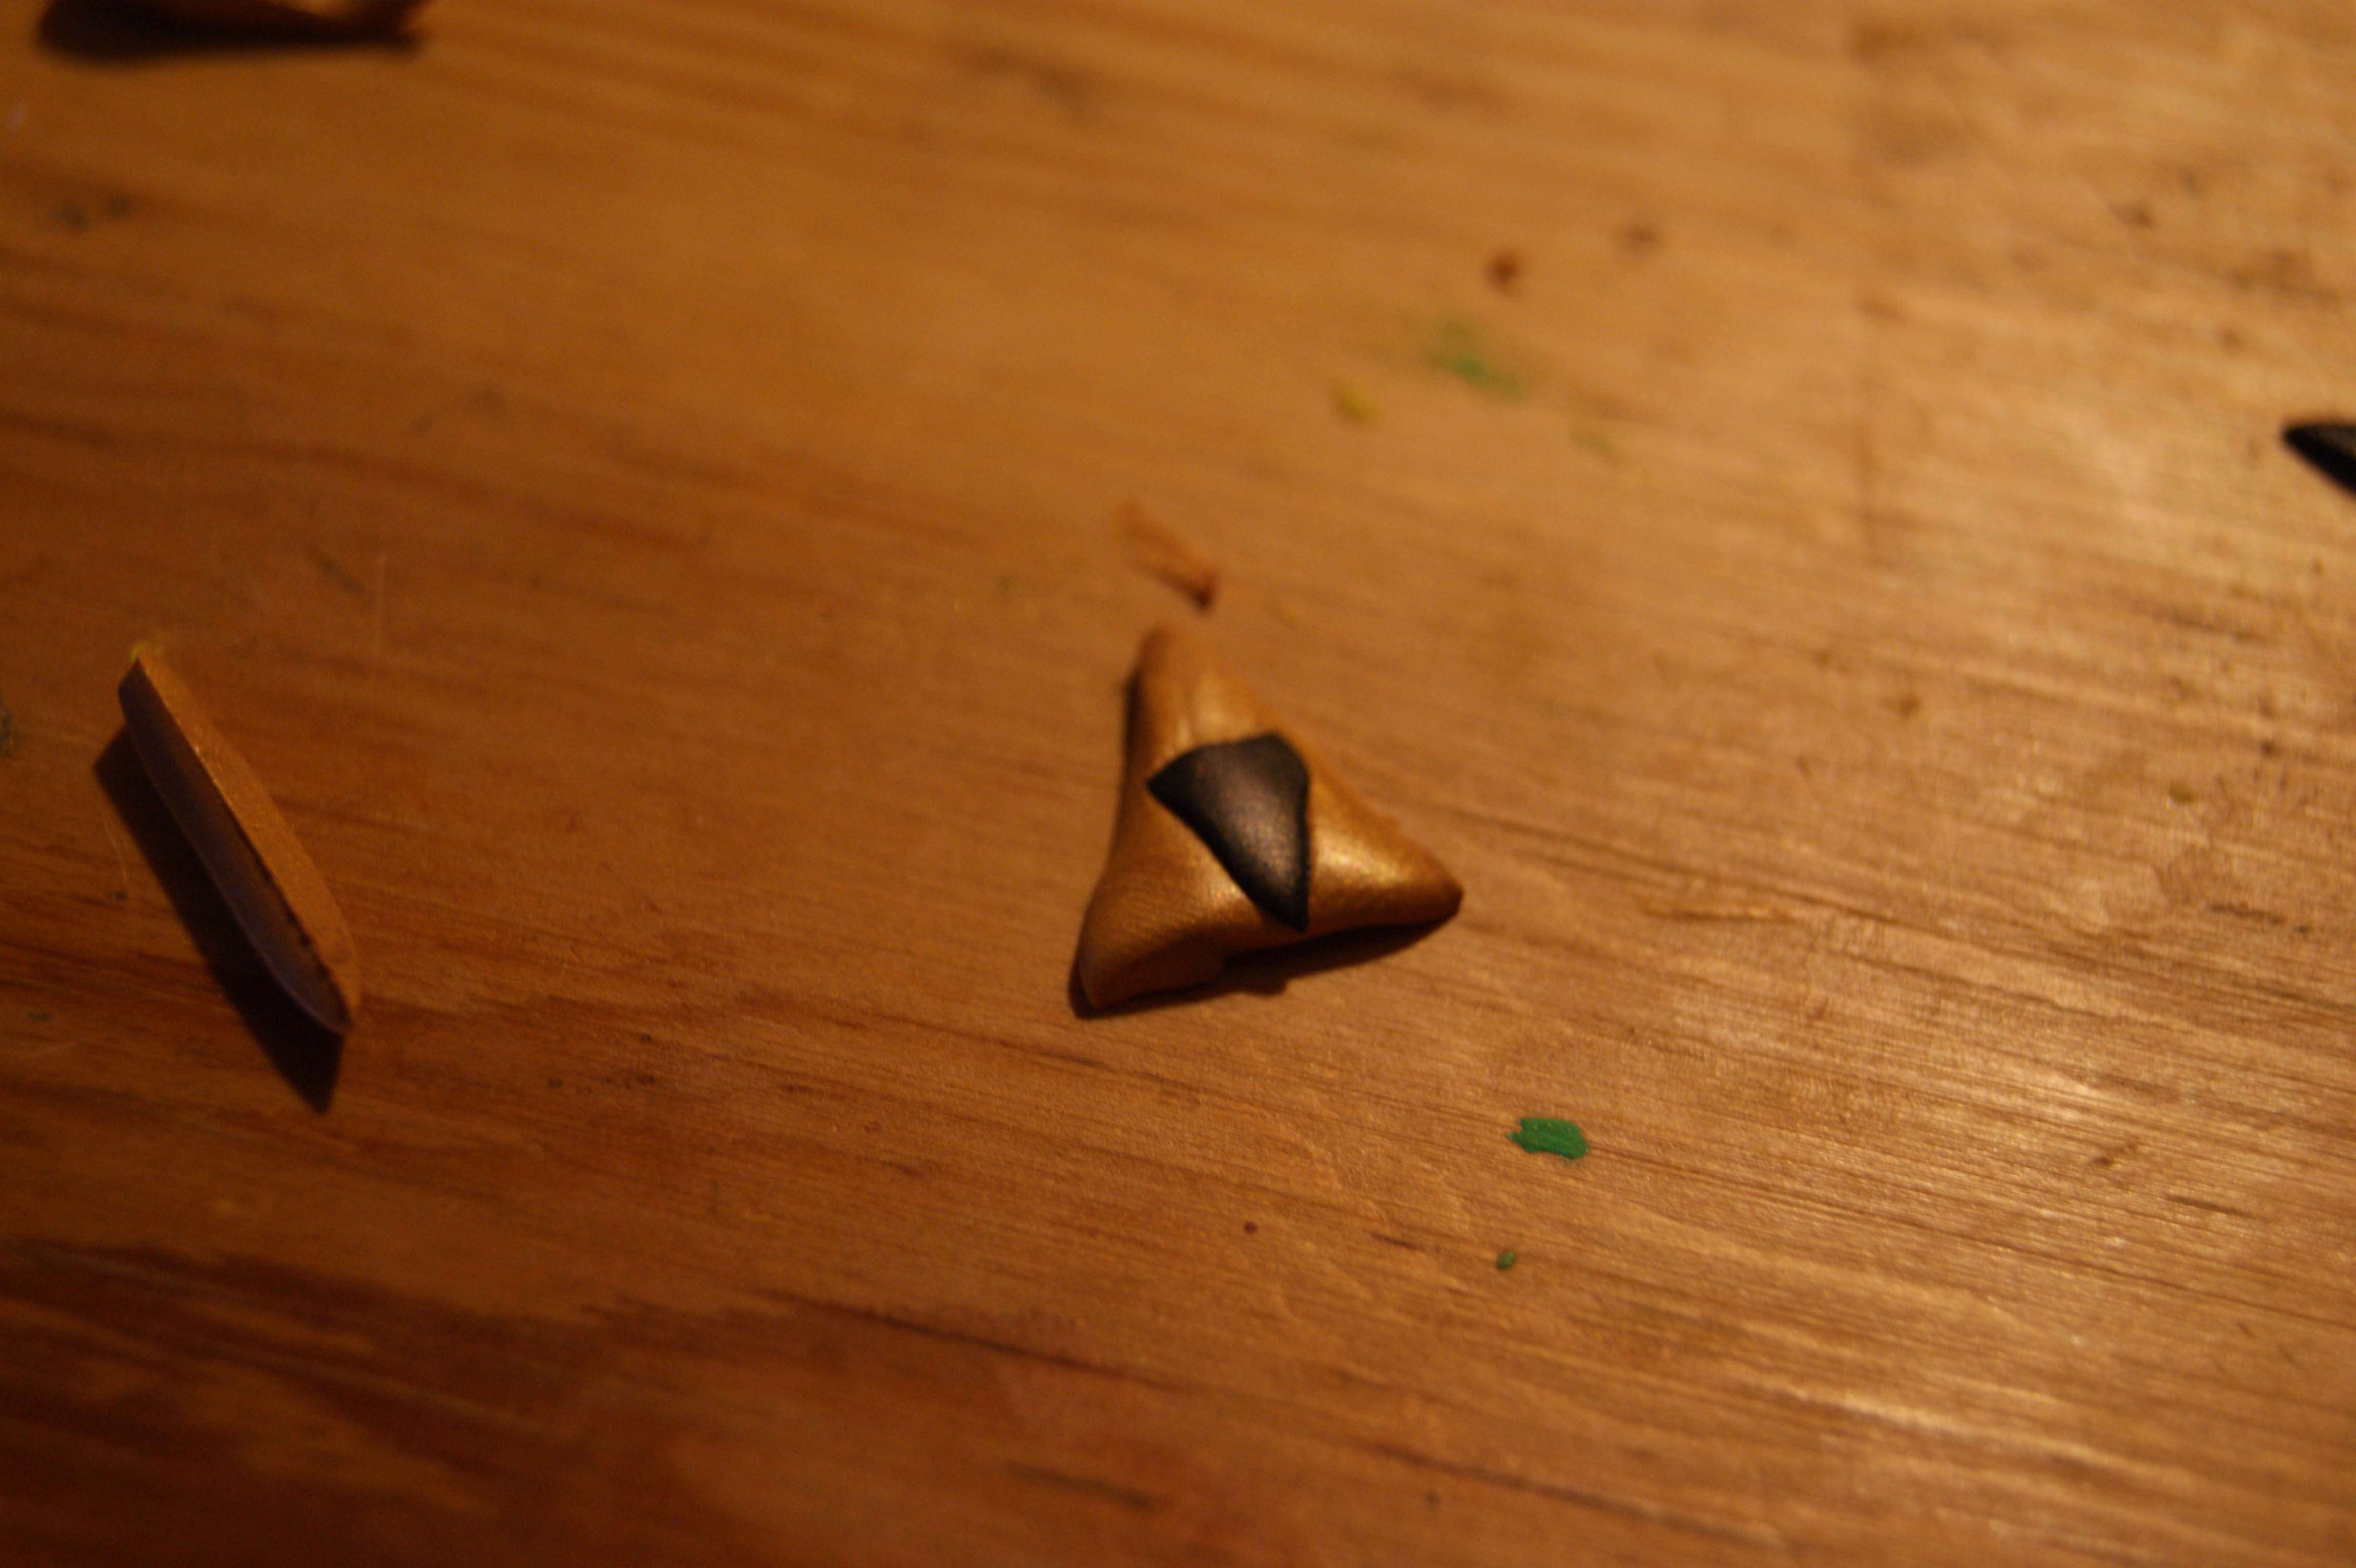
Remember that you might want to flatten the end product to adjust the proportions after fiddling about with it. Done!
Ocarina Charm
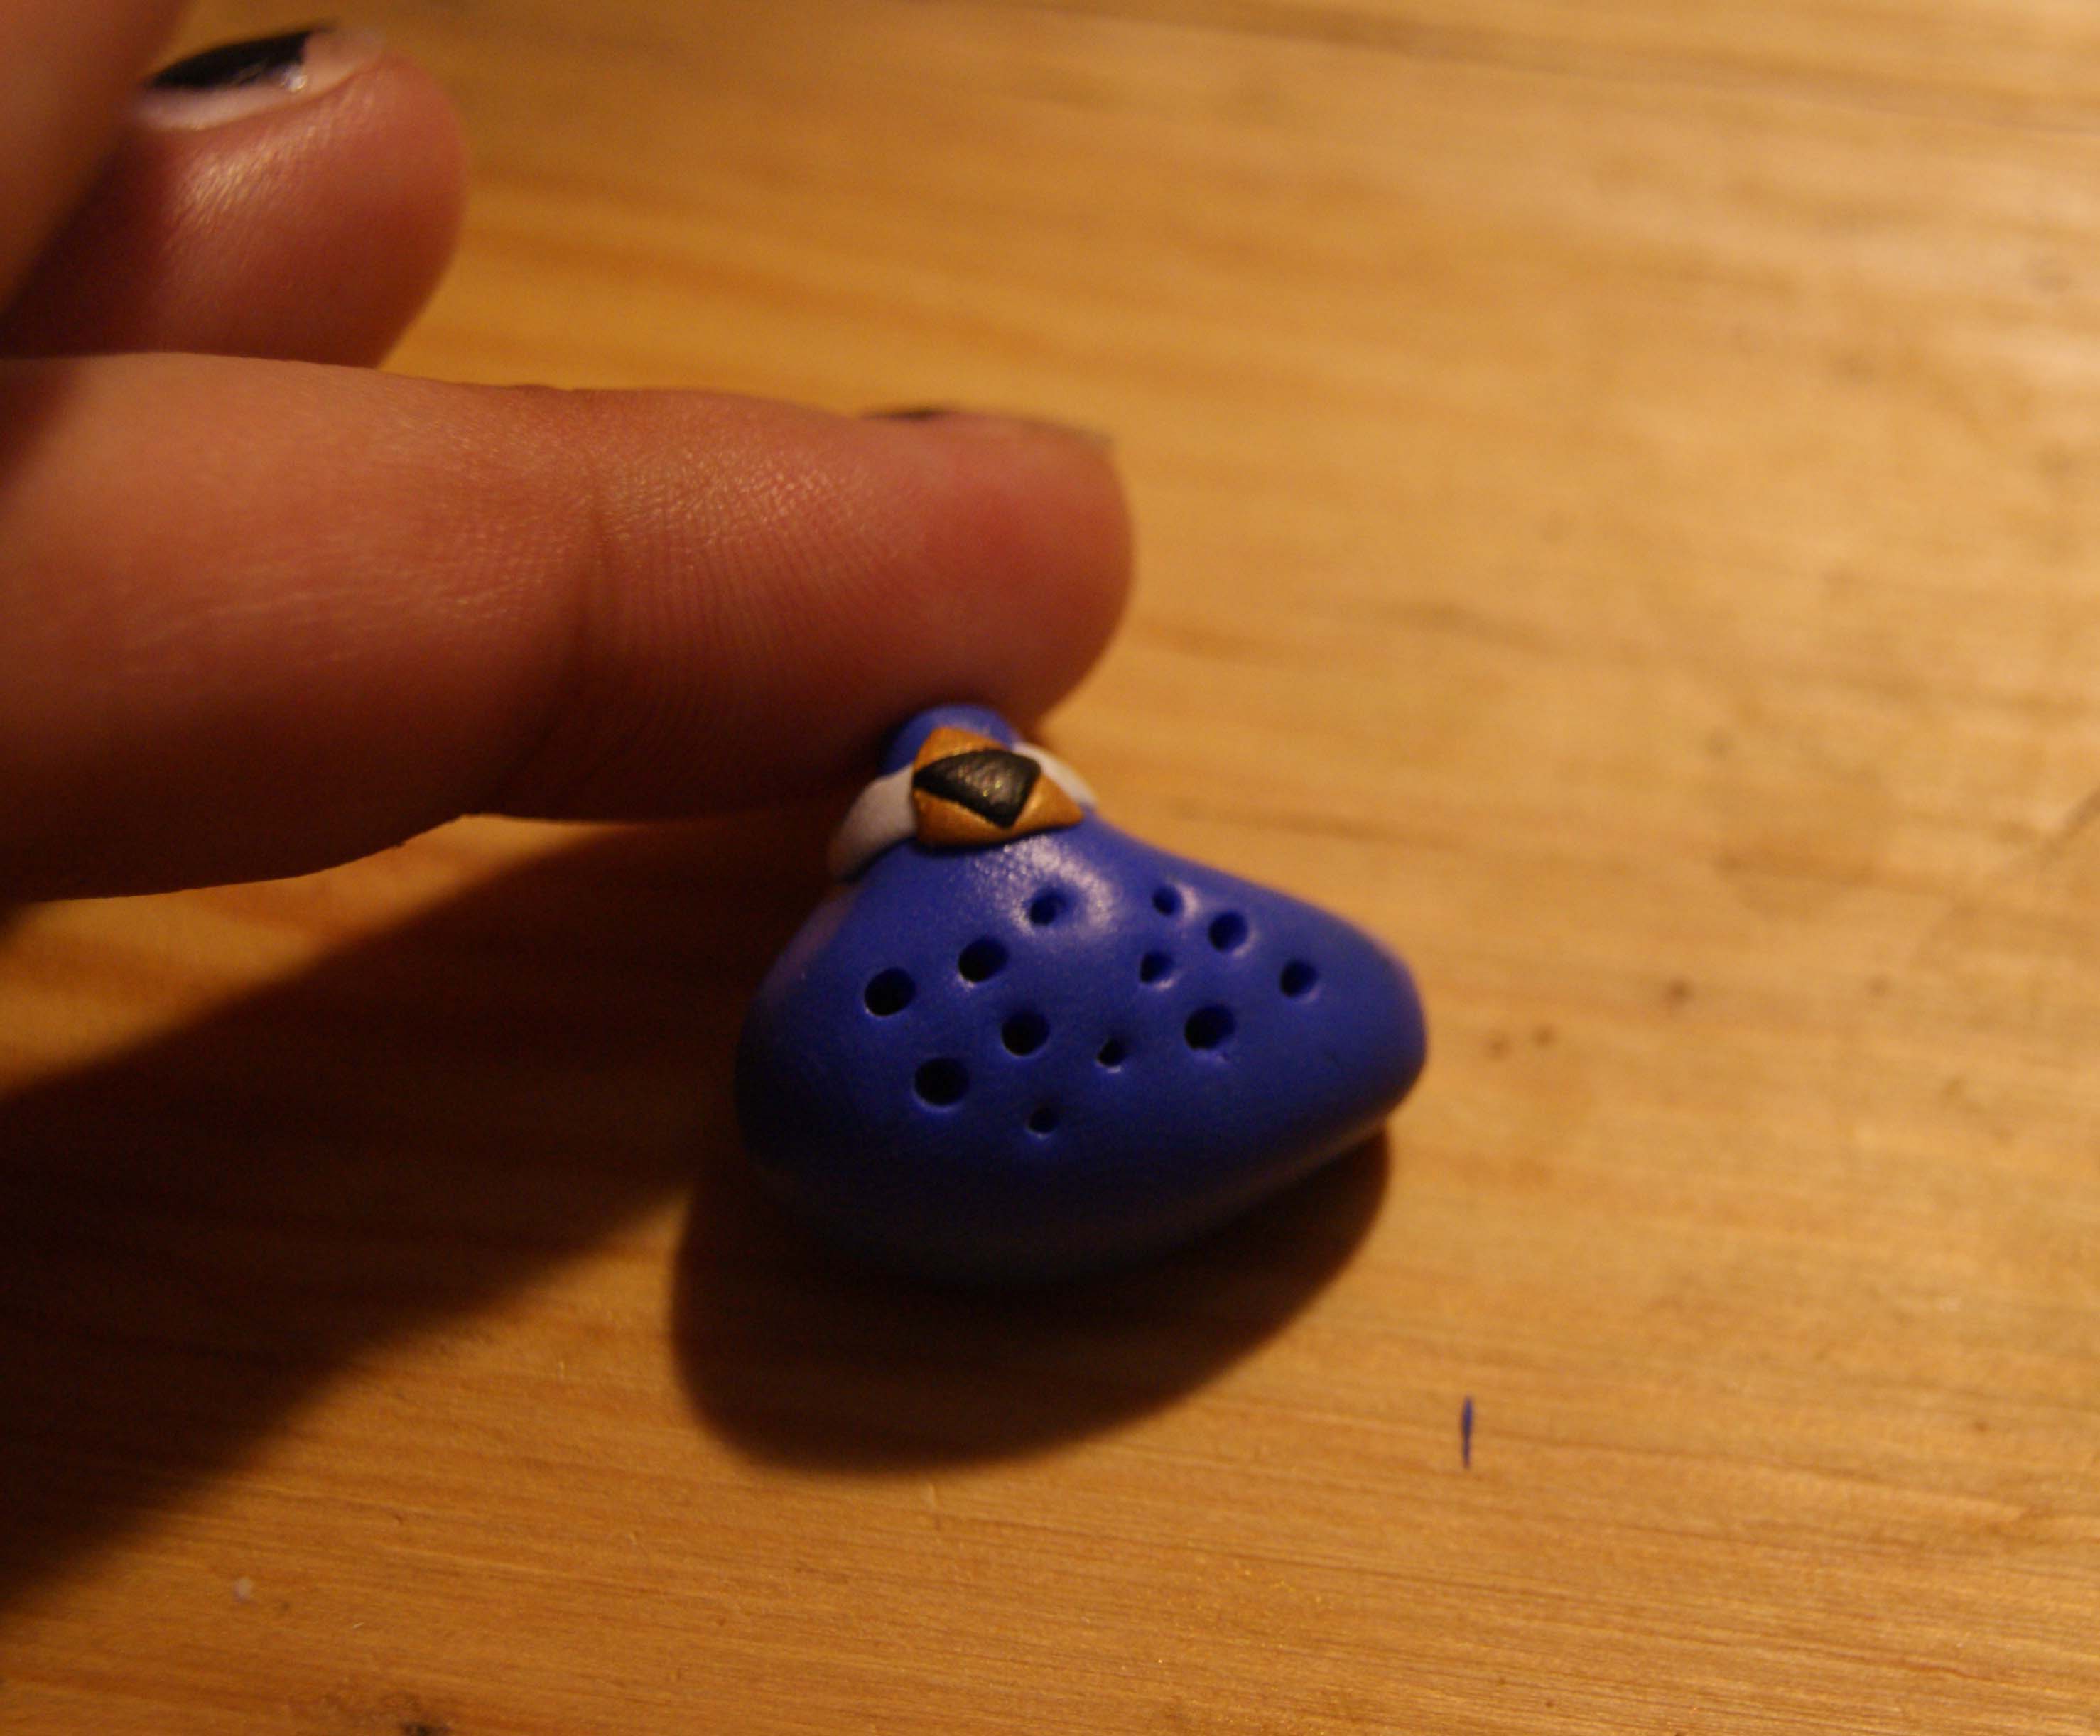
For the Ocarina you will need a bit more clay but tool wise, you just need a knife for the small details and a pin to make the holes in the Ocarina, and a hole for any clasps at the top you would like to add. The clay you will need is a dark blue, silver or grey, black and yellow/gold. I think gold is preferable as the Triforce symbol on the Ocarina is gold in the game.
First, mould out the shape of the Ocarina using your blue clay. It’s a kind of oval with a small pinched top to form where the mouth goes (use your fingers to pinch). Take your grey clay and make it as thin as possible as this will wrap around the pinched area’s base. This can be tricky as it is a small addition but just be patient and you’ll do just fine.
Now the trickiest bit is the miniature Triforce symbol on the grey band. For this, get a tiny amount of gold and cut it into a triangle using the knife and then add an even tinier triangle onto it to form the Triforce symbol.
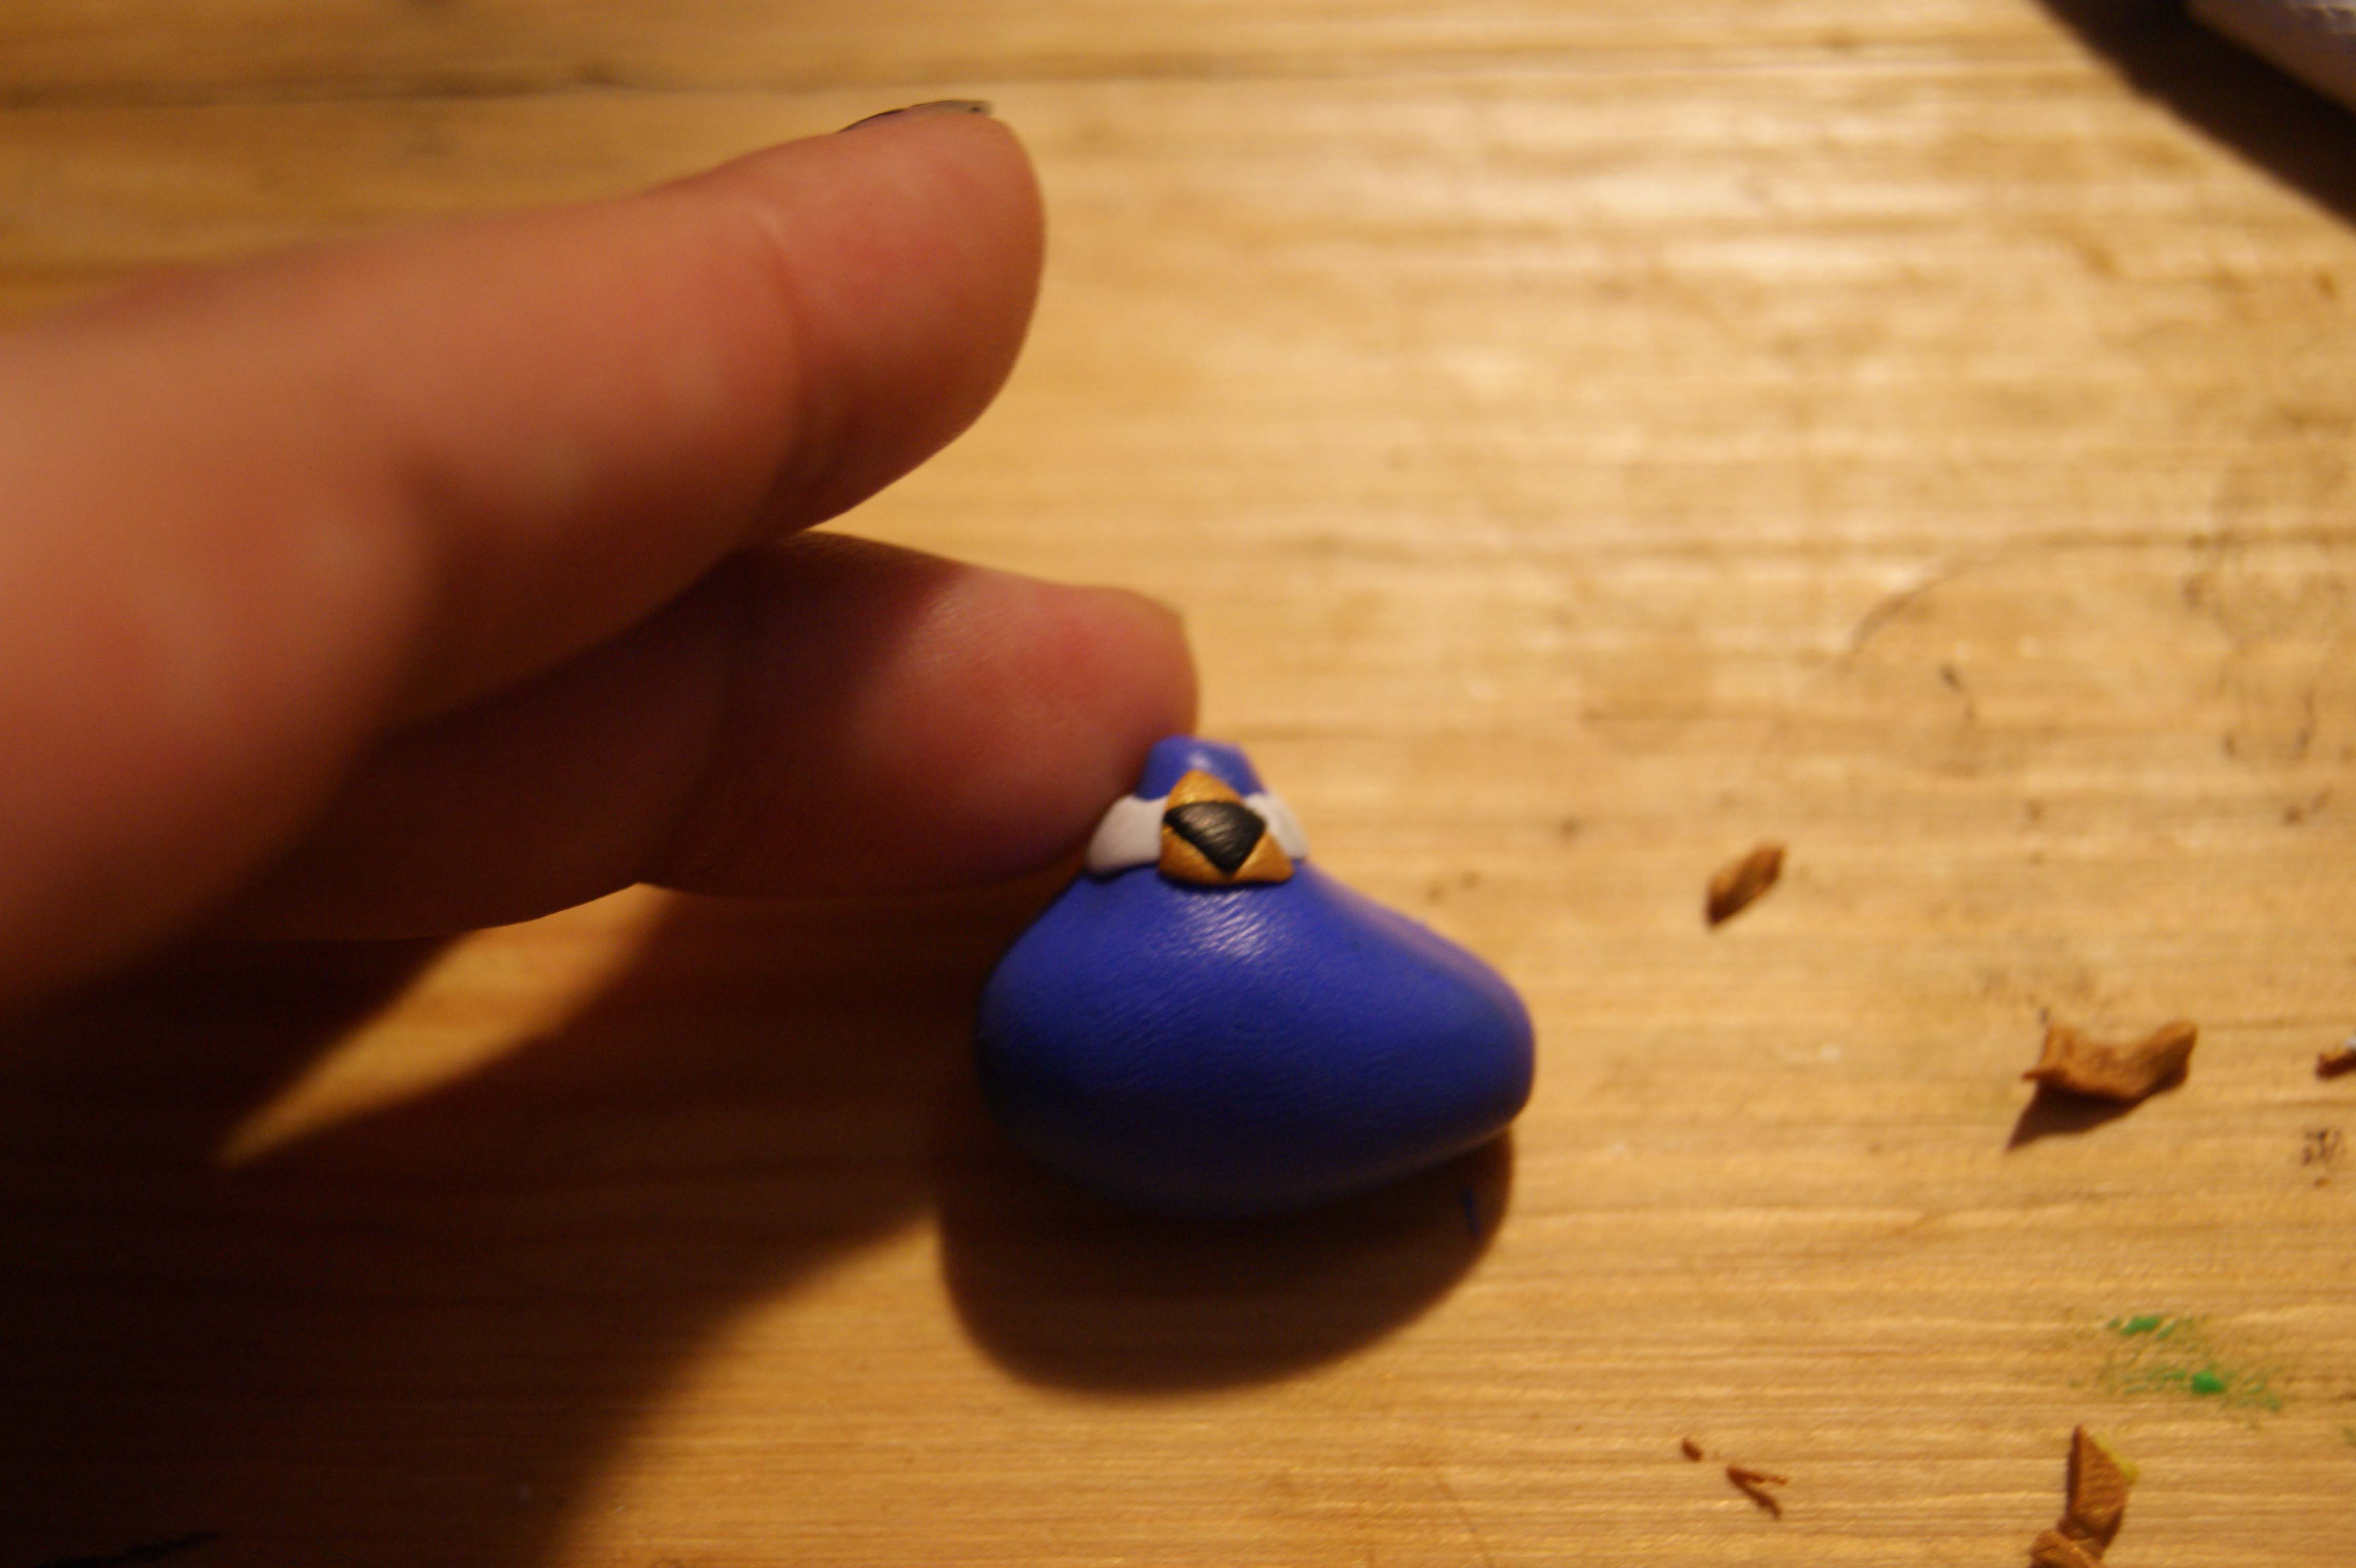
This part is exactly the same as making a Triforce on its own but tiny. Add the Triforce to the front of the grey band and finally make the little holes that Link sticks his fingers onto.
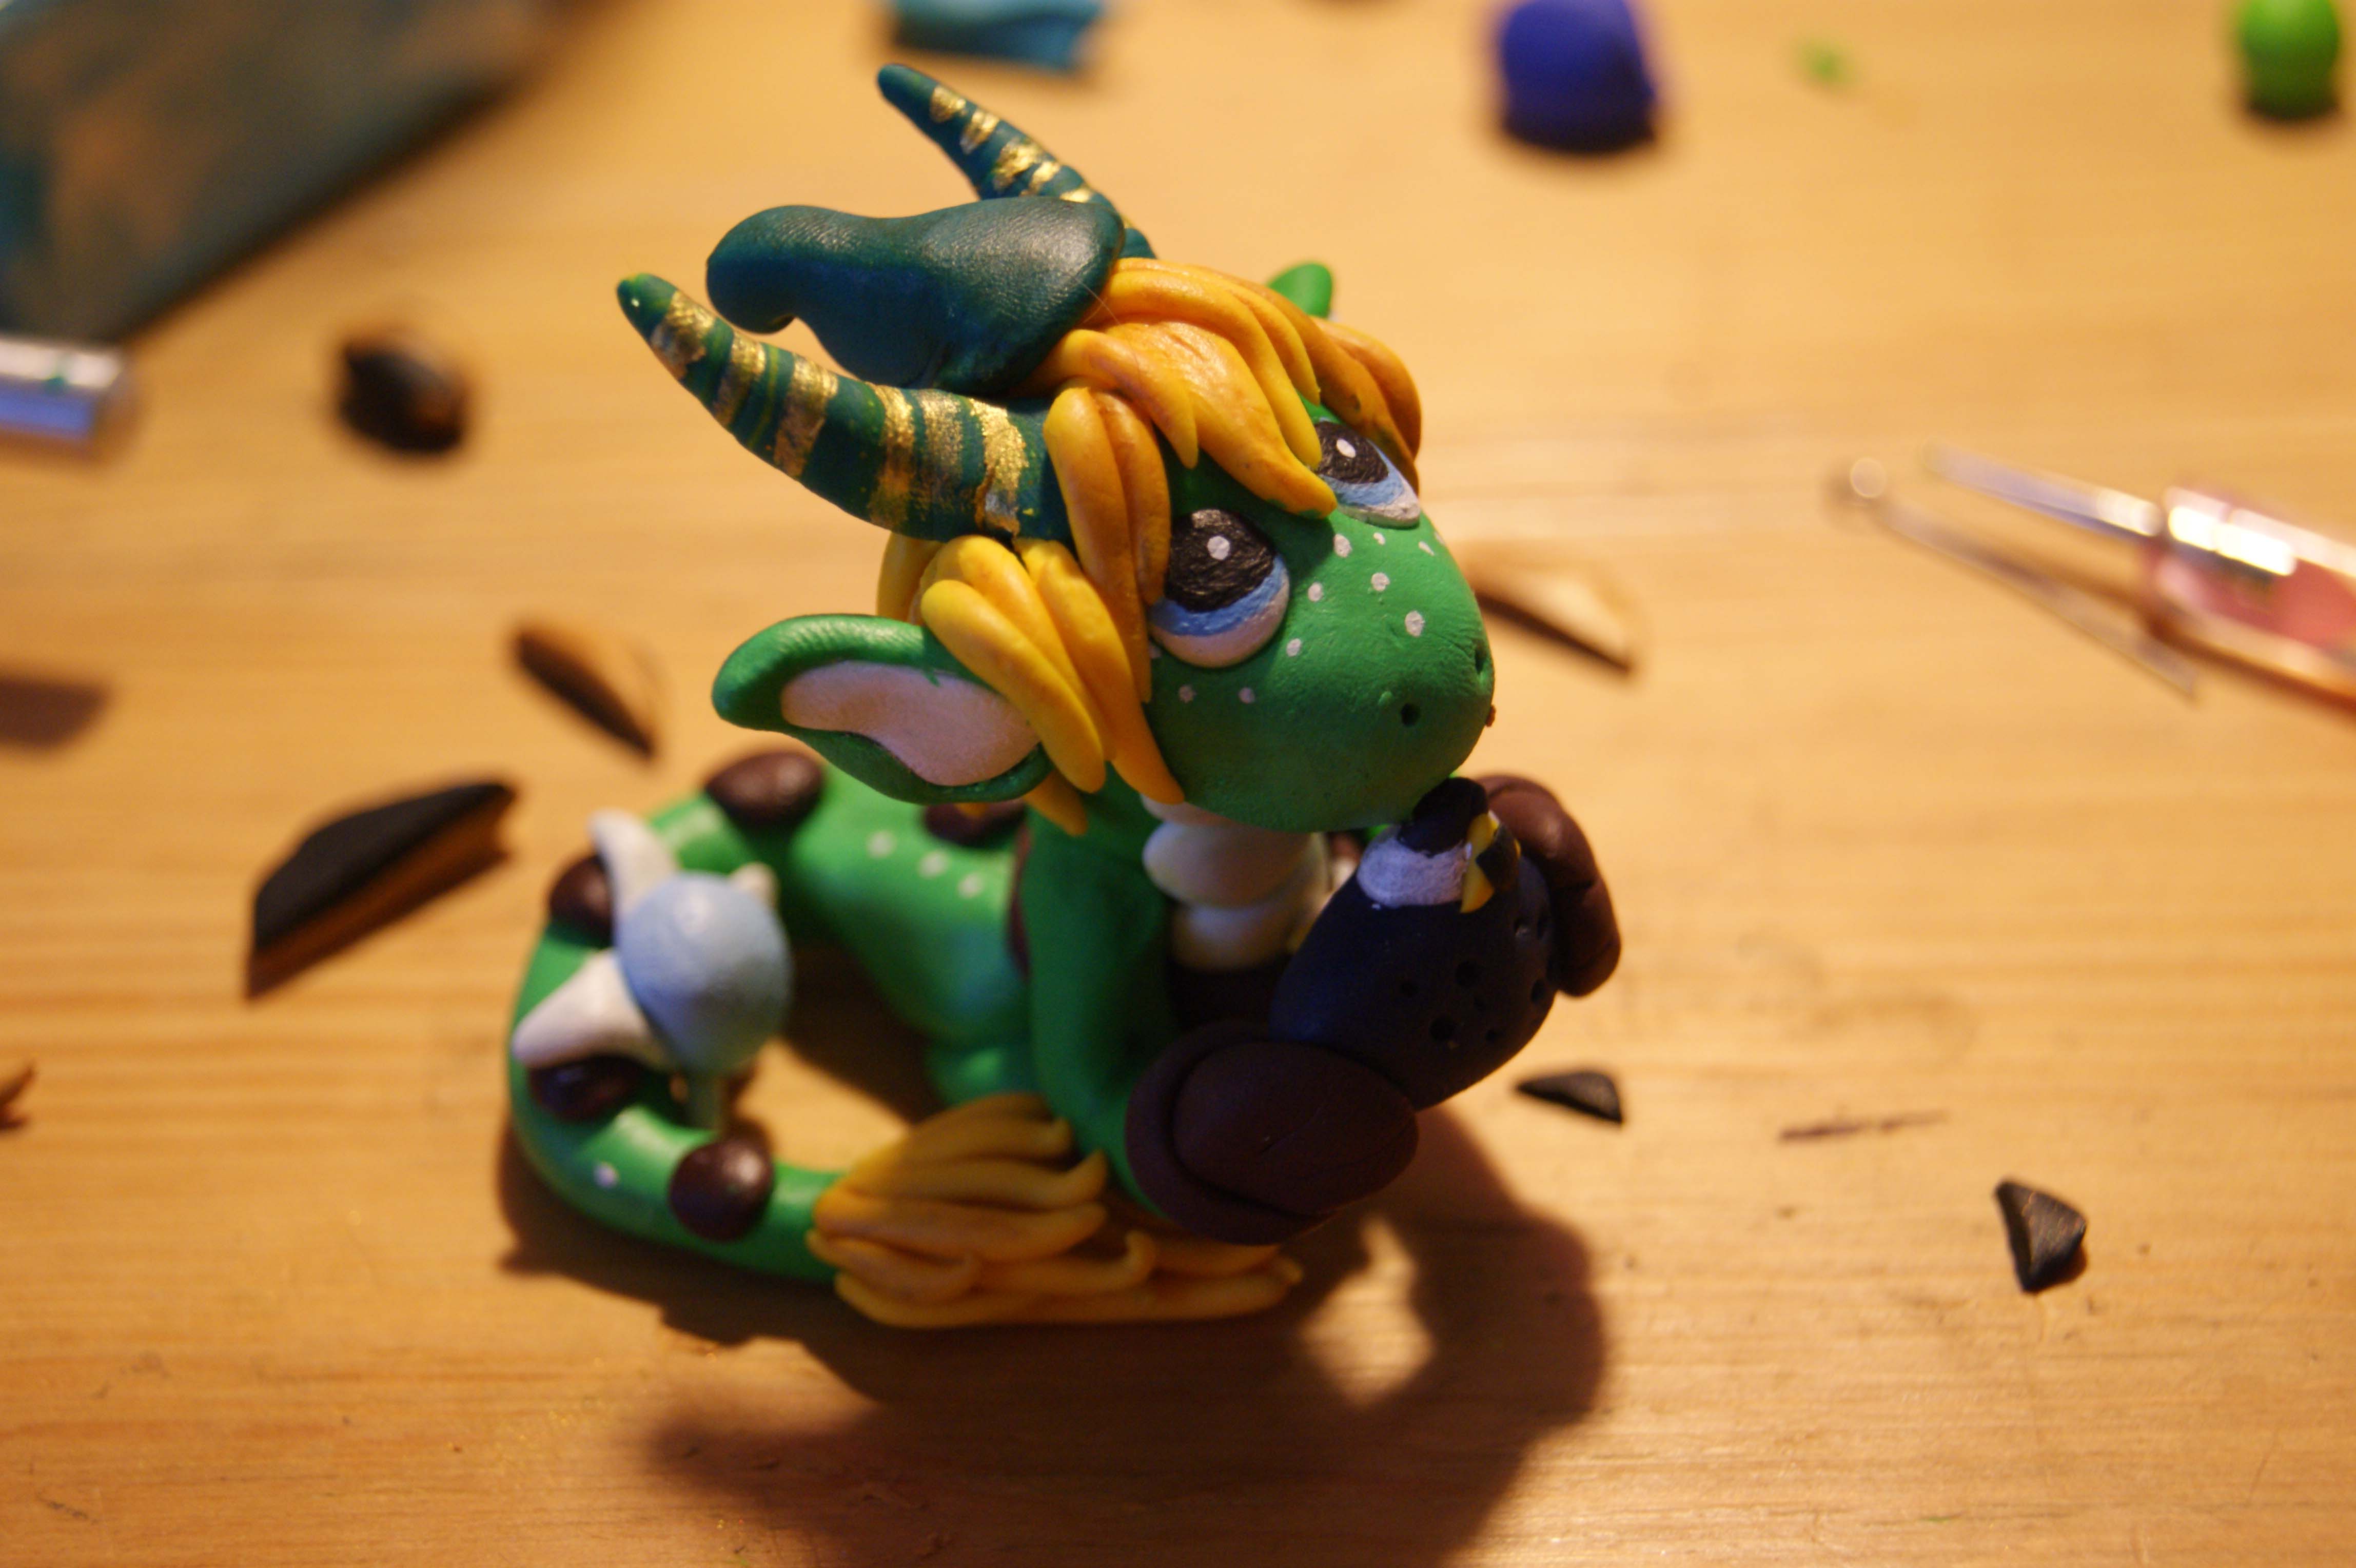
And there you go! Three cute little Zelda charms ready to have clasps and be added to any jewellery you want! Or you can use them as accessories on larger clay models. For example, I used mine on a Link-inspired dragon I made earlier.
Remember that you need to bake your clay!
Pop your Zelda charms on a baking tray with some baking paper underneath to avoid them sticking and leave them in the oven for about 20-30 mins on no more than Gas mark 1.


Leave A Comment
You must be logged in to post a comment.