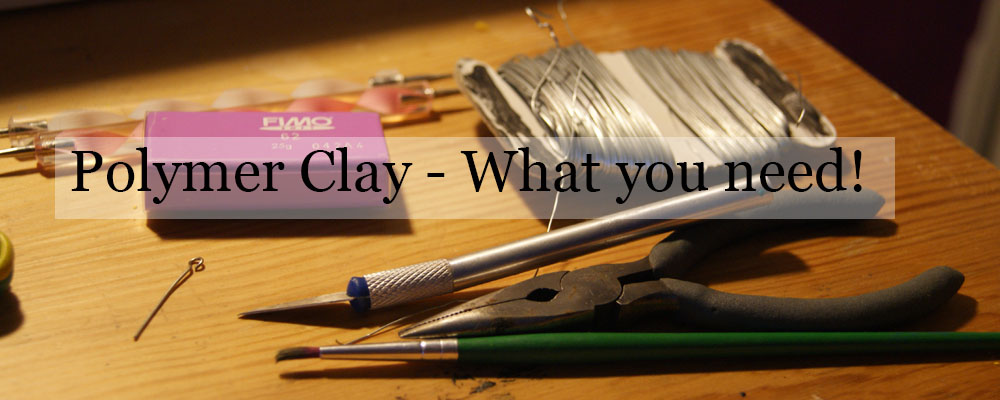
The hunt for a new hobby can sometimes be difficult, especially when trying to find one that can accompany the geeky fandoms we all love so much. A few months ago, I decided to try sculpting with Polymer Clay, which is easy to use and can be handy when you’re stressed or feeling a bit fiddly. You can make all kinds of geek-related items using this wonderful little hobby including figurines, jewellery, keyrings, charms etc. The list goes on and on. The clay is very sturdy and since it’s plastic based, it becomes rather strong when baked.
For anyone who would like to give Polymer Clay a go, I have assembled a little list of what you need if you wish to make some geeky wonders!
The clay itself!
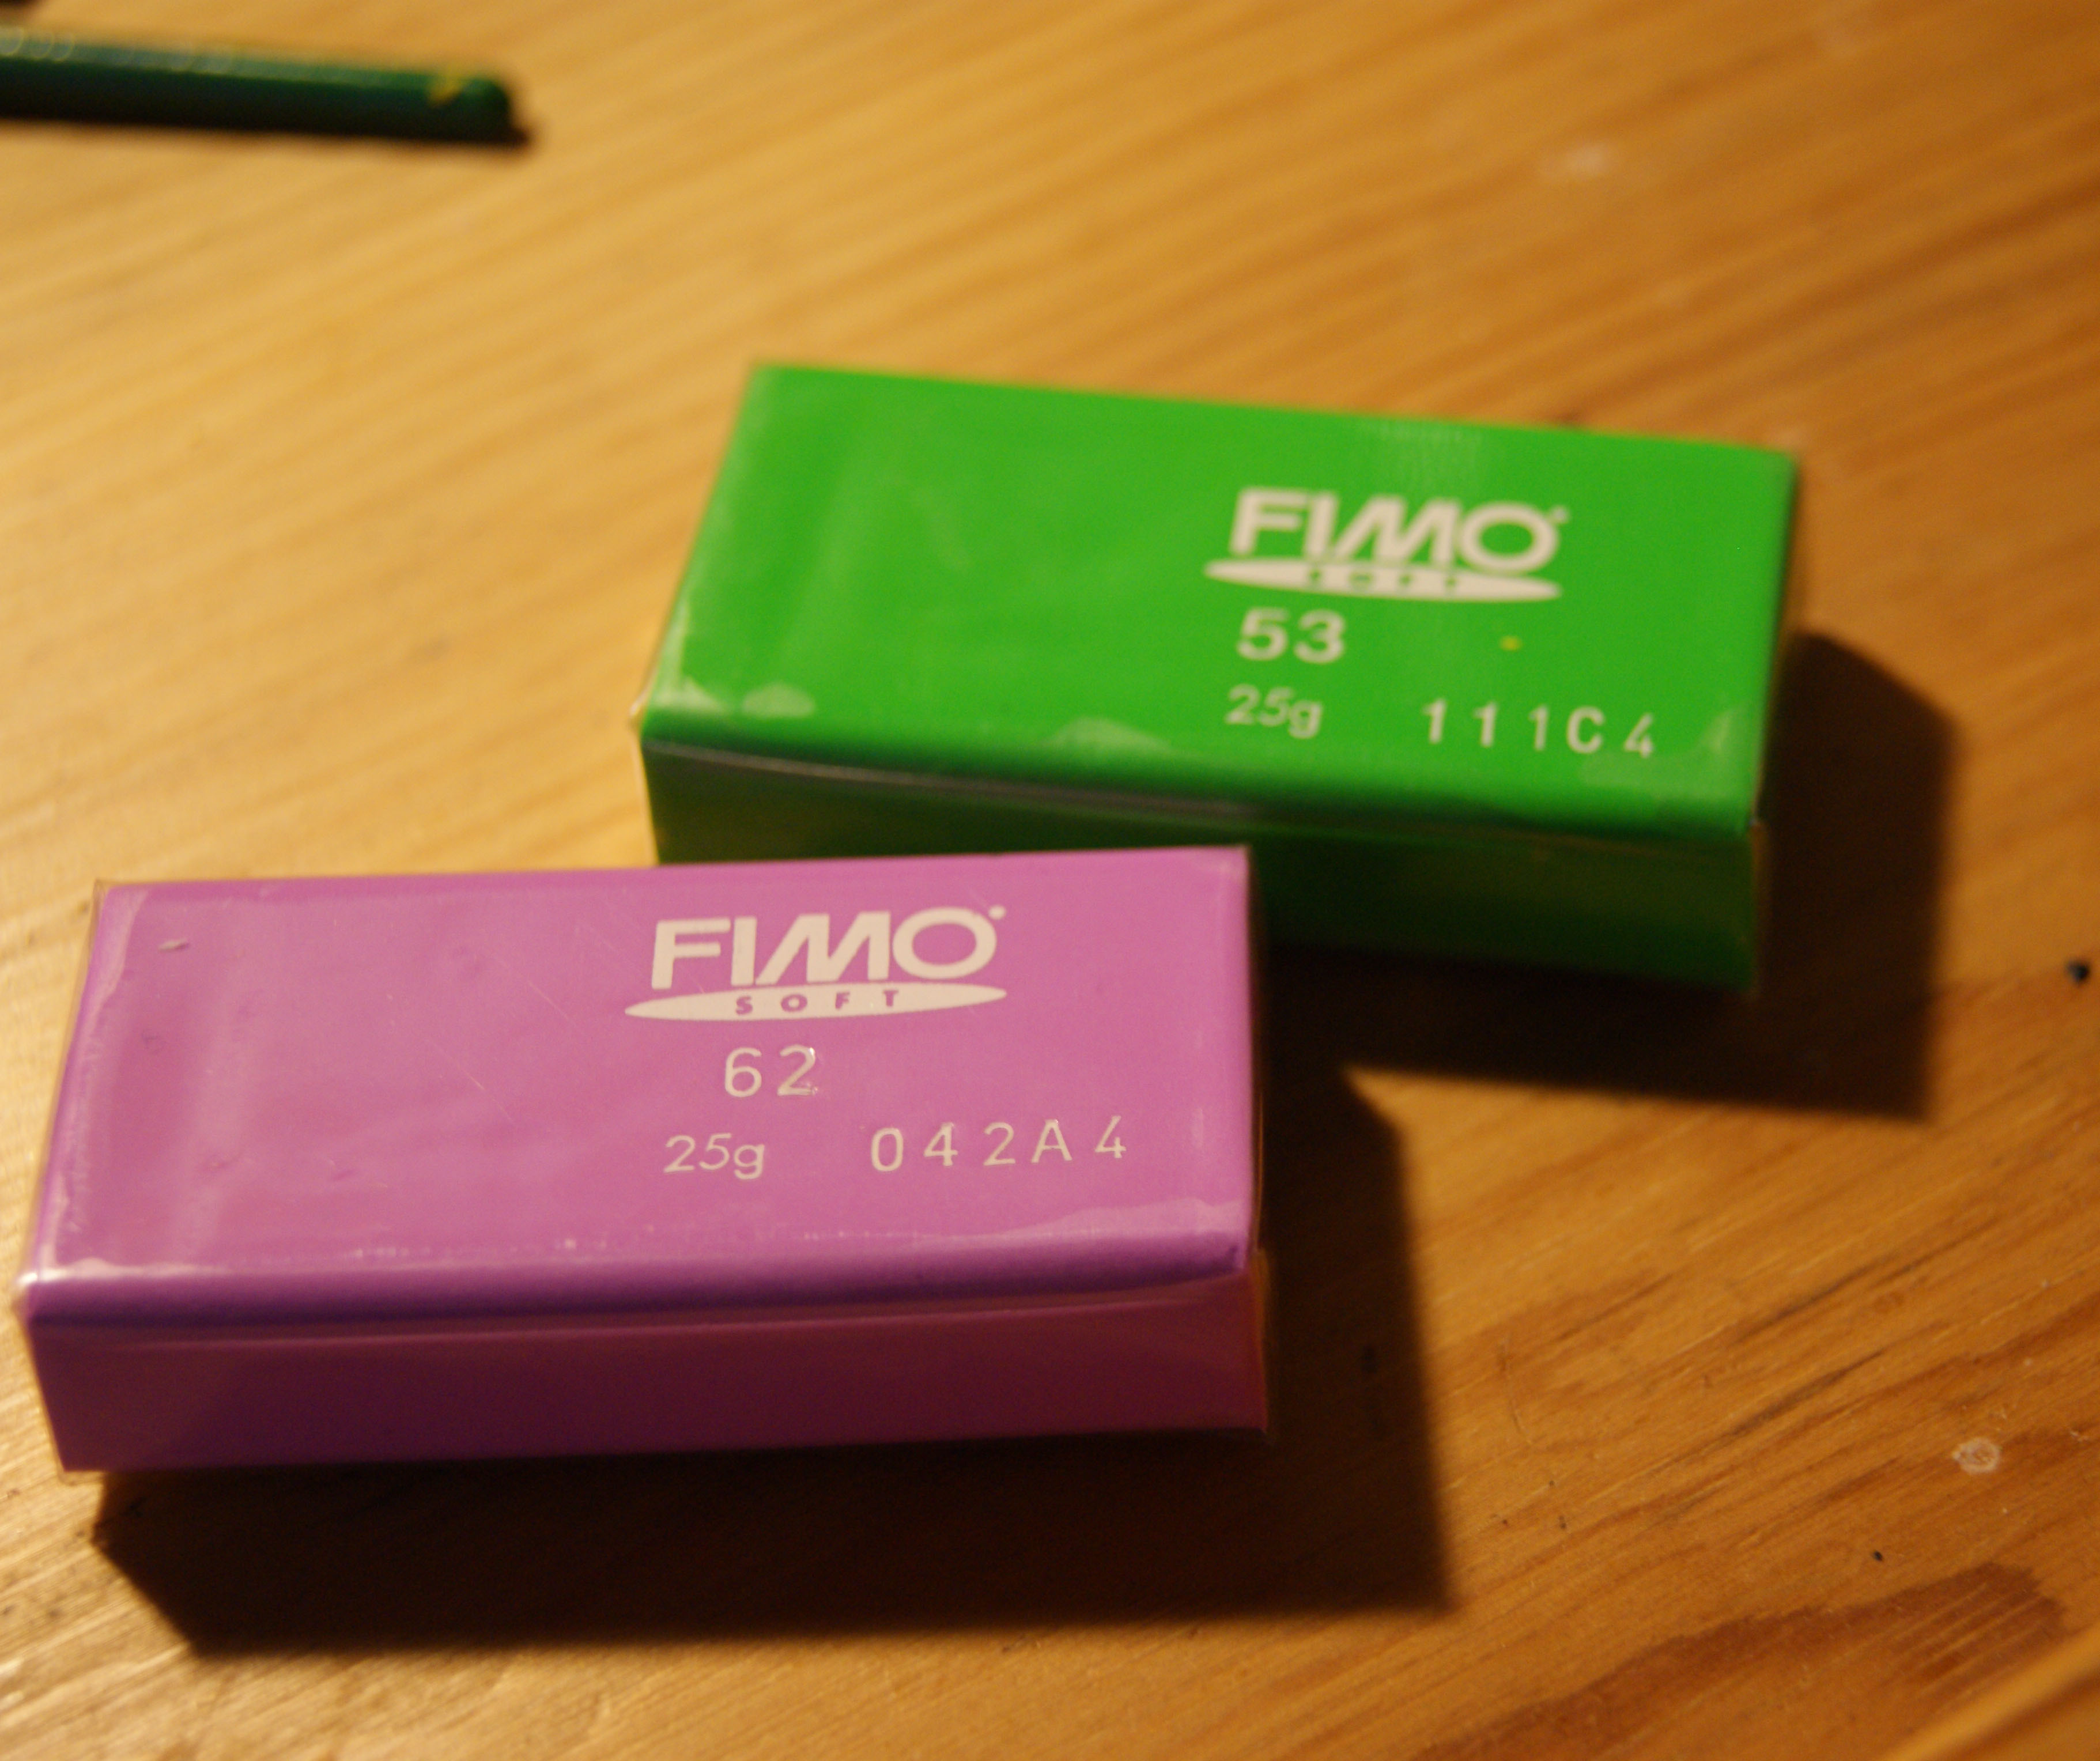
Polymer clay comes in all sorts of brands, but I recommend either Fimo or Sculpy as they are easy to find in most craft shops and online. These clays also come in lots of colours including effect clays such as gold or metallic that give clay pieces that extra shine. Personally, I get my clay in a local crafts shop, but also buy from Amazon as it is a fair price and comes quickly if I cannot find certain colours I need.
Tools
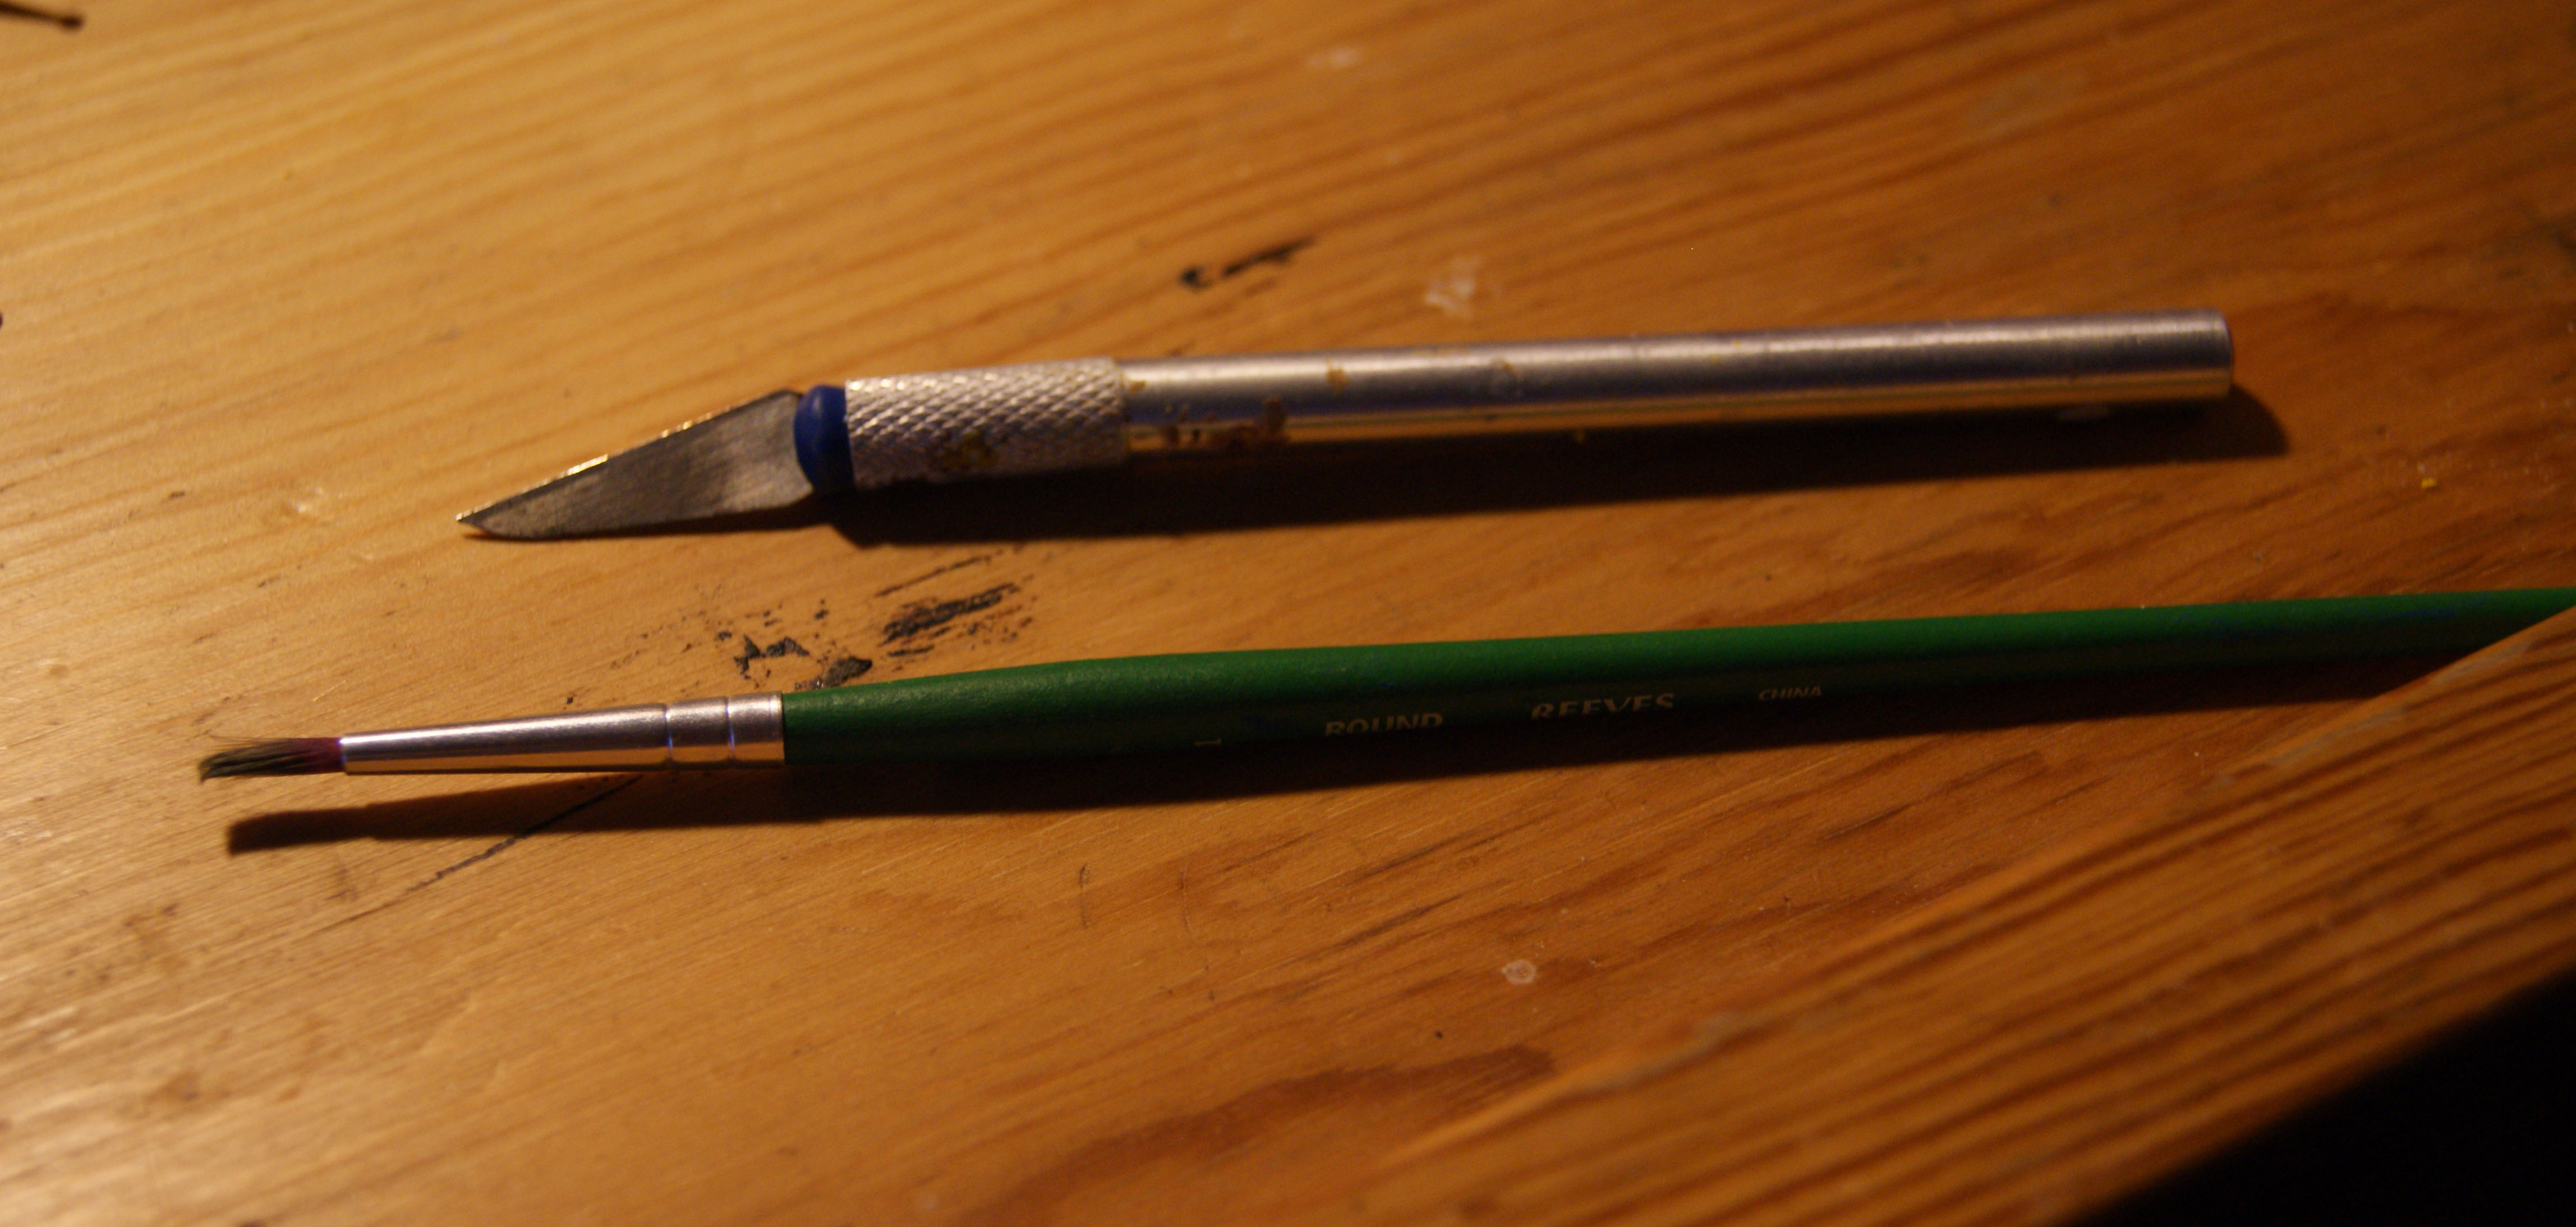
Every craft has its tools of the trade, and with clay, you can either purchase detailing tools and craft knives or use things you find around the house such as pencils, tooth picks and anything else really. You don’t need to empty out your purse to be able to make some cool details in your art! You can purchase any tool through Amazon or any craft shop. They’re easy to find, and the tools themselves aren’t expensive so if you do feel like getting the gear, it won’t put you out of pocket. Tools are essential, no matter whether they’re branded or homemade. An example of how they can be used is to create the look of fur on an animal sculpture: you can cut around the clay to give it textures of fur.
Finishing touches
The important final touches are what make your creations come alive! Polymer Clay has to be baked in an oven to make it into a solid piece. I would suggest putting the oven temperature to 100 C (about 212 F), or gas mark 1/4 (A quarter of gas mark 1). The temperature is very low so there is no chance of the clay burning, and it only takes about 30 minutes to set. Leaving your clay in the oven for a little bit before taking it out is best to avoid making the clay too brittle when it cools.
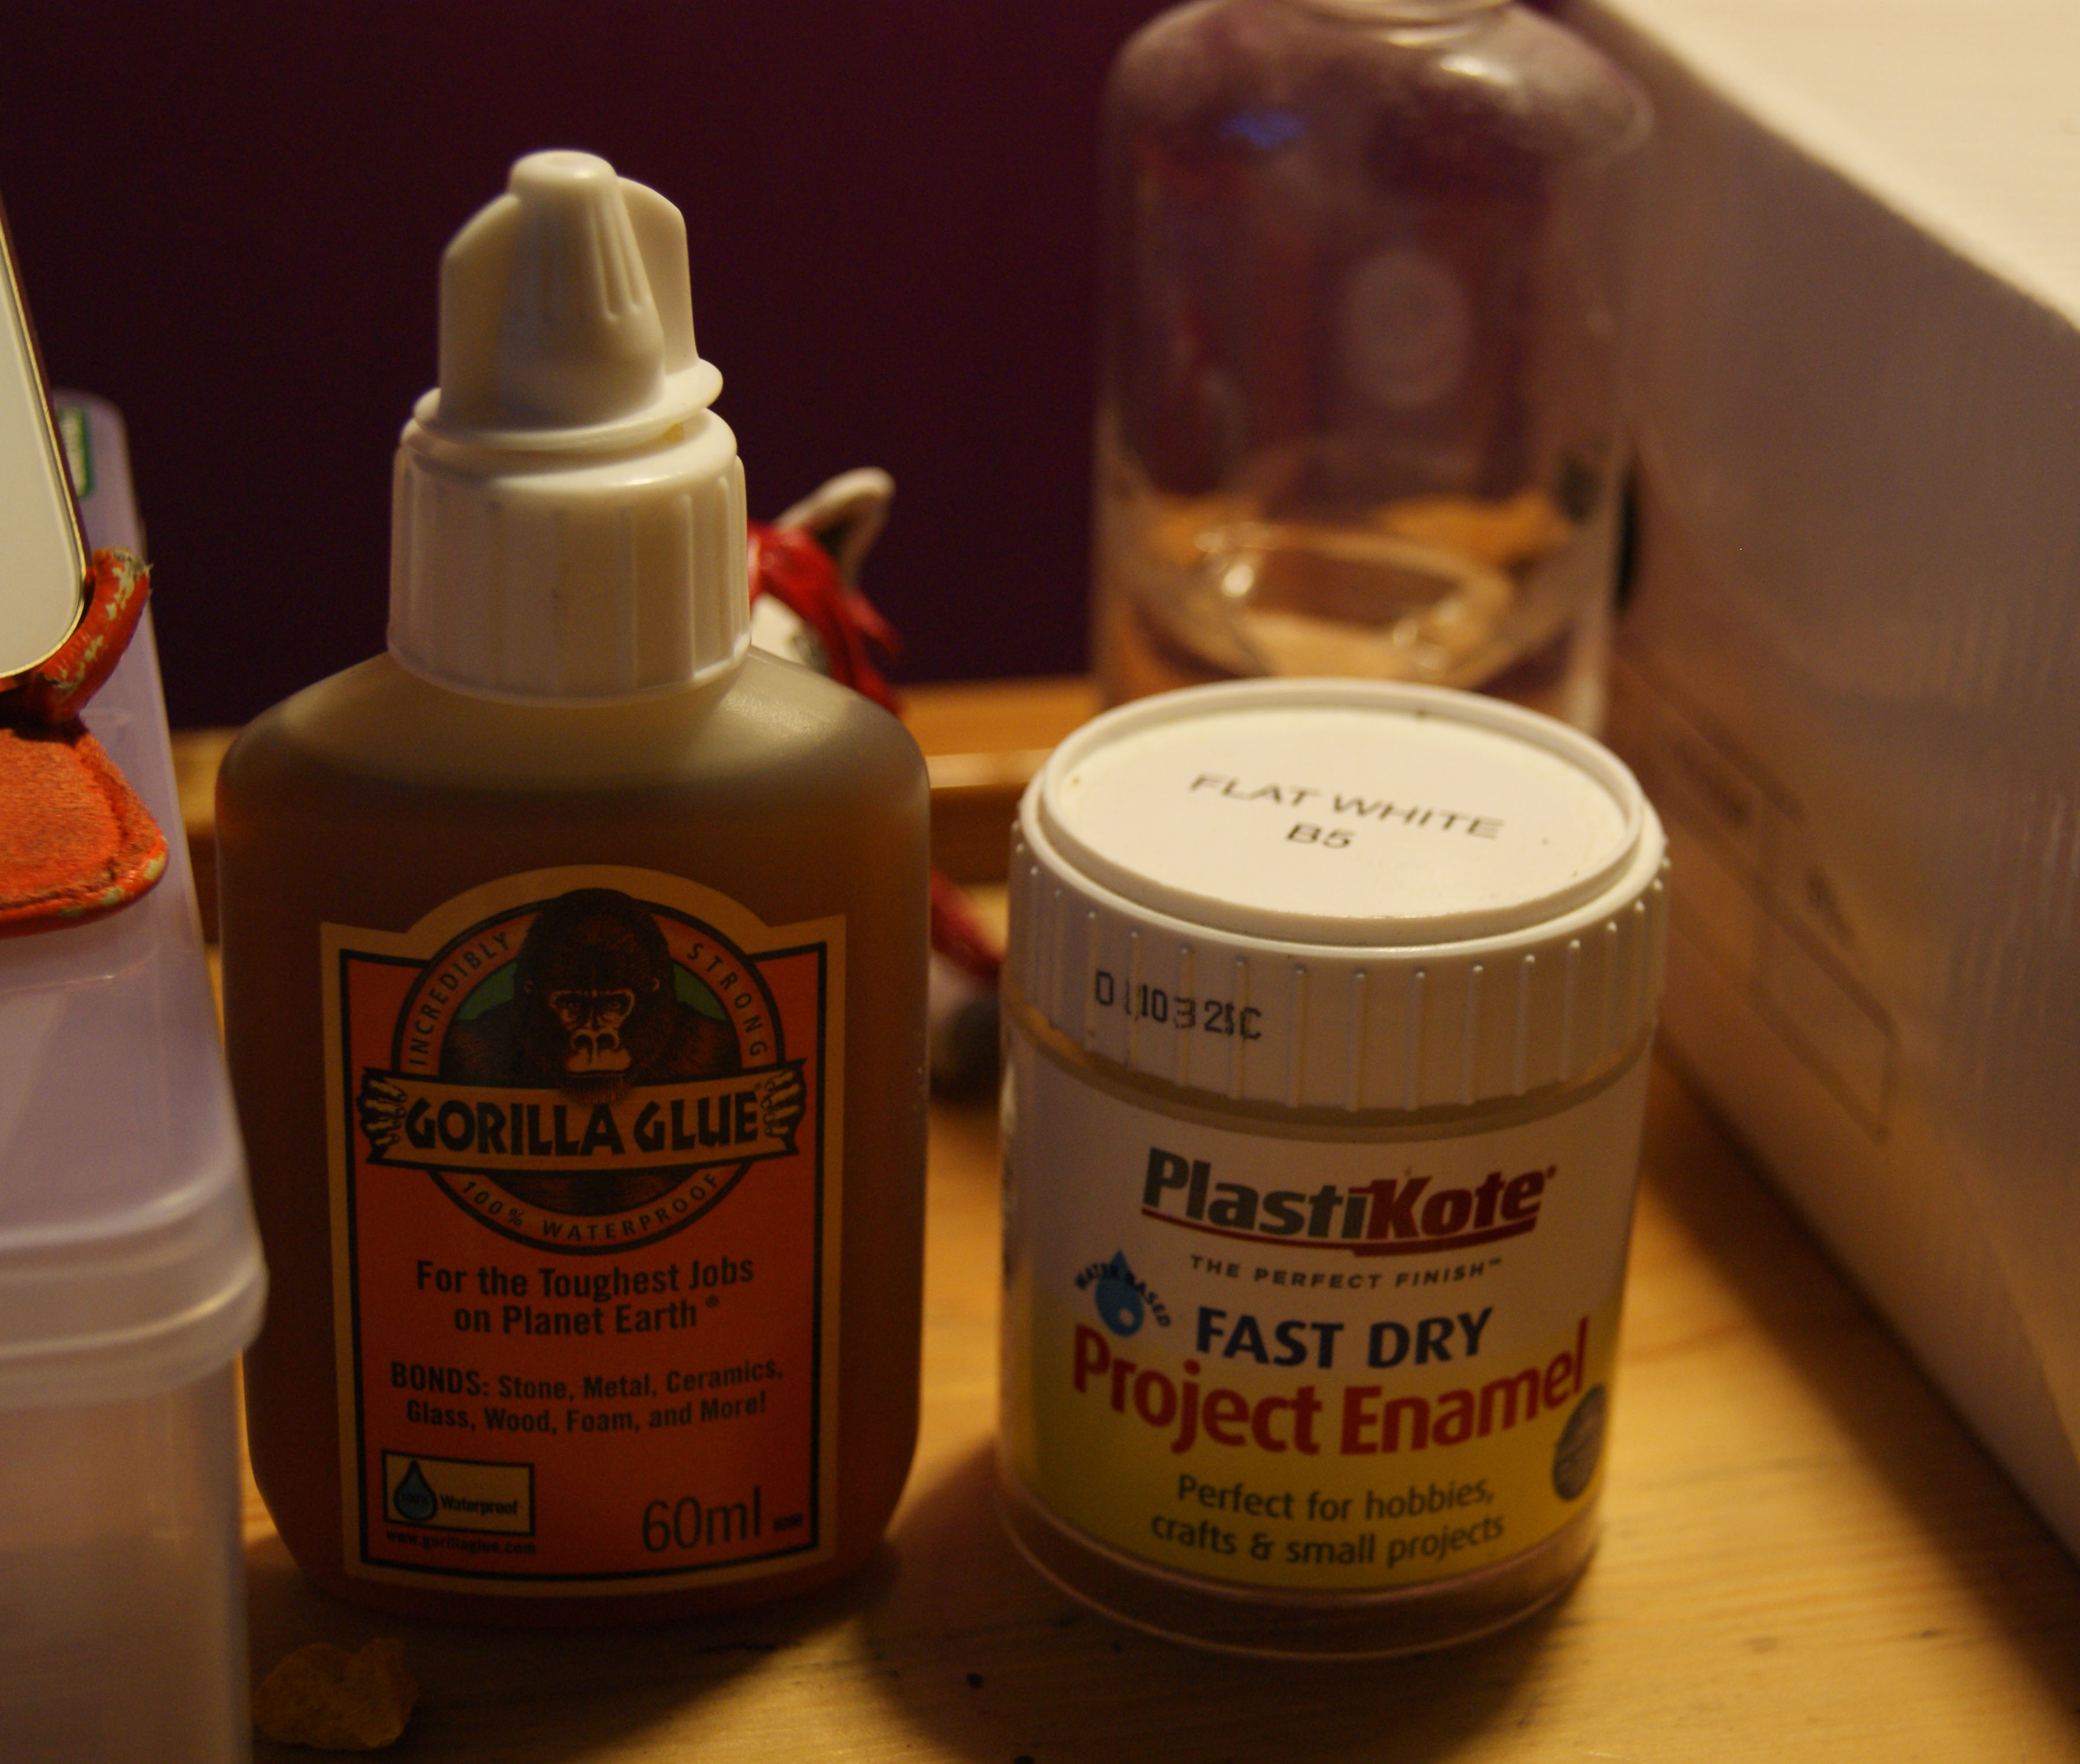
Other touches include glue, which can be used for all sorts, including adding sections to a clay sculpture or fixing something. A great thing about Polymer Clay is that it can be baked over and over so if you need to glue on another bit of clay onto an already baked piece, you can. An extra step, but not a necessary one, is glazing your clay to give it a shiny coat that protects it, as well as making it look pretty–just don’t stick it in the oven glazed. My recommendation on glue and glaze would be Fimo products, which can be found on Amazon as any of the other products.
I hope you enjoyed my little post on what is needed with starting with Polymer Clay!
This is the beginning of a series of polymer clay blog posts, where I will be doing tutorials on geeky clay items and of course, requests on tutorials are very welcome and encouraged!

How fun! Looking forward to the series of posts! I guess for requests, tiny everyday items/foods or something Steven Universe?
I’ve always wanted to start! This sounds awesome and fun!
Yay! I’m so glad 😀 It really is such a fun hobby! xx
I’m super excited for this series! I’ve always thought of polymer clay as too difficult or unapproachable, so I can’t wait to follow along!