
Are you a curiosity collector or just a plant lover who wants a fun way to preserve flowers? This is an easy tutorial to make your own plant press at home, including a scientific mount to display your specimen!
Supplies: Easy Flower Press DIY
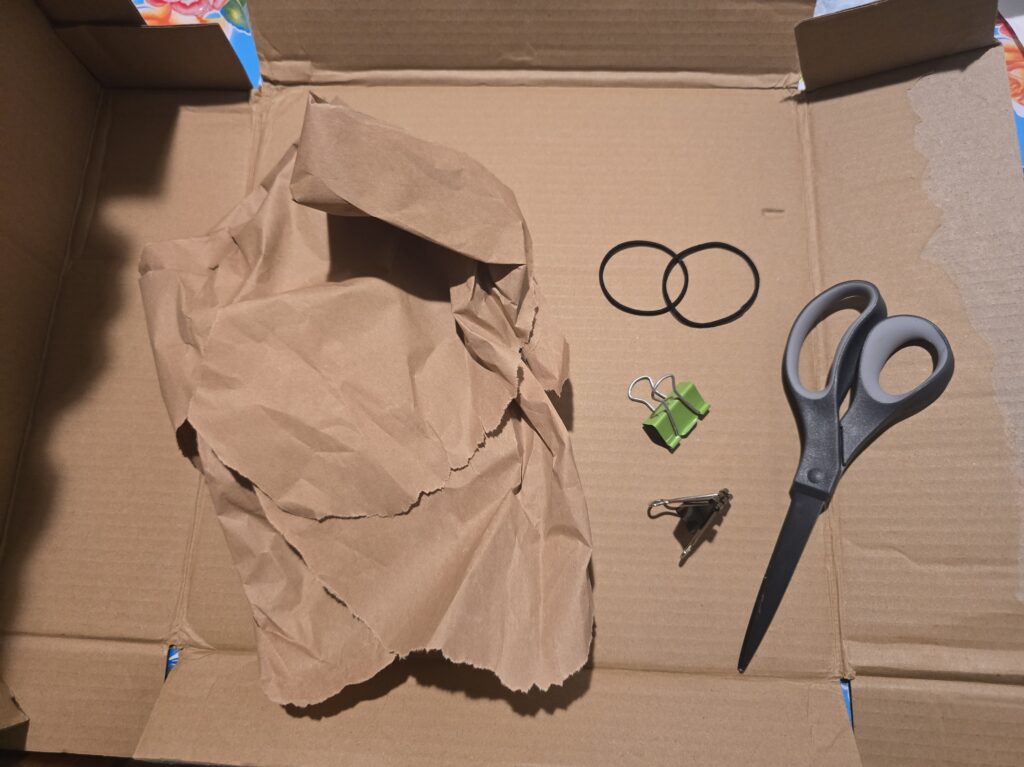
- Cardboard
- Newspaper (or tissue paper)
- Rubber bands (or small cinching straps if you want to make a really big one)
- Small plant bits
- Plain paper (letter size or card size)
- Glue (school-style glue works best for this, think Elmer’s)
- Pen (ink of choice, I like black or blue)
- 2 weeks of time
Instructions
Collect some bits of plants from outdoors. Be sure to note the date, time, weather, and location. You’ll also need to identify your plant! If you need help with this, the iNaturalist app is a great place to start!
Fold your cardboard piece in half or cut into two matching pieces. You’re looking for something about the size and shape of a paperback book, nothing huge. (Do make sure your plants will fit within the dimensions, though!) Lay these to the side but not far away, you’ll need them for sizing!
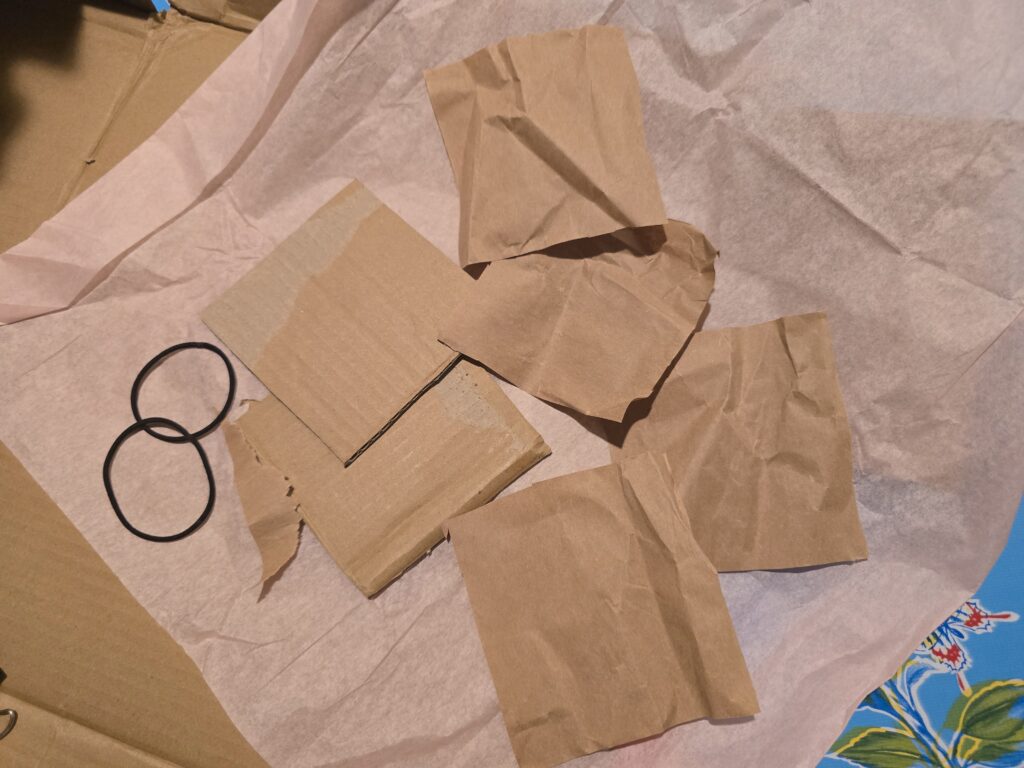
Cut several pieces of newspaper to the size of one of your cardboard pieces. You can measure or just pop a cardboard bit onto the newspaper and cut around it. You’ll need 6-8 pieces of newspaper. (Tissue paper works too, but you’ll need more!)
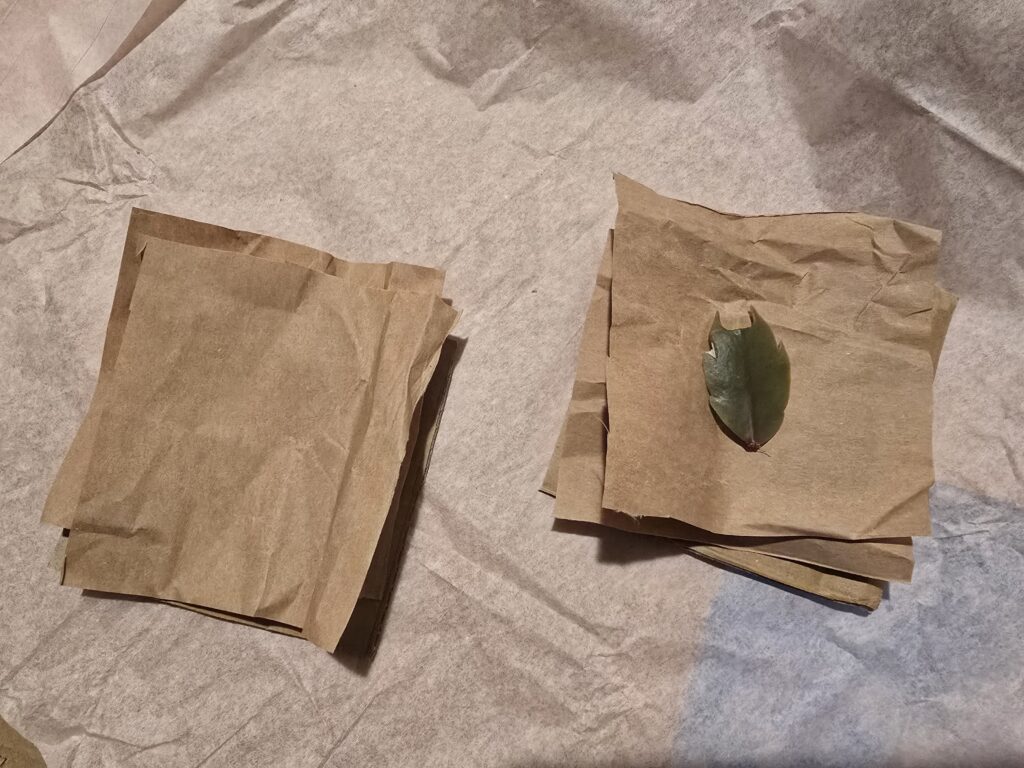
Build a “sandwich” from your cardboard bits and the newspaper pieces with the newspaper layered between like the “filling”. In the center (so with 3-4 pieces of newspaper on either side), lay your flower and plant bits. Space them so they do not overlap. Carefully close the sandwich.
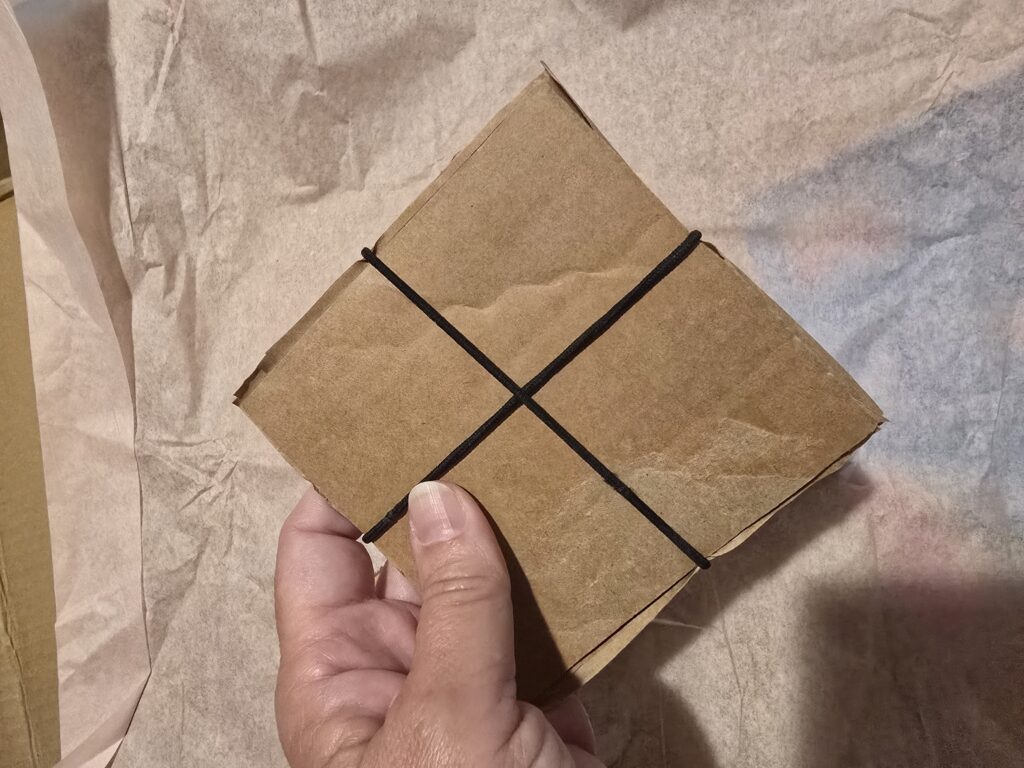
Now take your rubber bands and wrap the whole stack together. You want the rubber bands to apply a good amount of pressure and to press the whole thing evenly — not just across the middle or side. (Note: if you want, you can also stick your press under some heavy books but note that this is an activity that requires patience, so don’t pick a book you’ll need for a couple of weeks!)
And now we wait! Longer than that. No, give it a little longer. Looongeeer. (Seriously though, you’ll need to wait for a couple of weeks for the plants to dry.)
WHILE WE WAIT
Now it’s time to make this SCIENTIFIC. Lay out your plain paper and get your pen. In the bottom right corner, carefully print the following information:
- List the plant’s scientific identification including family, genus, or species
- Your name as the collector
- Collection date
- Specific location of where you collected the plant – you can include the time and weather here
- Specimen description – list the part of the plant you collected!
ONCE YOUR SPECIMEN IS DRY
You waited two weeks? Excellent! Now carefully remove the rubber bands and peel away the newspaper and you should have a very VERY flat, dried plant.
It’s time to mount your specimen! Pour some glue onto spare newspaper (or a paper plate or a bit of wax paper — anything you don’t want to keep) and carefully dip the back side only of your plant into the glue just enough to get a light coating. Then place the specimen in the center of your already-labeled page.
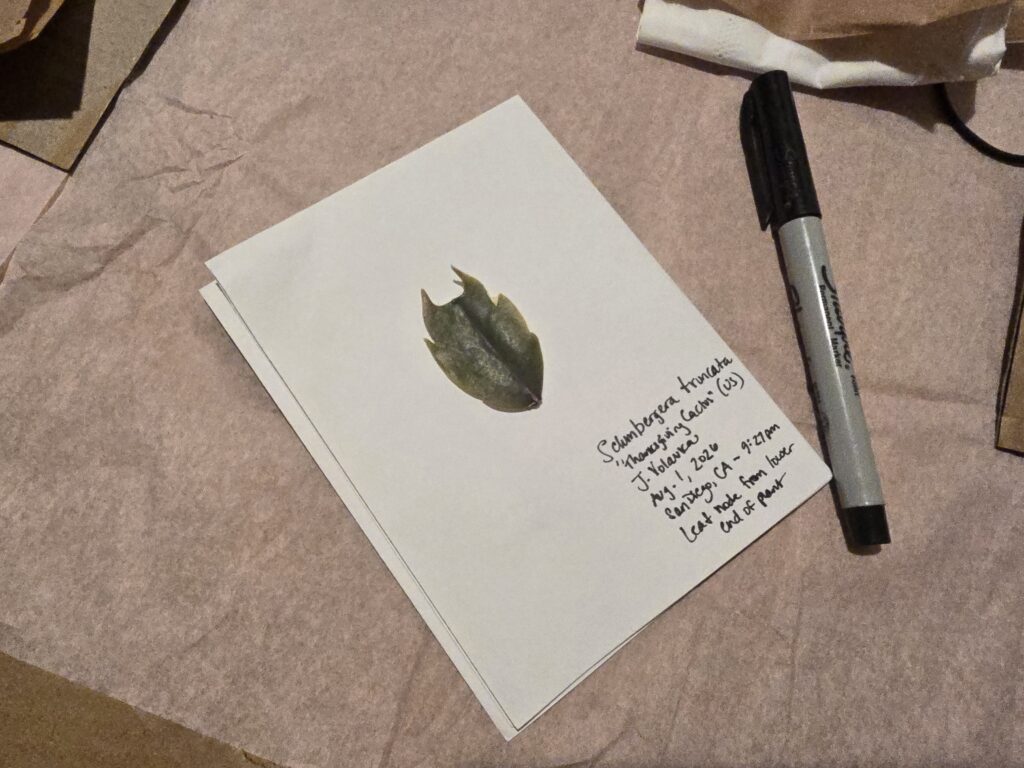
Wait for the glue to dry and ta-da! You’ve got a scientific-style pressed plant!
Hosted by Joanna AKA Camp Director Jo
Joanna is a semi-professional storyteller with a permanent case of wanderlust and a perpetual art dabbler. She loves national parks, wildlife conservation, geeky conventions, and weird roadside attractions.