It is so hard to name just one thing that I love about Halloween, it is after all, the best holiday! Halloween is made even better with it’s month long array of movies playing on various channels. Of these movies, The Nightmare before Christmas, most definitely is one that encompasses the spirit of Halloween year after year. So in honor of the scariest, no good villain from this wonderful movie, I give you an easy, affordable, felt Oogie Boogie plush. He’s even filled with bugs!

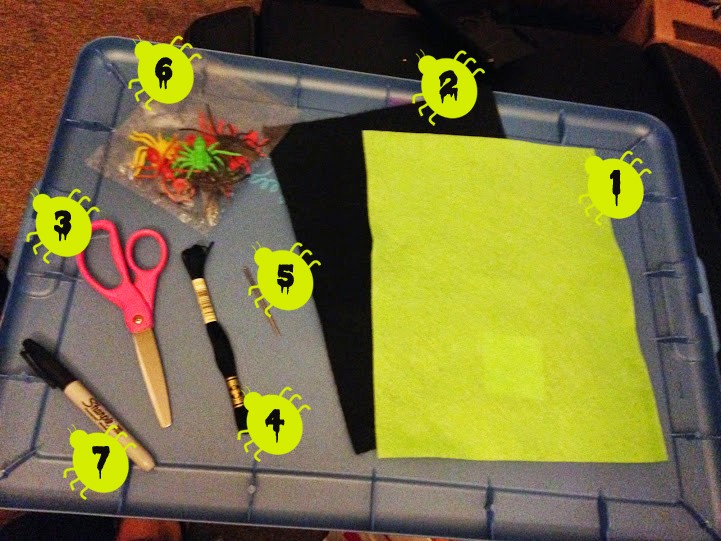
You will need
- One piece of bright green felt ($ .33)
- One piece of black felt ($ .33)
- Scissors (on hand)
- Black thread ($ .97)
- Needle & pins (on hand)
- Small bag of plastic assorted bugs ($1.00)
- Sharpie / black marker
Directions
- To get started, you will need to fold your green felt piece in half, length wise. Sandwich your black felt piece in between the two halves of green, and cut off the excess half that sticks out.
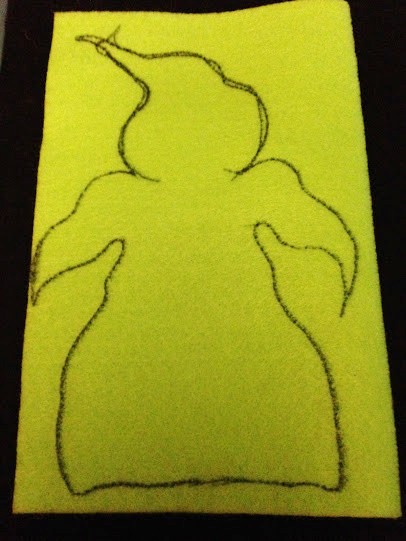
- Draw your Oogie outline on one side of your felt sandwich. Oogie is a pretty free form character, and you don’t need any drawing skills for this. Make the bottom wide, and the body should come in slightly as you get to his arms. Make your lines a little wiggly as you go. His arms are short, also wiggly, and come to points for his hands. Make his shoulders more defined, so that his big round head has some shape. Finish his head with a wiggly point. Use my picture for reference.
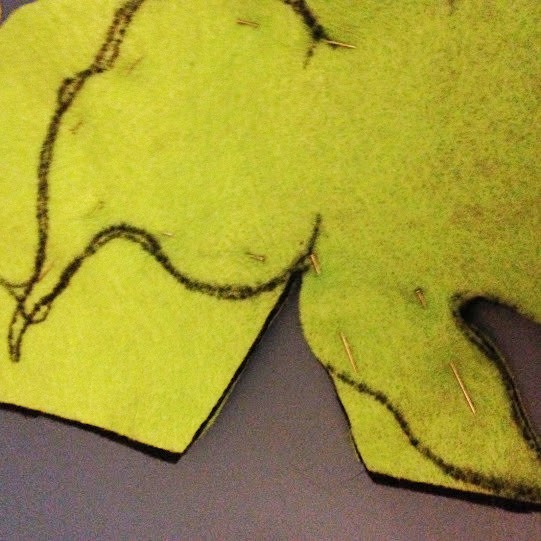
- Next, your going to take your pins, and place them around the inside of your Oogie outline. Make sure the pins go through all 3 layers of felt.
- Cut your Oogie out. I cut in segments, so that I could get close, clean cuts. This is best when your cutting the crevices in between his shoulders and the curve of his armpits.
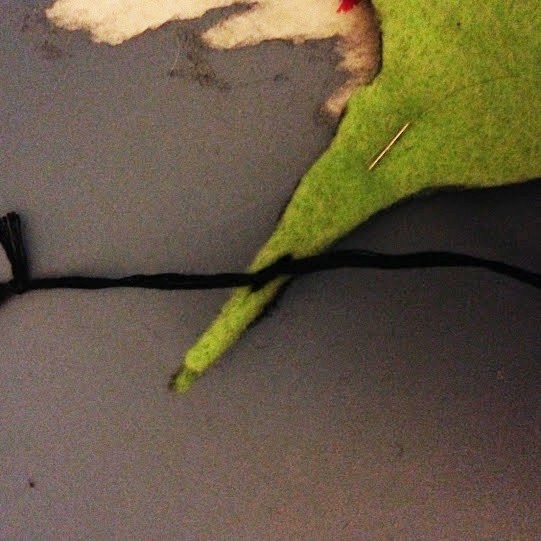
- Once your Oogie is all cut out, you’ll need to thread your needle. I’m always a little excessive with my thread, but you shouldn’t need more then a yard. I also doubled up my thread to make the stitches bolder (double your thread length if you do this.)
- Start by making a small loop at the end of your thread and knotting it, so that a little excess thread comes off the knot. About an inch below that, make a second knot in your thread, no loop this time. Cut your loop in half, and separate the individual threads.

- Begin your stitching at the tip of Oogie’s pointy head, coming in from the back, through all three layers of felt, to the front. Your second knot should stop your thread from pulling completely through, leaving that excess thread with the cut loop hanging from the top of Oogie’s head. I did an additional stitch and made a knot at the first stitch for security.
- Use a running stitch to sew your Oogie layers together, stitching along the edge. I left my marker outline on the outside of my Oogie Boogie to use as my stitching guide, as well as make him look more finished. Once you get back to the top, make sure your thread is coming out the backside. Knot the thread into your first stitch to finish and cut off your excess. Remove your pins.
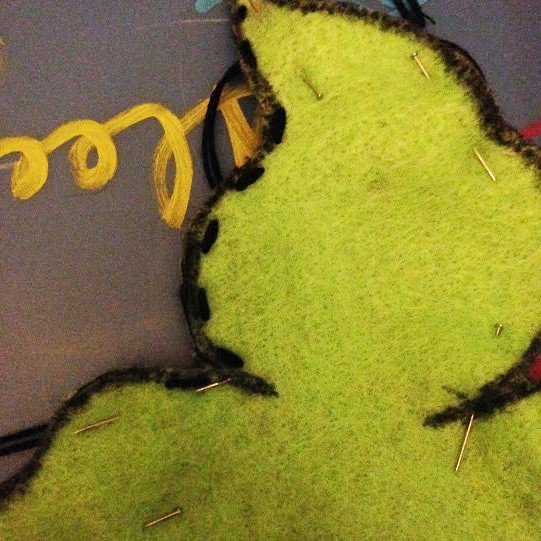
- When you have finished stitching the outer edge, fold your Oogie and pinch the top layer of green felt away from the middle and bottom layer of black and green felt. Make a small snip with your scissors in this top layer. This allows you to cut a slash into Oogie’s belly without cutting the other layers. Your going to do the same thing for the mouth and eyes.
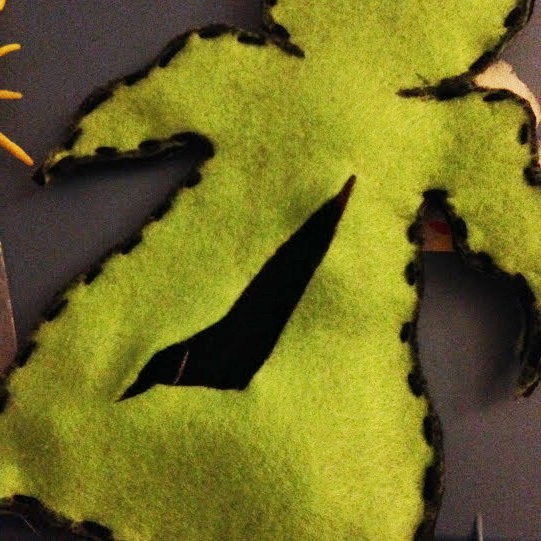
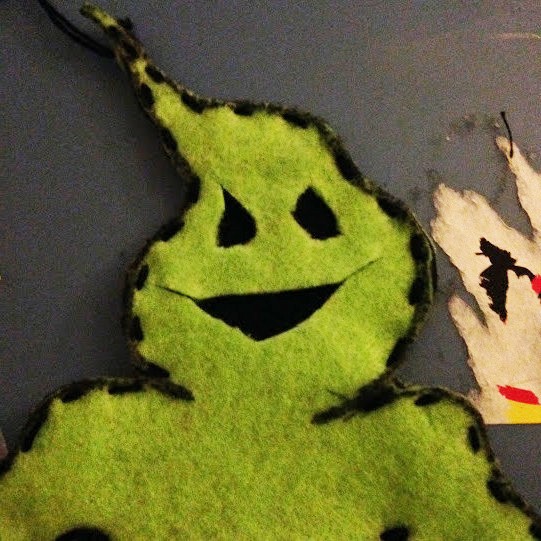
- Thread your needle again, and starting from beneath the top green layer, make three or four stitches along the bottom of the belly hole, and then again along the top.
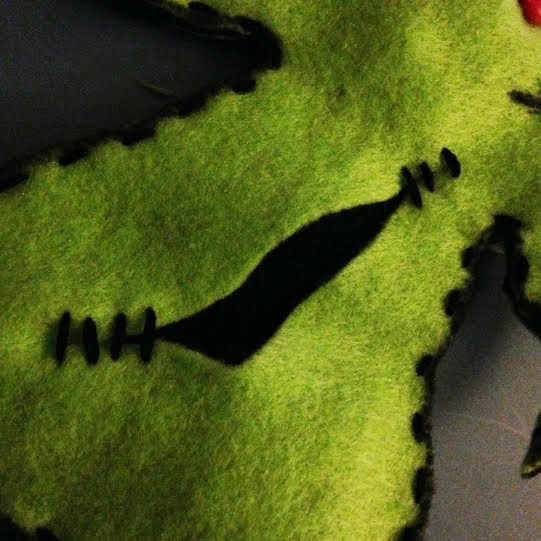
- Repeat the last step for the outer edges of the mouth. Make your finishing knots beneath the top layer of green felt, and tuck them in so that they are not visible.
- Now you can stuff the plastic critters into the holes you cut and stitched. I fit about 4 bugs in my plush, and left them so they appear to be crawling out of his belly and mouth. You will have to do this slowly, and carefully so as to know rip or pull apart your stitches!
- VOILA!! You now have your very own gamblin’ boogie man, for under $3!
Leave a comment and snap a picture of YOUR Oogie Boogie plushie!
Unlock the achievement with the code plushiesofthedead


Oooo… I just love being crafty! 😀
That looks awesome! I might have to try it. 🙂
Great tutorial! I love Oogie. I think he will make a great Christmas present for a friend. 😀
This is great! Will have to try it out later : )
I did it! Muah hahaha… I shall post on twitter soonly