
My little family loves Audrey Hepburn and Marilyn Monroe. So, who better to be for Halloween than these two amazing sirens of the big screen?
My goal was to make this tutorial as easy as possible so that it was accessible to even the most un-crafty among us. We’re going to use the Audrey dress for purpose of the tutorial.
The supply list can be found here.
Your supplies should look more or less like this:
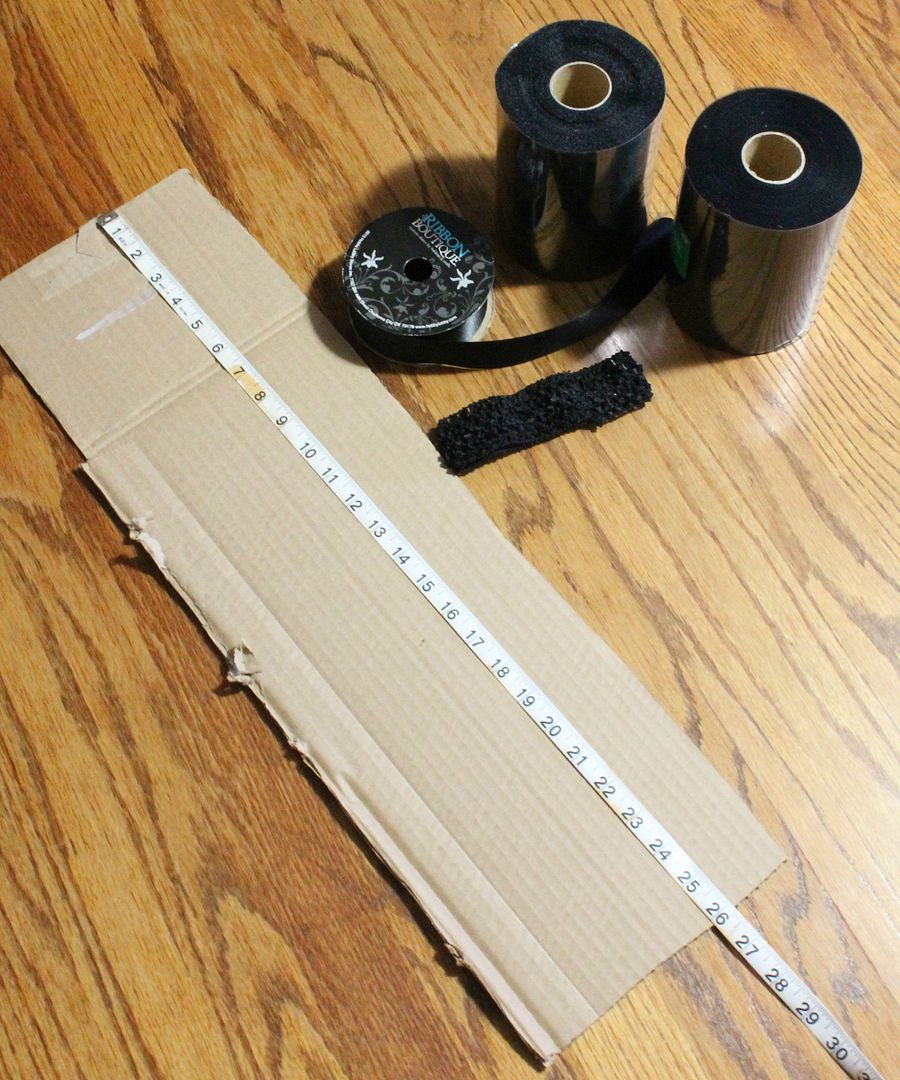
Supplies for Audrey Hepburn Tutu Dress
The cardboard is the first piece you’re going to want to “make.” You will want to determine how long you would like your dress to be, then cut a piece of cardboard to that length. For my 6-year-old model, we are making a dress that is 26″ in length, so you can see that my cardboard is 26″ long. This will reach to below her knees.
Once you have cut your piece of cardboard, open your first roll of tulle and wrap it around the cardboard length-wise, like below:
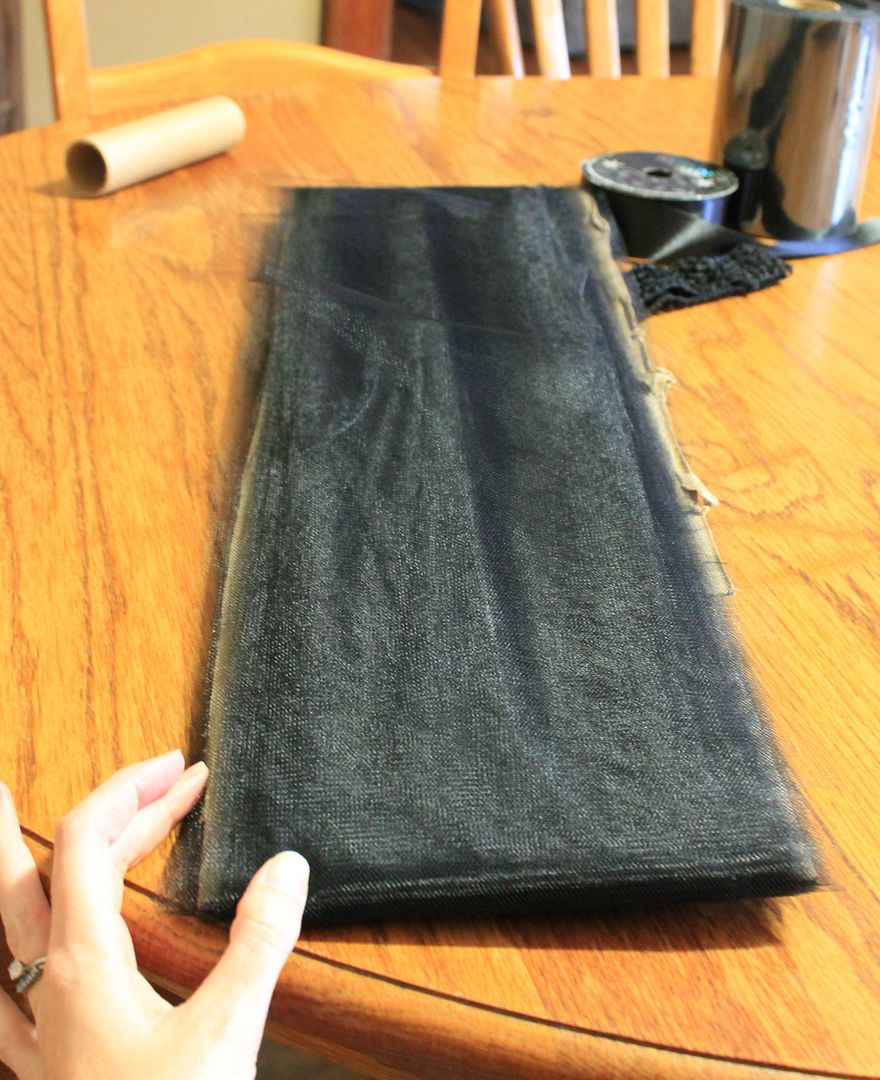
Tulle wrapped around cardboard (this is 1 100 yd roll)
Once you have wrapped your roll of tulle around the cardboard, you will want to cut all of the tulle at one end, like the image below (sorry, this one is a bit blurry…lighting was bad!):
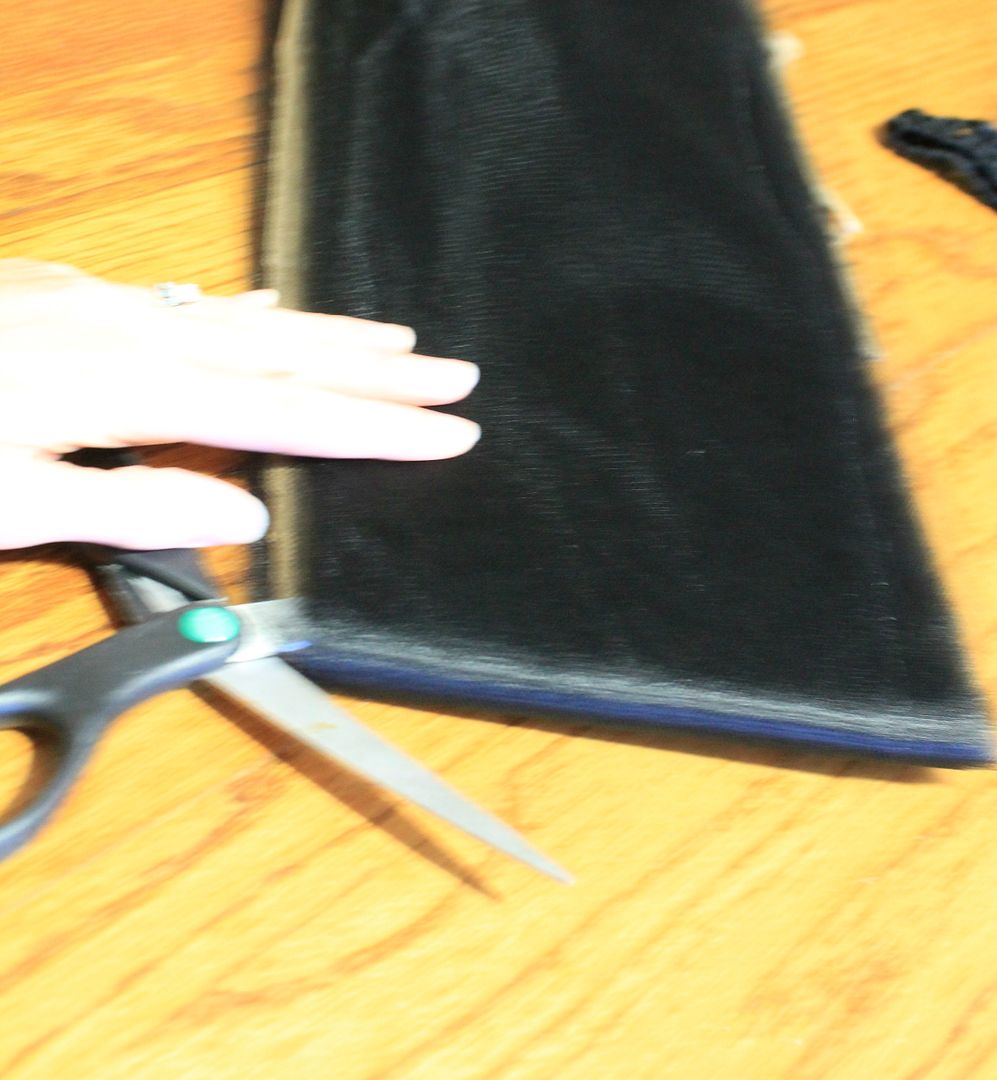
Cut through all layers of tulle at the bottom of the cardboard. Cutting where you started with your wrapping is best.
Once you have cut through all of the layers, you can remove your strips from the cardboard and put them in a pile for easy grabbing:
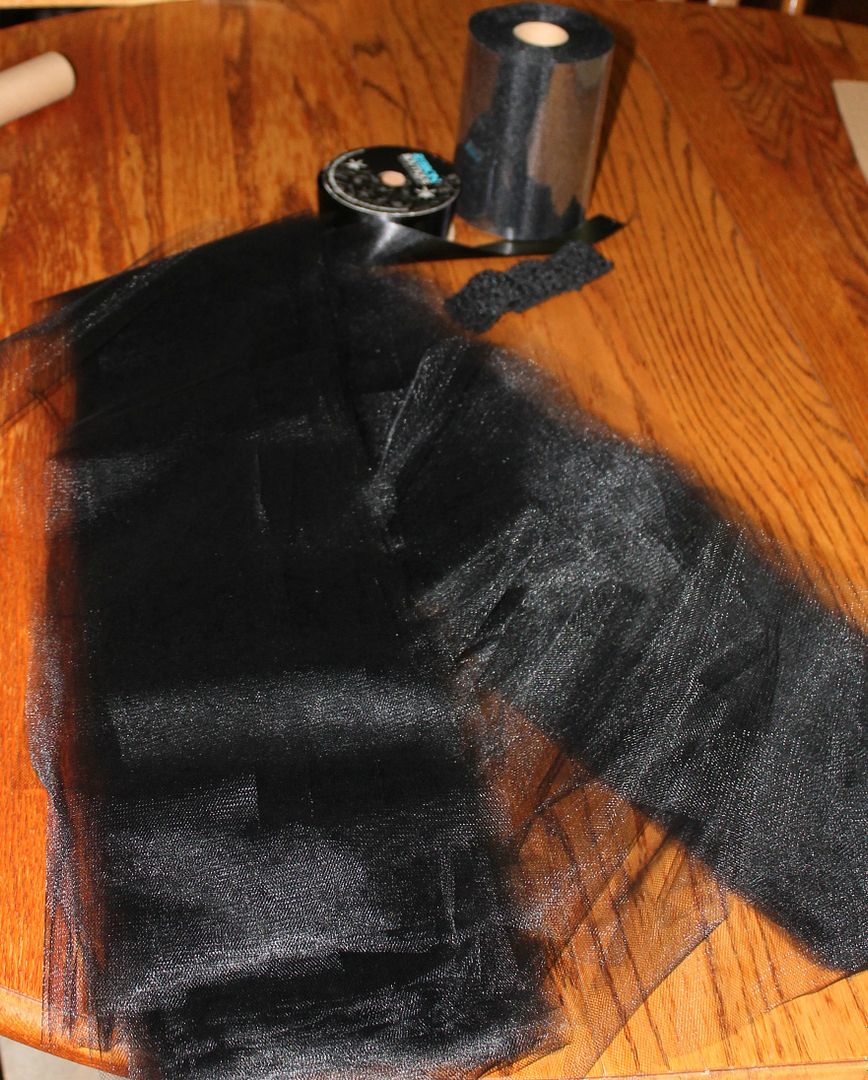
Lots of shiny tulle! Let’s make a dress!
If you bought a headband to use, you can skip this next step.
If you bought a roll of the crocheted headband material, you will need to measure around the torso of the person who will be wearing the dress. Measure all the way around the chest, underneath the armpits. Subtract 2 inches, and this will be the length of material that you need for the elastic. Sew the ends together (simple stitches and knots are fine.)
If you are going to line the inside of your dress, you can lightly stitch your fabric to the inside of your crocheted elastic now. Simple stitches and knots should be fine here as well (it doesn’t have to be pretty, just functional! You will not be able to see the liner once you have added the tulle.)
Next, we’re going to thread the tulle through the crocheted elastic.
To do this, fold a strip of the previously cut tulle in half. You can twist the loop to make it easier to thread through the holes in the elastic.
Push it through the elastic, like the picture below:
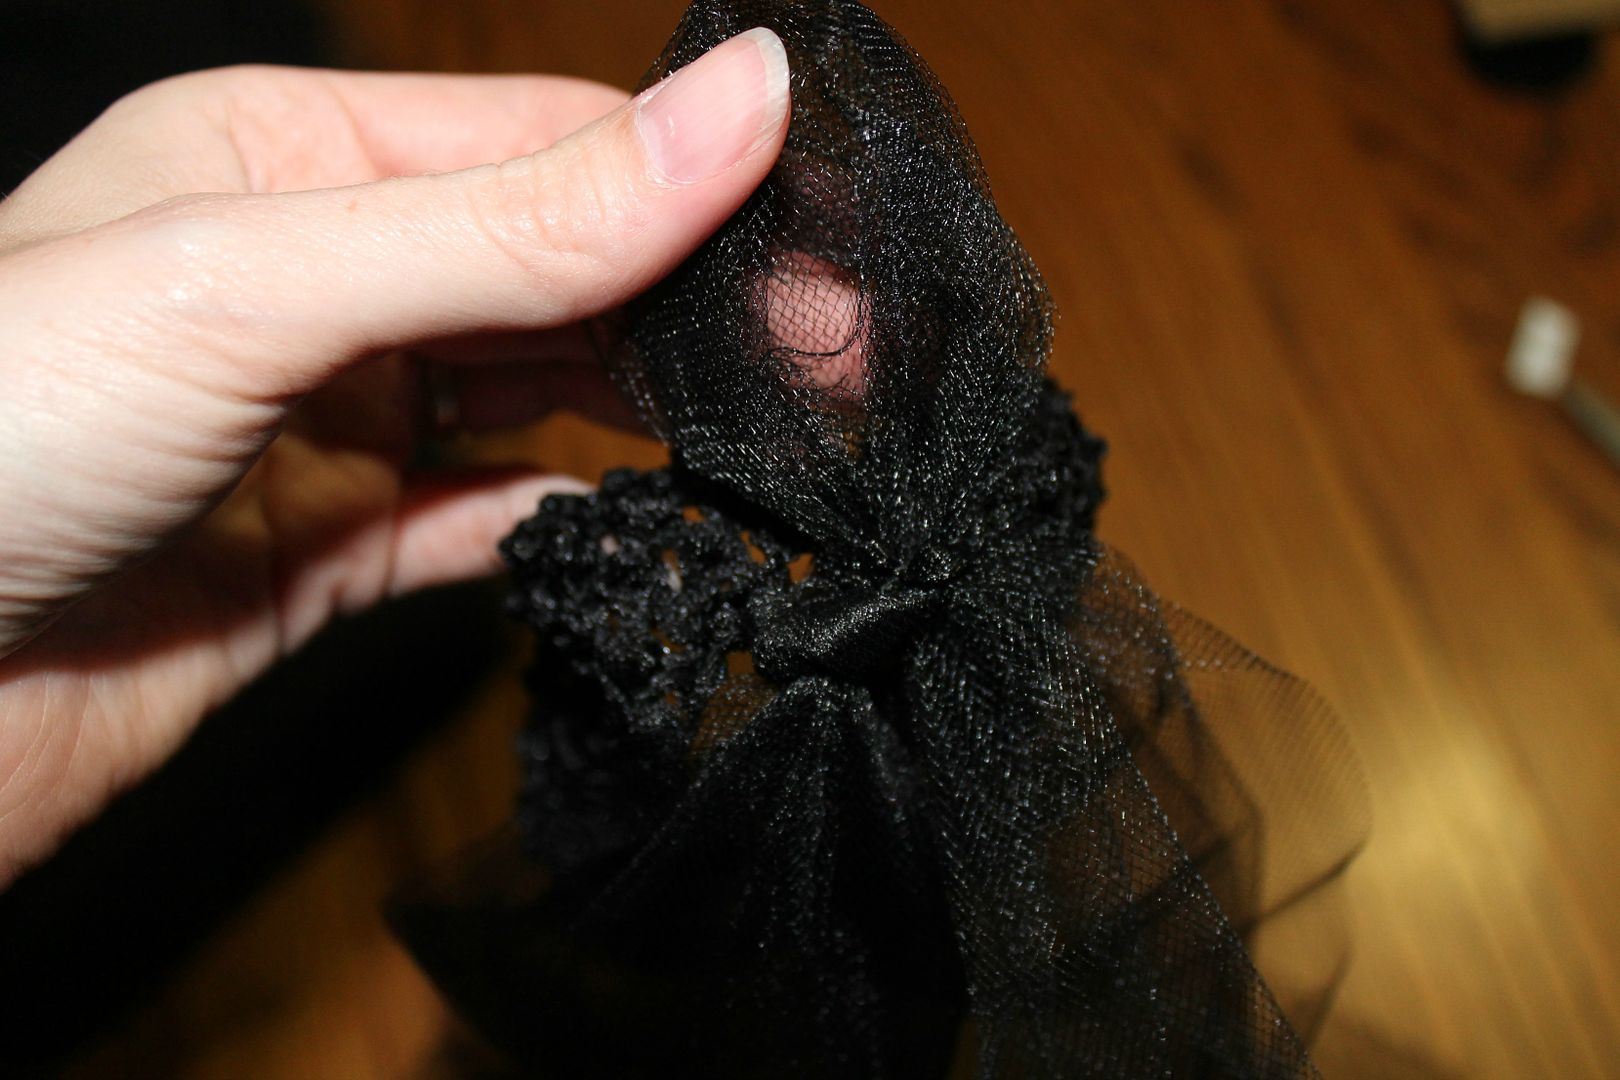
Pulling a loop of tulle through a hole in the elastic.
Push the two loose ends through the loop, then pull them down to tighten the loop like below:
Two holes completed…only about 60 more to go!
Continue this process along the same row all the way around your elastic. If there are any gaps, you can fill these in by repeating this process in the row above your starting row.
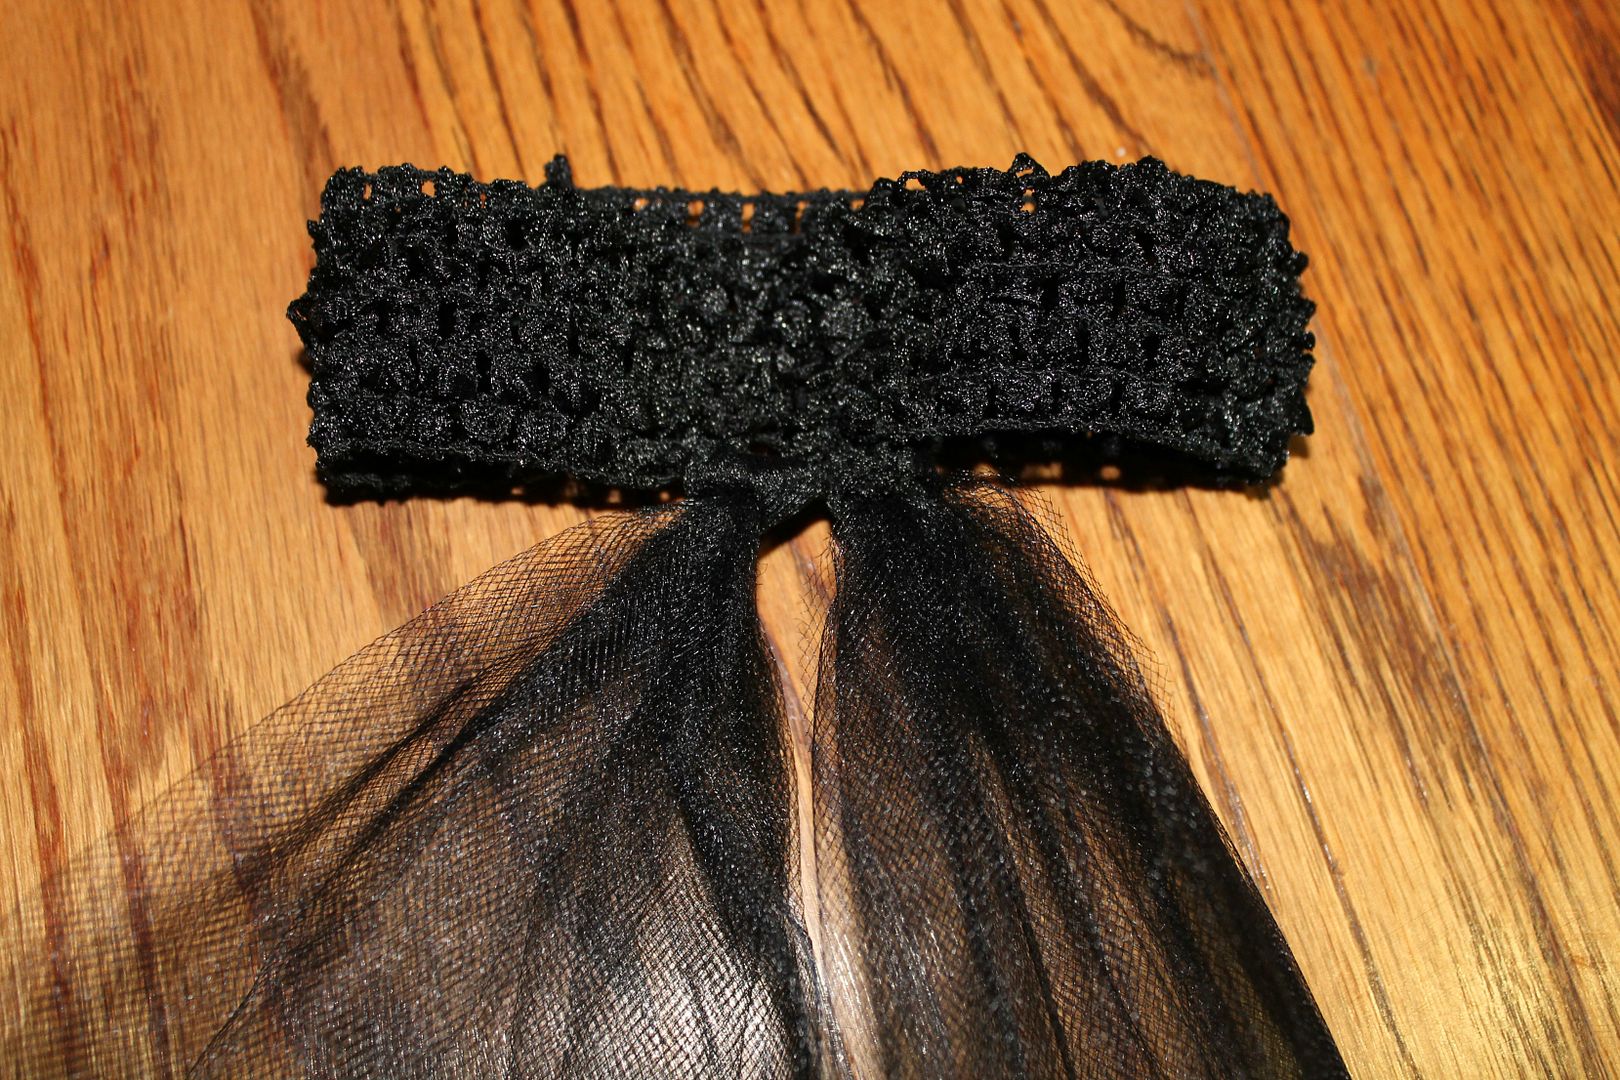
Once you have completed this process all the way around, you have a tutu that should look about like this{
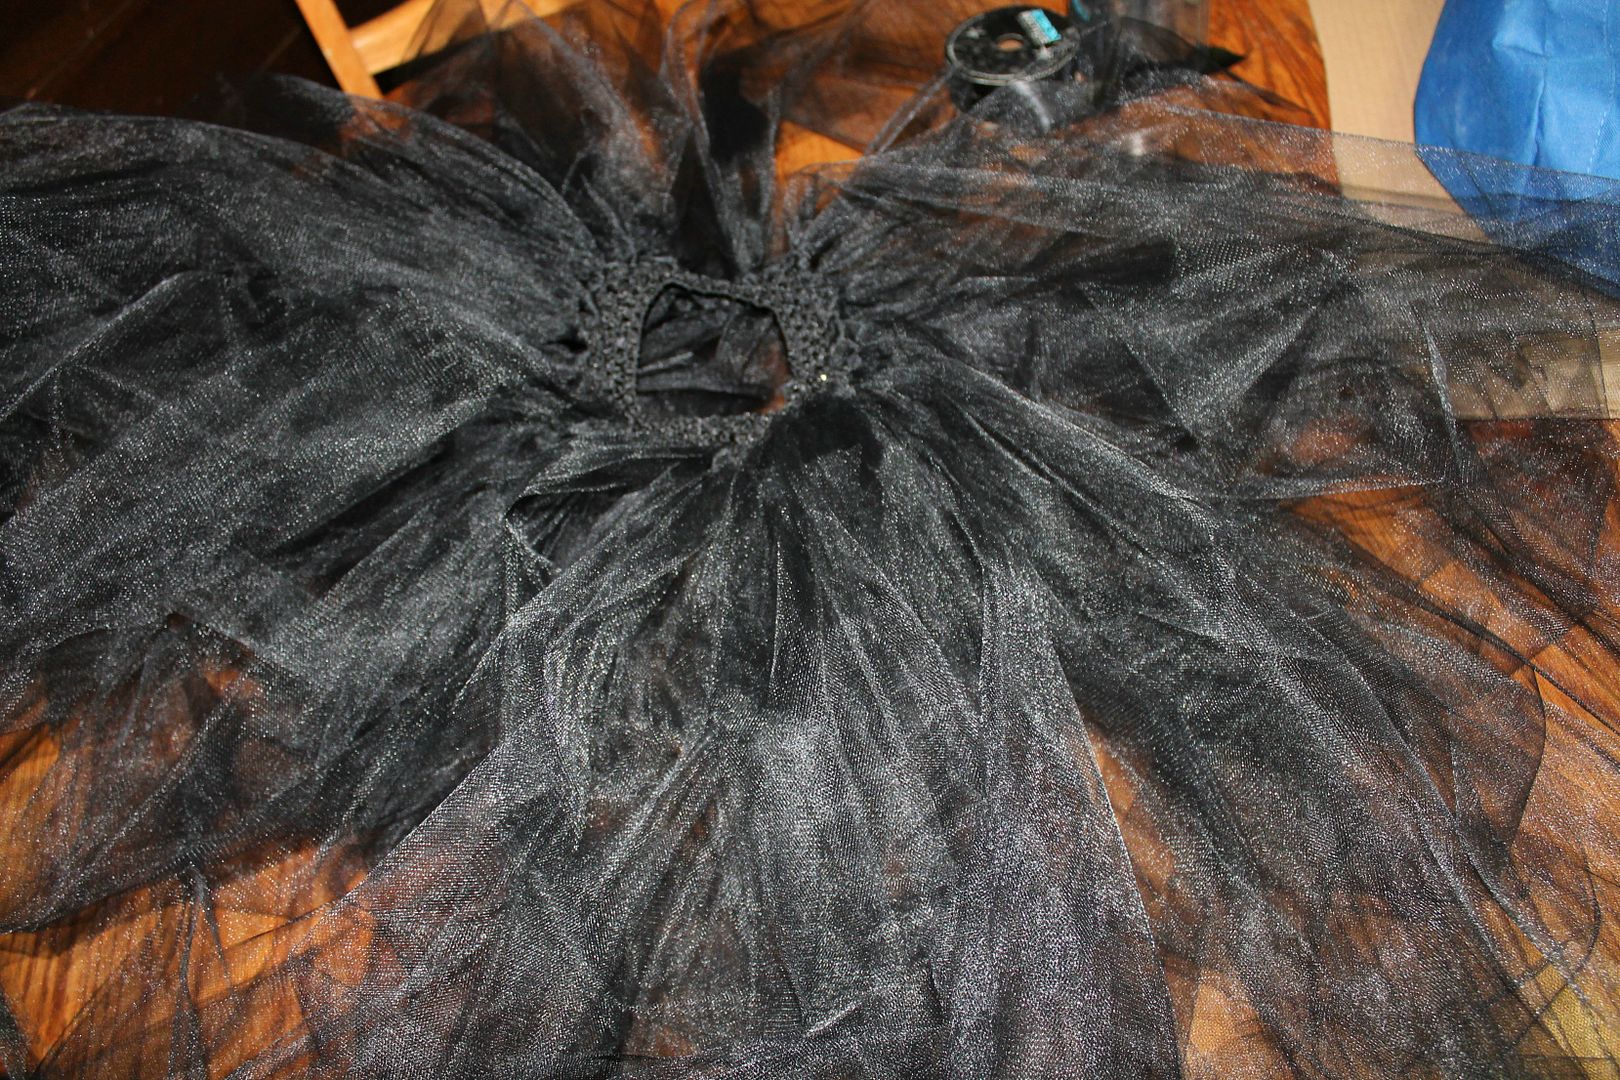
It’s a spider, it’s a pom-pom, it’s a….tutu?
Once you have completed the tutu portion, you will need to cut 2 to 6 lengths of ribbon, depending on the style of neckline you would like to do.
You will need one ribbon that is long enough to wrap around the torso below the breasts, then tie a nice bow in. For my 6-year-old, I used 83″ of ribbon for the bust
For the neckline, I used 53″ of ribbon.
If you choose to do a strap on each shoulder, you will want 4 ribbons of the same length, and they will need to be long enough to tie a neat bow in with some overhang.
Once you have cut your ribbons, put the tutu on your model (or yourself) and pull it up below the armpits. Tuck the top of the headband under to help protect your skin from the tulle, it can be scratchy!
Tie the longer ribbon around and make a neat bow.
Tie the shorter ribbons at the shoulders or around the neck by looping the ribbon around the entire elastic.
For the shoulder ties, do one in the front and one in the back on each side.
For a center tie (as seen below) loop it around the entire elastic and tie in a bow at the nape of the neck.
Straighten out your tulle (static guard can help with this!), accessorize, and you’re done!
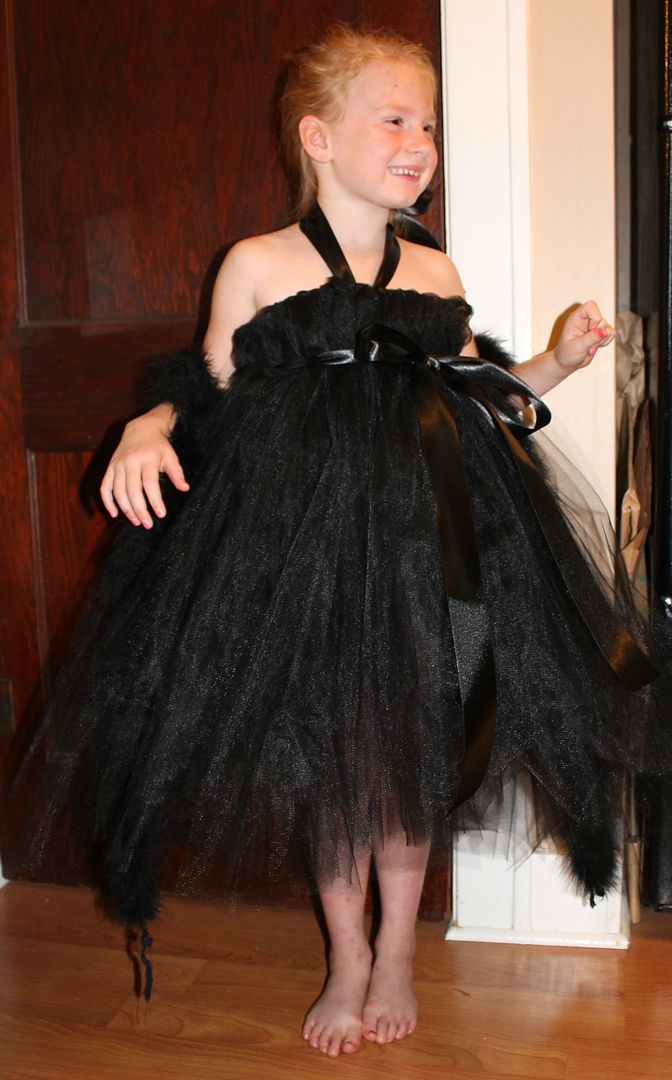
My uncooperative model didn’t want me to fix her dress much.
For a Marilyn Monroe version, use white tulle instead of black. Same process!
Unlock the achievement with the code tutusirens


This is amazingly adorable! Last year, my friends and I did a superhero bar crawl and a different group was PACKED with Holly Golightlies. It was wonderful! 😀
Wow… this. is. awemazing! 😀
This is adorable!
🙂 I thought they turned out pretty cute! Despite my fairly uncooperative models.
Too cute! Audrey will always be a classic 🙂