
Decomposers are an important part of the circle of life, but a part that we don’t often like to talk about. Vermiculture opens the door to demystify the deconstruction process through the disposal of food waste and creates nutrient rich compost to plant in to begin the cycle again. The best part is that it is easy and cheap to set up and requires very little maintenance for a great reward!
What do you need?
- Not a lot of space. Worms are great at reproducing and expanding their numbers, but they will only reproduce to fit the size of the space you provide for them. For the first six months, my worms lived in a tiny bin I kept in a file cabinet at work!
- A container to hold them in. If you google “vermiculture diy” you can find a bunch of tutorials on how to cheaply make a worm home out of a couple of plastic tubs. Looking to deck your worms out in style? You can also search on Etsy and find hand made wooden homes!
- Bedding material. This is typically just paper or cardboard you tear up to add a big of bulk and retain moisture. I like to use brown paper bags from the grocery store.
- Some gloves. You’ll want to be able to get in the bin, so make sure you have some gloves around to keep your hands clean. I use my simple gardening gloves.
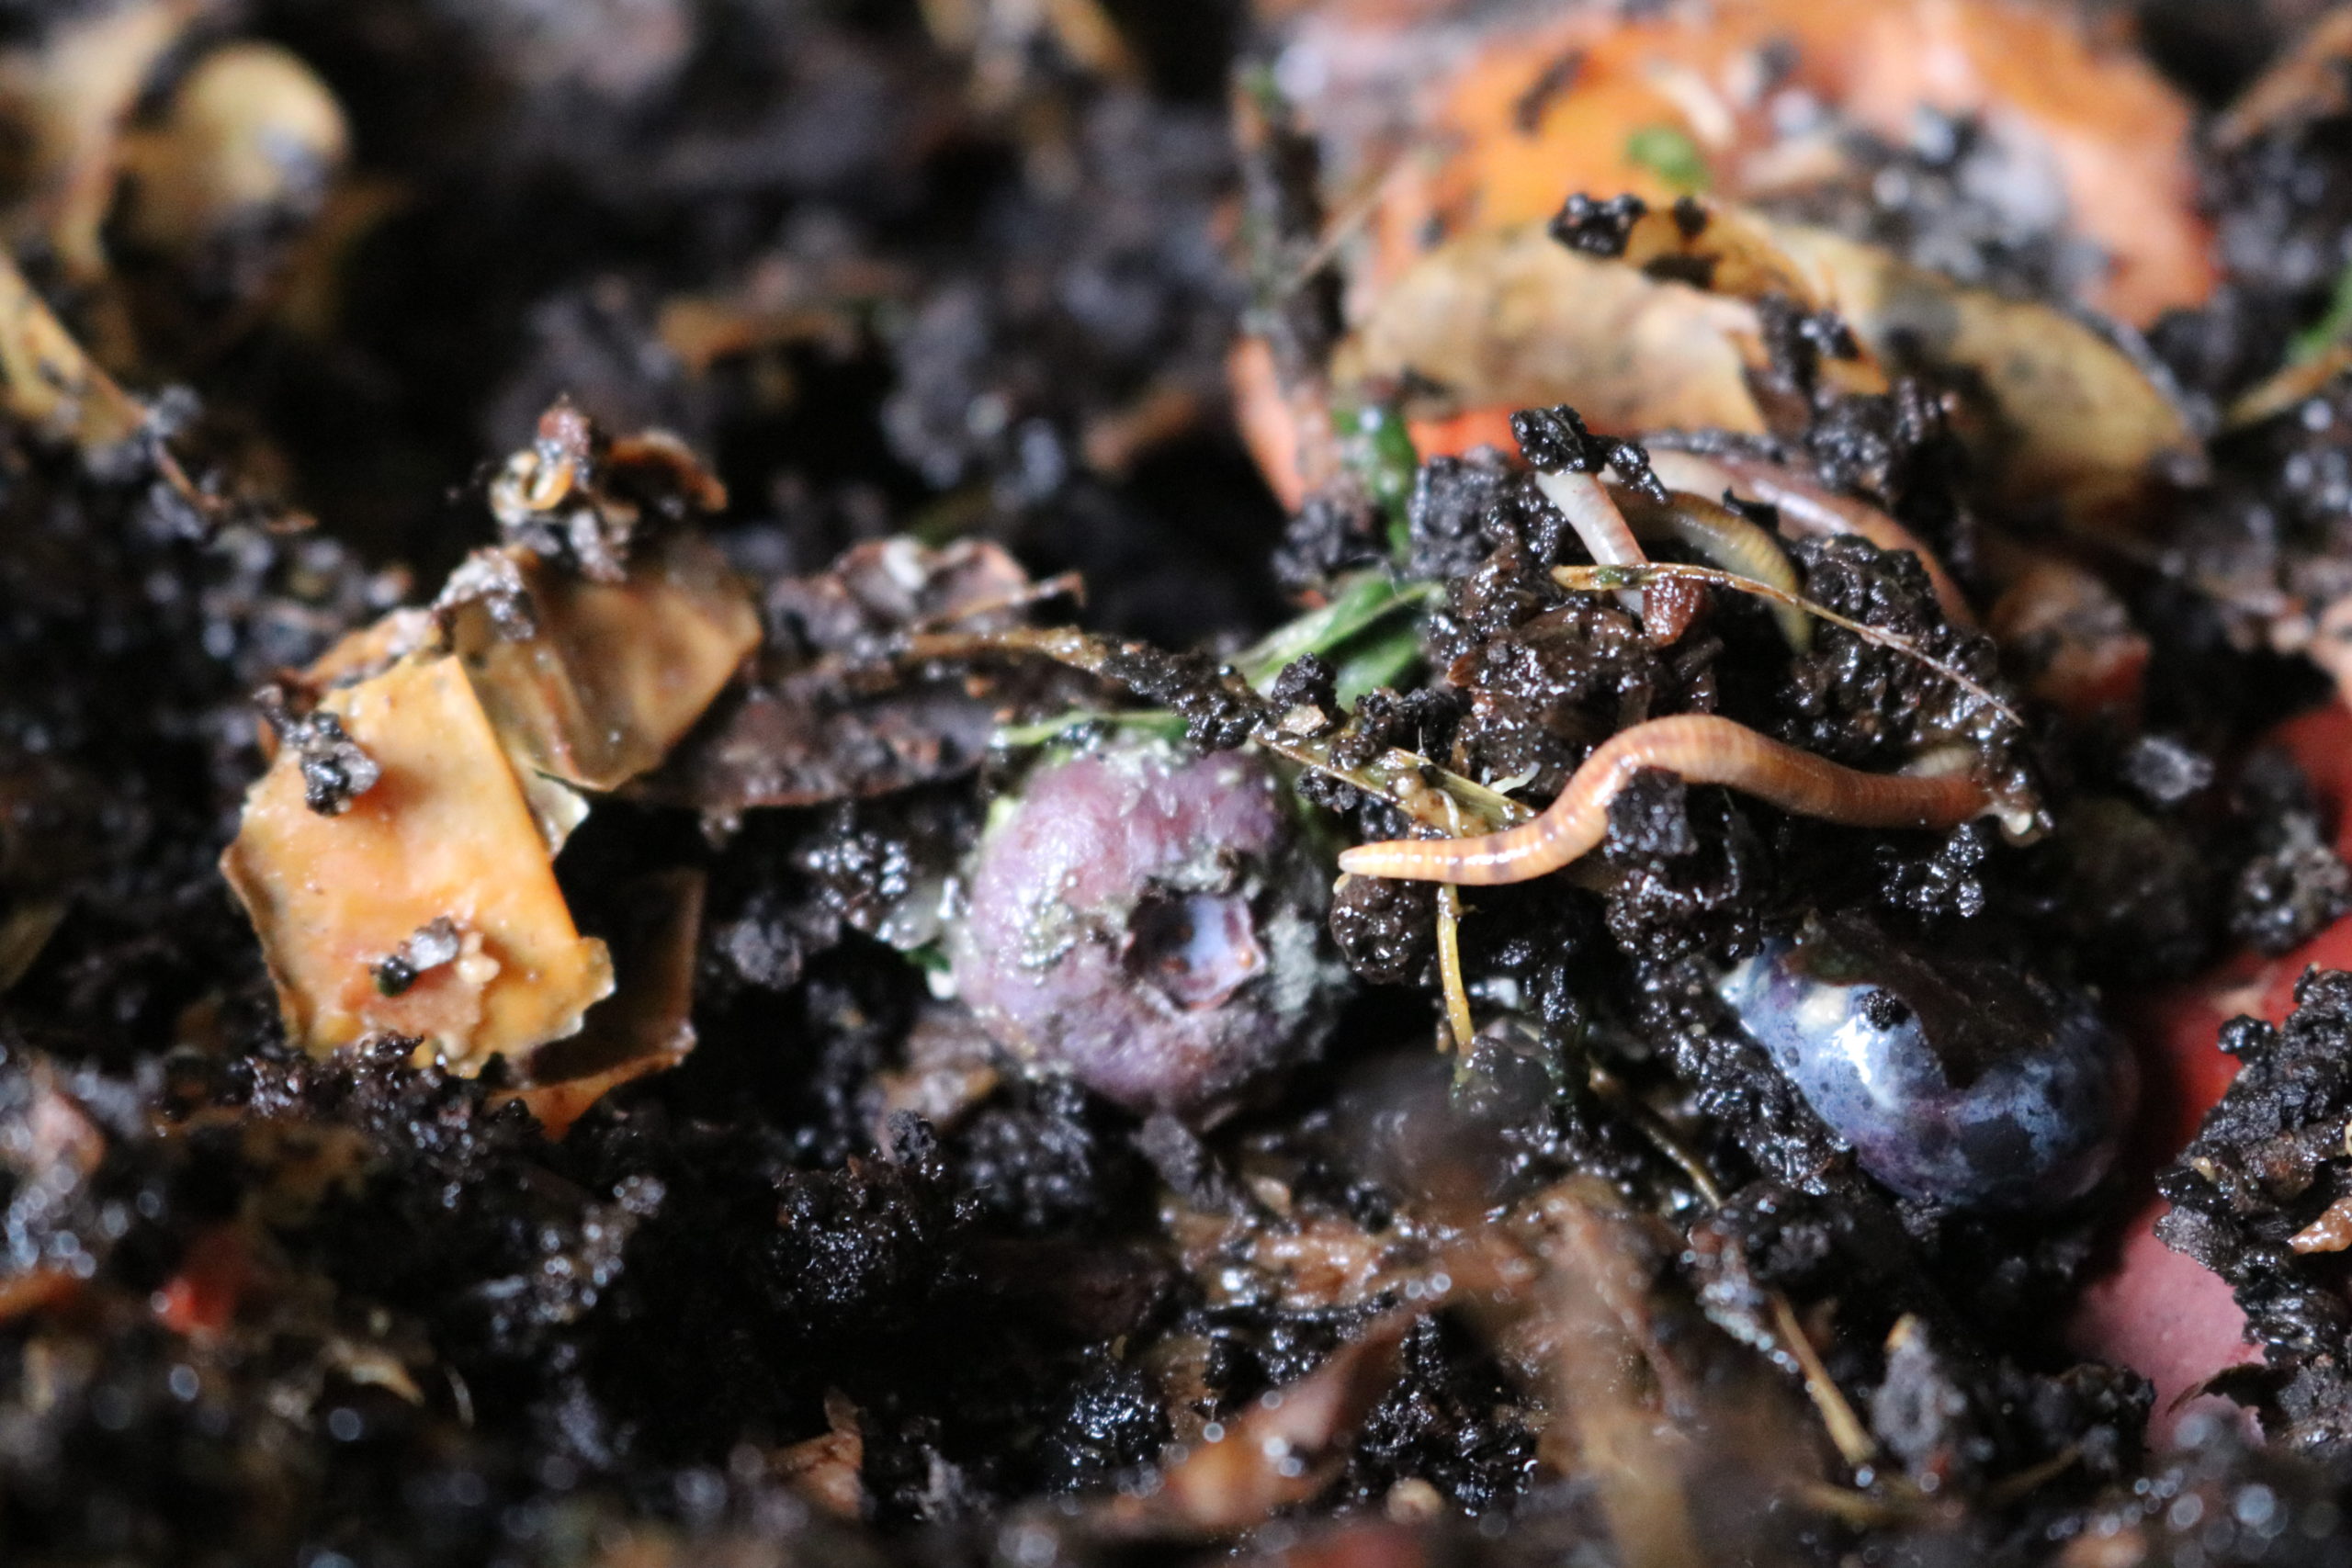
- Food scraps! The most important bit! What are your worms going to eat? Worms are not very picky eaters, but you should try to follow some guidelines. I primarily feed mine a diet of fruit/vegetable scraps, tea leaves and coffee grounds, but you can also through in bread products if you’d like. (We don’t have a lot of bread waste in this house!) There are some things you should avoid feeding your worms. They aren’t fans of citrus or onions, and you should avoid meat and dairy products as well.
But Summer – what about the worms?
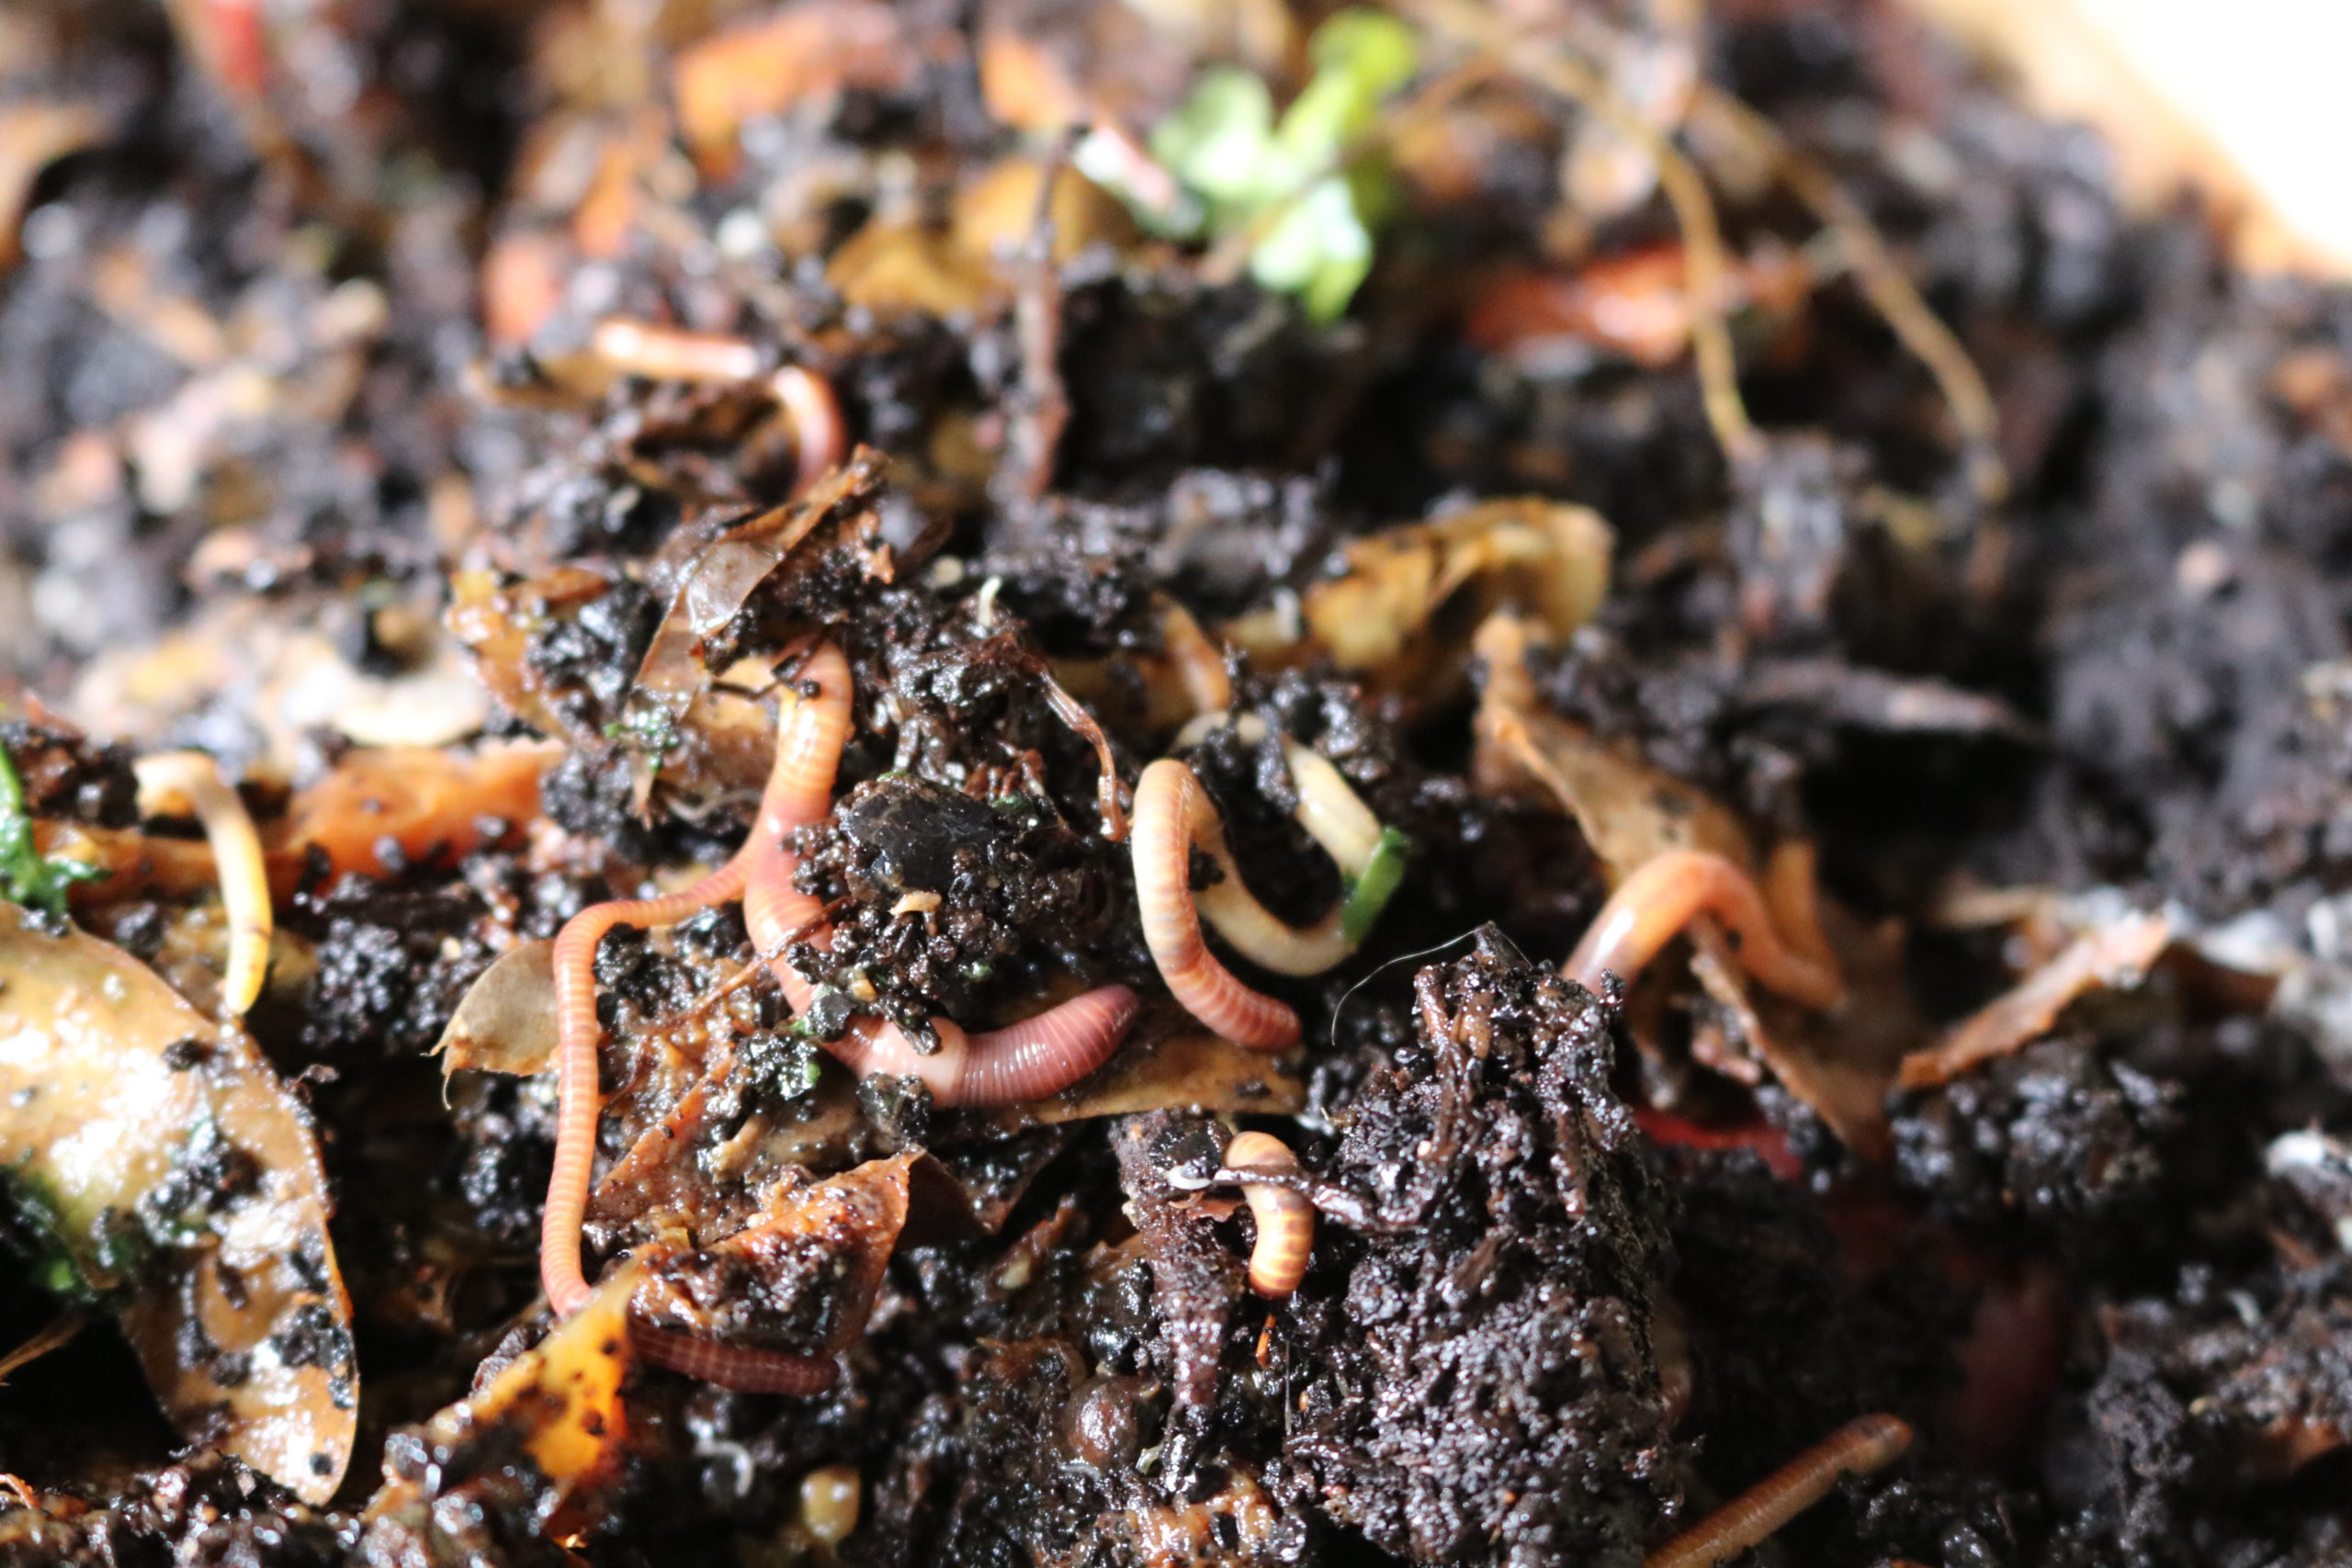
Well, I’m glad you asked. You can’t just go outside and grab regular earthworms for your vermiculture bin. You’ll need to go online and buy red wigglers. Luckily, that’s actually a thing you can just … buy online. The future is cool and weird.
Once your worms come in, you’ll want to set up your bin with nice damp (but not WET) bedding and your food scraps, and then set the bin in a dark, cool, quiet place. Worms don’t like the light (they live underground) and they don’t like vibrations, so try not to check on them ALL the time. You do want to make sure they are in a good not too hot or cold place, and you’ll want to make sure their environment is not too wet or dry. I check in on mine every few days to give them more food and make sure everything is going well. You might get some other tiny bugs or fungus in there, but it doesn’t smell, and even though there are air holes (PLEASE DON’T FORGET THEY HAVE TO BREATHE!) they aren’t about to wander away from their cozy home with tasty food. It’s a little ecosystem in there, and you want everyone to be happy and healthy!

If you are interested in learning more, reach out or search the internet for further instructions on how to set up and care for your bin!
Happy decomposing!

Leave A Comment
You must be logged in to post a comment.