Welcome to A Geek’s Garden Center, AKA my balcony, AKA my roof top! This will be a recurring feature so check in regularly to learn some tips and tricks for letting your inner plant geek grow! Let’s talk about starting your garden.
First of all: gardening isn’t hard! Pinkie promise!
Forget what people say: “You don’t have a green thumb” “You are a plant killer” and the like. The truth is 99% of the time plants die because we didn’t research enough to know what we are really doing. And yes, if you don’t live in a farm, if you didn’t grow up surrounded by gardening, etc, you need to read a bit about the plant you want to grow or take care of, because the little things matter! And even if you do know things… Read! Research!
I grew up surrounded by plants and gardening because of my grandmother. All my life I planted, and have grown flowers, vegetables, etc, and guess what? I almost killed my lemon tree! Yes, I almost killed a tree. Here I though that those little wood wonders were invincible. What did I do next? I read all about lemon trees, and now I’m trying to bring it back to life. See my mistake? Do what I say, not what I do! Do your research!
Before you go rushing through the store buying all the pots, soil and plants, read this first. Then you do your own research. Only after that is the shopping part!
Step 1: When to plant
Each plant/vegetable/fruit has a specific season. You can’t start growing spinach in the middle of January for example.
Here is a little cheat sheet for you, of what to plant in each month when starting your garden:
- January (north hemisphere) or July (south hemisphere)
You can plant trees, lettuce, garlic, peas, broad beans, radishes and cabbage. - February (north hemisphere) or August (south hemisphere)
You can plant chrysanthemums, basil, white celery, artichokes, onions, cabbages, asparagus, strawberries, bell peppers, tomatoes, melons, watermelons and cucumbers. - March (north hemisphere) or September (south hemisphere)
You can plant pumpkins, lettuce, beets, onions, carrots, cabbages, peas, spinach, broad beans, green beans, lentils, melon, watermelon, turnips, cucumbers, radishes, parsley and tomatoes. - April (north hemisphere) or October (south hemisphere)
You can plant pumpkins, watercress, lettuce, potatoes, beets, brocoli, carrots, chicory, coriander, cumin, cabbages, broad beans, beans, melon, watermelon, turnips, bell peppers, radishes, parsley, thyme, onions, cucumbers and tomatoes. - May (north hemisphere) or November (south hemisphere)
You can plant pumpkins, watercress, lettuce, beets, brocoli, carrots, cabbages, spinach, beans, melon, watermelon, turnips, bell peppers and radishes. - June (north hemisphere) or December (south hemisphere)
You can plant pumpkins, watercress, lettuce, beets, brocoli, carrots, cabbages, spinach, beans, melon, watermelon, turnips, bell peppers and radishes. - July (north hemisphere) or January (south hemisphere)
You can plant watercress, lettuce, carrots, brussel sprouts, spinach, green beans, turnips, radishes and parsley. - August (north hemisphere) or February (south hemisphere)
You can plant watercress, lettuce, chicory, spinach, green beans, parsley, radishes, cabbages, beets and peas. - September (north hemisphere) or March (south hemisphere)
You can plant watercress, celery, lettuce, garlics, onions, carrots, chicory, coriander, cabbages, peas, broad beans, strawberries, turnips, radishes, cabbages and parsley. - October (north hemisphere) or April (south hemisphere)
You can plant watercress, garlic, beets, carrots, coriander, peas, aspargus, spinach, broad beans, lentils, strawberries, turnips, radishes, lettuce, onions, cabbages. - November (north hemisphere) or May (south hemisphere)
You can plant garlic, lettuce, potatoes, onions, cabbages, broad beans and strawberries. - December (north hemisphere) or June (south hemisphere)
You can plant nothing. Sorry!
Step 2: Where to plant
Now you may be thinking, “How am I going to plant all this, if I don’t have a garden?” And I say to you: all this can be planted in a pot! Yes, in a pot! All you need is to see what kind of space you have free to use. This way you can decide what you are going to plant, because depending on that, you need to pick some specific pots. Some plants need pots with a big depth, others just need a big area of soil.
Also, take into account when starting your garden that you need a space where you will get a few hours of sun per day. If not, you can always buy a few growing lights and extend the time of the “sun”. For example, if you get sun between 9am and 12pm (that’s only 3 hours), schedule your lights to go on from 12pm to 3pm. Yes, plants need and “understand” time schedules.
Of course you will not have as big a crop if you are using pots, but it will still be fun, therapeutic, and I promise you will be super happy with the little amount of veggies and fruits you can eat and share with the ones you love.
Fair warning: if you choose to plant cherry tomatoes, for example… Be prepared. You will have a big crop just with 3 or 4 plants. I did! Around 2 kgs of cherry tomatoes in just a few months.
Step 3: Starting your garden
Now you say: “But it isn’t the month of the vegetable/fruit I want to plant, I want to start now, and I can’t buy the vegetable/fruit already in “baby” form!”
You normally find these “baby” plants in garden centers, farmers markets, etc, but they aren’t always available out of season, or early enough in the season.
THAT’S OKAY. Now the real fun begins!
You can buy the seeds and start the planting indoors. Yay!
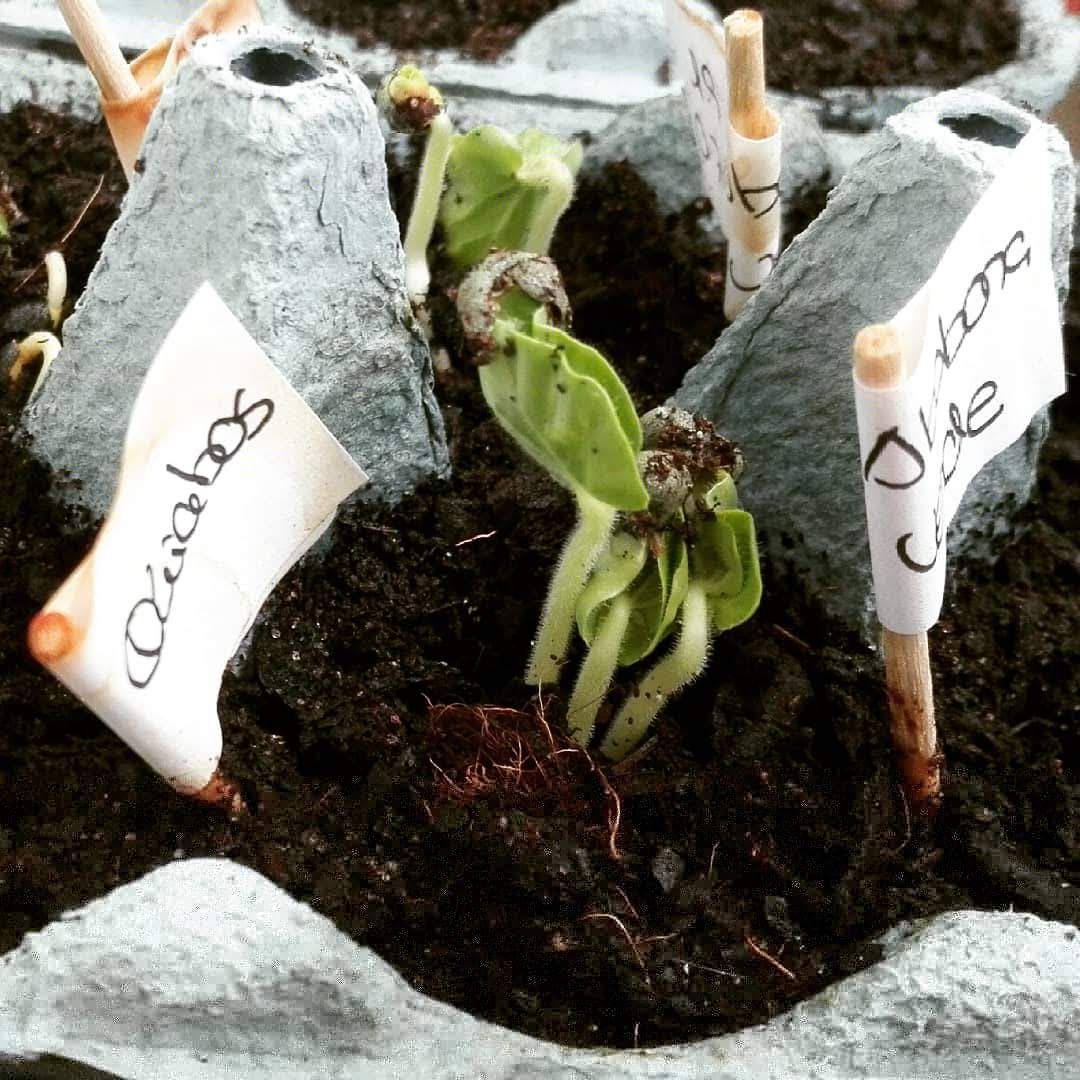
You can use egg boxes to start your seedlings. It’s a way to recycle, and then you can plant the egg box directly in the pot. You just need to cut a hole in the bottom of the egg box before placing it in the potting soil.
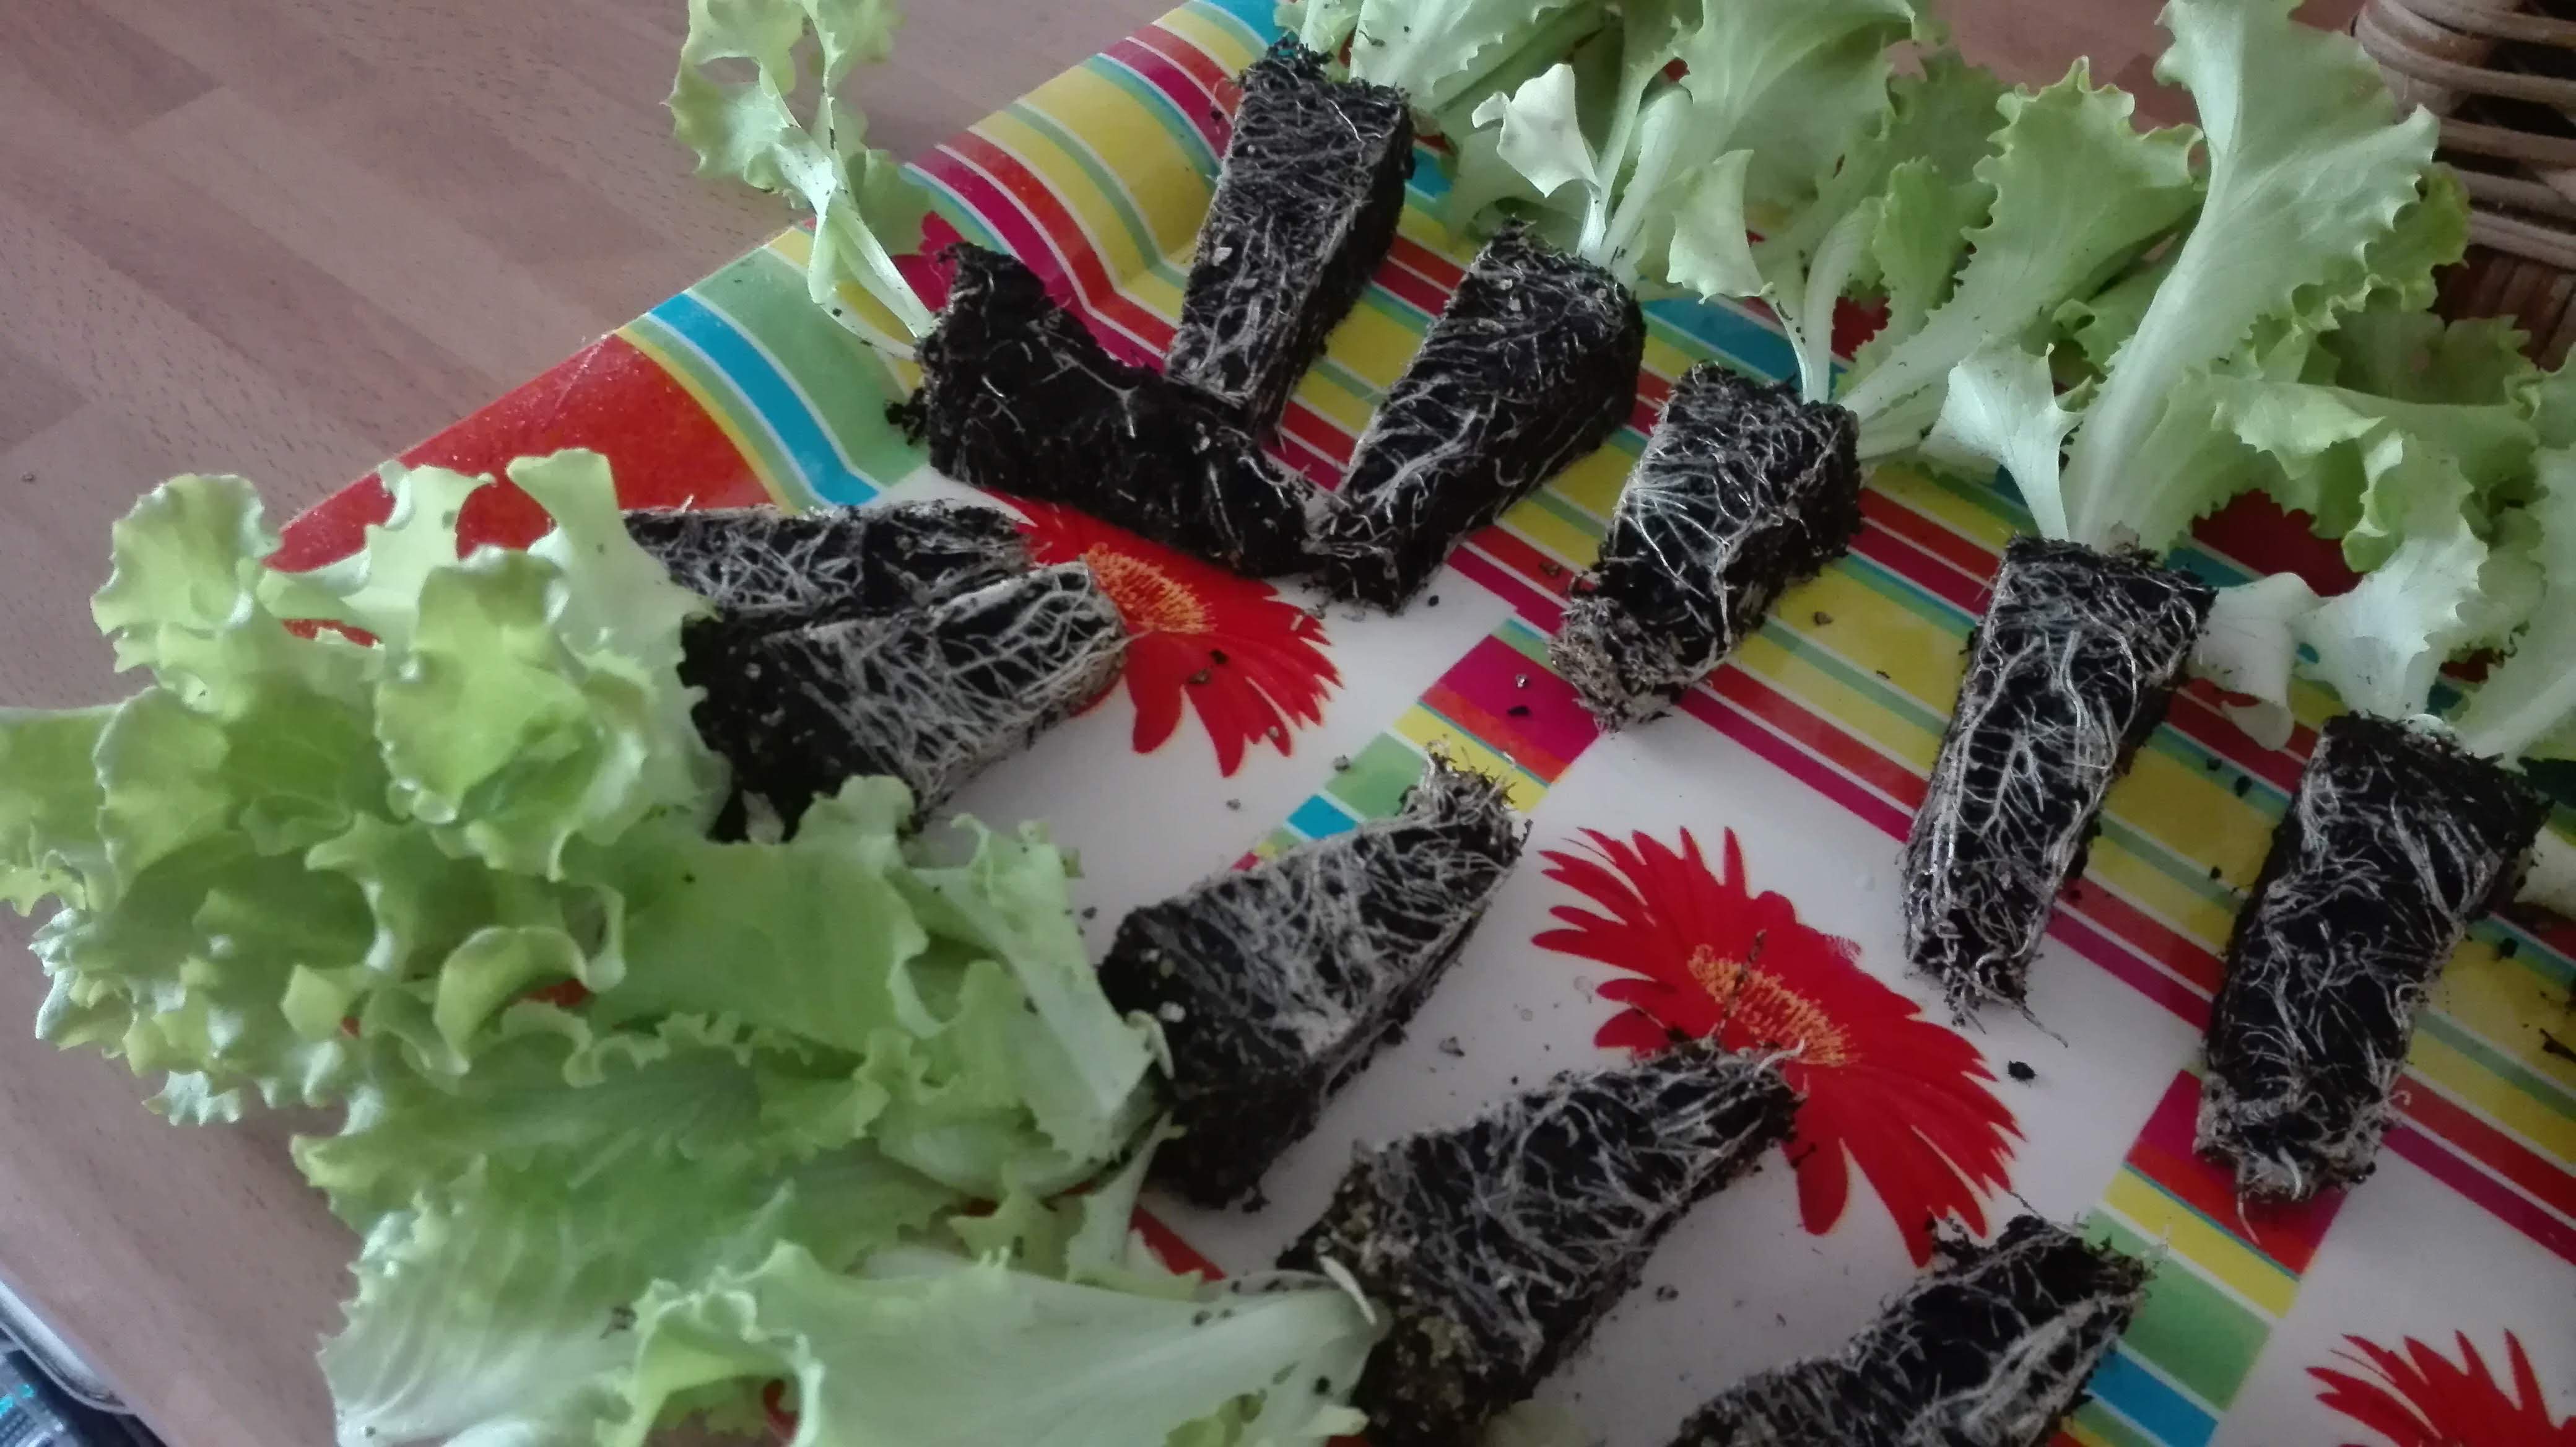
These are some of my past veggies already starting to grow. See the egg box? Perfect plant nursery.

And here in a later stage…
You can replant the “babies” when they have 3 to 5 full open leaves and at least 2 to 3 inches height (5 to 7,5cm).
Keep your egg boxes by the window where they get a little sun; they don’t need direct sun. It’s better to prevent humidity. Also use a spray bottle to moisten the soil. Do not pour water from a jar or watering can, so you don’t overflow the soil and your seeds get lost. Whenever the soil is dry, just spray water. Normally you do this every day, sometimes 2 times, depending on if the place you have the seeds is warm or not.
Since some of the seeds are super-duper small, is better to use a light soil so the soil don’t push the seed down. Plus add more than 1 seed to each space. I normally put 5 to 7 seeds, because not all seeds will sprout and if more then 1 seed does sprout don’t worry: you can end up with 2 to 3 plants in the same spot and that normally will not be a problem. Although nature will take its course; if there is a problem, the stronger plant will survive above the others.
Finally: Be patient! Some seeds take more time than others to sprout.
These are my first 3 steps to starting your garden. Are you ready? In other posts, I will be sharing more recycling ideas/tips, more about specific veggies/fruits and also flowers, problems that you can encounter, and so much more.
Share your plans and plants on Instagram, Discord or Twitter, use the hashtag #IGGPPC! If you have any questions let me know in comments below. I’ll be here to help you. Happy planting!

Leave A Comment
You must be logged in to post a comment.