
By Beth
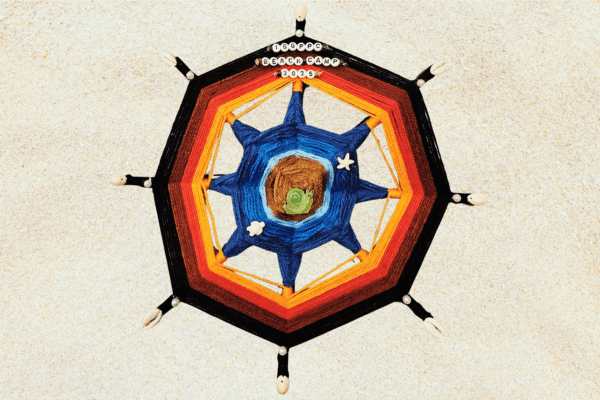
Wind down on the beach while you wind up a fancy yarn craft! Yarn mandalas can be as simple or as complicated as you want. Only have five minutes, string, and come popsicle sticks? No problem! Feeling fancy? Add some flair! I can’t wait to see what you create. Let’s get started!
SUPPLIES
- 2-4 sticks or dowels of the same lengths
- YarnOptional:
- hot glue
- yarn needle
- beads, shells, or other fun add-ons
INSTRUCTIONS
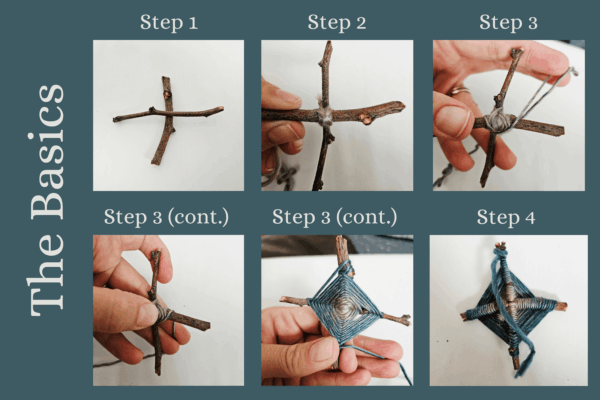
The Basics
Step 1: Make and “X” with two sticks or dowels of the same length
Step 2: Secure the stick by tying a simple knot in the middle. Wrap yarn in an X pattern around the middle joint where the two sticks meet.
Step 3: Wrap your yarn fully around one arm of your X. Turn your art, bringing your yarn over the top of the next arm. Wrap the yarn around this arm. Repeat this process in a circle, wrapping yarn around each arm.
Step 4: Tie off yarn when you want to change colors or when you run out of space to add more loops.
Tip: It may take practice to get the tension just right. Too loose and the sticks won’t stay in place. Too tight and it bends your sticks or breaks your yarn. Embrace the process!
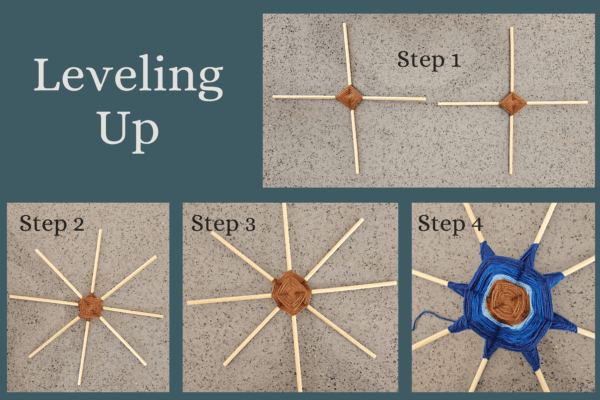
Leveling Up
Step 1: Create two separate X’s with several rows of yarn wrapping by following Basics Steps 1-3 above.
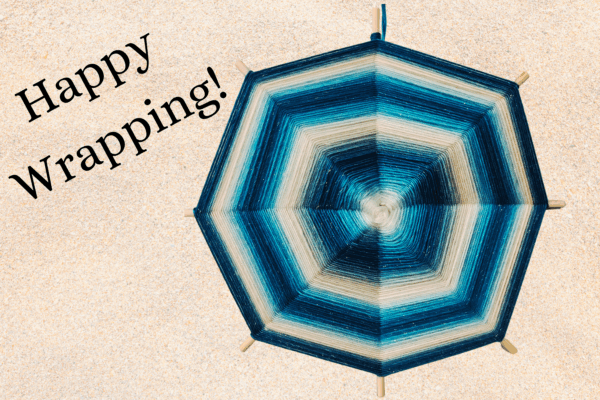
Step 2: Lay one mandala atop the other, creating a piece with eight arms instead of four.
Step 3: Wrap yarn around each of the eight arms as described in step three above. This will secure the two pieces together and continue the yarns rows outward from the middle.
Step 4: Tie off yarn when you want to change colors or when you run out of space to add more rows.
Tip: There are lots of tutorials, pictures, and videos if you get stuck or want inspiration. Keywords to search in your preferred browser include yarn mandala, Ojo de Dios, or God’s Eye craft.
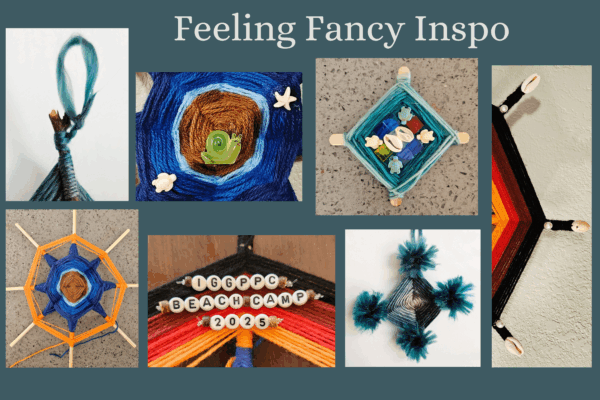
Feeling Fancy
Whether you stick to the basics or level up, you may feel like adding something extra to fancy it up. Get creative! Here are some ideas to get you started.
1. Tassels or pom-poms can be added to the ends of the arms. These can be tied on or glued.
2. Create negative space. To use this technique, move your yarn across the back of your work to the opposite arm rather than in a circle to the adjacent arm. After completing one set of opposing arms, tie of your yarn and move to the next pair of opposing arms.
3. Add beads or charms to your yarn.
4. Hot glue small shells or or other lightweight decorations to your project.
5. Use a yarn needle to add yarn designs or accents to your finished work.
6. Add a loop to hang up your creation.
Tip: Plan on the back of your work looking less tidy than the front. You can hide knots, loose ends, and color changes on the back of your project.
And that’s all there is to it! Remember to share your creations on Discord. See you in the Craft Cabin by the sea.


