Perler bead creations are a popular camp craft, which makes them a great inclusion for IGGPPCamp! It’s a perfect activity for a rainy day, or even a time when you just need to focus on something and block the rest of the world out. Today’s craft is presented by Troop Paradox!
Supplies needed:
- Perler beads, variety of colors
- Perler bead board
- Iron
- Wax paper
What are Perler beads? Perler beads are these nifty crafting beads made of meltable plastic. You place them on a specially designed peg board in whatever pattern you chose, gently cover the design in wax paper, and iron until the beads melt just enough to stick together, creating a fun design you can use for magnets, ornaments, or whatever your heart desires!
The best thing about Perler beads? No matter what you wind up sticking on your board, it tends to look fun and festive!
Perler Bead Coasters Instructions:
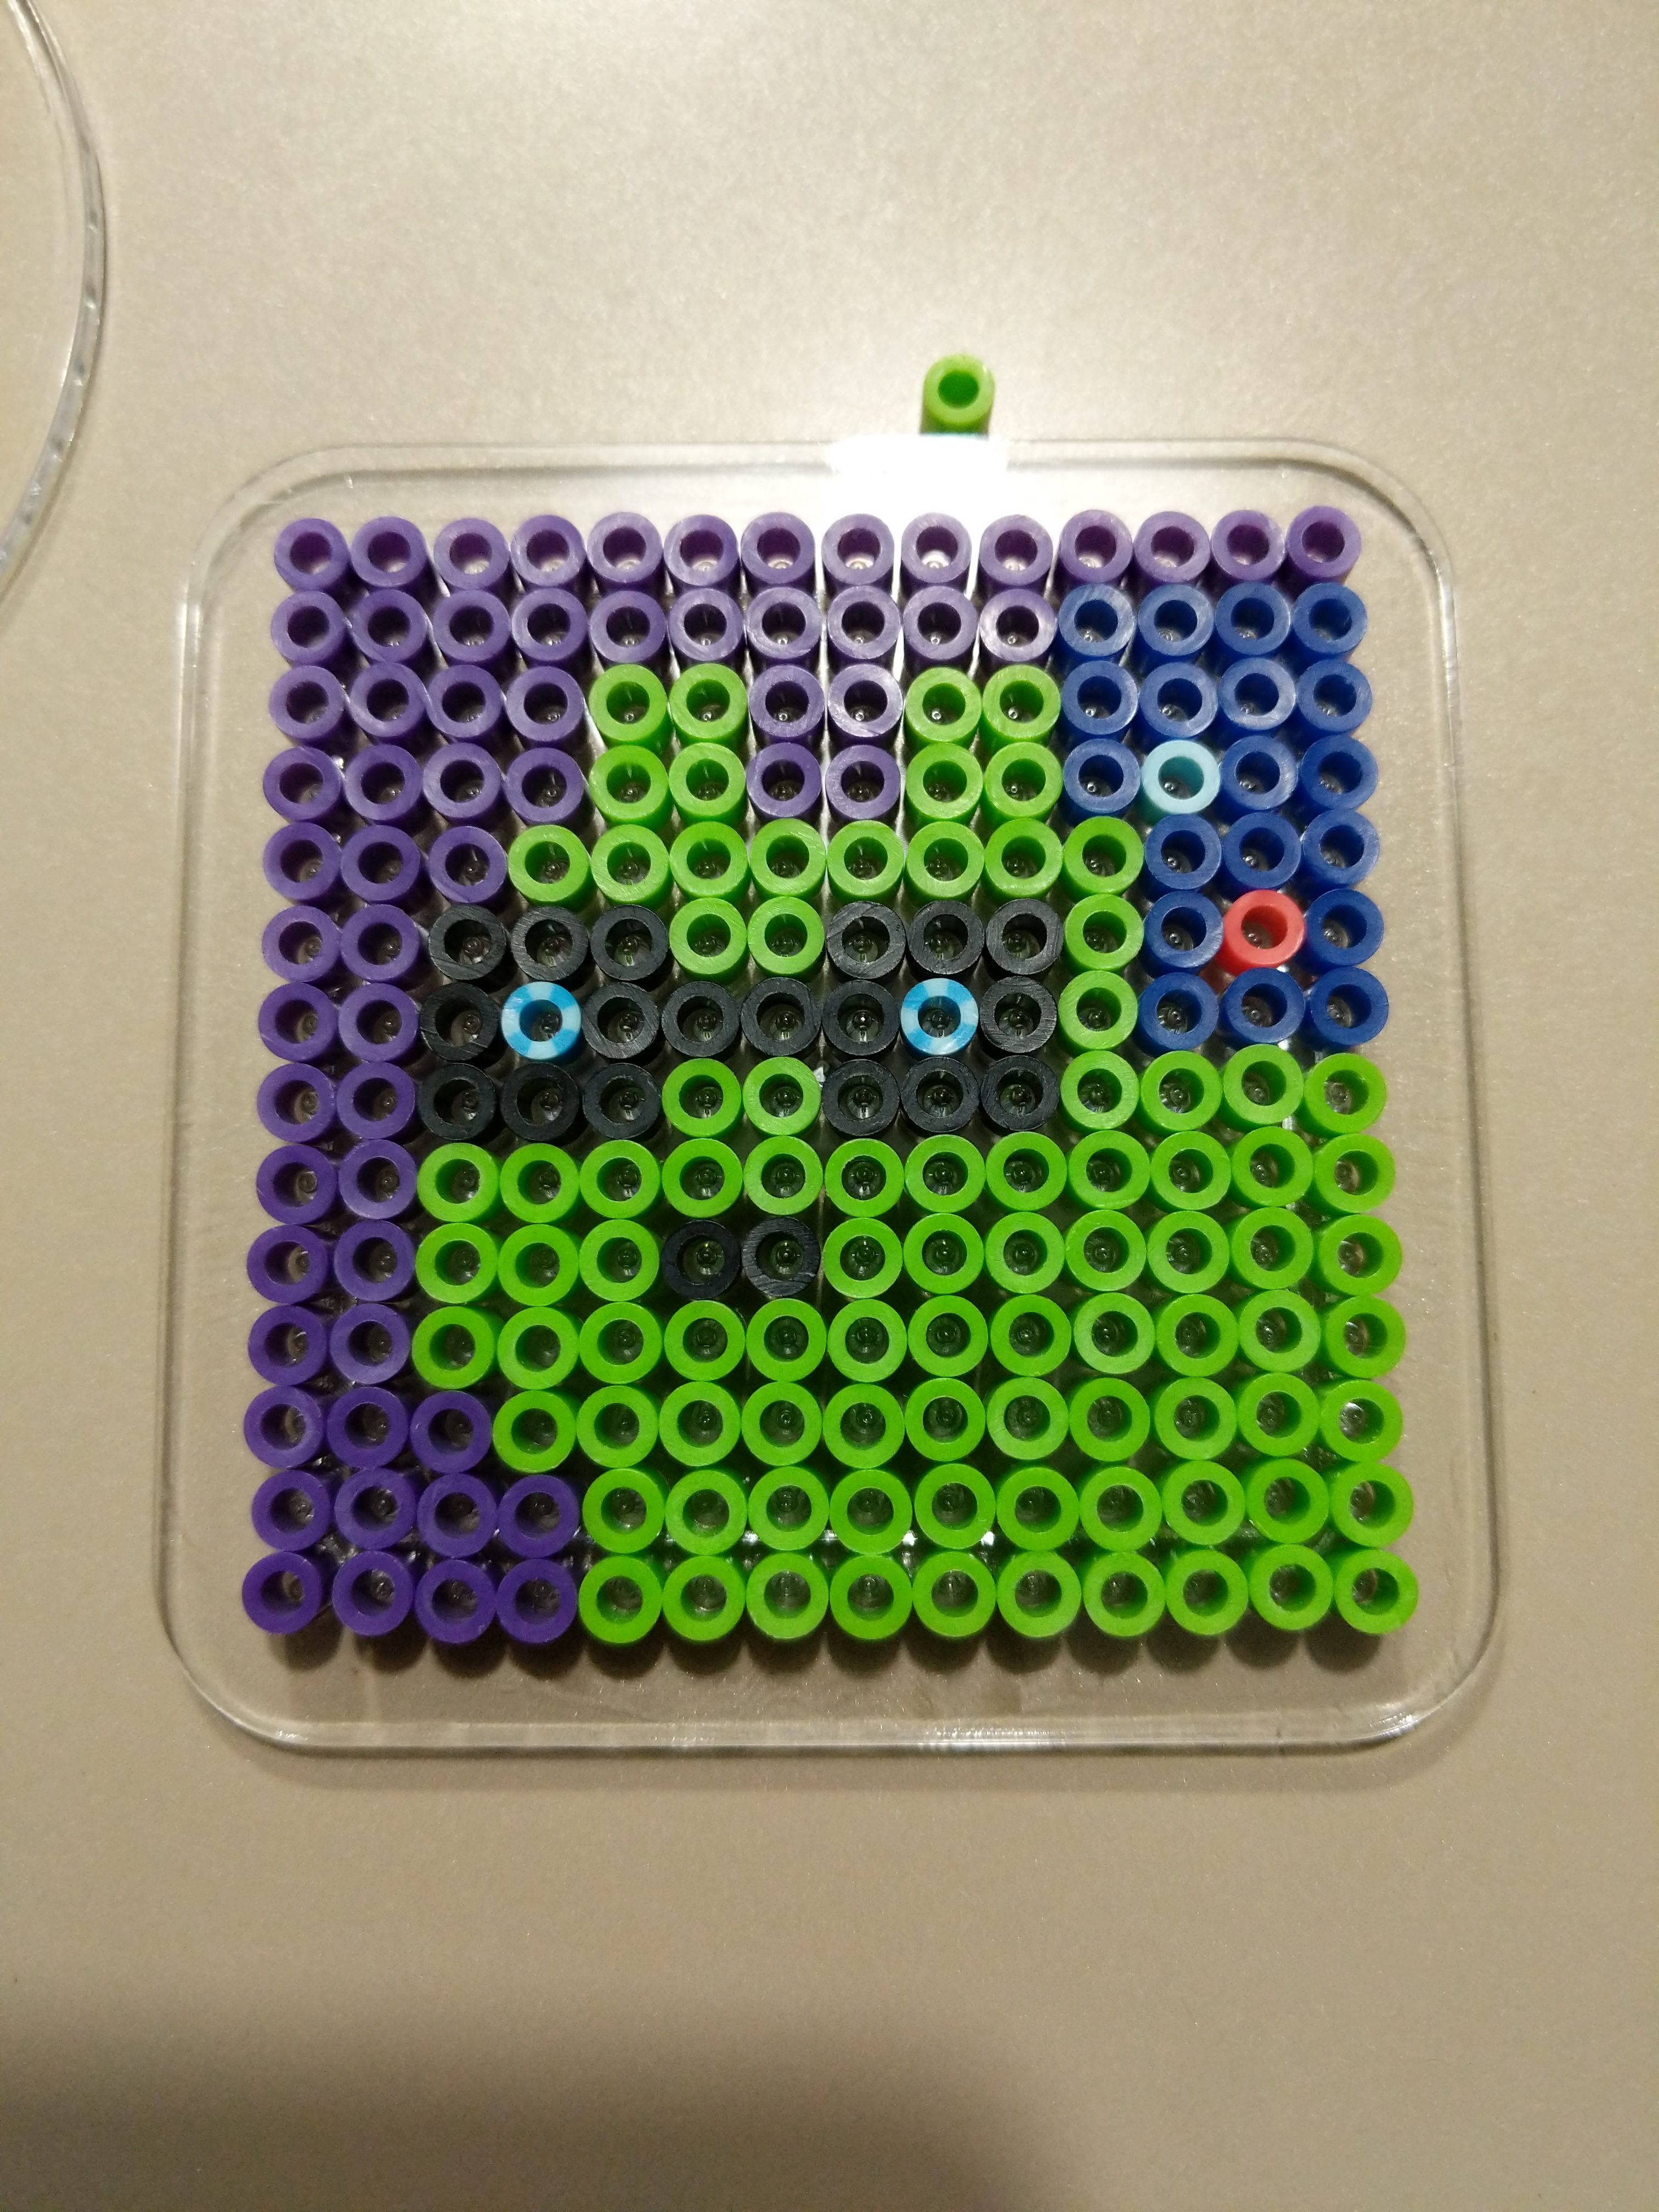
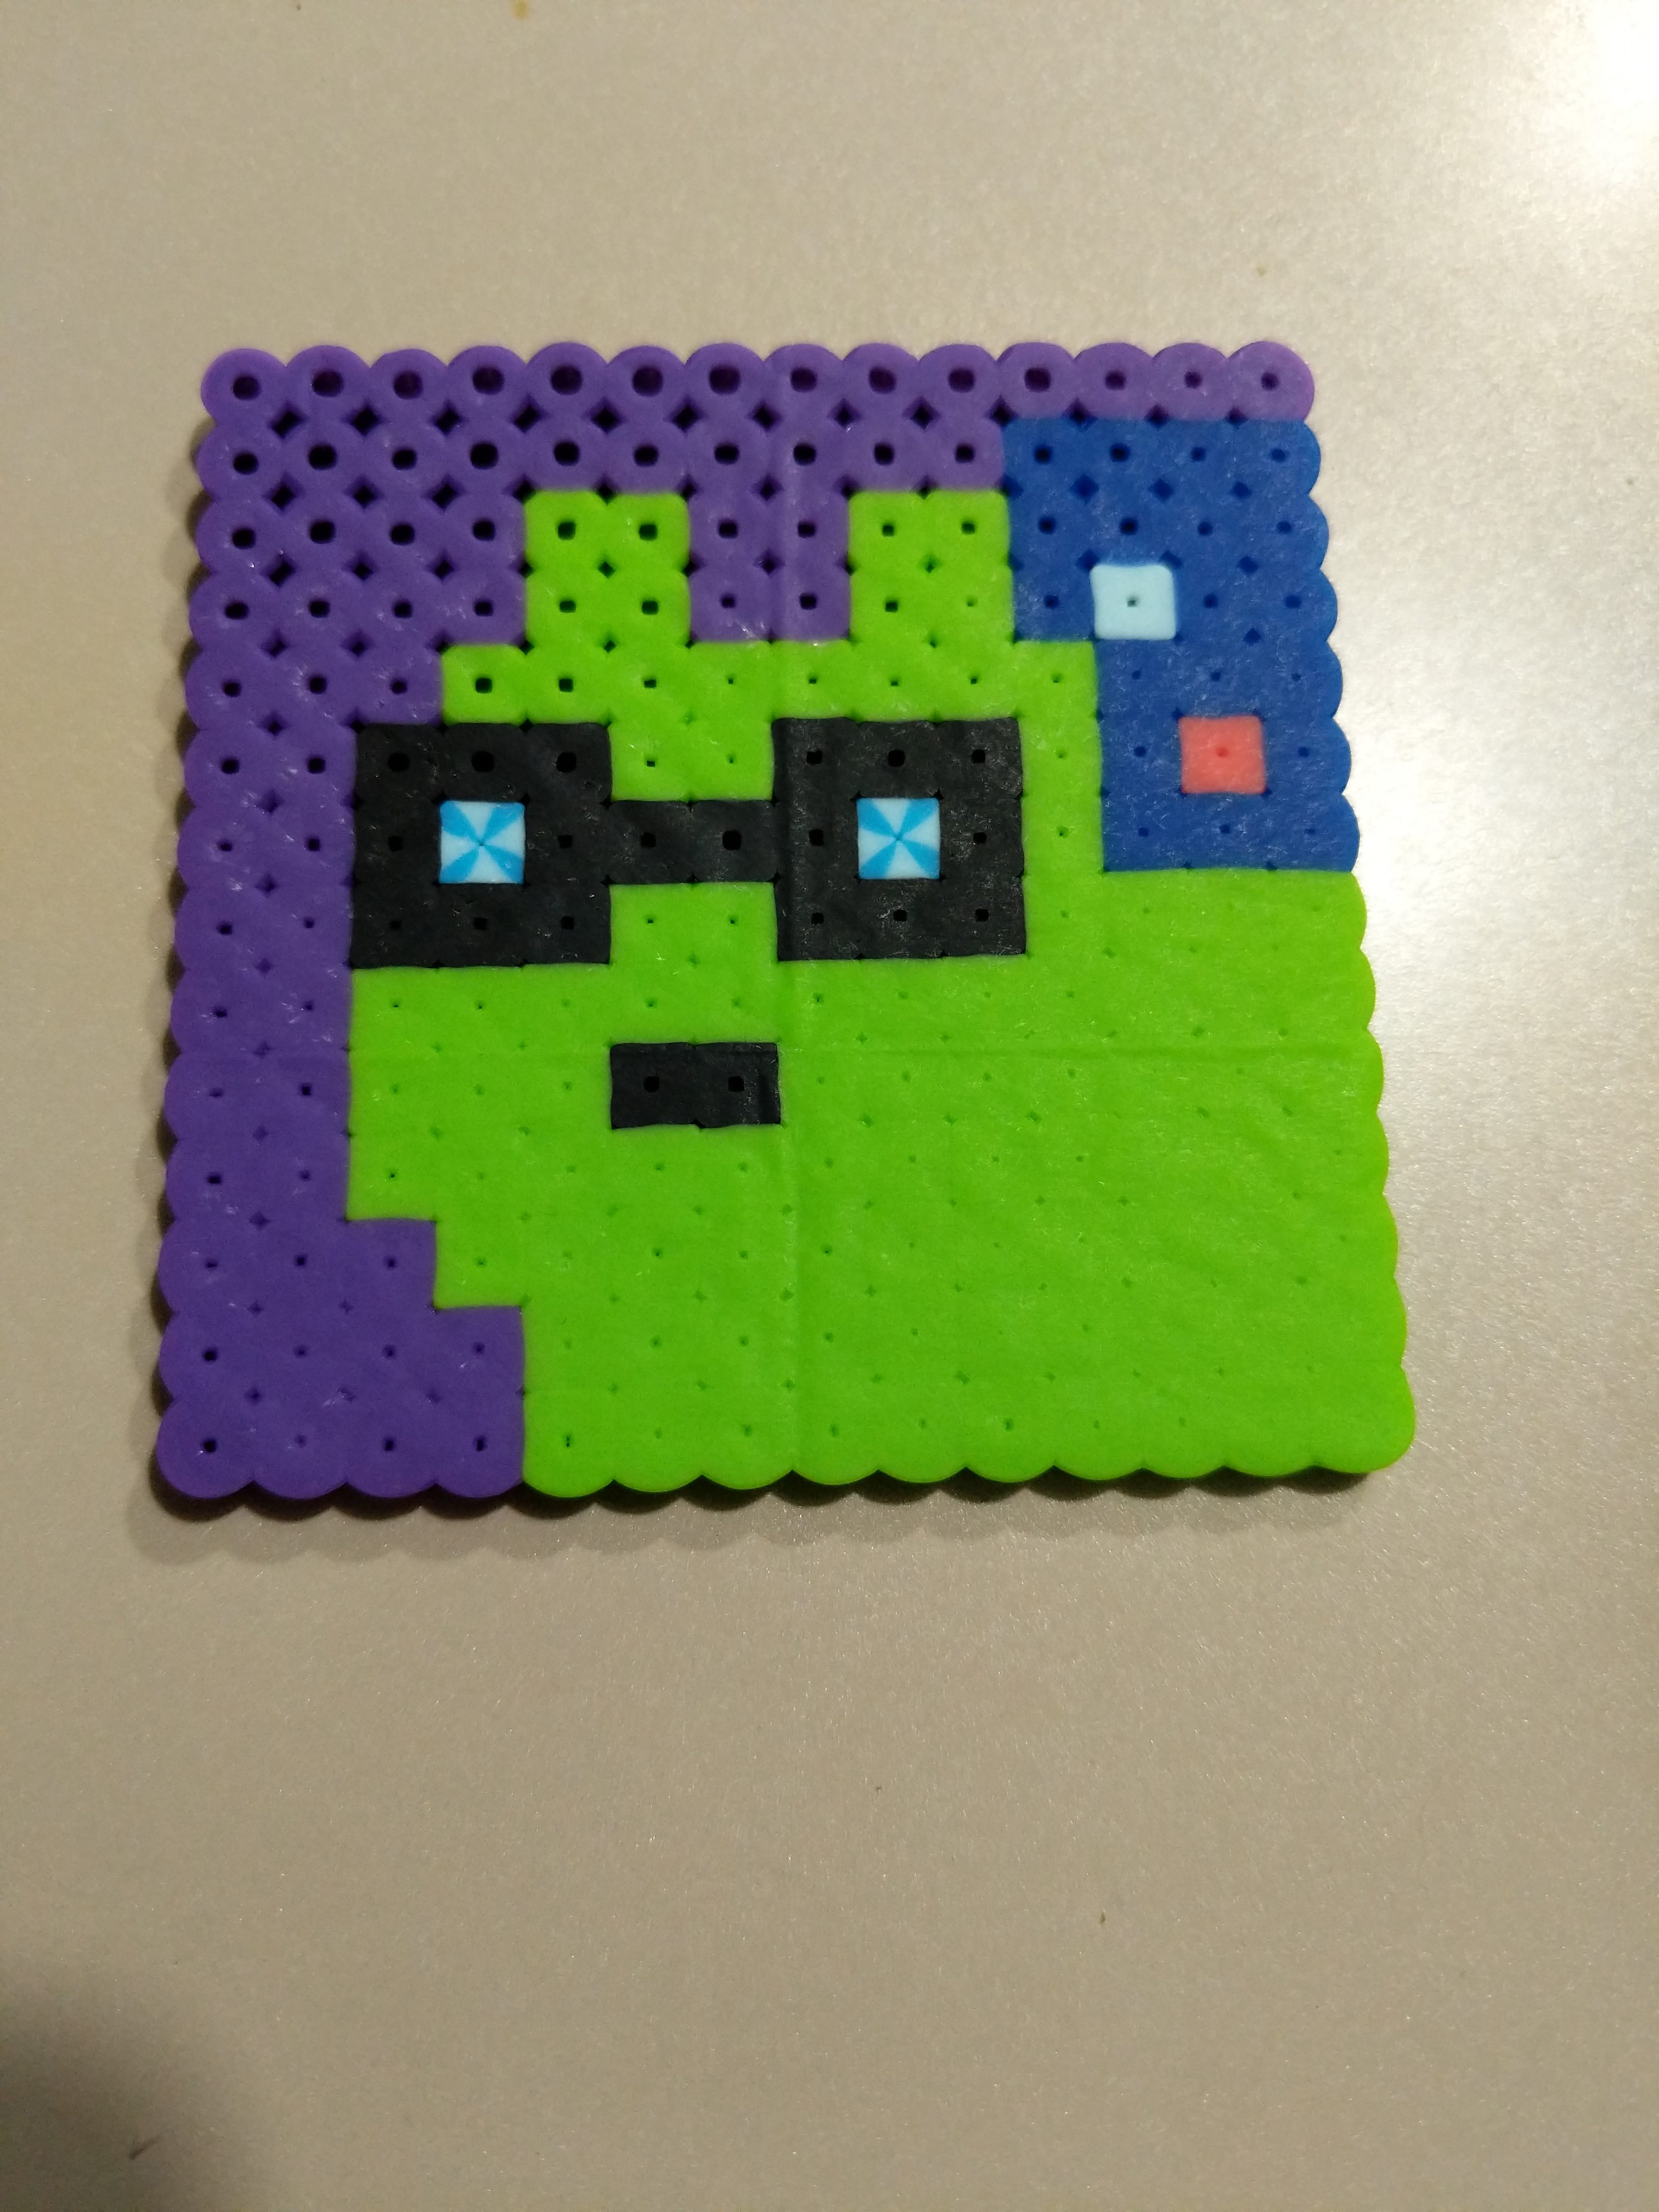
Think about what you want to make. For this tutorial, we made a Troop Paradox-themed coaster as well as a JimBob coaster. You can make whatever you’d like!
For a Troop Paradox hourglass, we suggest the following colors:
- Dark Blue (Background)
- Dark Yellow (Hourglass outline and alternating edges)
- Light Yellow (hourglass sand)
- Clear (empty space)

For a JimBob design, we suggest the following colors:
- Lime Green (body)
- Light Blue (eyes and one shell spot)
- Black (glasses)
- Dark Blue (shell)
- Contrasting Color of your choosing (background)
- Orange (shell spot)

Once you have arranged your design on the perler board, heat up your iron.
When your iron is heated, place wax paper over the beads, and run the iron over the design for ~30 seconds. (the longer you hold the iron over the design, the more melted the beads will become.)
Remove the iron, allow to cool, then peel off the wax paper.
Viola, you have a perler bead coaster!

We’d love to see your designs, so share them with us on Facebook, Twitter, and Instagram. Don’t forget to tag #IGGPPCamp!


Leave A Comment
You must be logged in to post a comment.