
At IGGPPCamp this past August, Troop Nook made terrariums. If you joined in on that craft, congratulations, you’re one step closer to today’s HallowIggles DIY Cemeterrarium. Get it? It’s a terrarium AND a cemetery. All in one? Yeah, you get it. If you were unable to join in that craft, we’ve got your how-to from top to bottom! Let’s get spooky!
This craft is specifically for a closed terrarium using live moss. You could absolutely use an open terrarium, succulents, preserved moss, or faux plants, as suits your tastes, but your supplies list will be slightly different. A closed terrarium is important if you are using live moss because the enclosed sides and lid ensure a humid environment that creates its own moisture cycle.
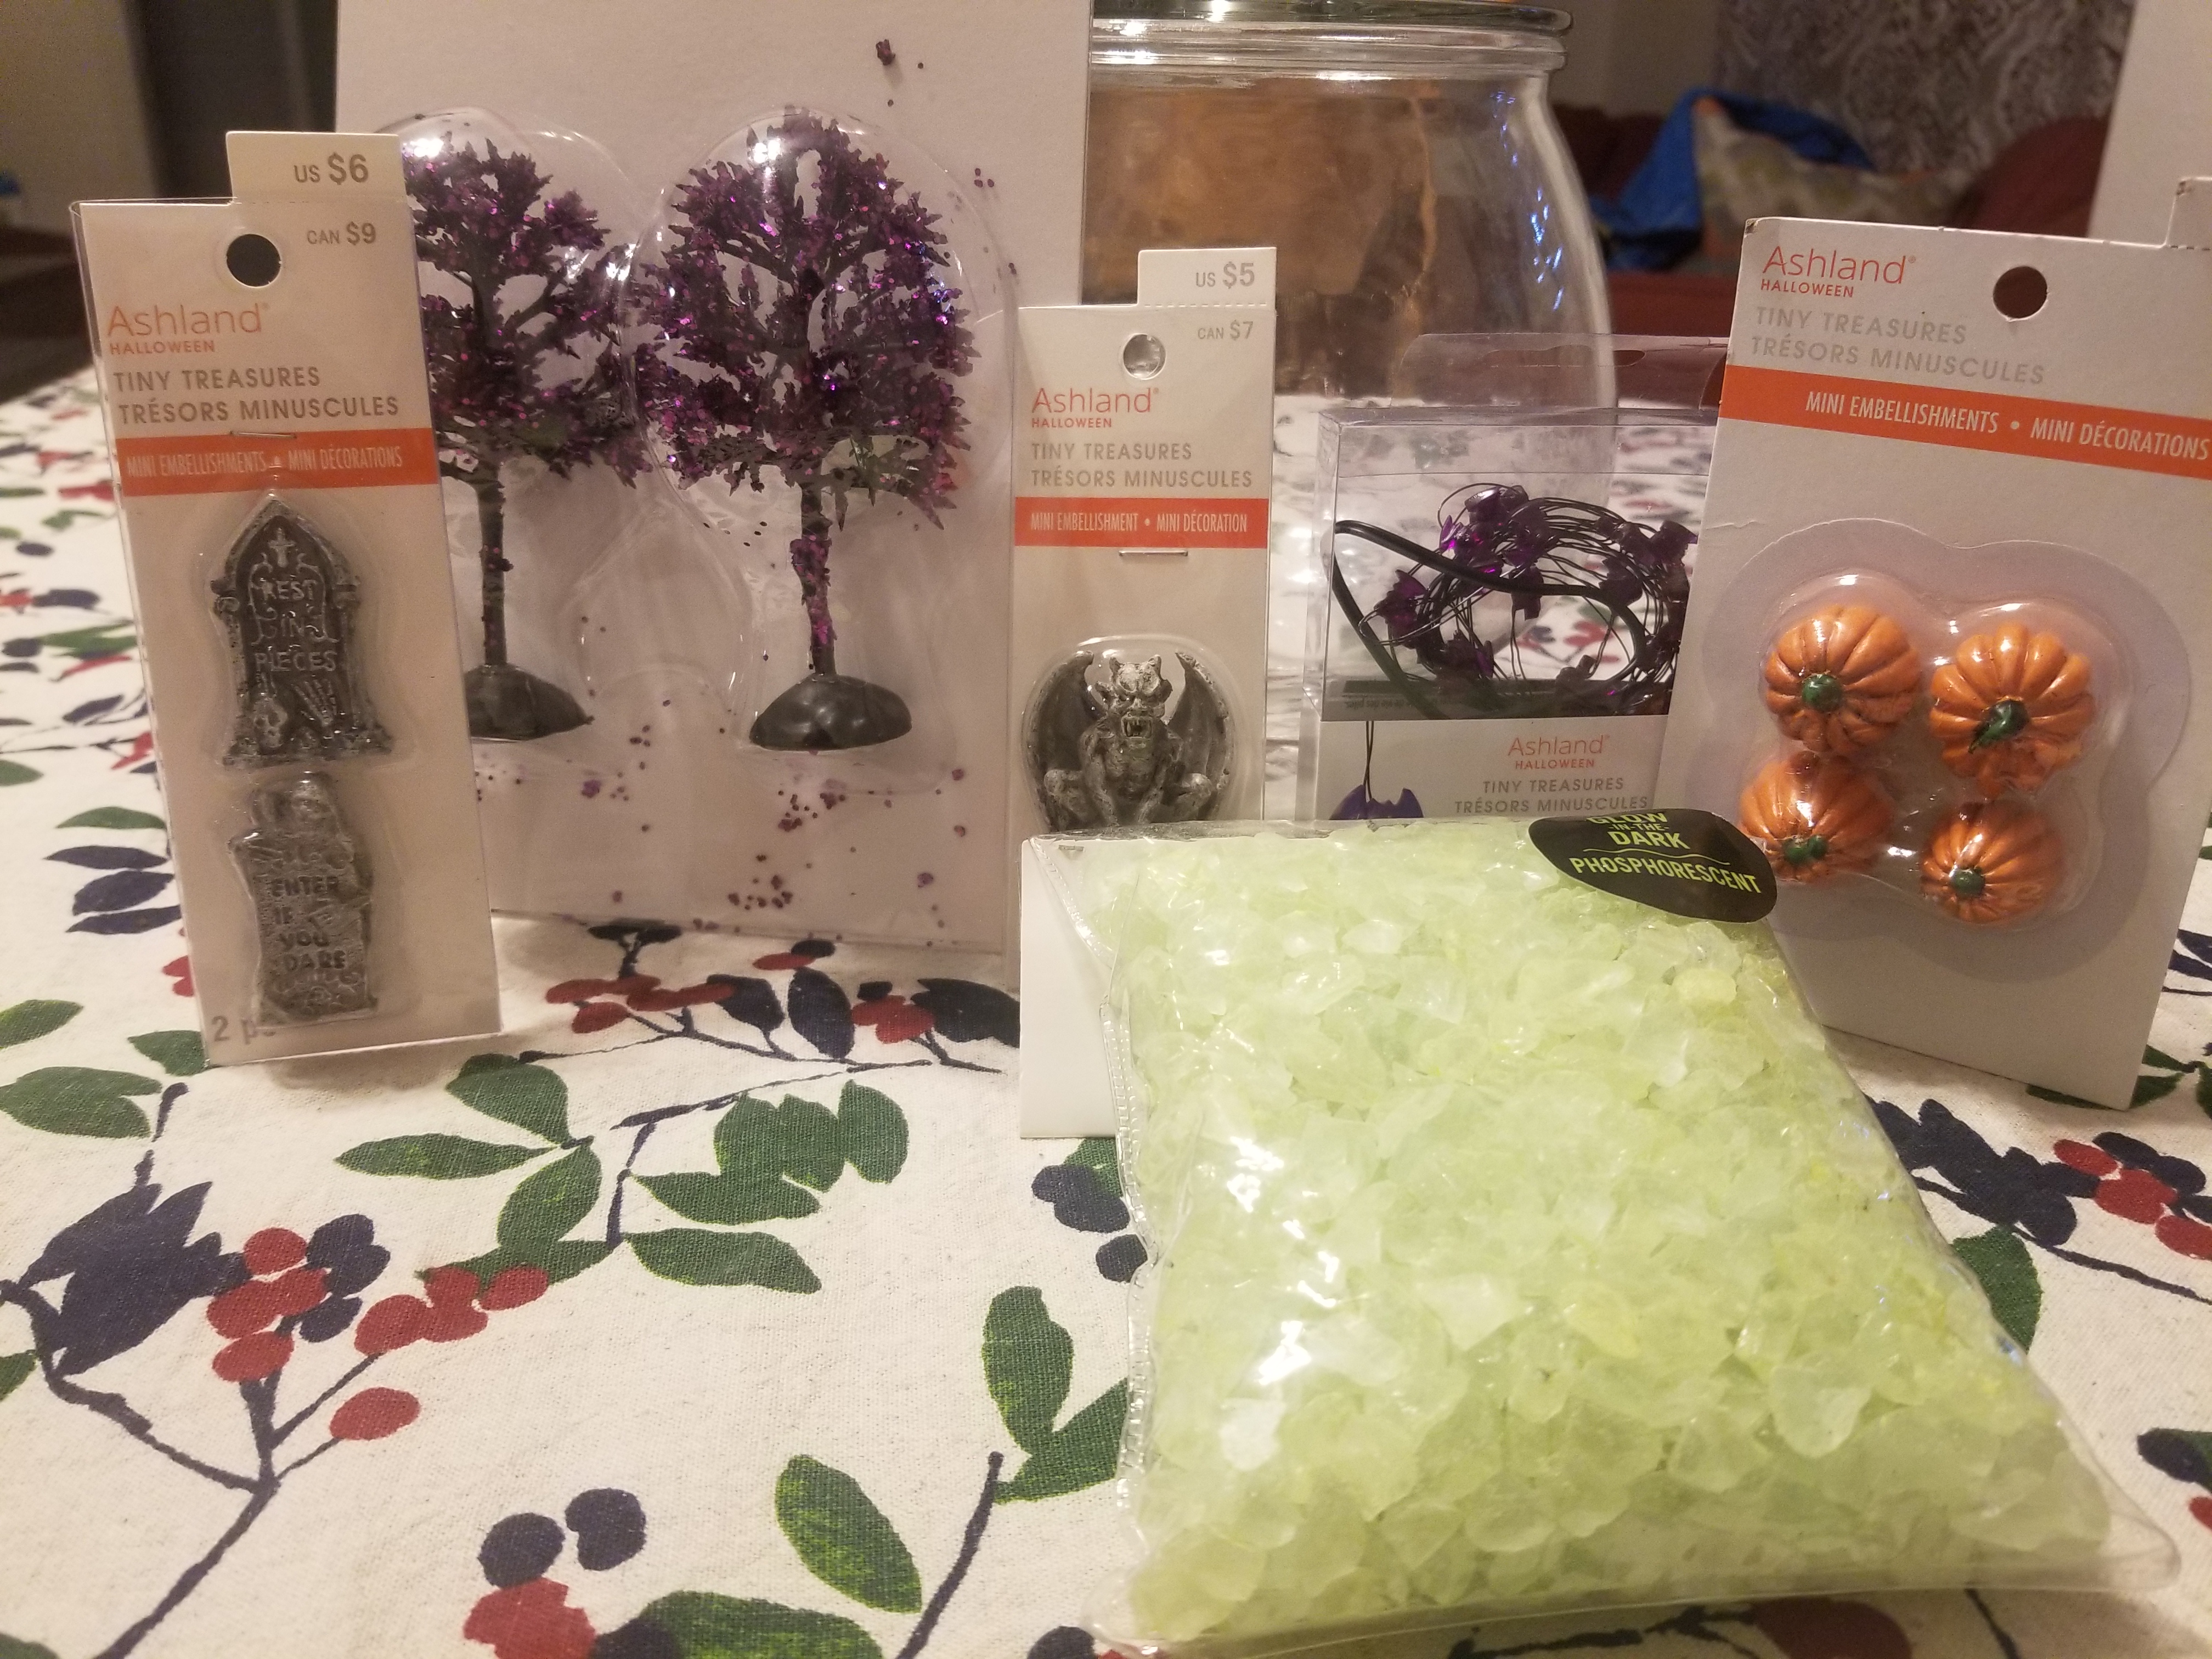
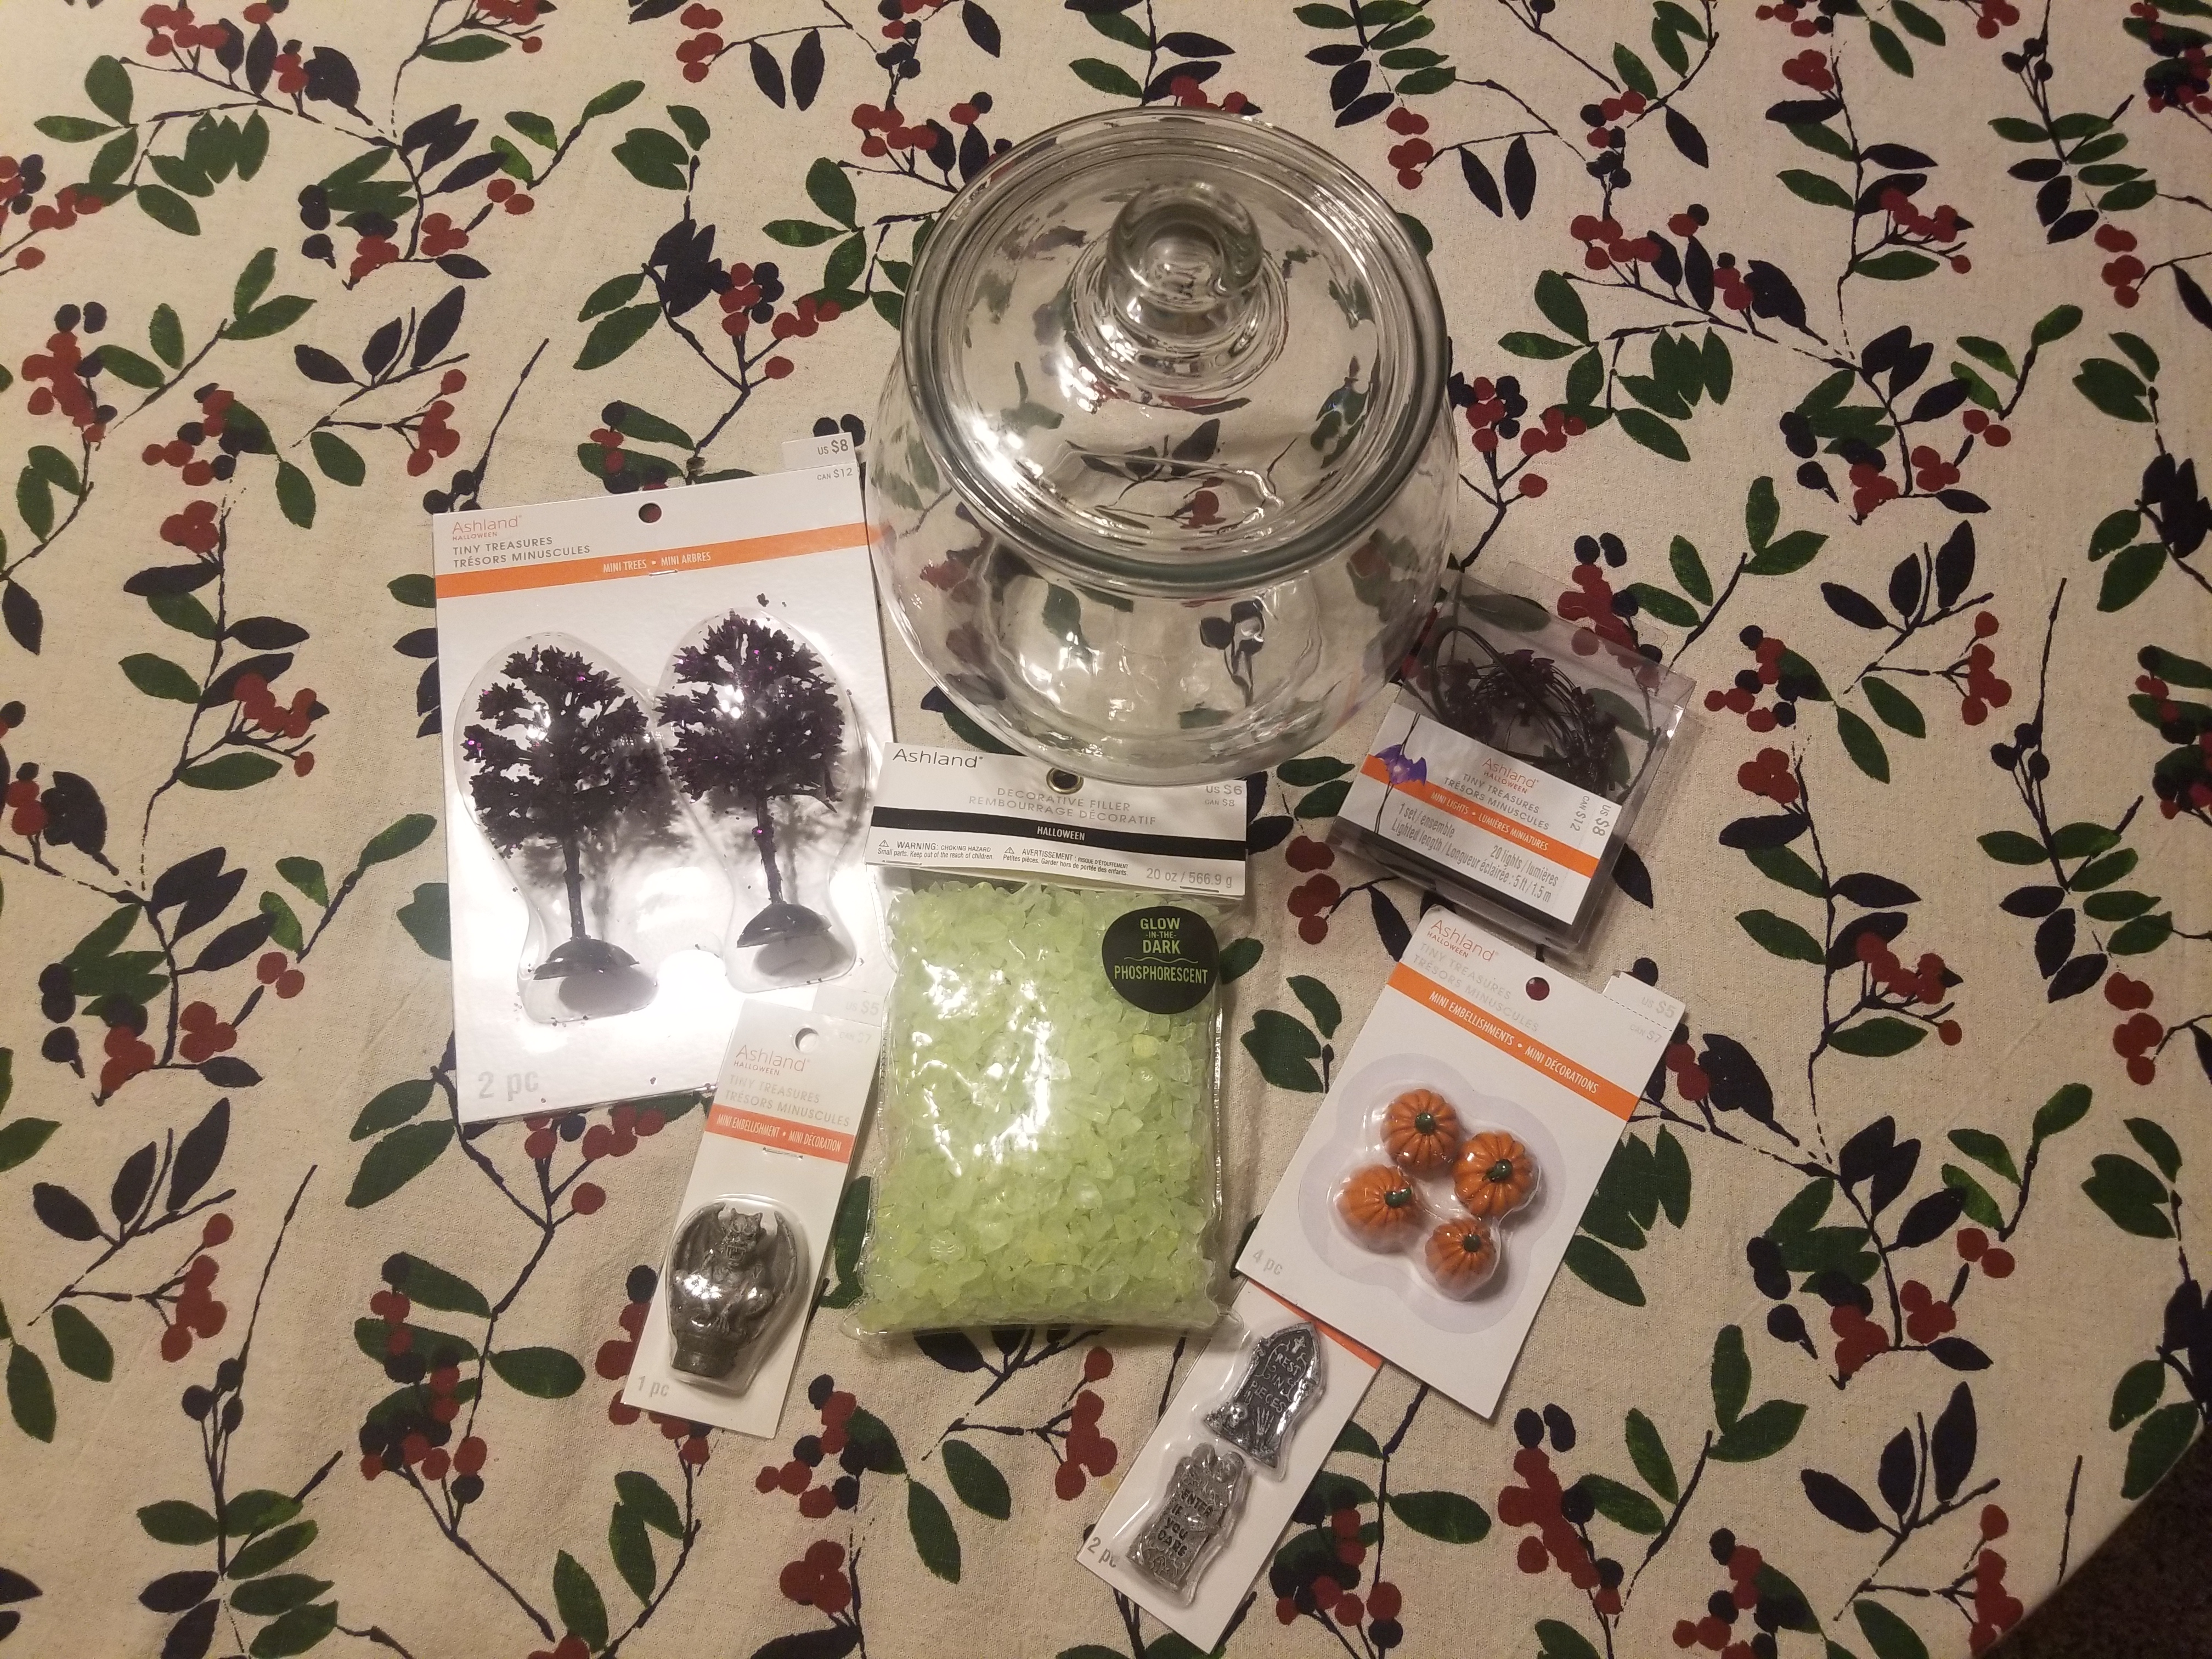
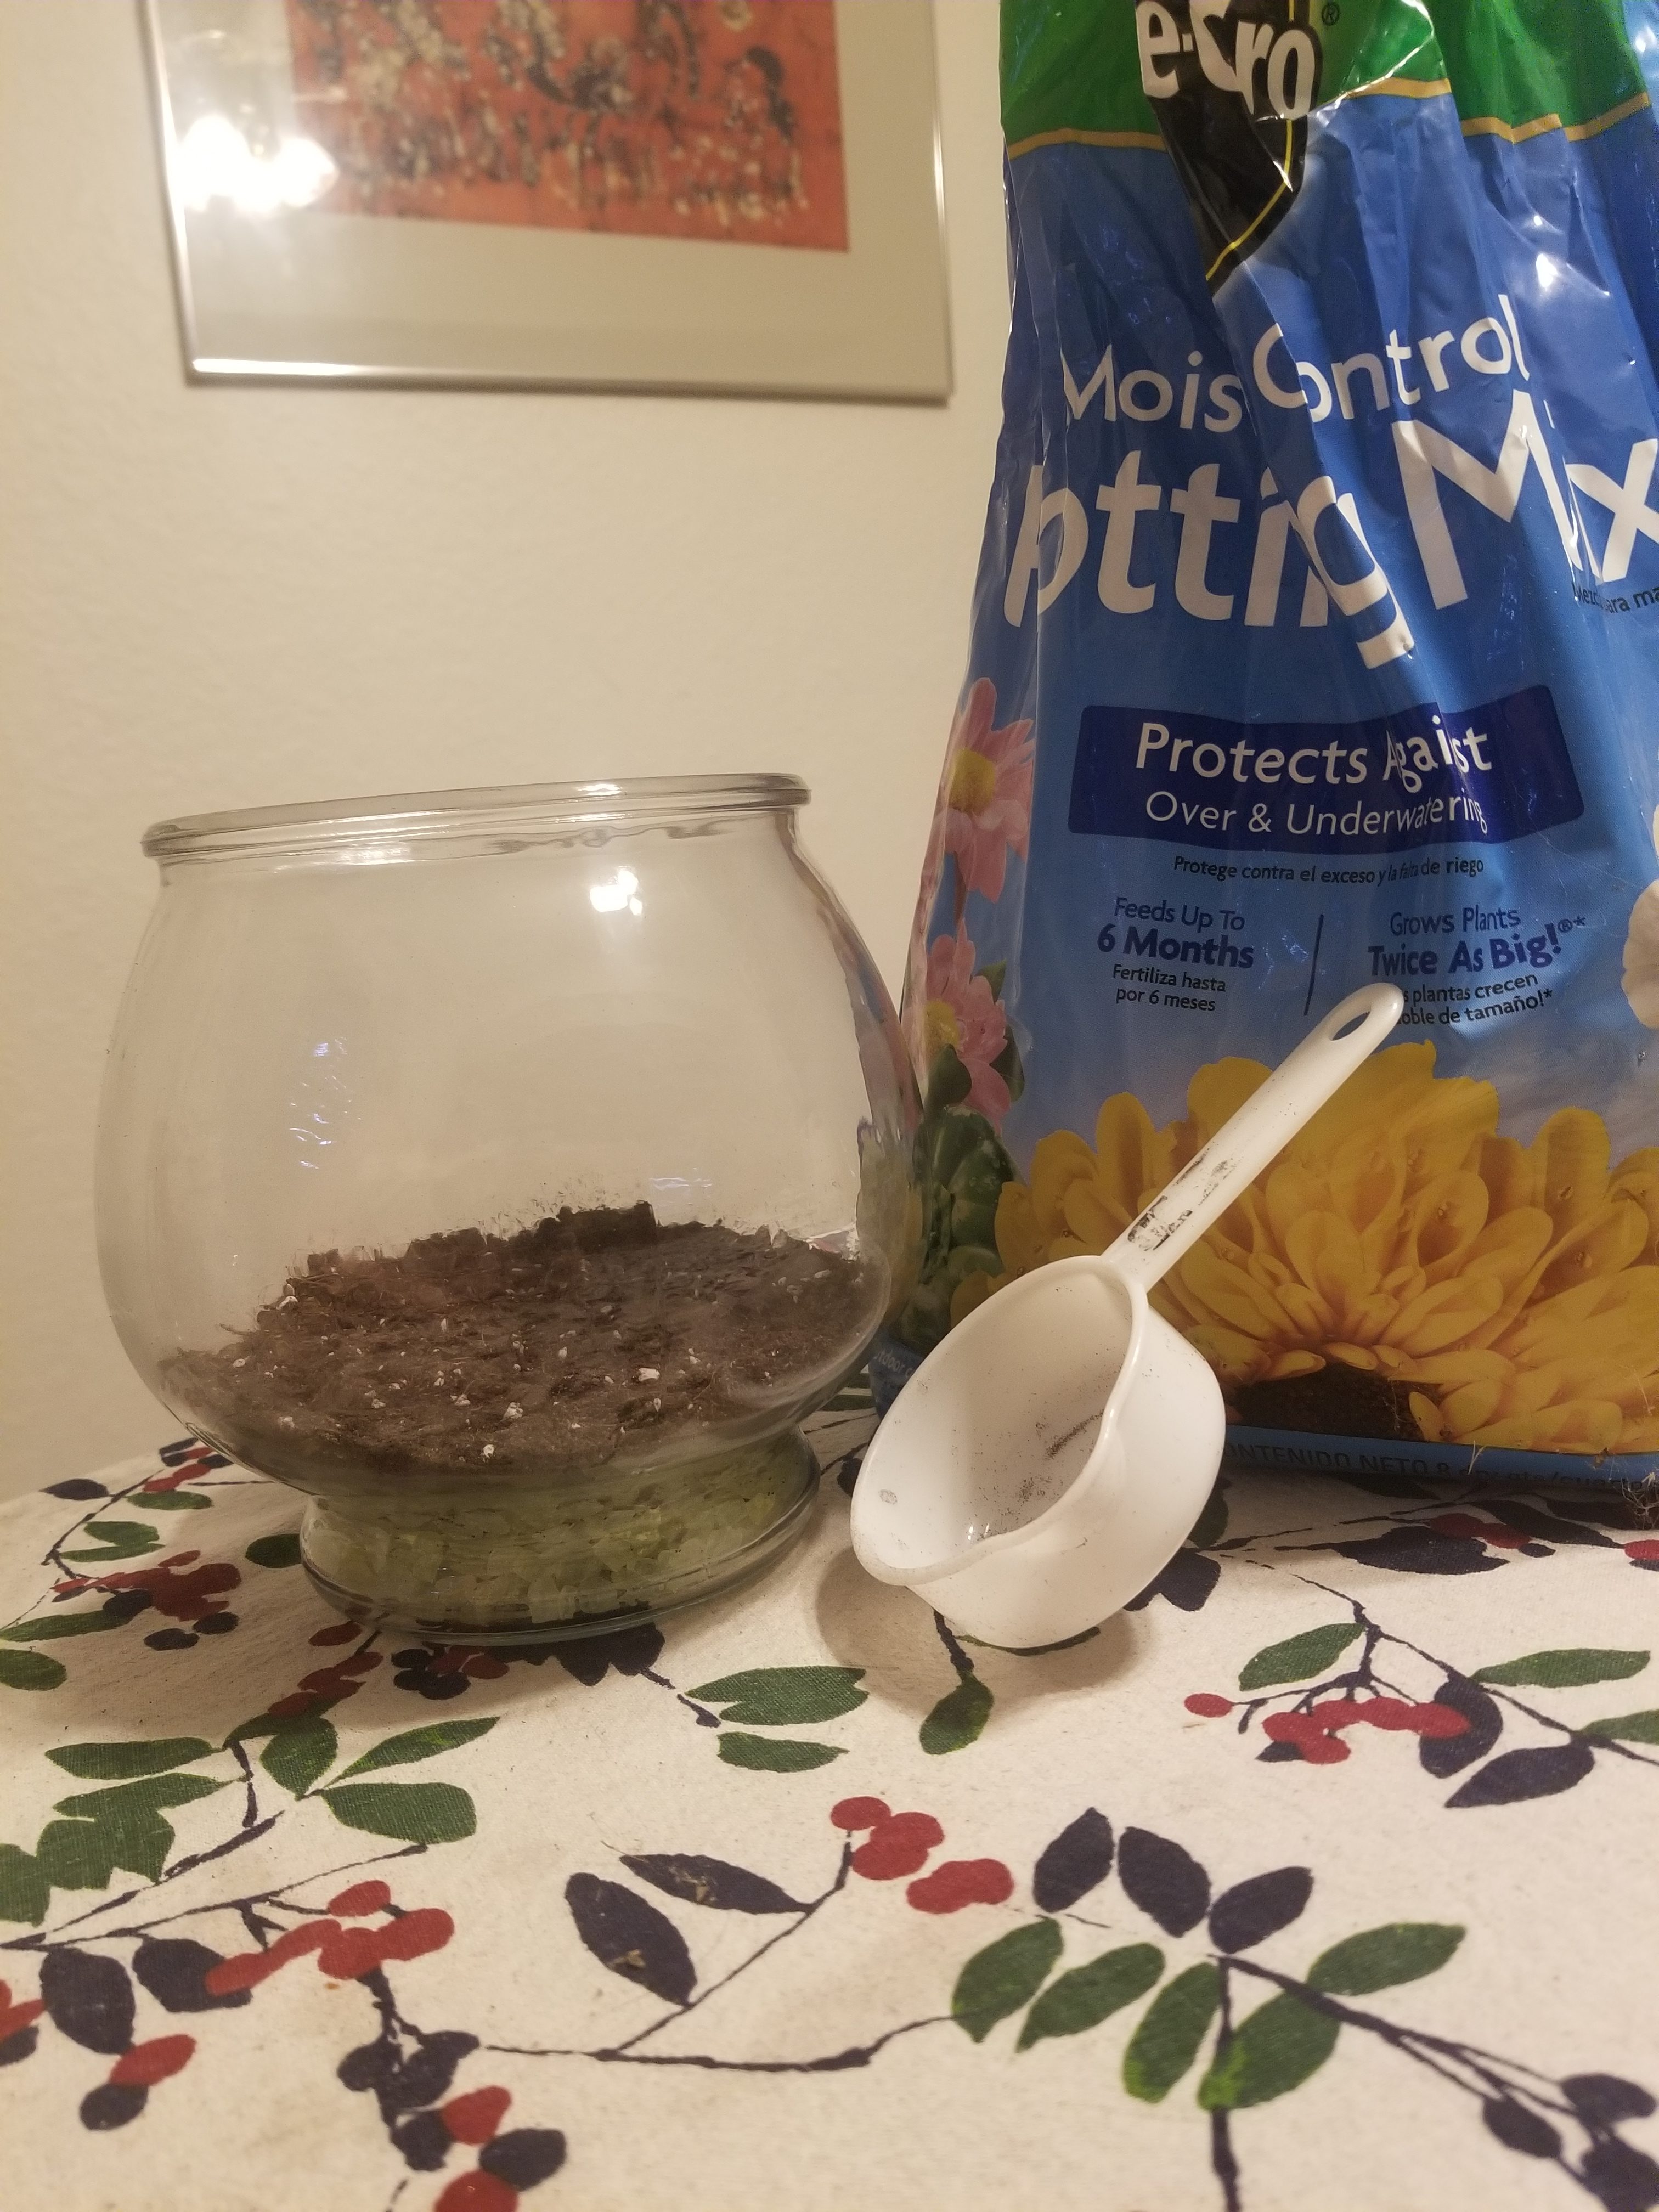
What you’ll need for your Cemeterrarium:
- A glass cloche, a large glass jar with a lid, or a glass specimen box.
- Really anything with a deep enough container, enclosed glass sides, and a lid.
- Pebbles or small rocks for drainage. I found phosphorescent stones, perfect for an eerie glow.
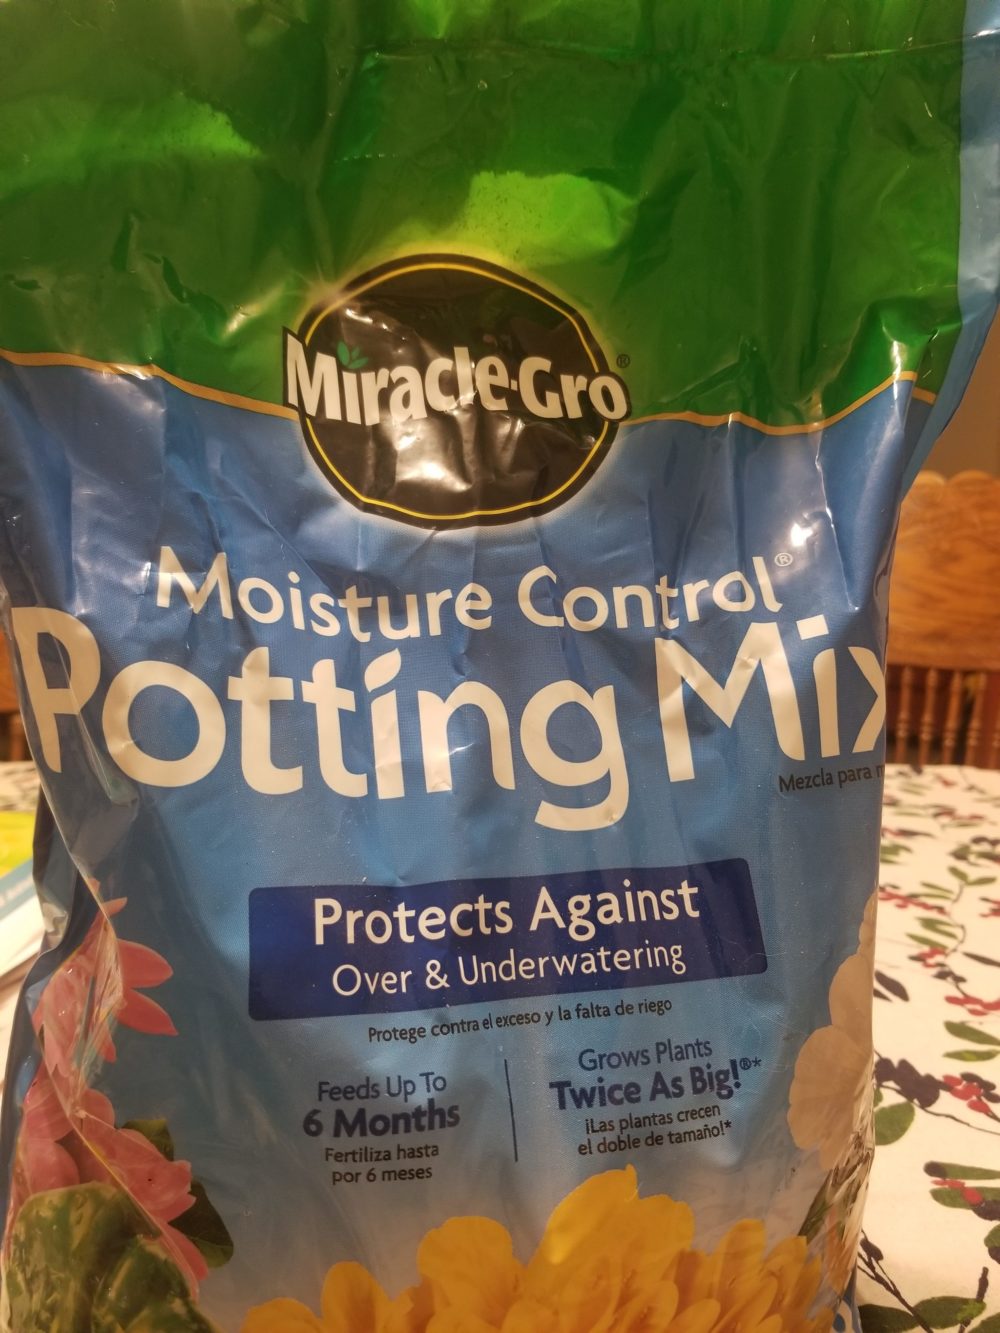
- Potting soil or GRAVE DIRT, if you can come by some
- Moss, any type. Small ferns. Plants that like humidity.
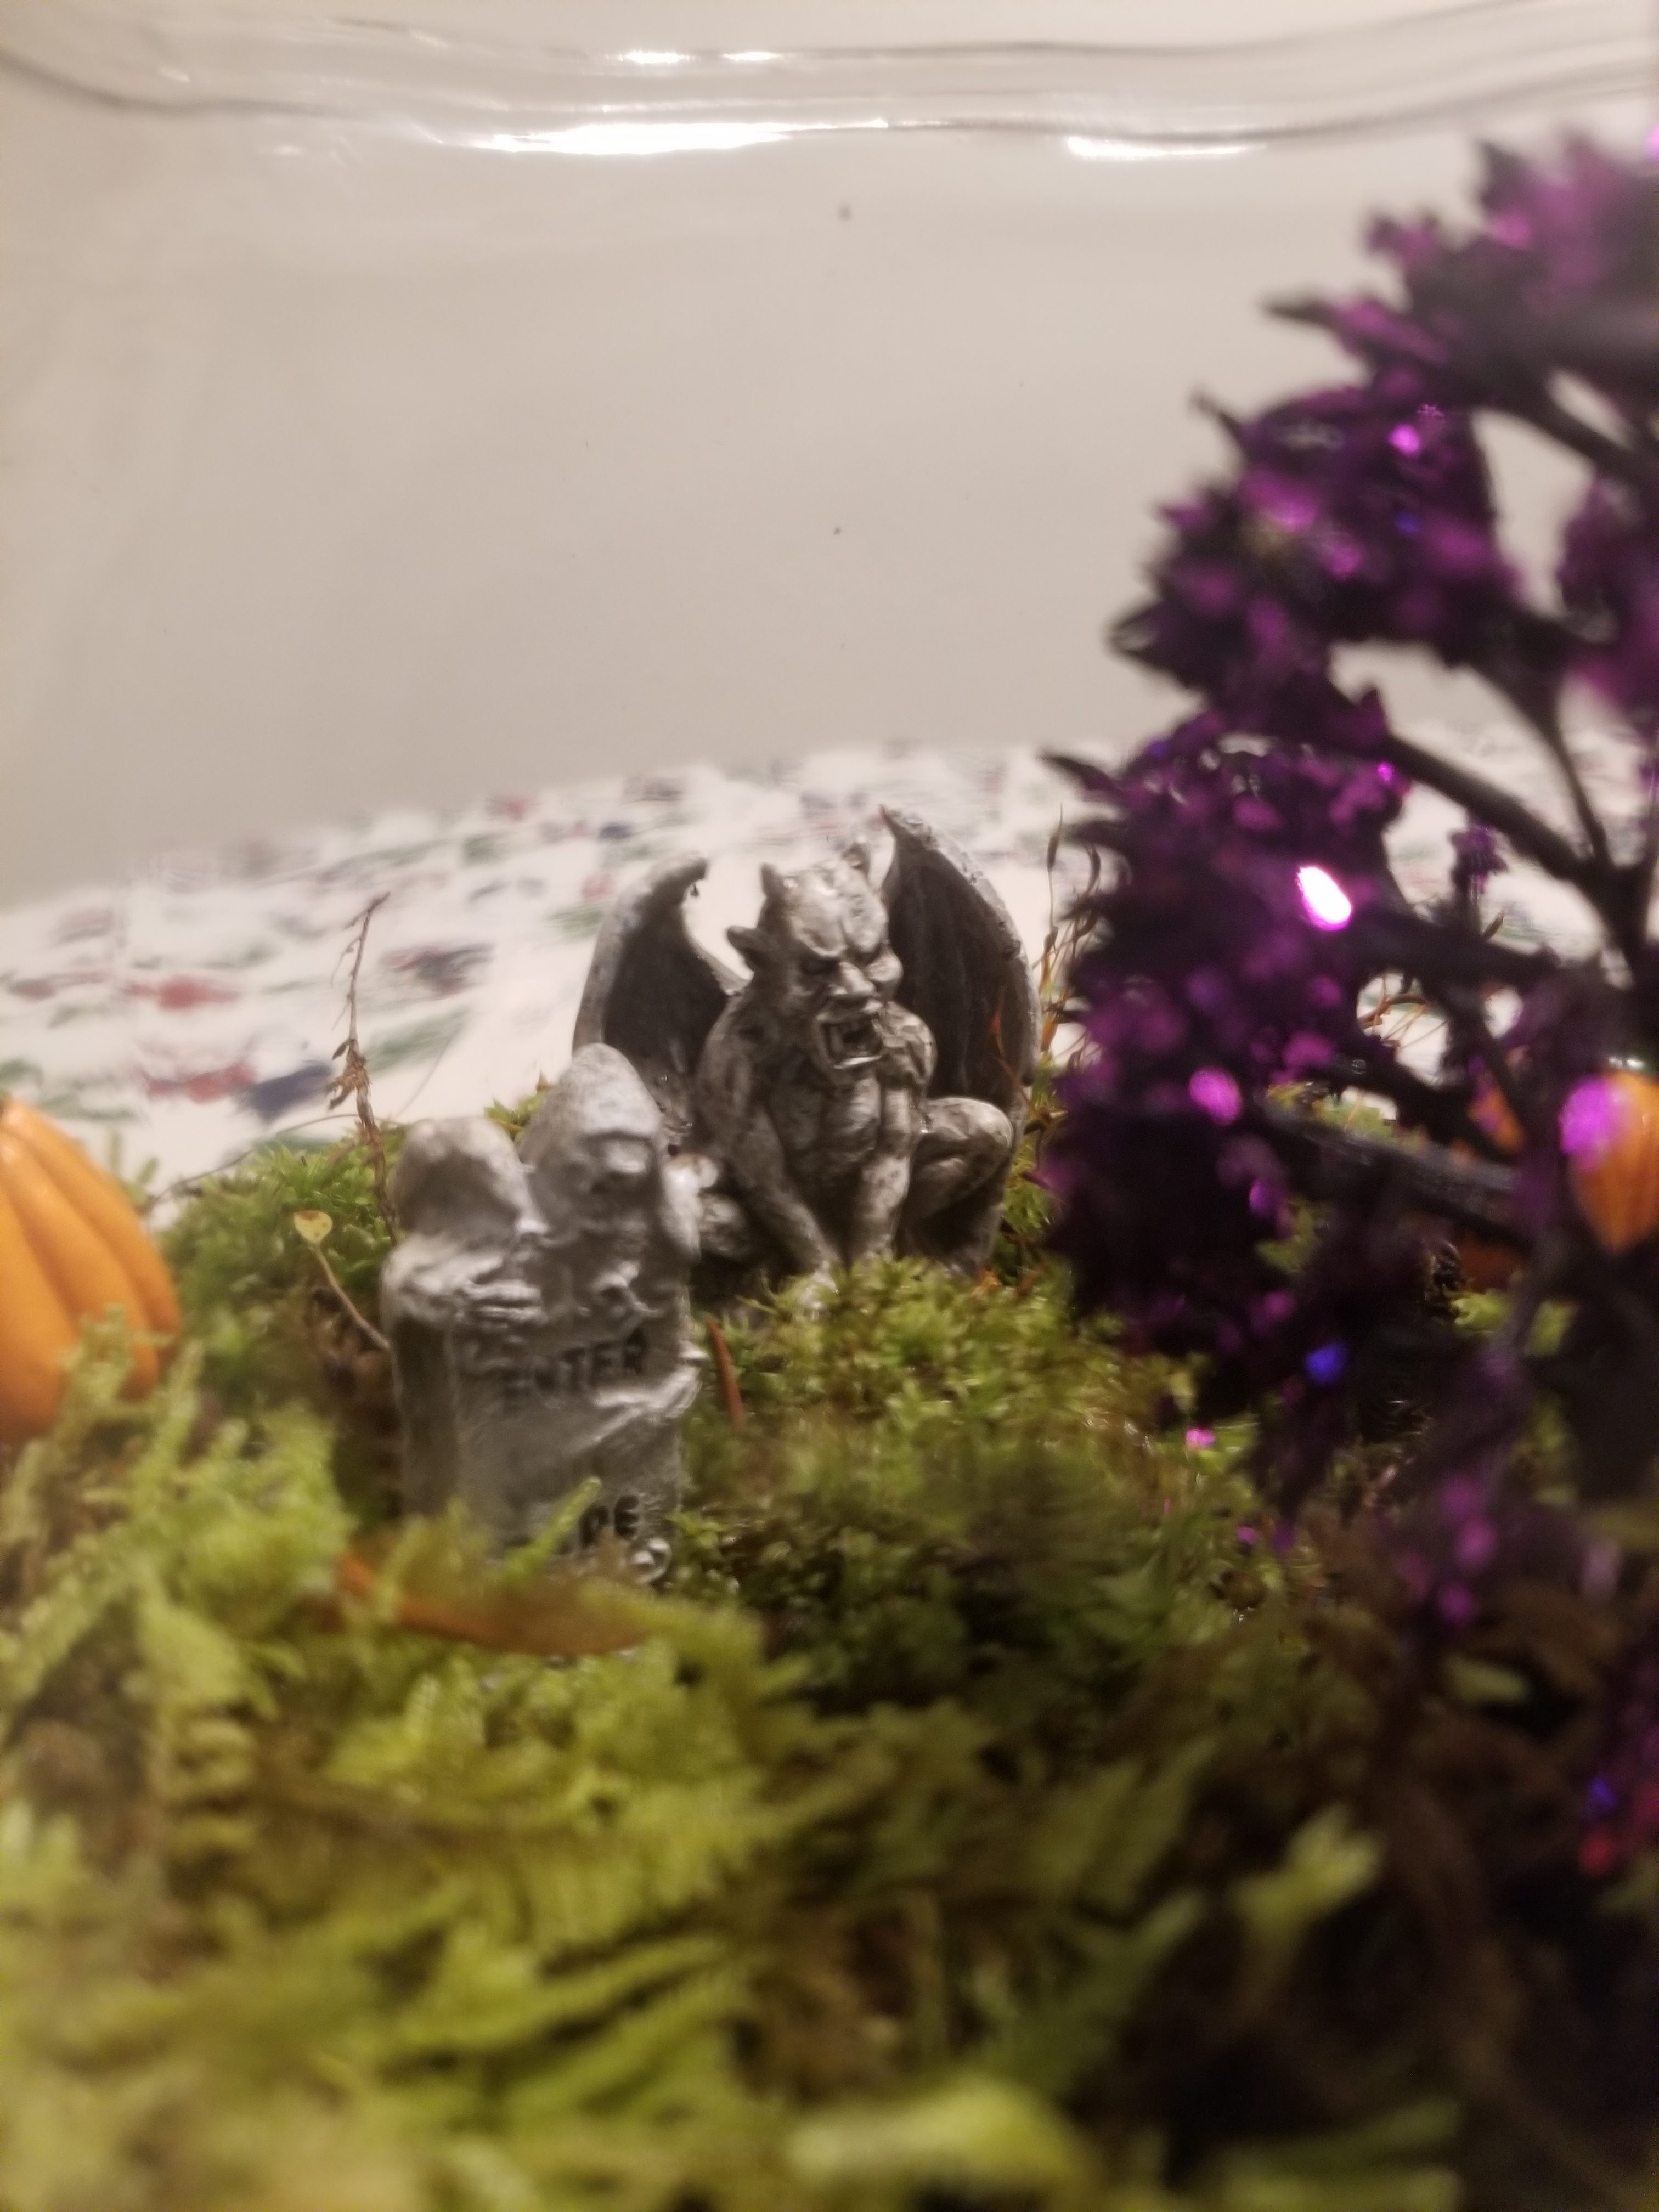
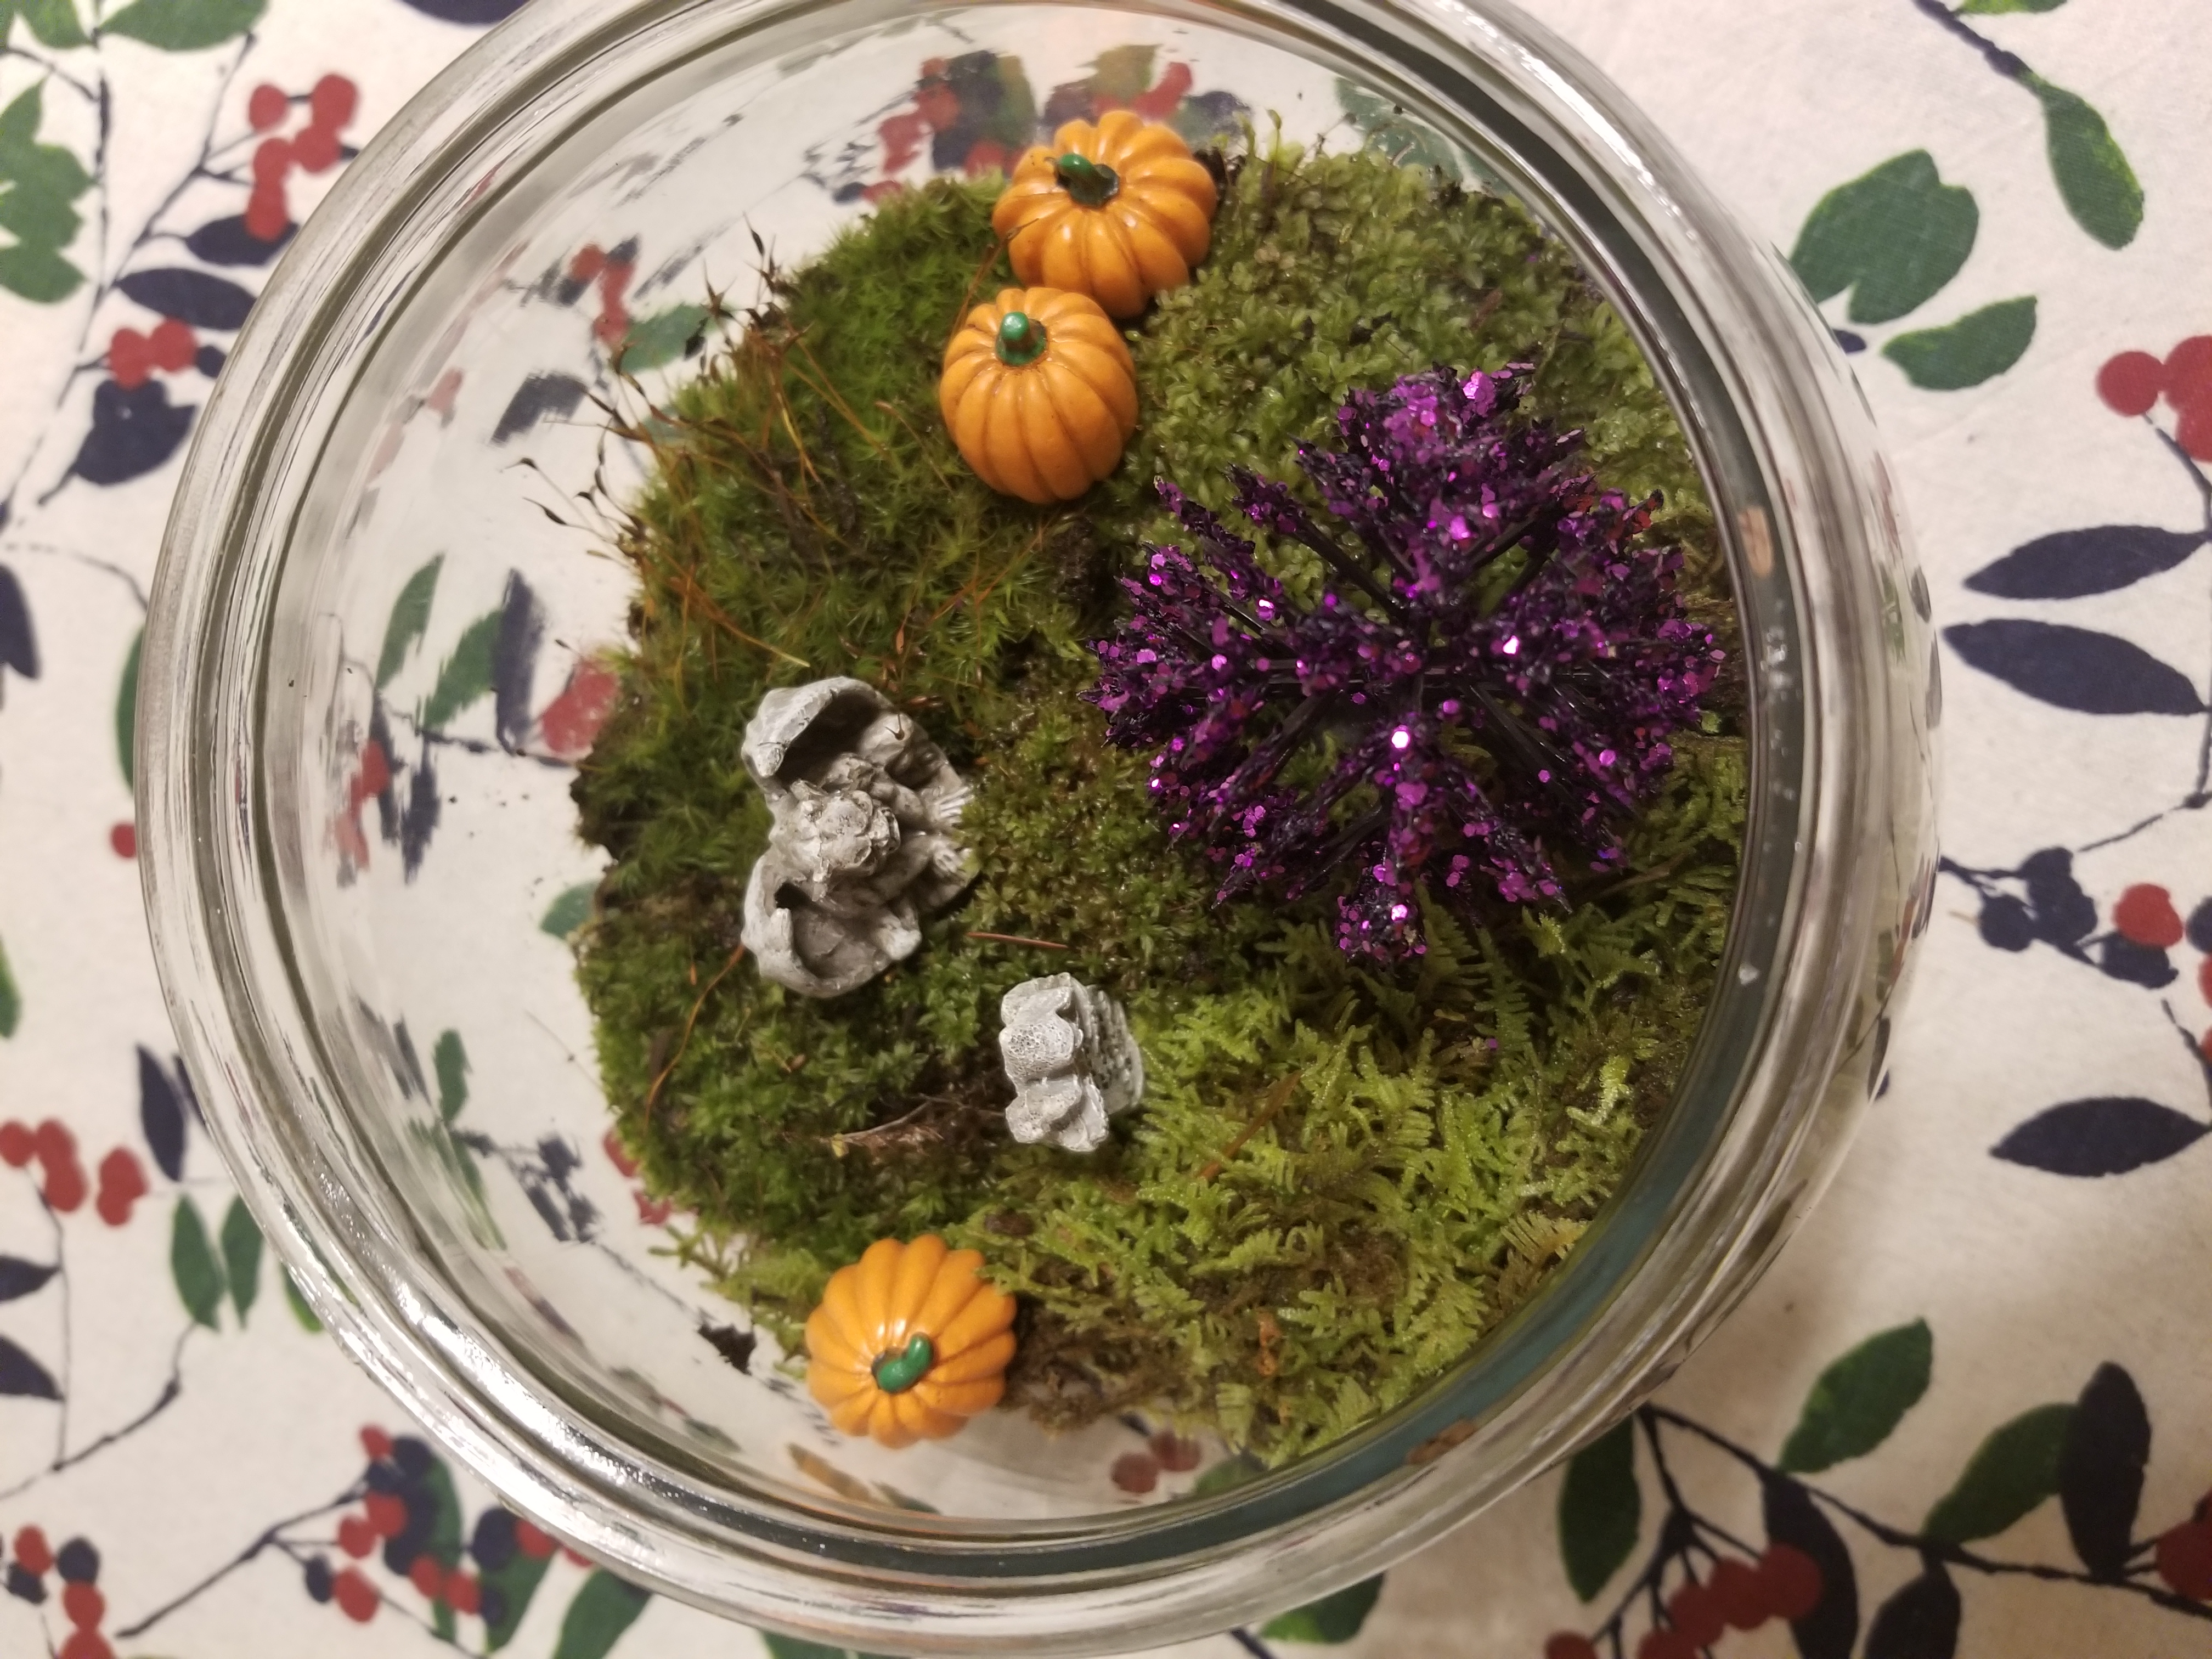
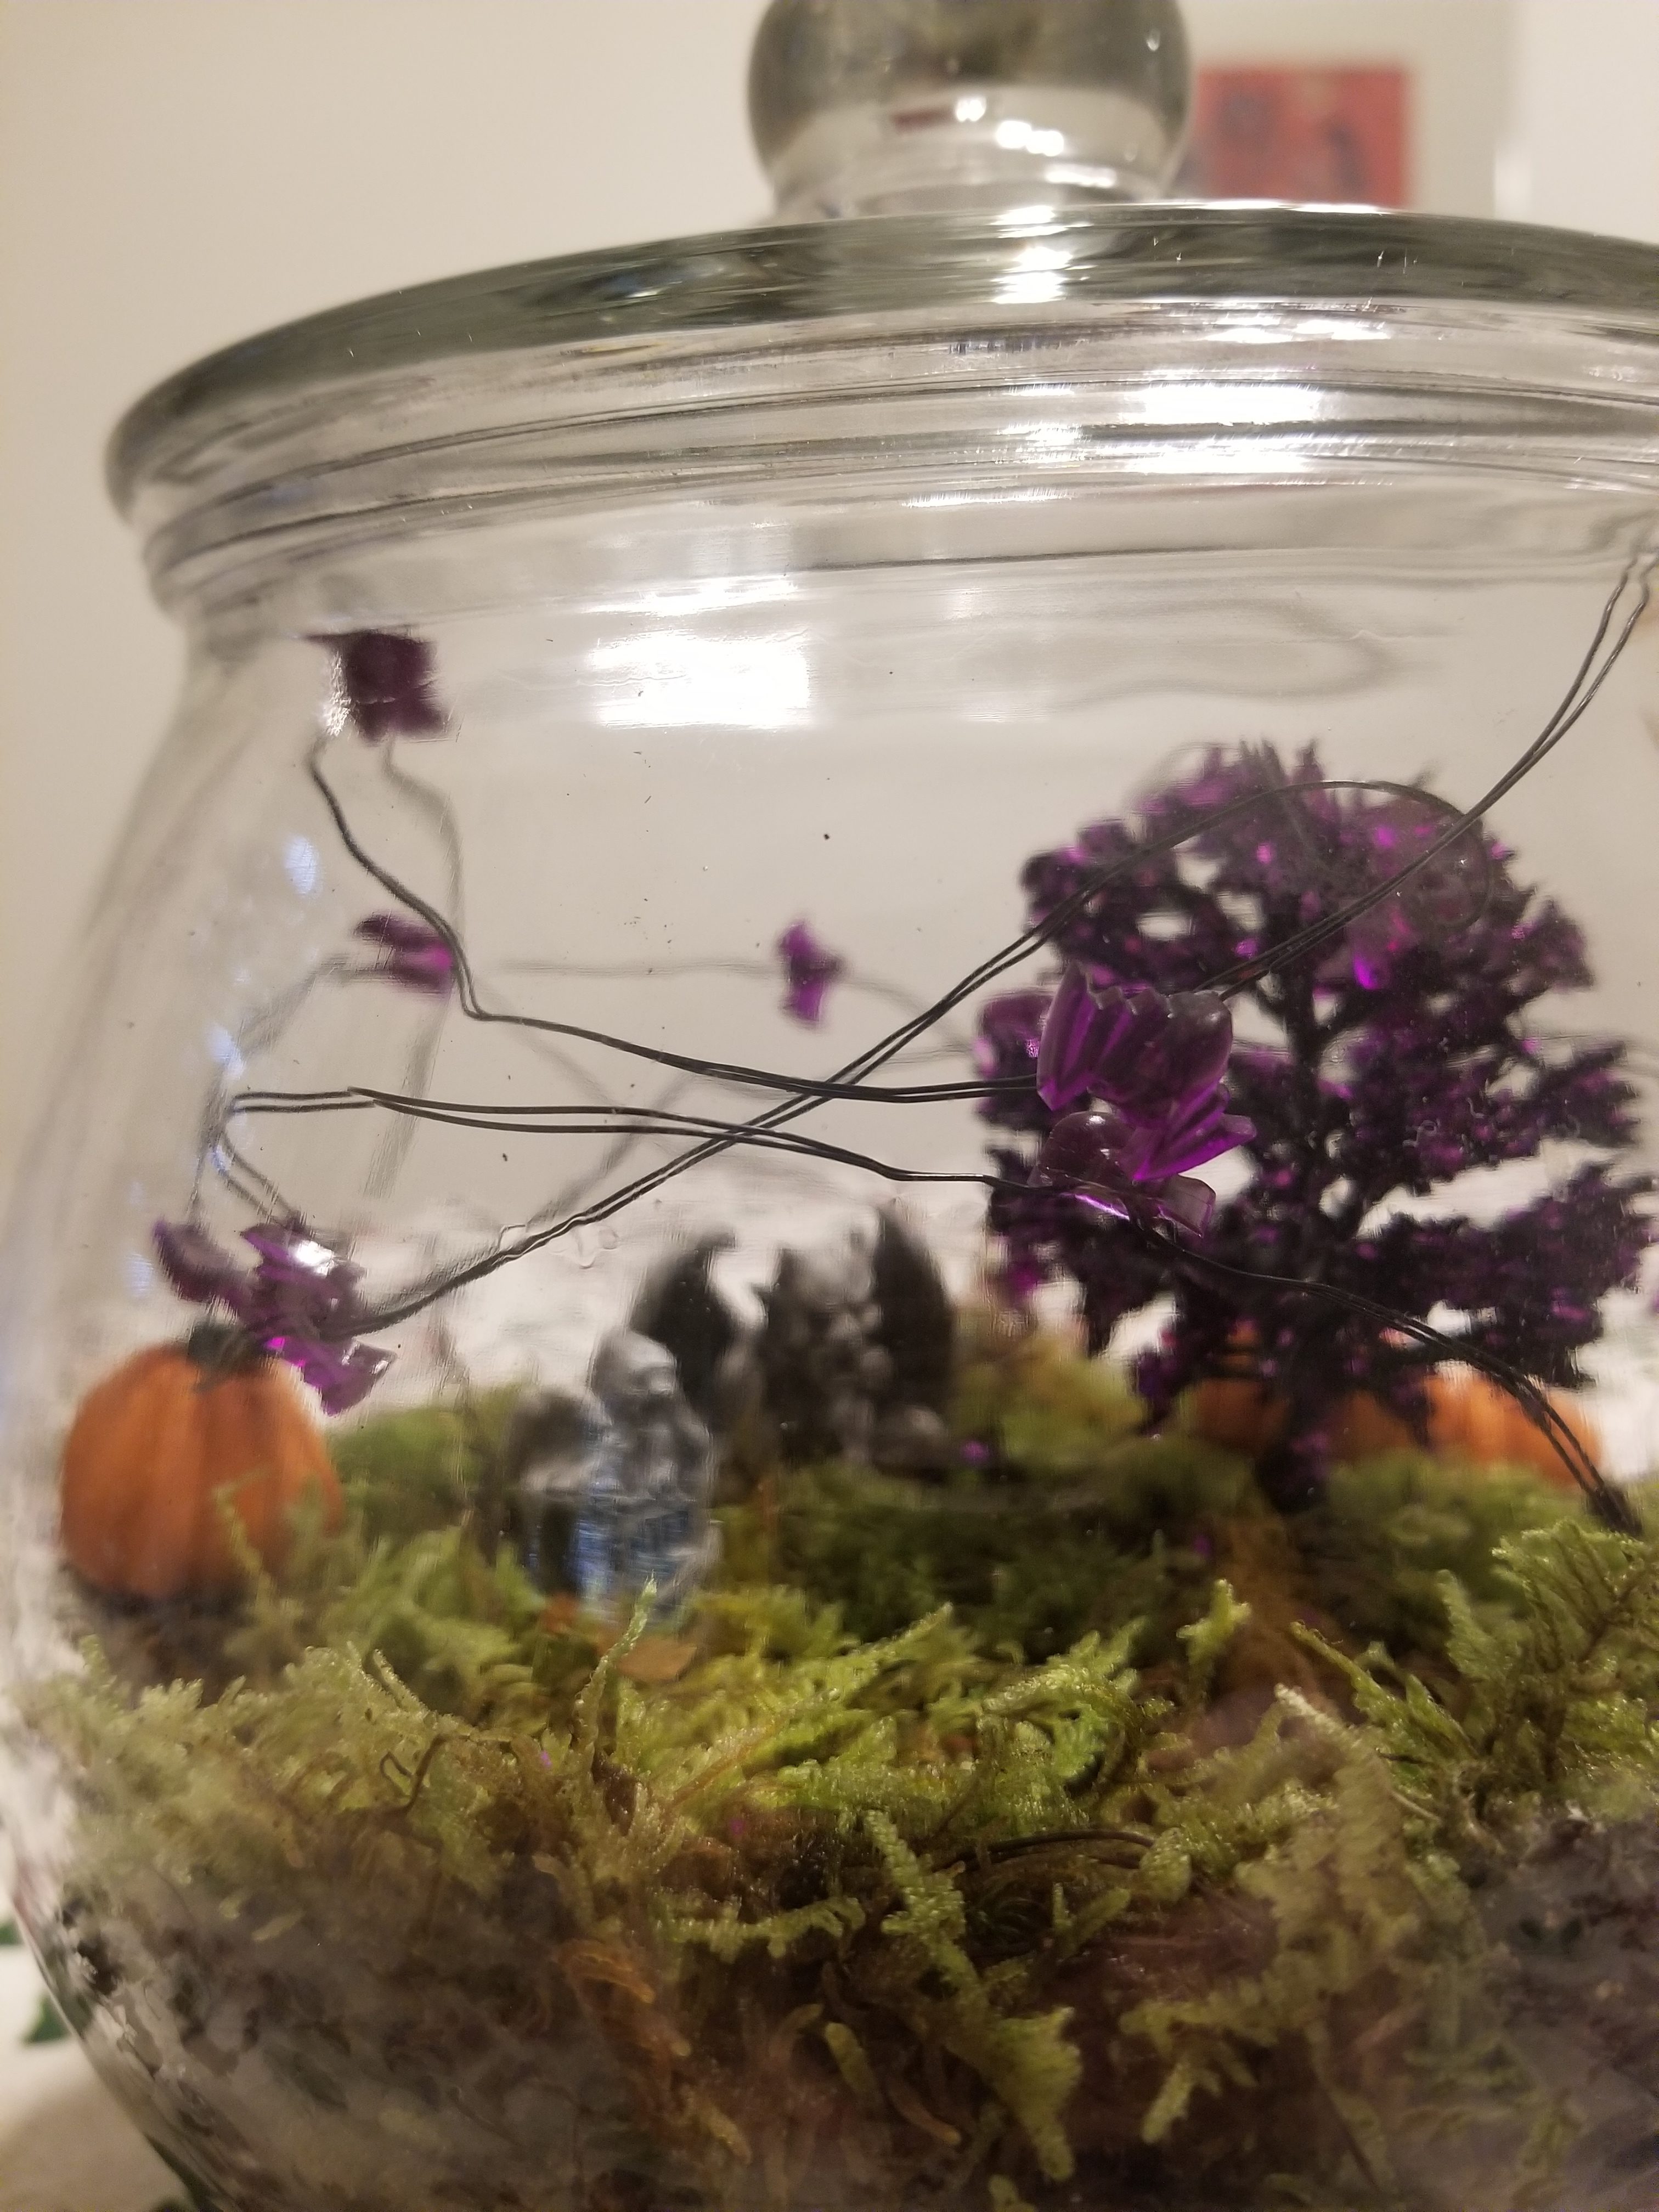
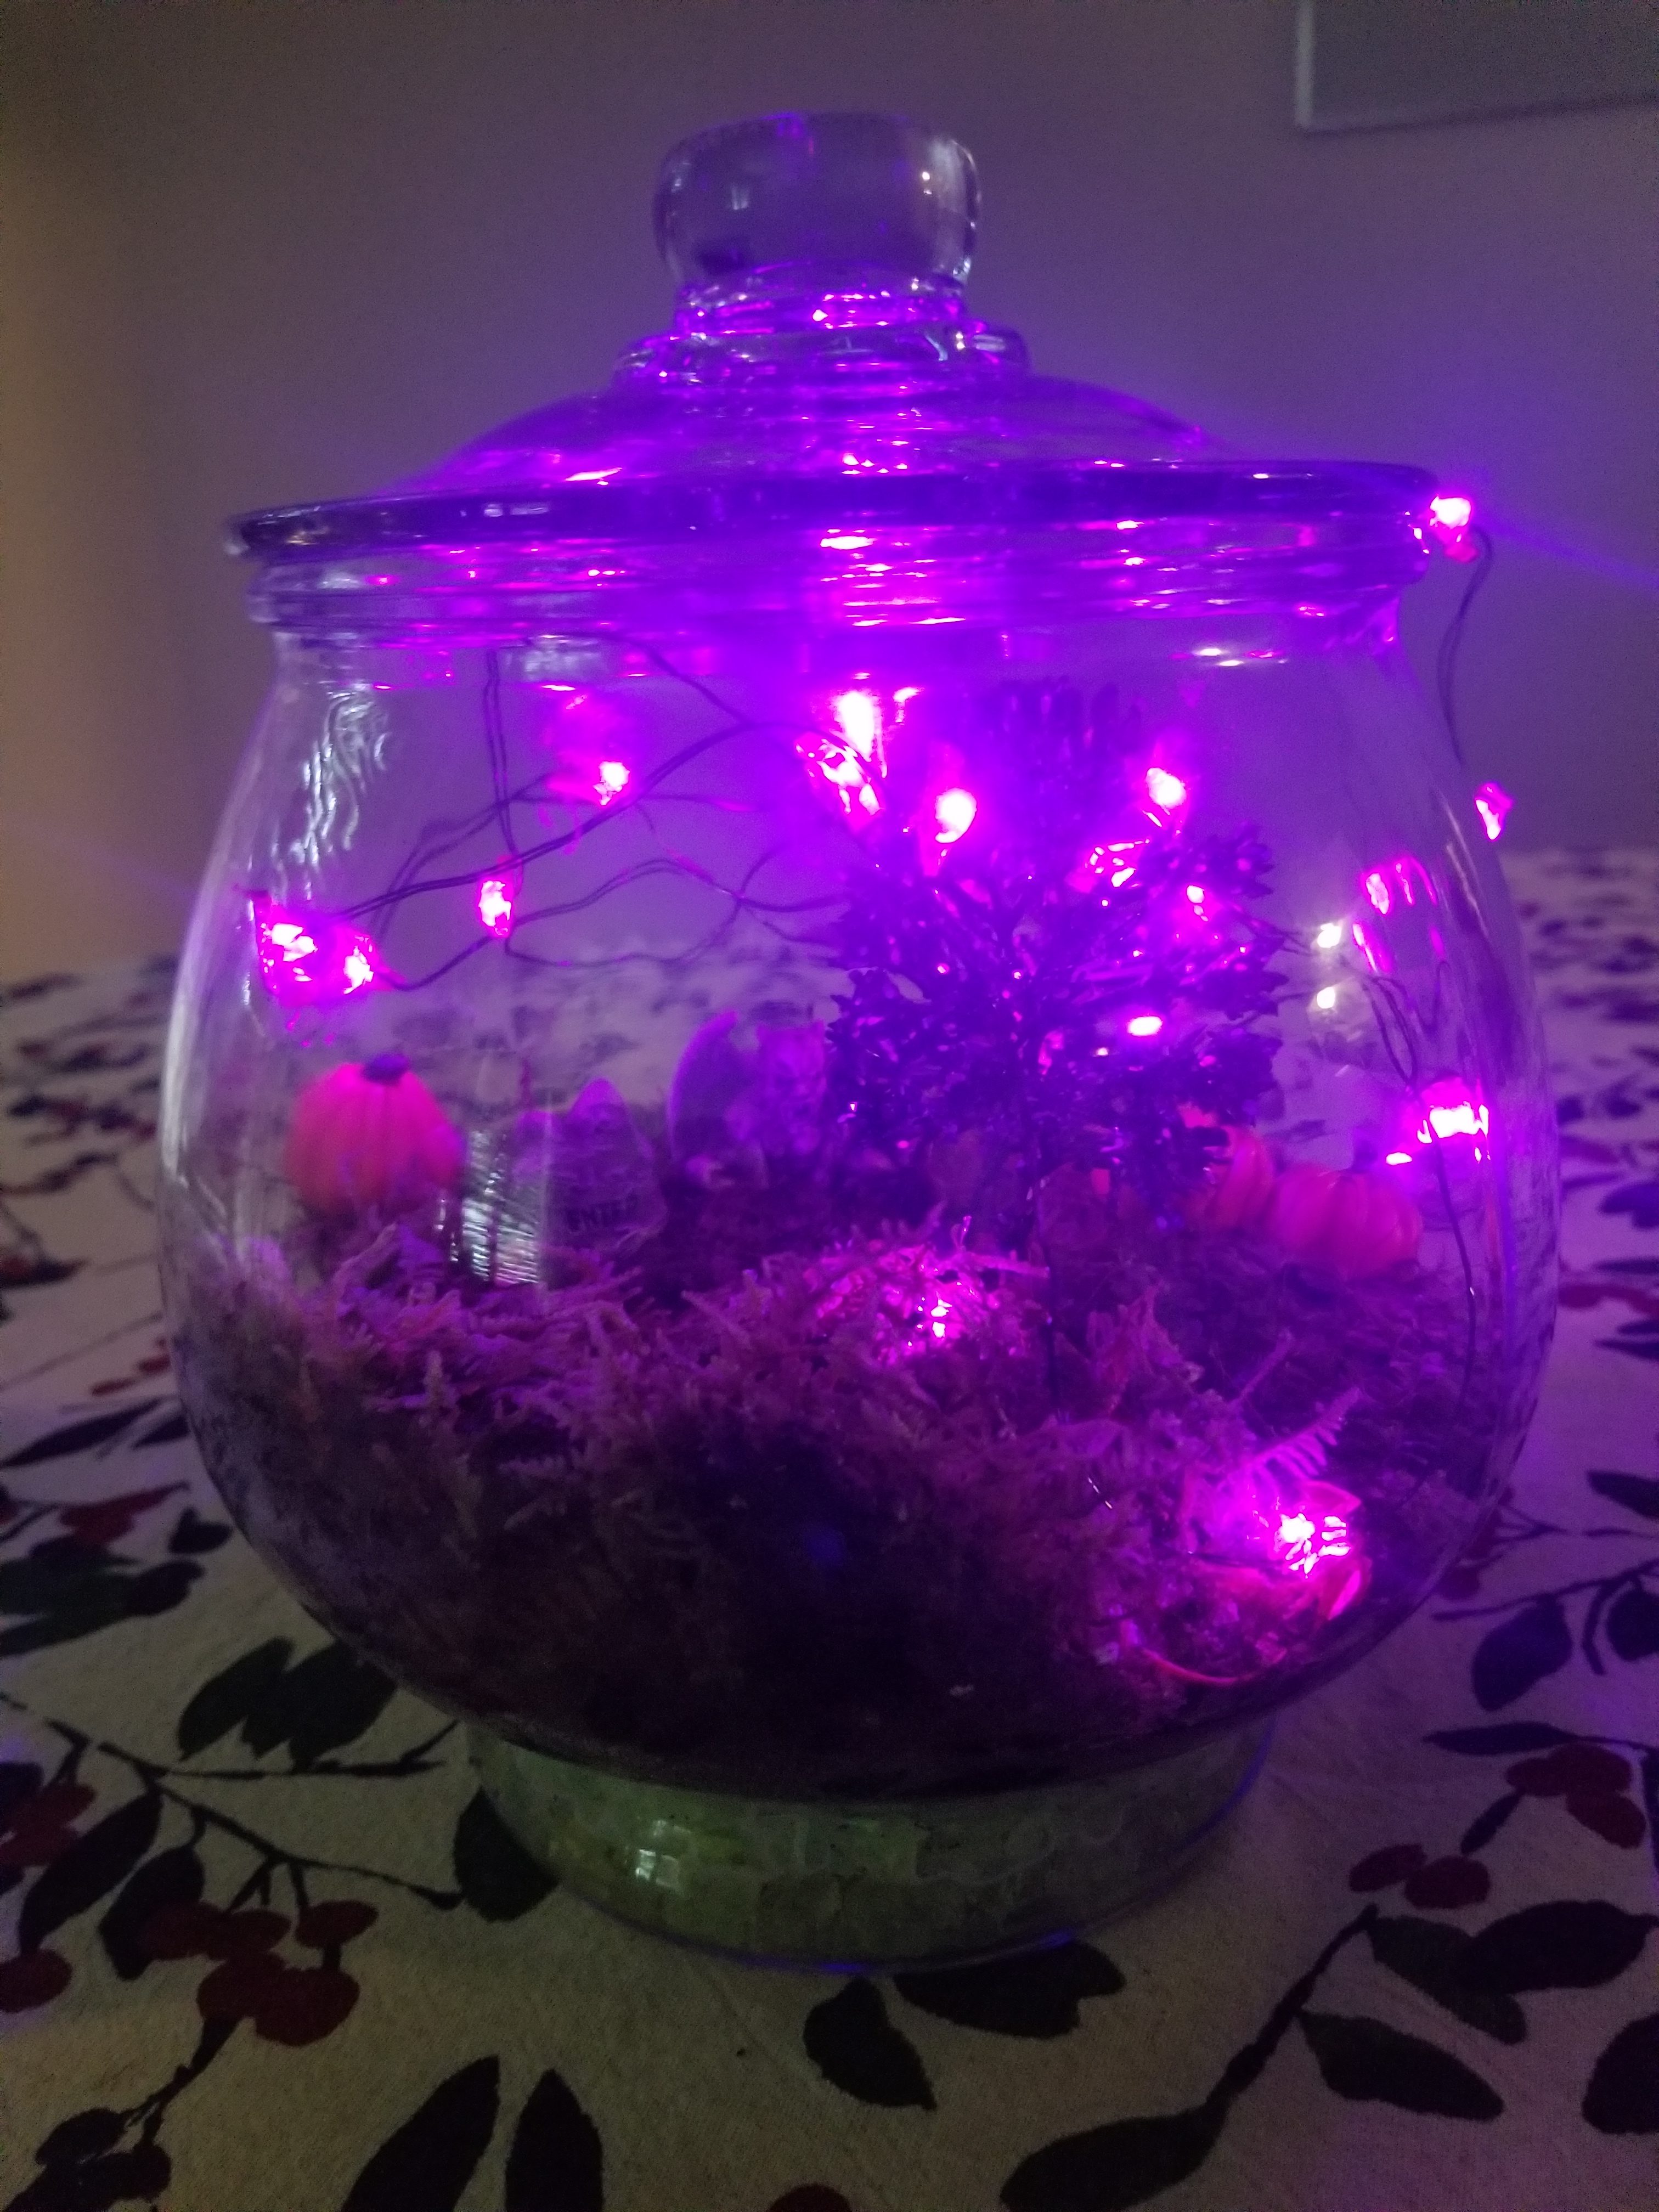
- SPOOKY miniatures. Pumpkins, gravestones, statuary, maybe some mini lights.
- Make sure these will fit inside your terrarium
- If you are persnickety like me, keep them in proportion to each other
- A spray bottle to hydrate your plants
Building the Cemeterrarium:
This is a relatively simple process of layering. Spread a base layer of pebbles on the bottom of your enclosure. This should be about 1 inch or 3 centimeters deep.
- These are for drainage.
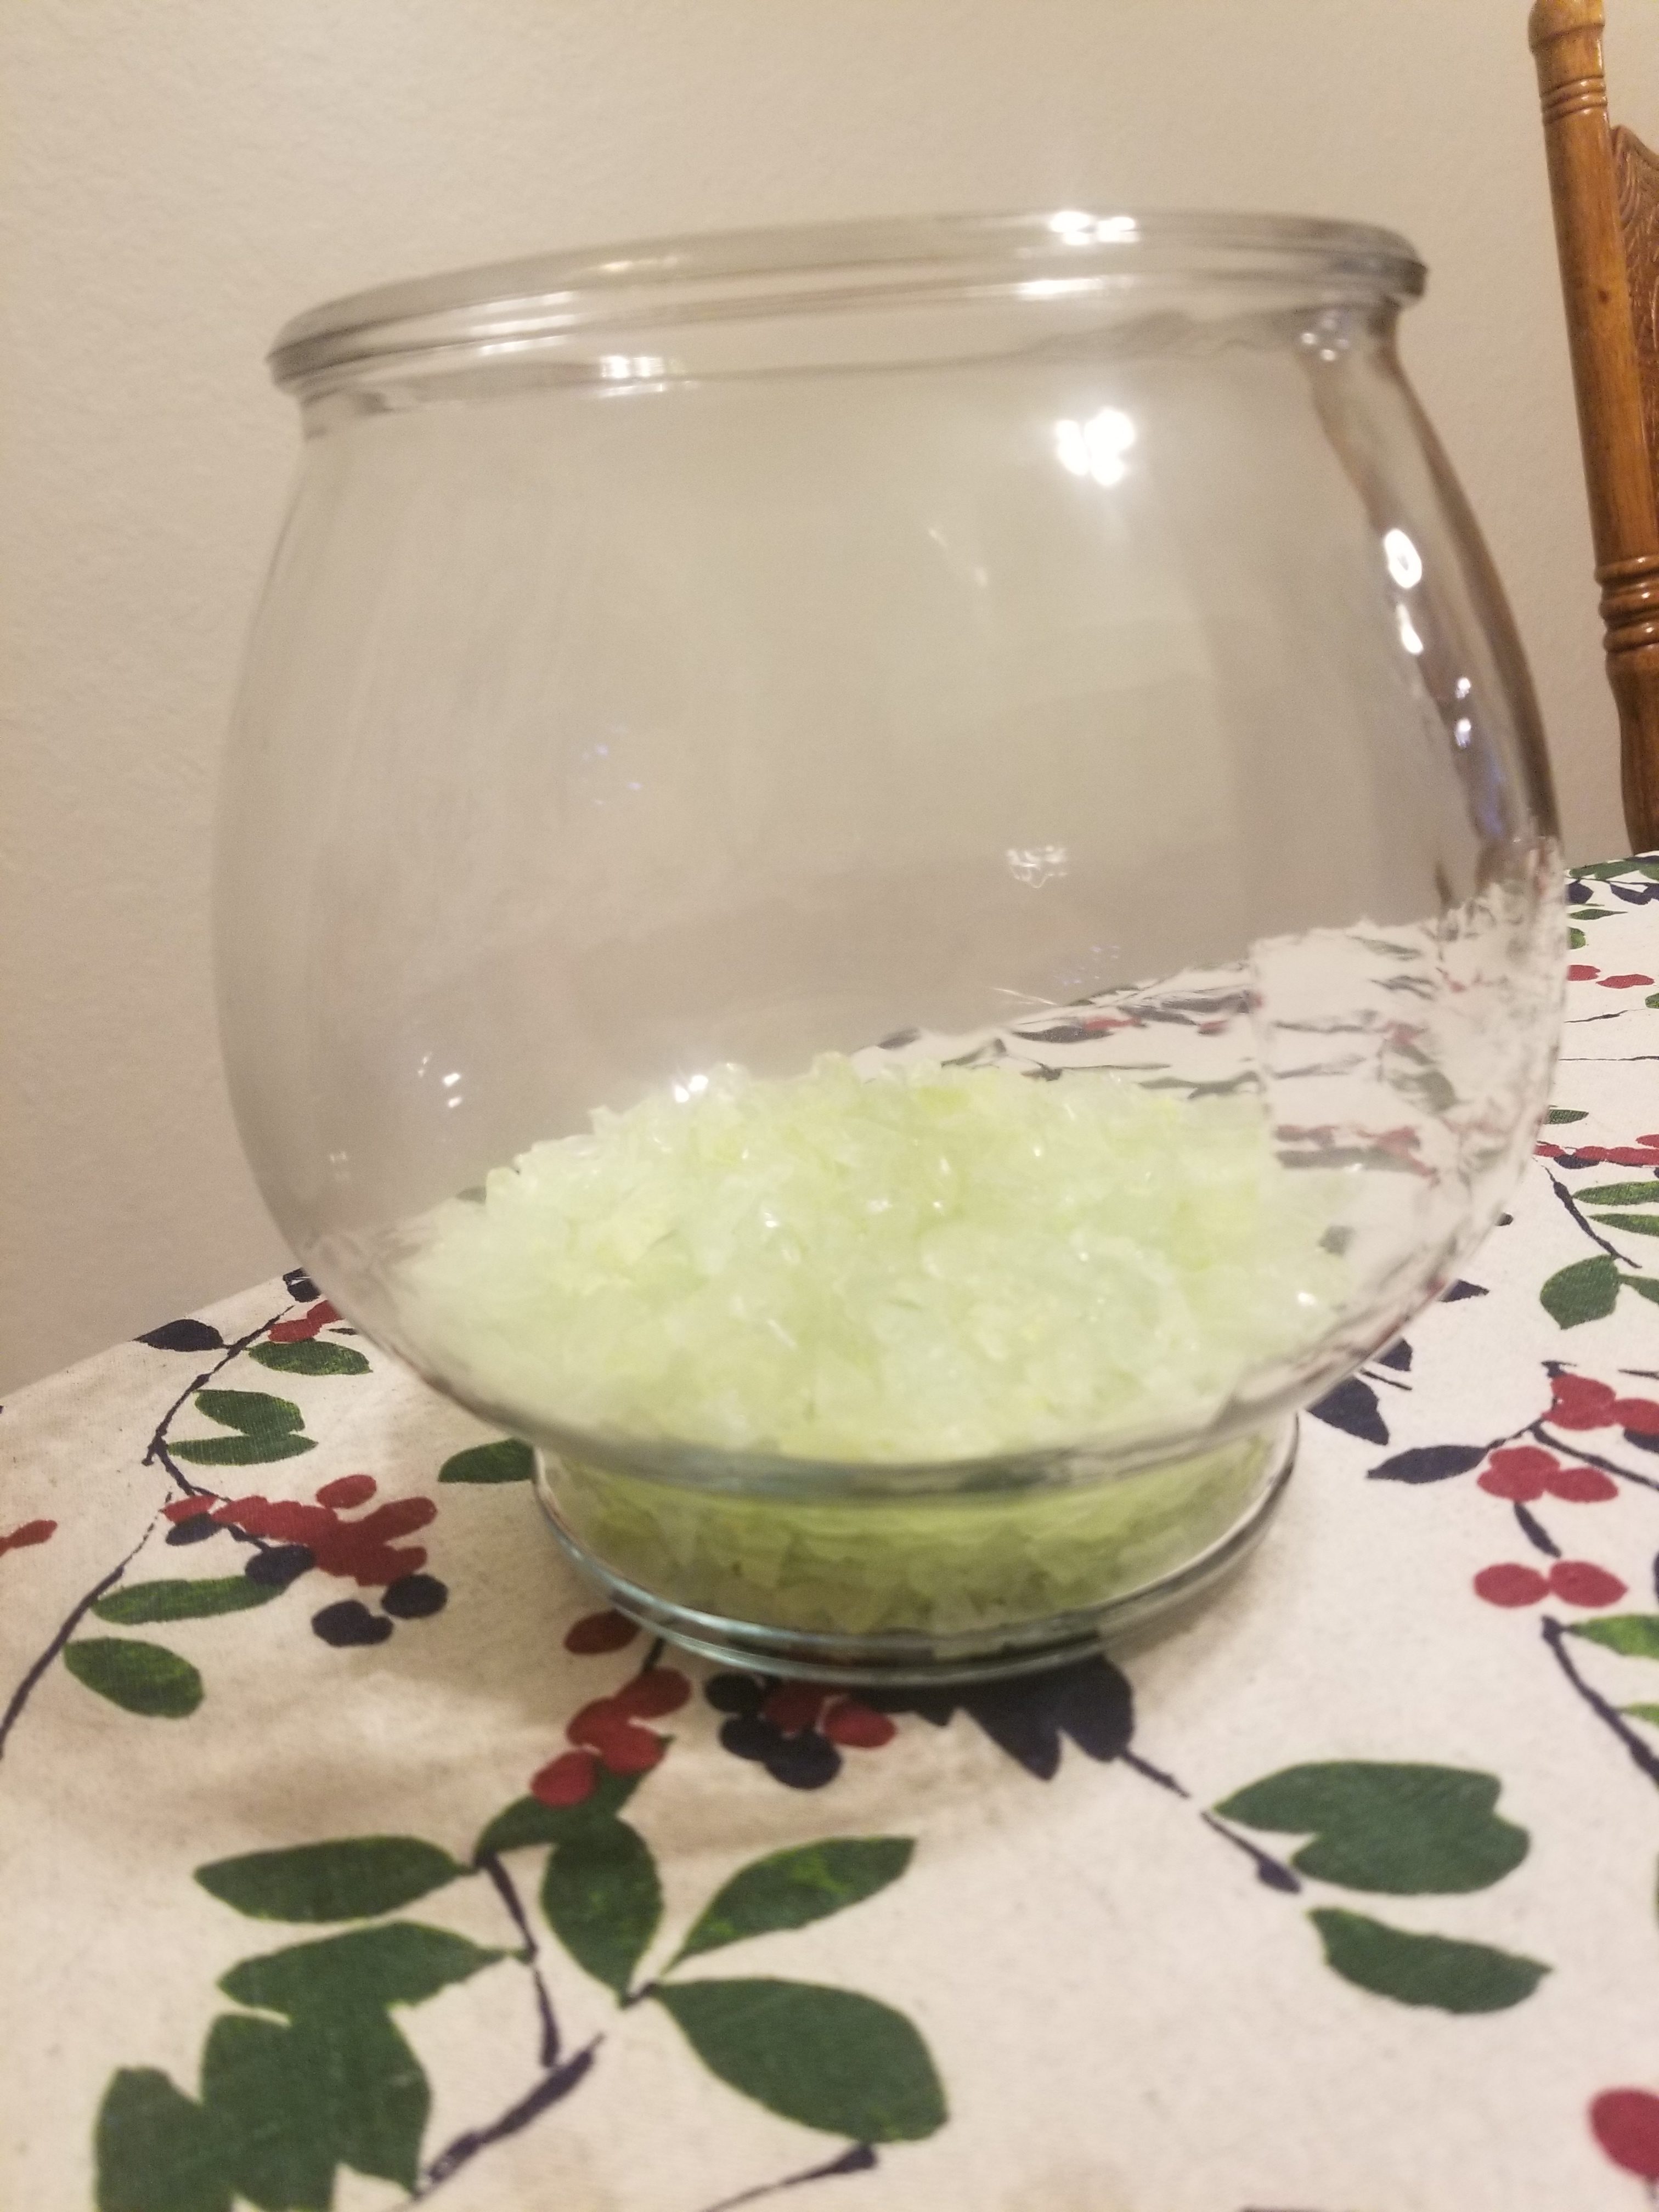
THEY GLOW IN THE DARK!
On top of the pebbles, smooth out a layer of potting soil, about 1 to 2 inches or 3 to 5 centimeters deep.
- Moss, in particular, likes dense, compacted soil, so pat this down.
Use your spray bottle to wet the soil, it should be moist and crumbly.
Lay out your moss on top of the soil. Cut any excess to fit your enclosure.
- I ordered my moss online and it arrived very quickly but I wanted to be sure it didn’t languish in my postbox for very long. If you purchase moss by mail be sure to check for any other critters that may have stowed away BEFORE you place it in your terrarium. I let my moss soak on a dish of water while I put my terrarium together.
-

- My moss arrived in this bag, tucked inside a padded envelope.
-
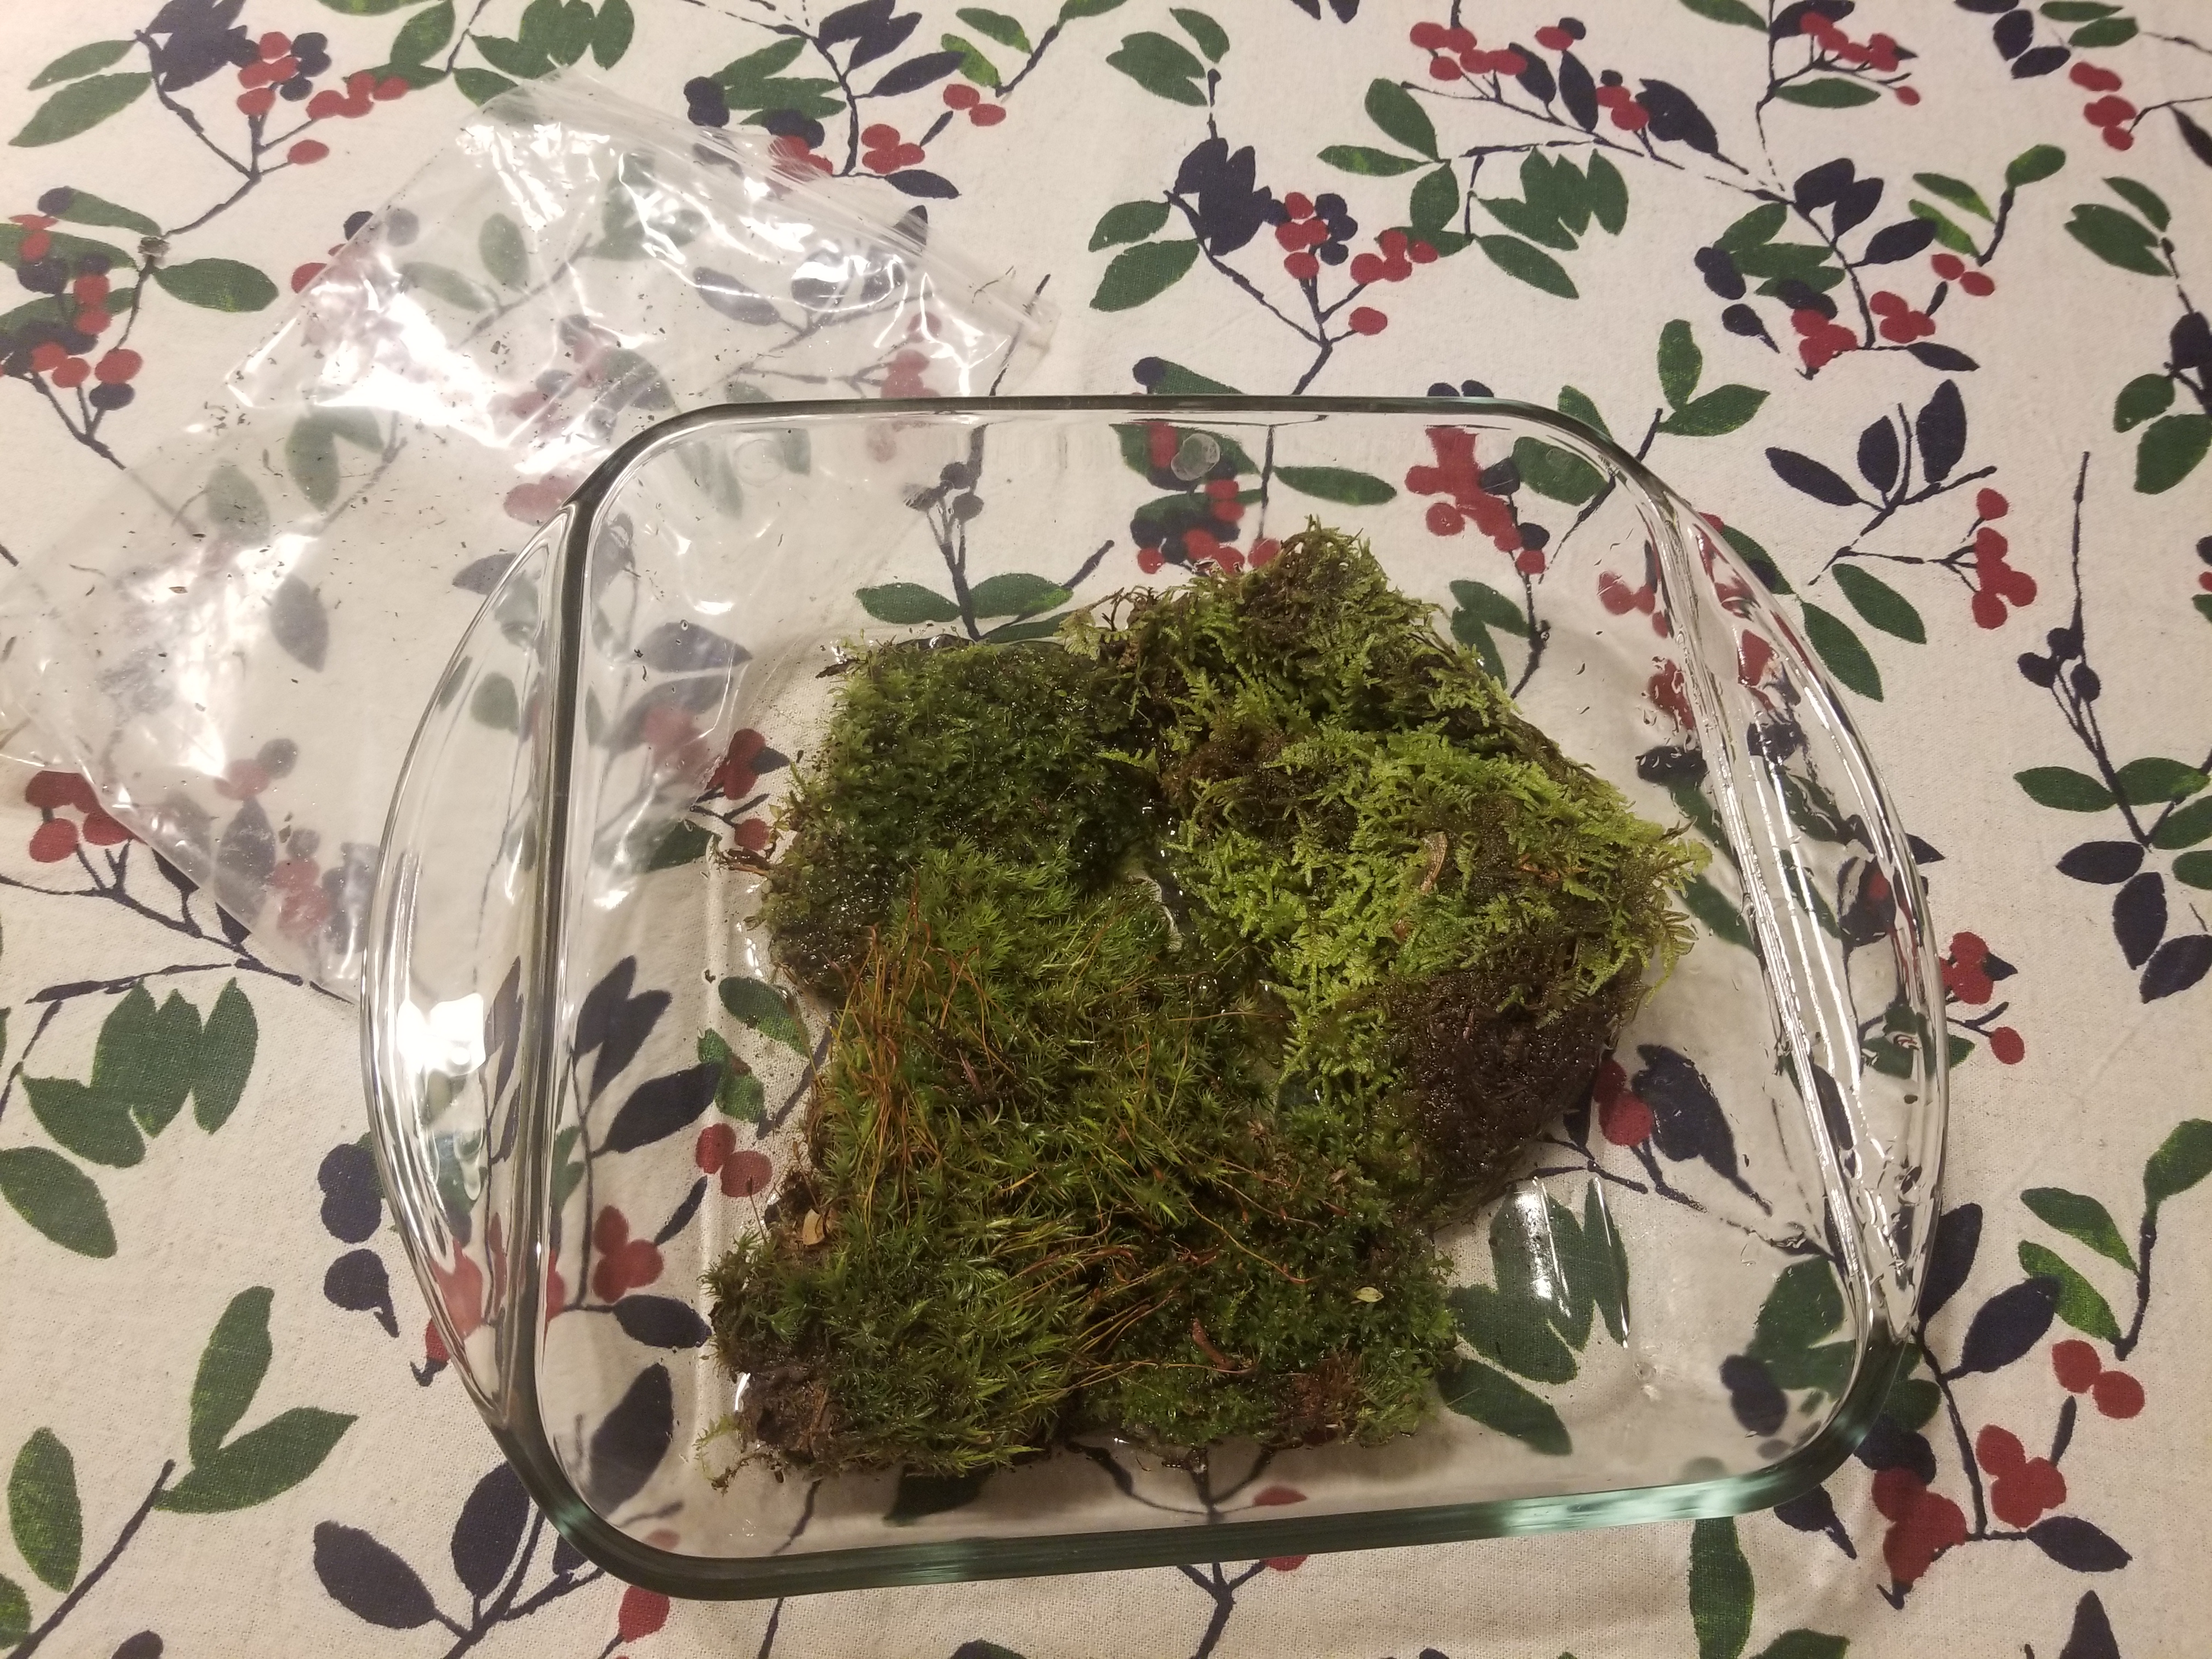
- I let the varieties of moss soak up some H2O while I built my terrarium.
-
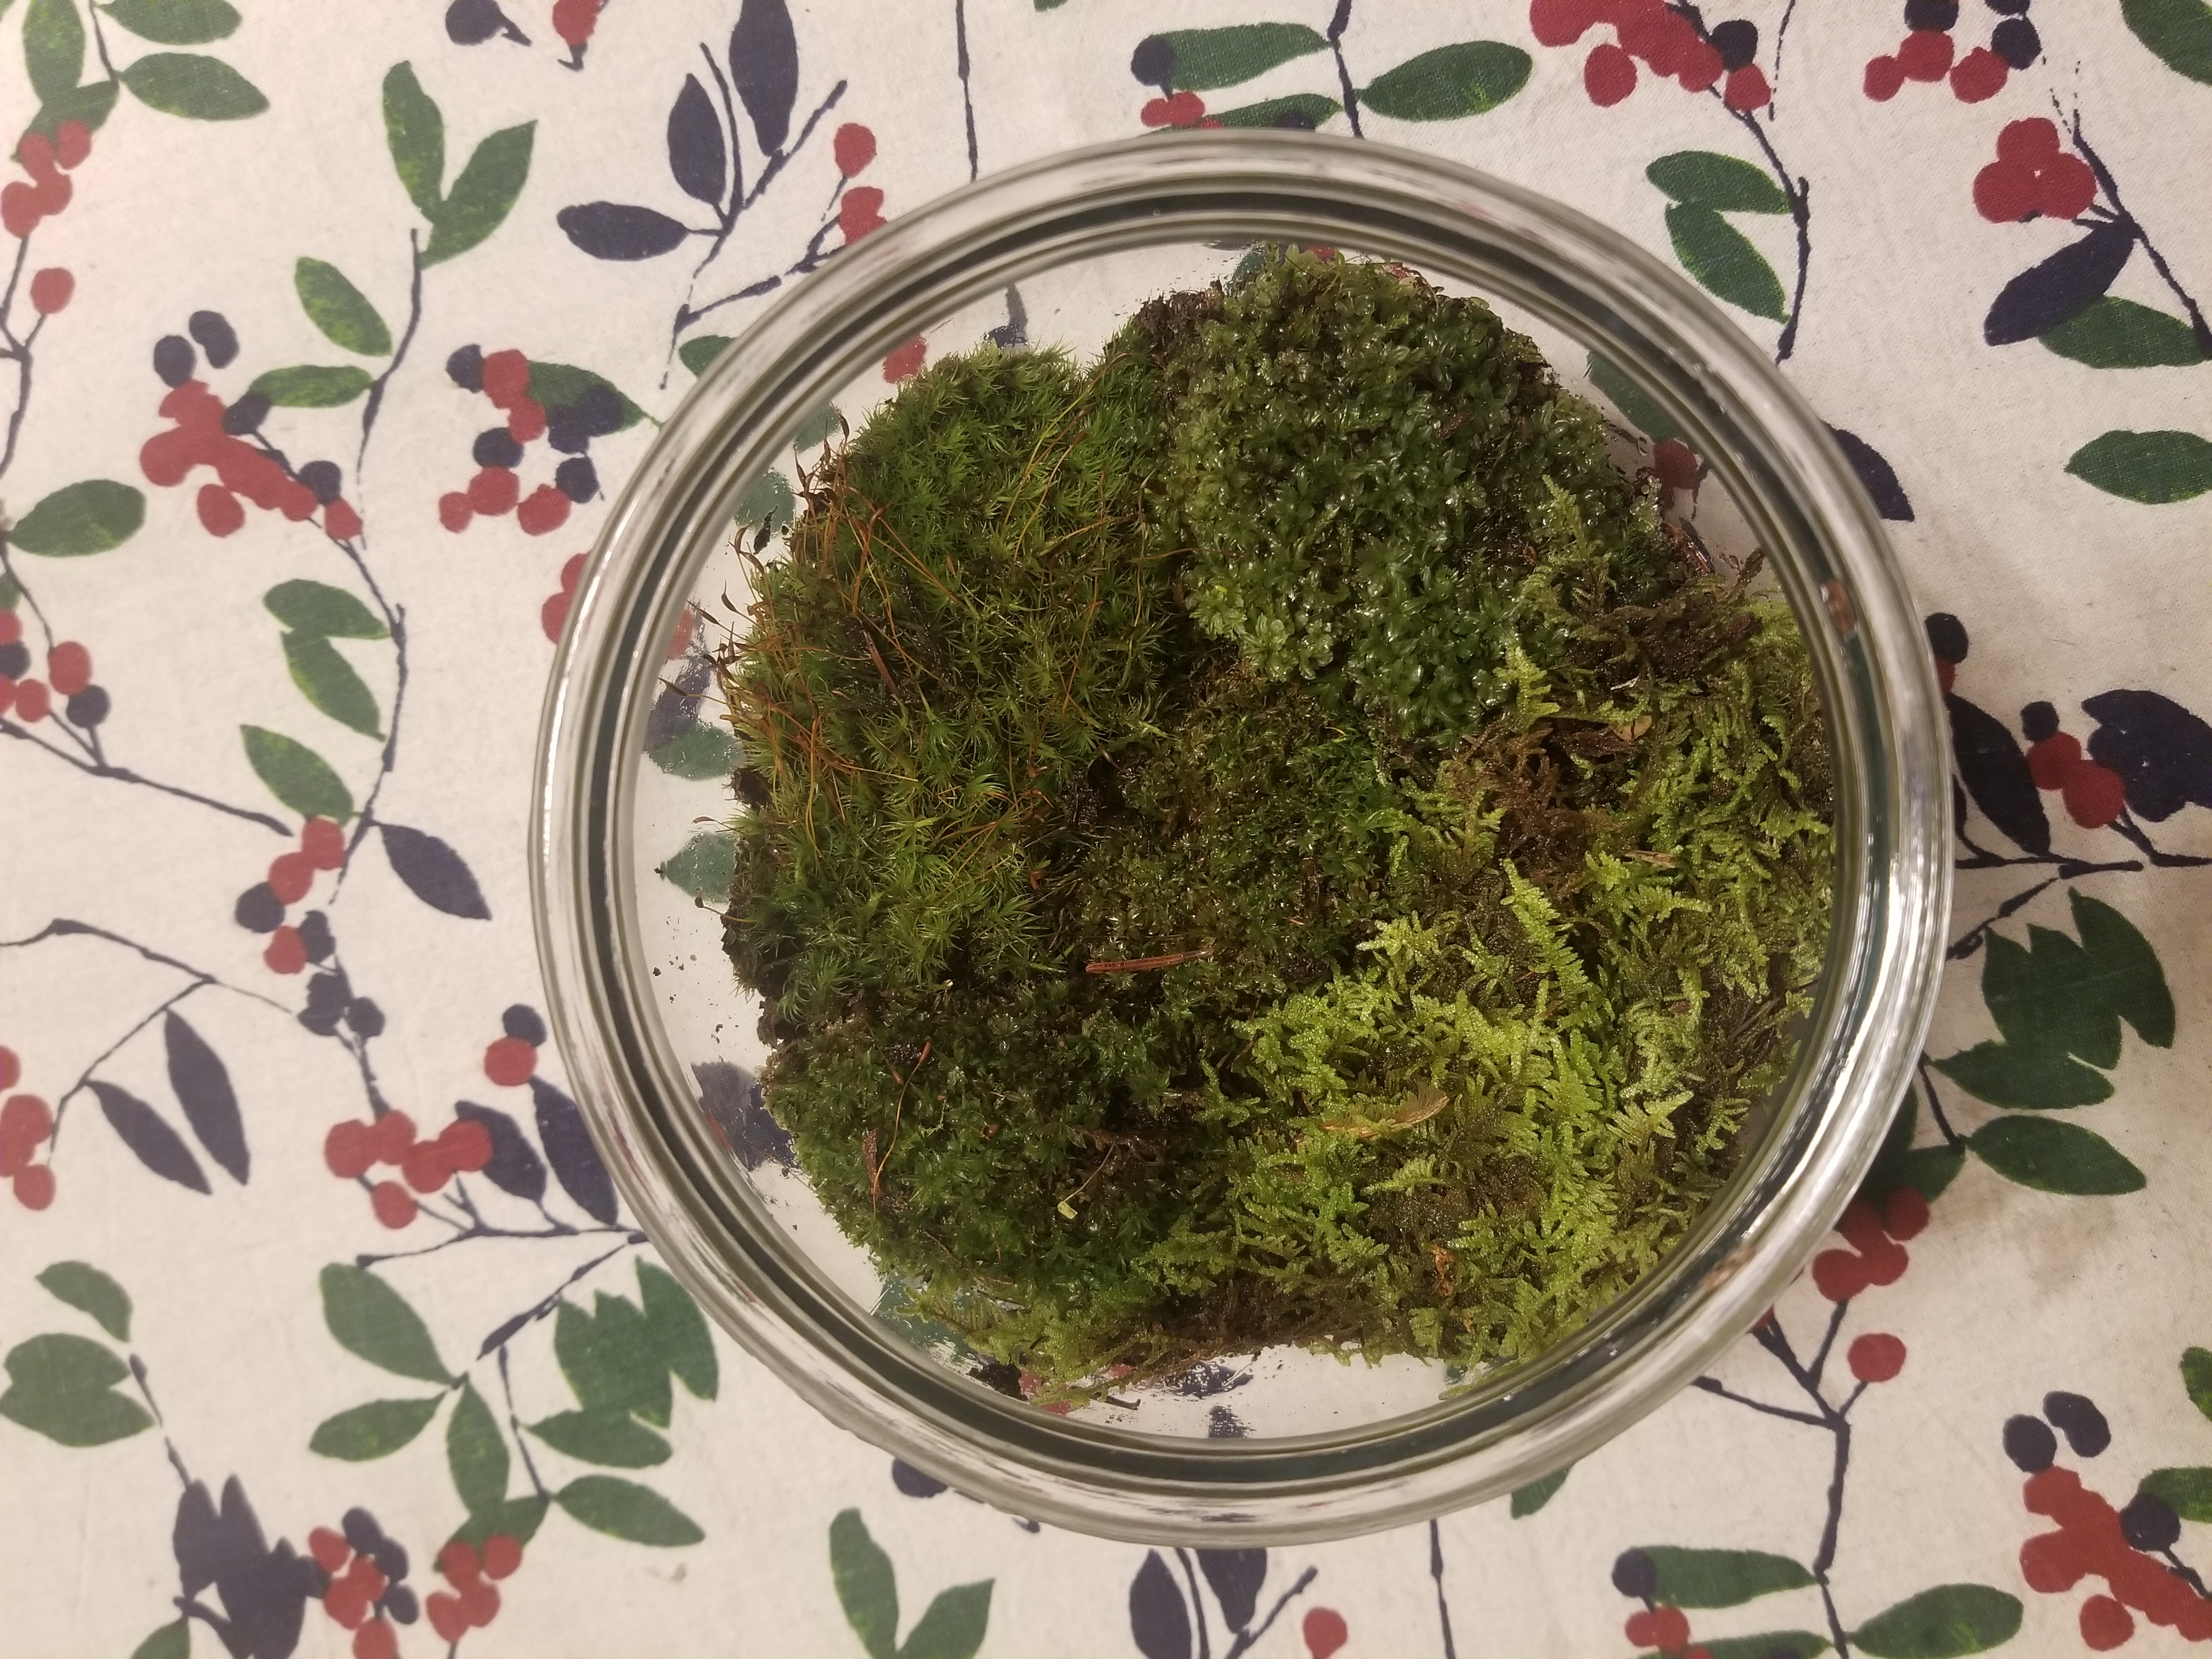
- It’s like a slice of forest!
Spray your moss with a thick layer of dew using your spray bottle. You want the leaves to be drenched but not sopping.
Replace the lid.
Set your terrarium in a well-lit spot but keep it out of direct sunlight.
- You don’t want the glass to magnify the sun and burn your plants.
Let your terrarium rest for a day or two.
- This gives the moss time to take root.
- Be sure to check the moisture levels in your enclosure with some frequency. You want it to be humid but not drowning.
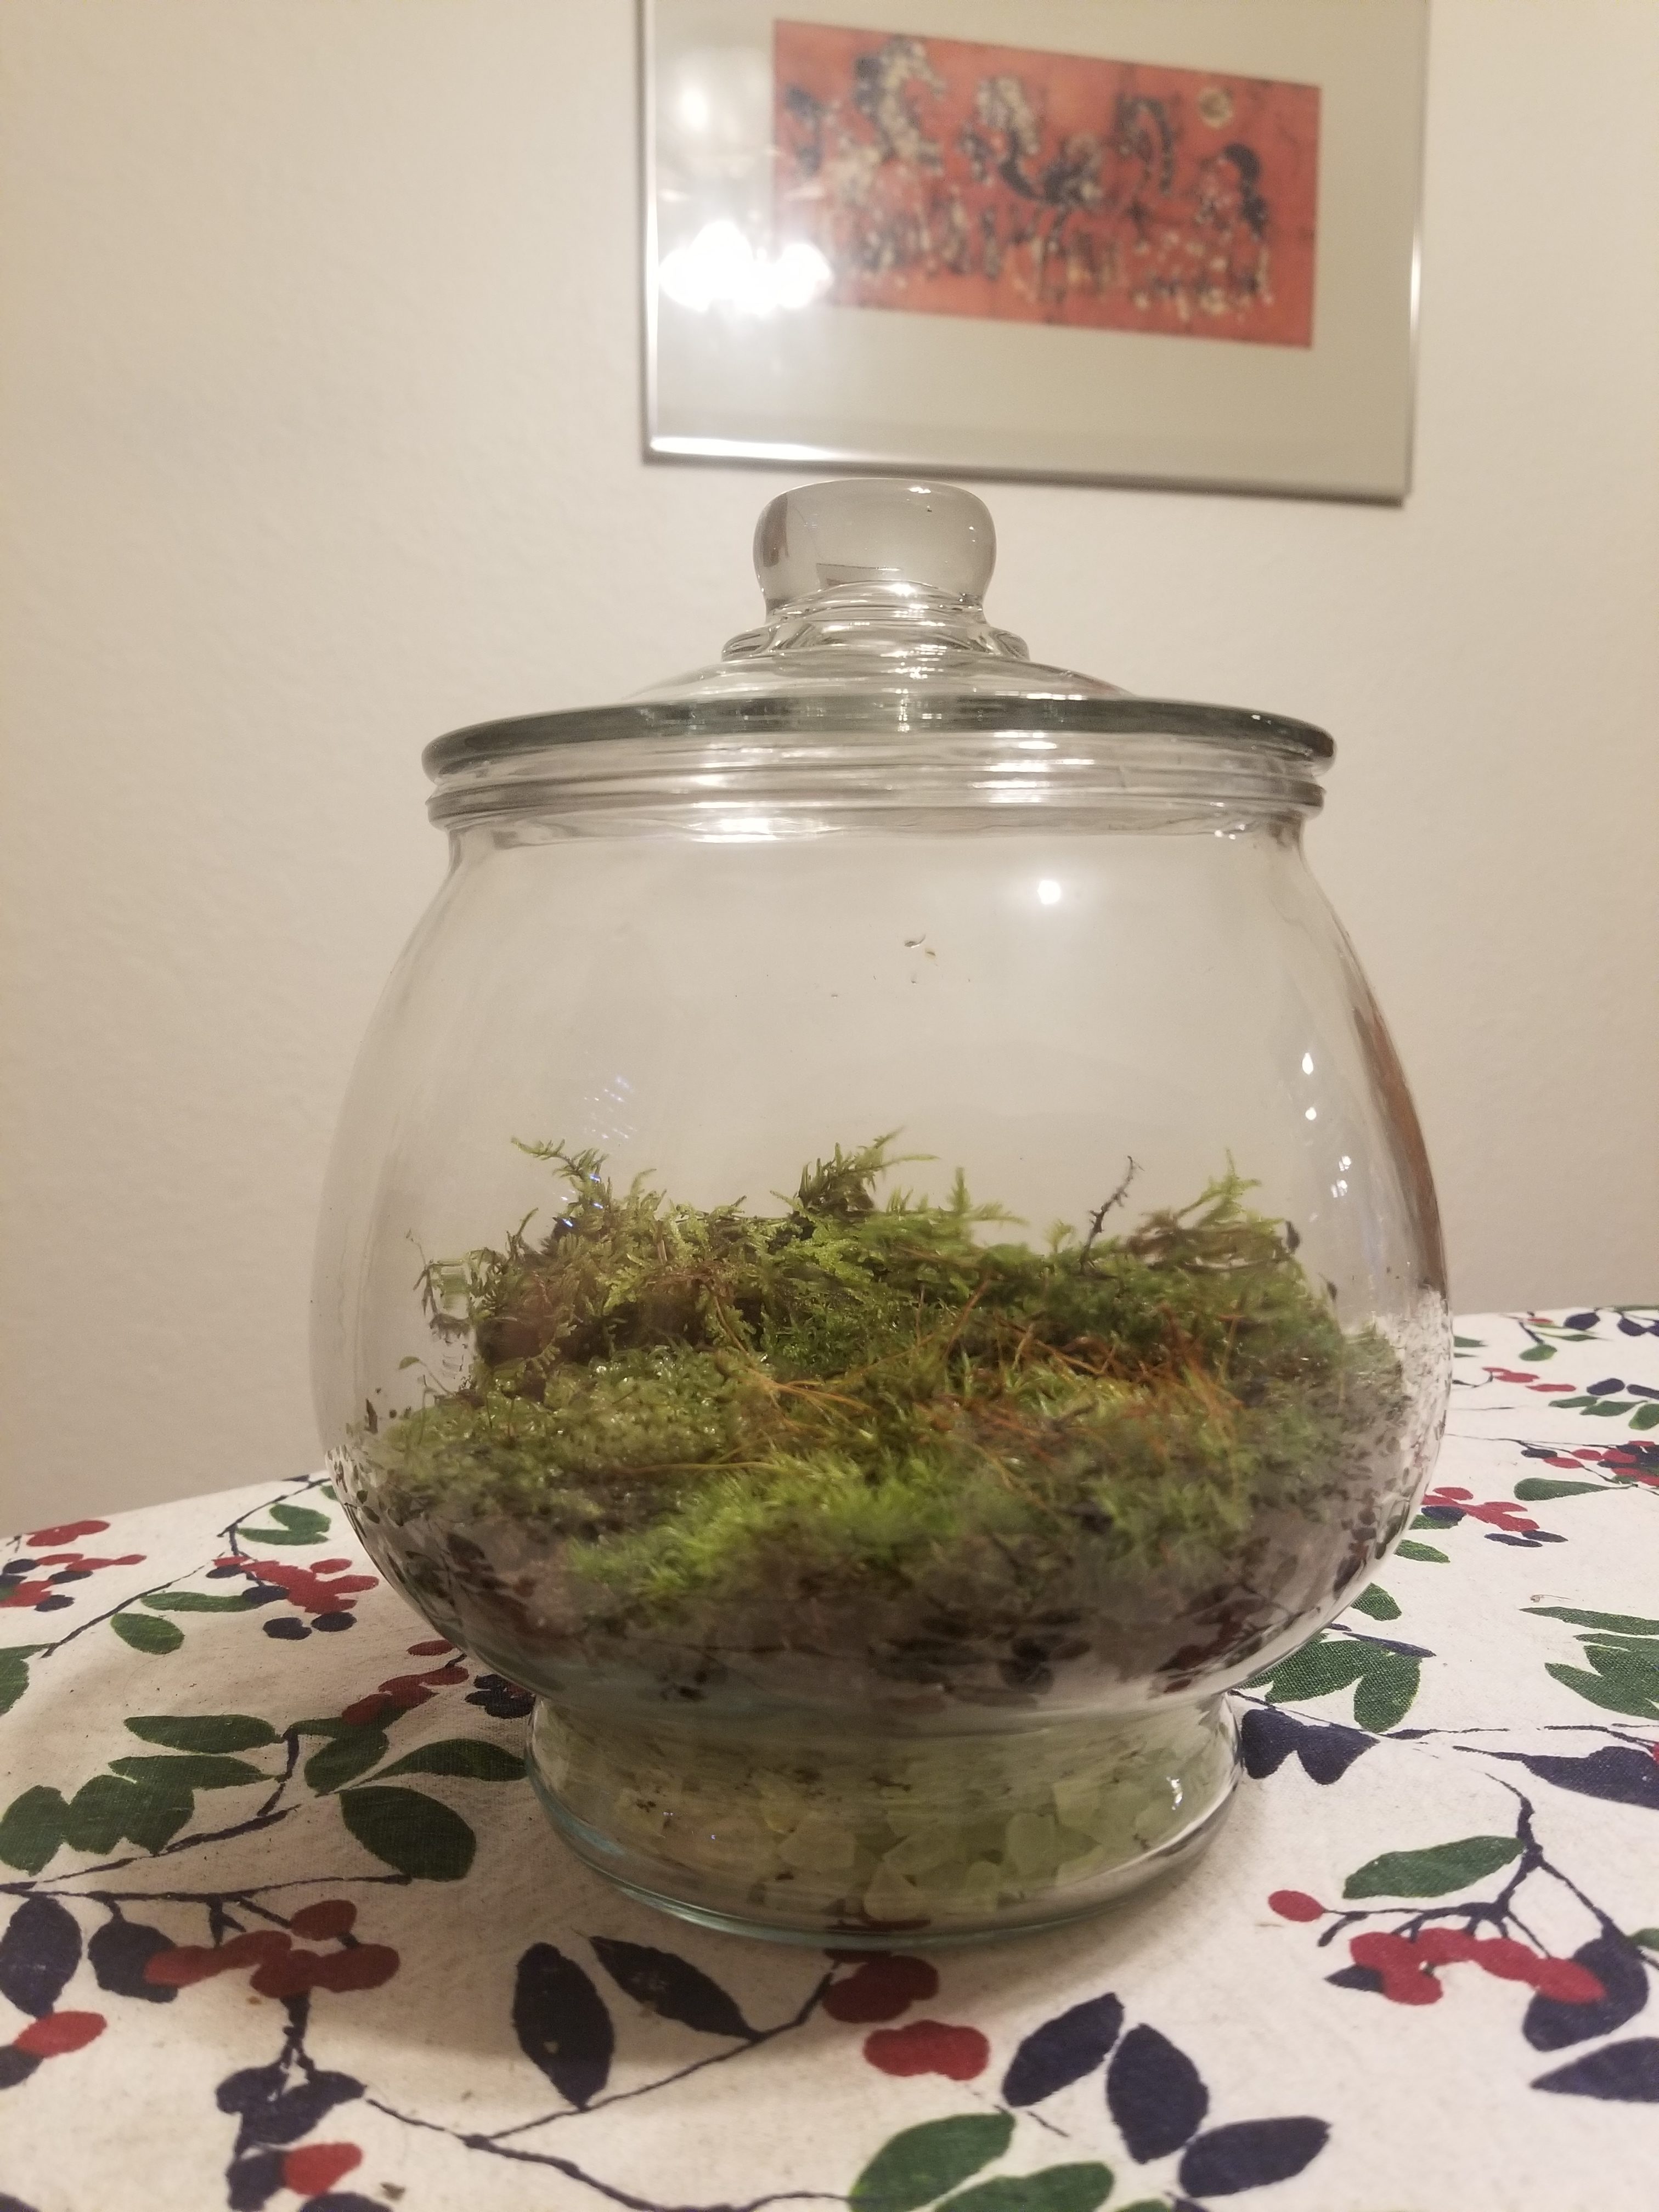
Ready for a day of rest.
Making it Morbid & Creepifying:
After a day or two you can add your cemetery decor. A creepy tree here, a gravestone there, a pumpkin or two. Make it look like the ghastly graveyard you frequent. You DON’T regularly visit a graveyard? How odd.
Remember to keep your moss well hydrated. You may need to trim some browned or dying pieces as time goes on. Or let it die for an extra level of creepiness. Your choice!
We’d love to see your little necropolises! Share a photo of your Cemeterrarium on Instagram or Twitter with the hashtag #Hallowiggles2019

Leave A Comment
You must be logged in to post a comment.