Today I have a really fun, easy DIY to do with you all! It’s summer in my part of the world, and summer is such a bright, colorful time. One of the awesome ways I’ve grown up celebrating summer is by wearing a ton of tie dye (and creating a ton of it too!). I think I’ve always had a least one tie dye shirt in my closet if not more. But what about those plain old white T-Shirts that have a stain you can’t get rid of, but you also can’t wear it in public? Well let’s upcycle it! Today we will be upcycling old t-shirts into fashionable summer headbands!
Supplies
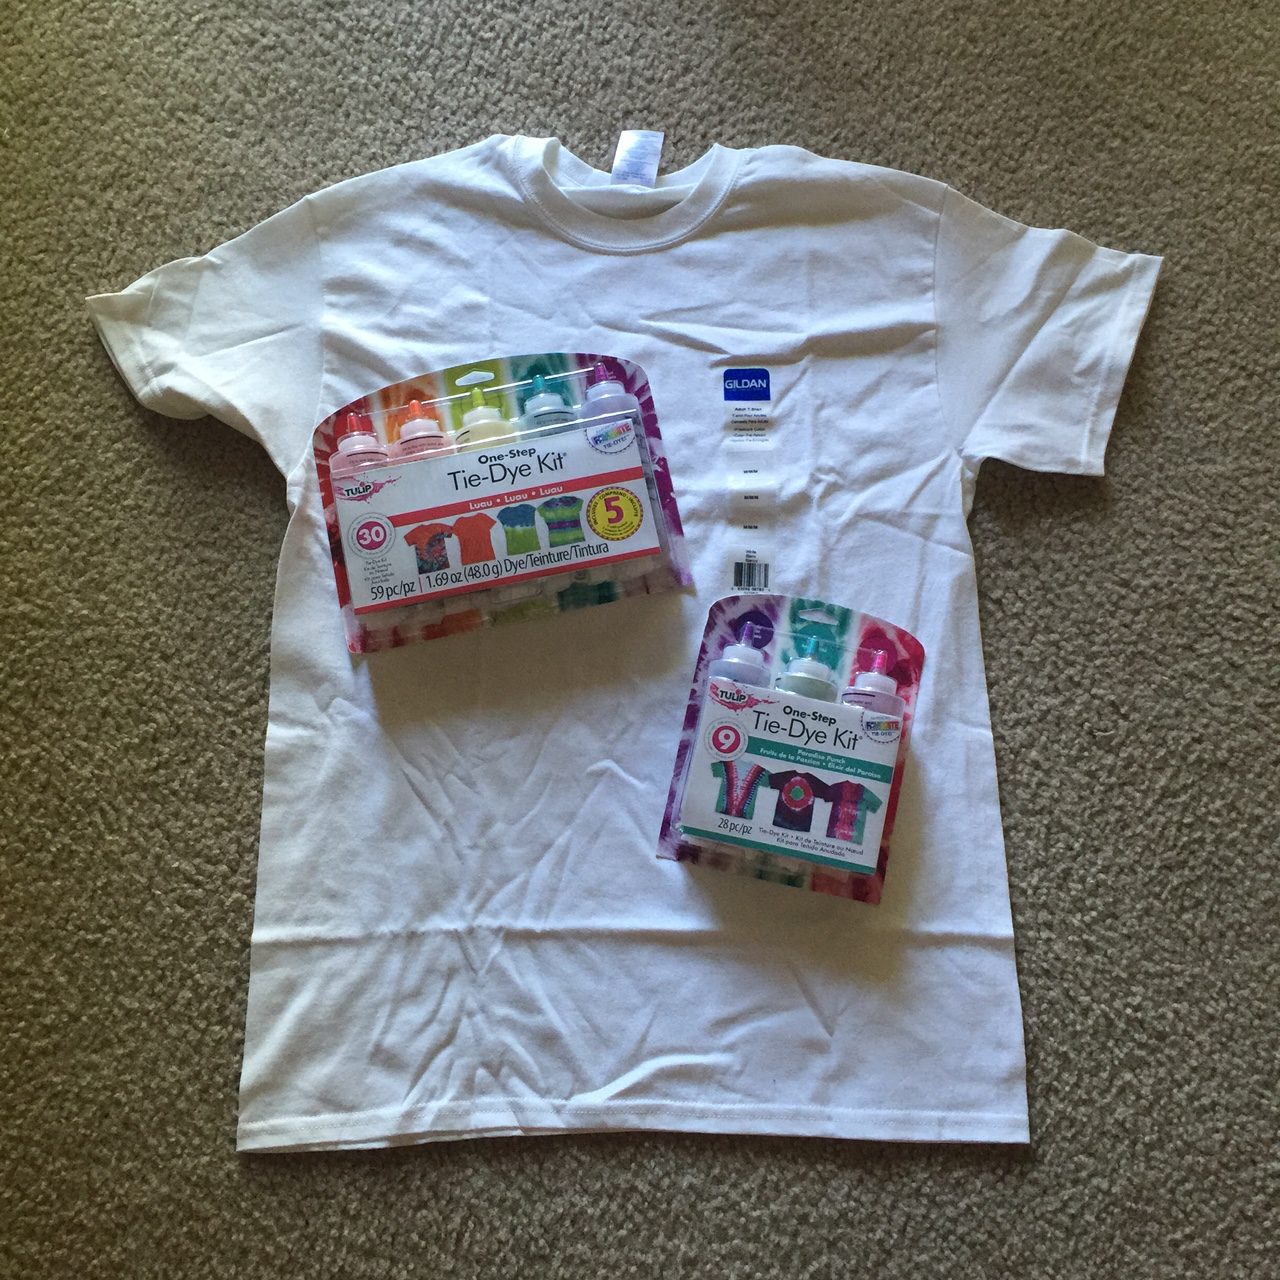
For this easy, fool proof project you’re going to need a few things:
- Tie Dye Kit (or dyes if you already have them): You can get them at any craft store, or from amazon.
- White T-Shirt (new or old)
- Rubber Bands
- Plastic Gloves
- Plastic Wrap
- Scissors
- Sewing Machine/Needle & Thread
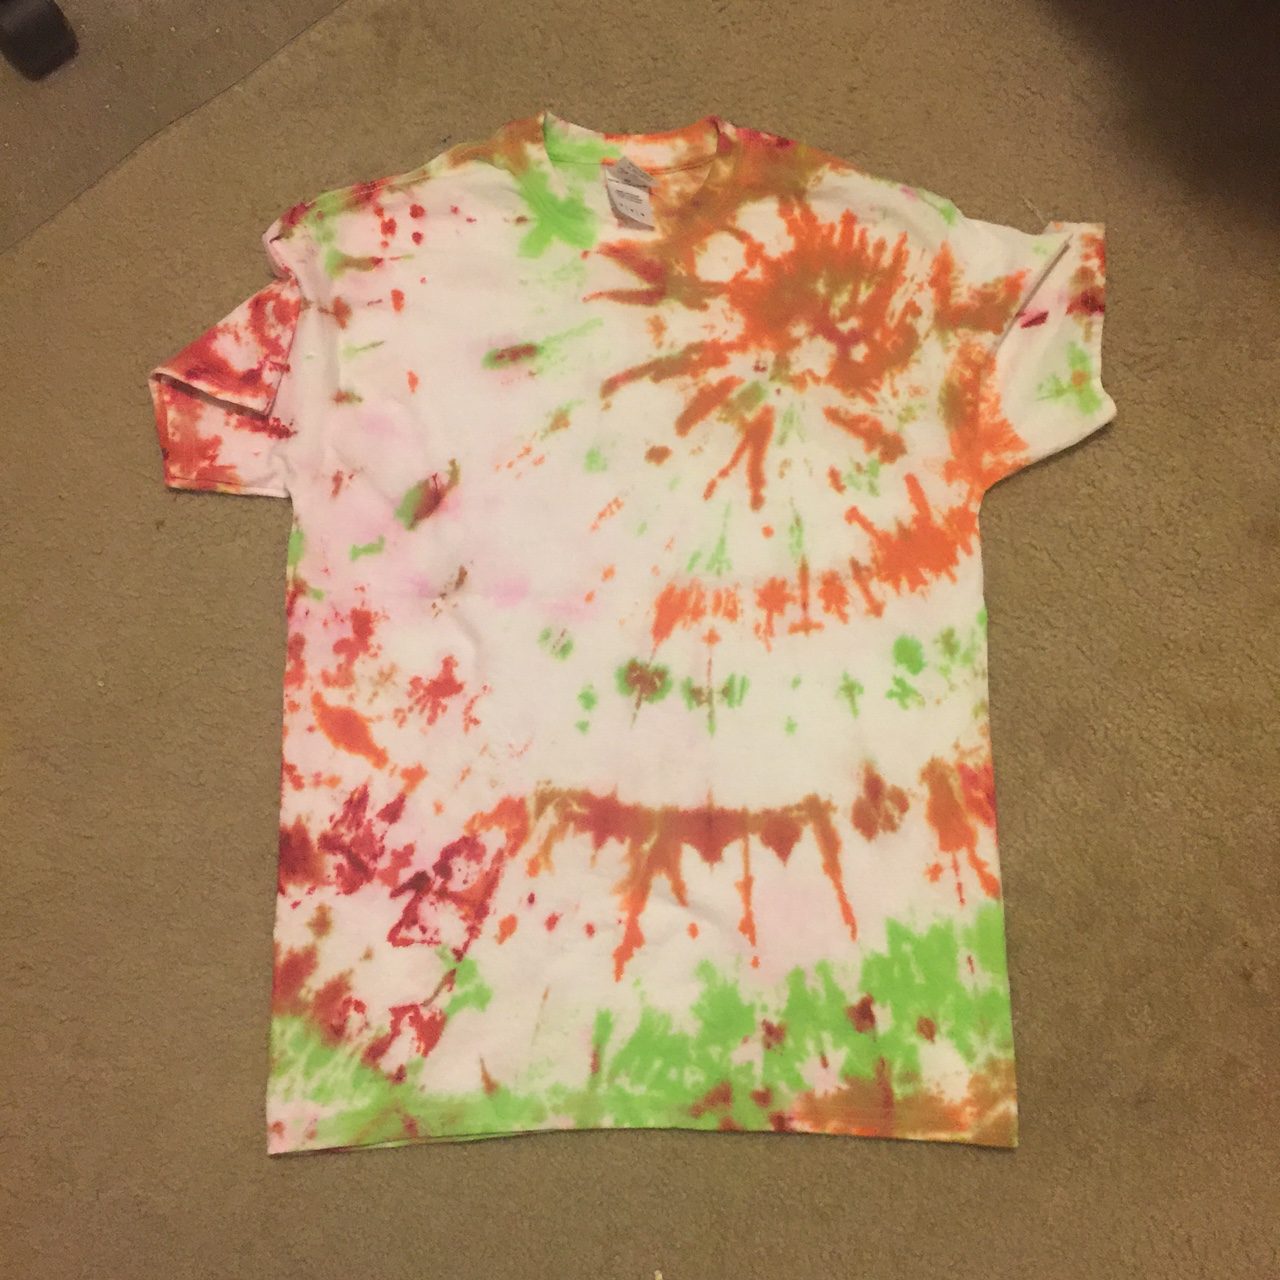
My finished shirt! So pretty!
Tie Dying Your Headbands (T-Shirt):
Tie Dye is amazing because you get to be surprised by the wide range of patterns and colors. My personal favorite is the “Spiral” method:
- Lay your material on a flat surface. Place your thumb and a couple of fingers together on the cloth at the point which will be the center of the design. Using the weight of your fingers to hold the cloth in place, start twisting. After each twist, flatten the material with the palm of your hand to keep the folds from rising. With your other hand, bring the loose ends into the circle and continue to twist until the whole thing looks like a fat pancake.
- Now take rubber bands, and without disturbing the shape of the pancake slide the bands under the cloth so that they intersect at the center. Use as many as necessary to retain the circular shape, about twice the number shown in the illustration at right for most tie-dyes. If you decide to immerse, instead of squirting, just set the cloth gently in the dye bath, do not stir. For an interesting effect, prevent the cloth from submerging, either by using less water or by placing the cloth on a prop to hold it out of the dye a little. Some materials will float automatically. Then sprinkle a different color dye in powder form over the top of the cloth, being careful not to get any in the other dye solution.
For more patterns check out this easy to follow set.
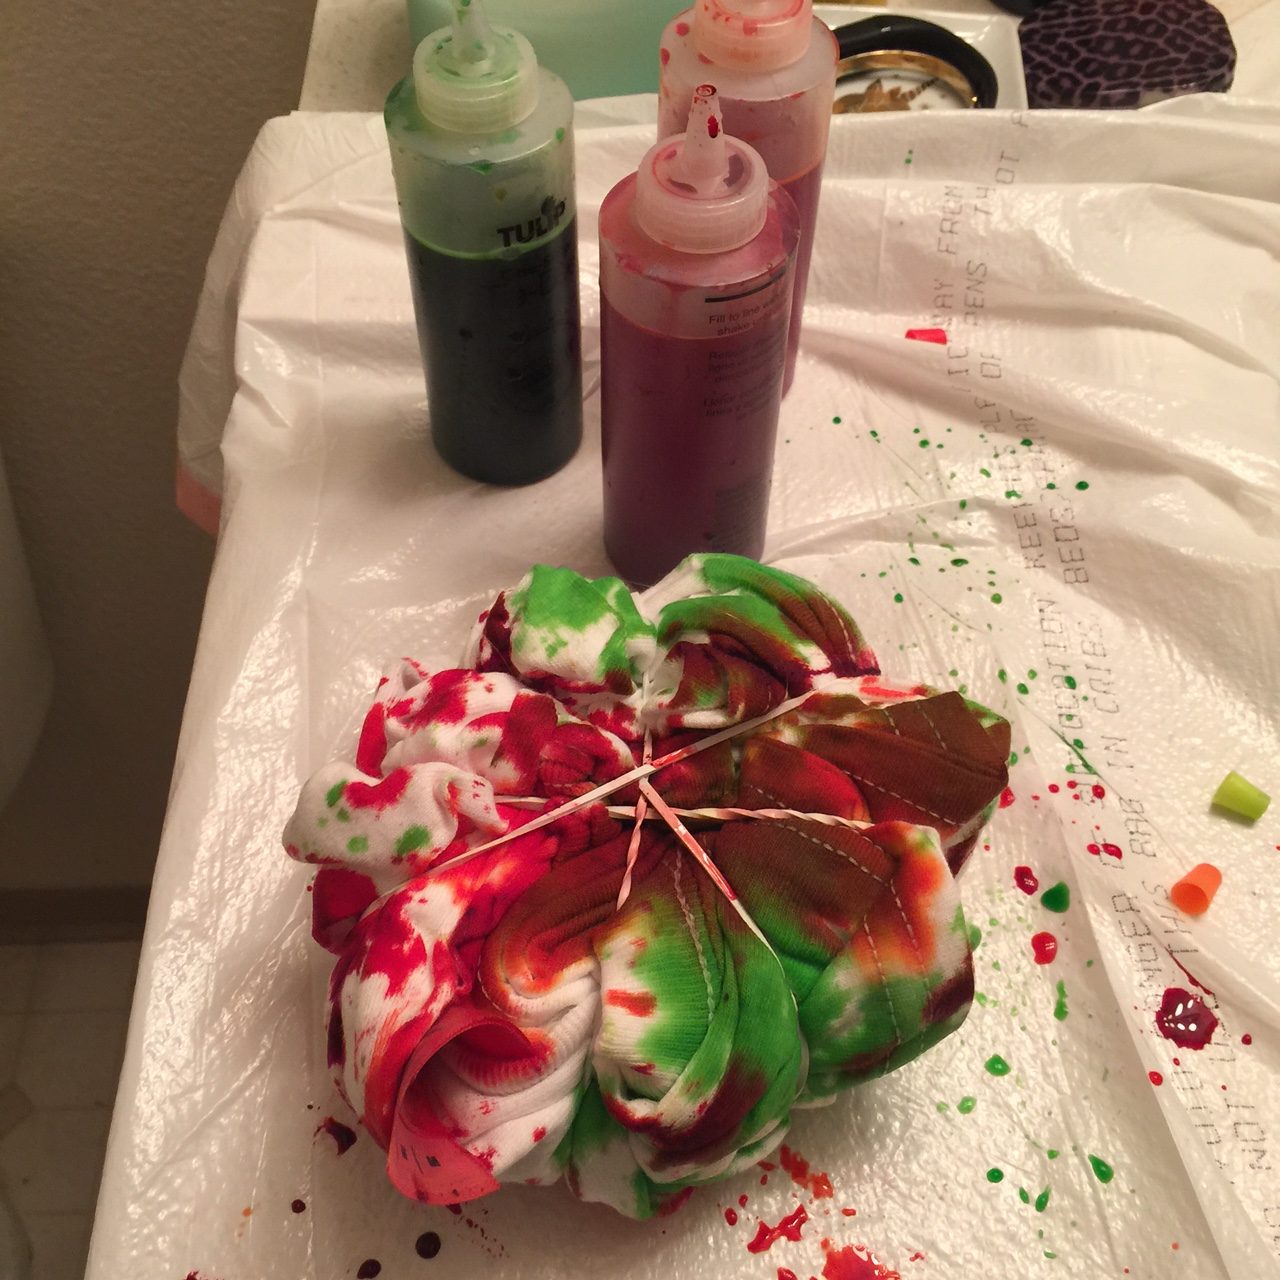
In process!
The Tie Dye Process
Once you have picked out which pattern you want for your headbands, apply the tie dye according to the package directions, and wrap in plastic wrap (if you don’t have plastic wrap you can use a plastic bag as well) to keep them moist. If you do more than one pattern (or more than one shirt) keep them wrapped individually. For the most vibrant colors allow to set for 6-8 hours. If you desire a more pastel look then you don’t want to let the dye set as long, aim for around 30 minutes. After the dye is set, unwrap, remove rubber bands, and rise off the excess dye, then toss t-shirt(s) into a hot water wash with minimal soap & dry normally. Easy right?
Headbands are super fun. Here are the some different sorts you can make:
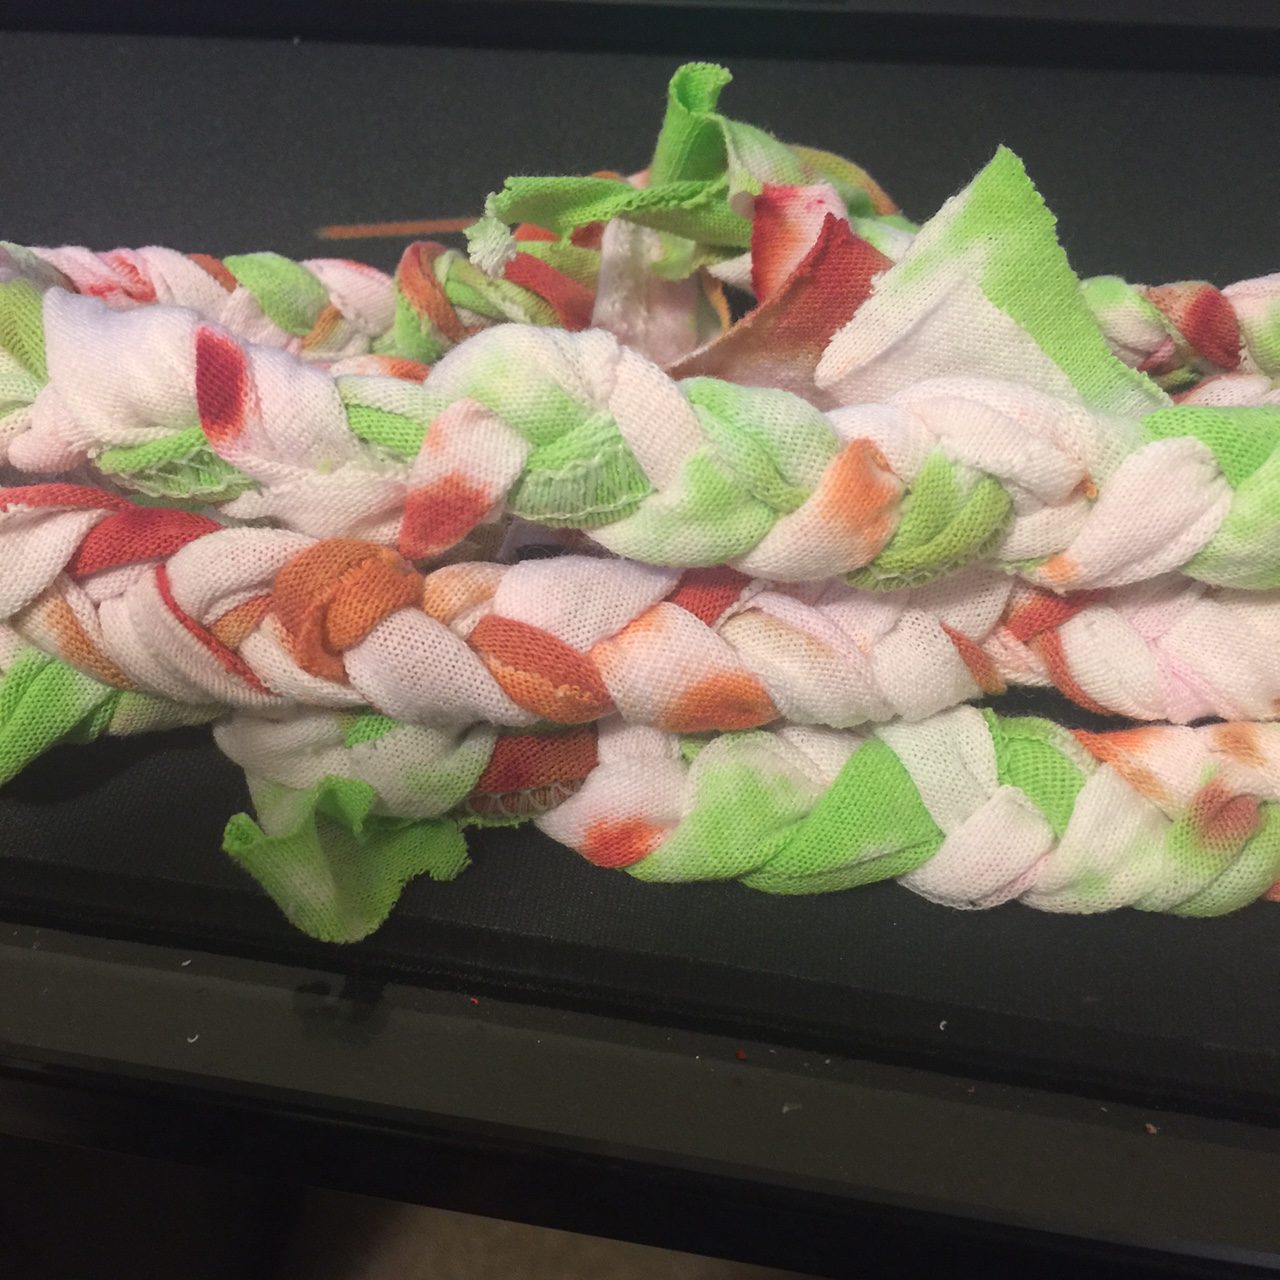
Braided Headband
Headbands
Braided:
If you can braid, you can make this headband! Cut your fabric into nine 1/2-inch strips, long enough to wrap around your head. Create three braids. Connect the ends of each braid individually by own running them through your sewing machine. Once each braid is connect separately, line up each braid and run through the sewing machine again, attaching them to each other. You’re done!
Knotted:
- you’re going to cut two pieces into long oval shapes. With your fabric folded, cut two rectangles 13″ long (along the stretch) and 2 1/2″ wide. Use a rounded object to trace a half circle on the open end (opposite the fold) of the rectangle and cut.
- Now, you’ll have two long ovals. Place them right sides together, press a little with some steam if the knit starts rolling over on itself. Use a serger or a zigzag stitch to sew all the way around the ovals – you want the knit to maintain its stretch, so don’t use a regular straight stitch. Leave a 1-2″ opening at the center along one side only for turning the headband right side out.
- Turn the headband right side out and reshape. Press. Now, you’ll need to close up your opening. You can just zigzag stitch on the outside of the fabric since this spot will be at the nape of the neck and won’t show OR you can slipstitch it closed so it doesn’t show.
- Now, wrap that headband around your girl’s head and tie into a double knot! That’s it!
Twisted:
- Cut two rectangles 13″ (can be adjusted to fit, just a starting place) long and 3″ wide. Lay them flat on a surface.
- Fold the two pieces in half, and create a cross with them.
- Fold the two pieces in half, making sure they are connected.
- Pull each end and you will end up with a knot.
- Sew together each end where the top meets the bottom of each section. Make sure to not sew the wrong pieces together!
- Attach a button to one side, and cut a slit in the other side.
OPTIONAL: Sew inside to keep the pieces together.
This headband is super comfortable and perfect to wear when you have a messy bun or bed head!
I would love to see your creations! Post pictures to the forum, and twitter (using #IGGPPCamp), and you can tweet it to me @UnicornPrincez4 on Twitter (or just tweet me to say “Hi!”). I hope you all are having a great time here at camp, and I can’t wait to create more with you all!

[…] ♦ Start your day right with a tasty breakfast! We are making up some S’Mores French Toast over the dining hall! Hair getting in your face? Keep it out of your eyes with a fancy Tie Dye Headband! […]