Hello there! noxy back once more with the last Camp Challenge! Where has the time gone?!
Today we’re making our own graphic tees with freezer paper stencils!
Here’s what you’ll need:
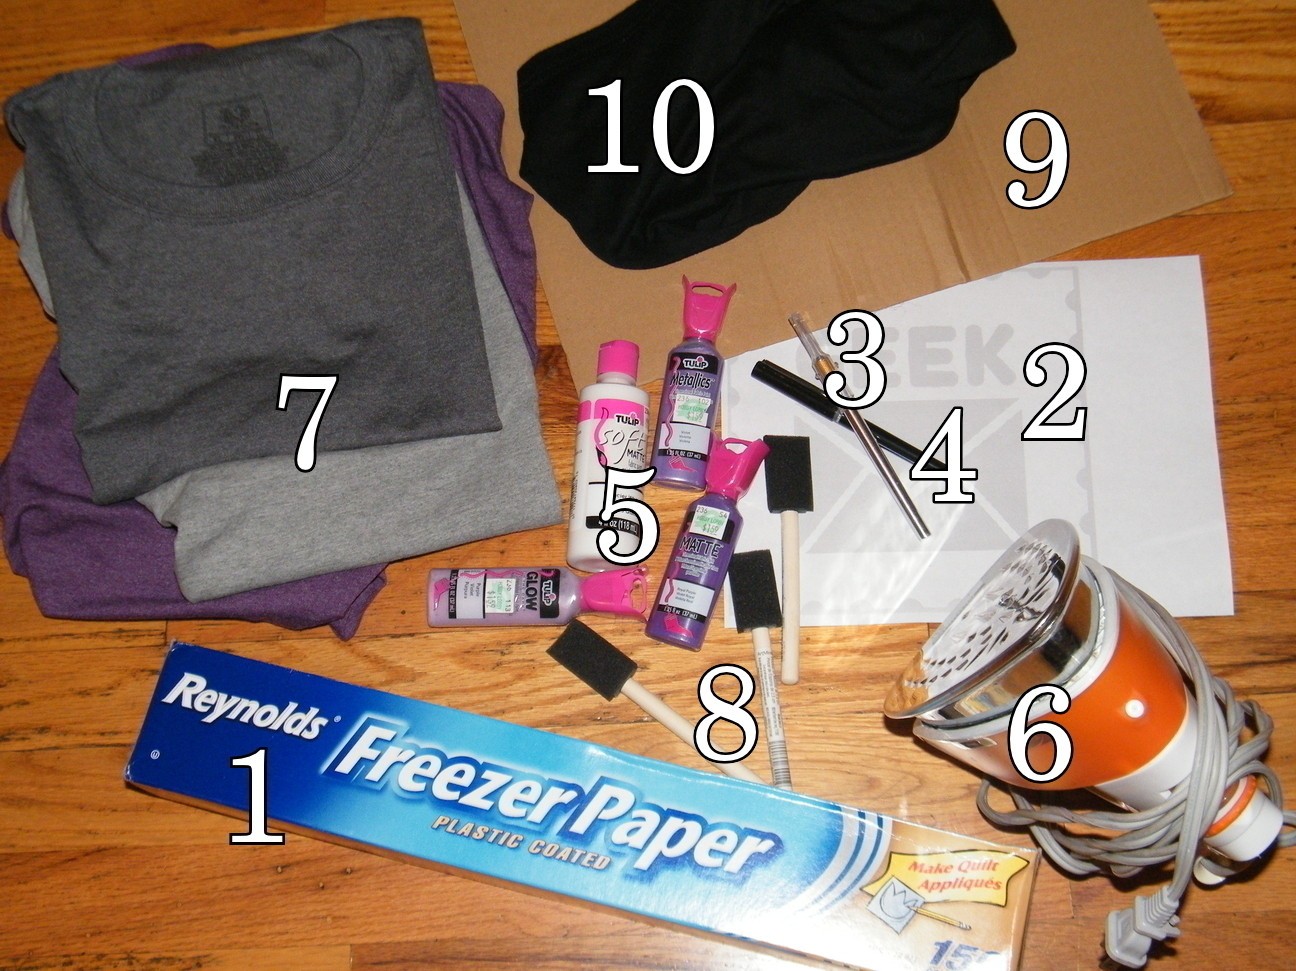
1.) Freezer Paper (NOT wax or parchment paper)
2.) Your design of choice on paper. You can print something up or draw something up yourself.
3.) Craft knife
4.) Pen or pencil
5.) Fabric paint
6.) Iron and ironing board
7.) Shirts (Or really, any fabric you want to do this stencil on)
8.) Cheap sponge paint brush things
9.) Piece of cardboard to go in the shirt
Optional:
10.) Extra fabric
11.) Tape (not pictured)
First up, when I decided to do this challenge, I wanted to do something Iggle related. So I designed a stamp style graphic – like the ones for the Houses.

I like it a lot, but decided I wanted some simpler wording for my design. So I replaced “IGGPPC” with “GEEK”.

You can feel free to print this image out as is, in whatever size, tweak it, or use whatever you’d like.
Grab your freezer paper. Yeah… I’ve got a butt load of freezer paper. It was the only one they had at the Walmart. Ha. If anyone wants to try this challenge but you don’t have the freezer paper, tweet me! I’d be happy send you a couple feet. LOL.

When working with such a large thing of freezer paper, don’t forget to push the tabbies in on the sides! It keeps the roll from hopping out whenever you pull.
Tape your design down, then tape your freezer paper over it – shiny side down. The tape is optional, just make sure not to move it, because you’re going to be tracing. I printed my design out in a light gray because I was running low on ink and it was only barely visible through the freezer paper.
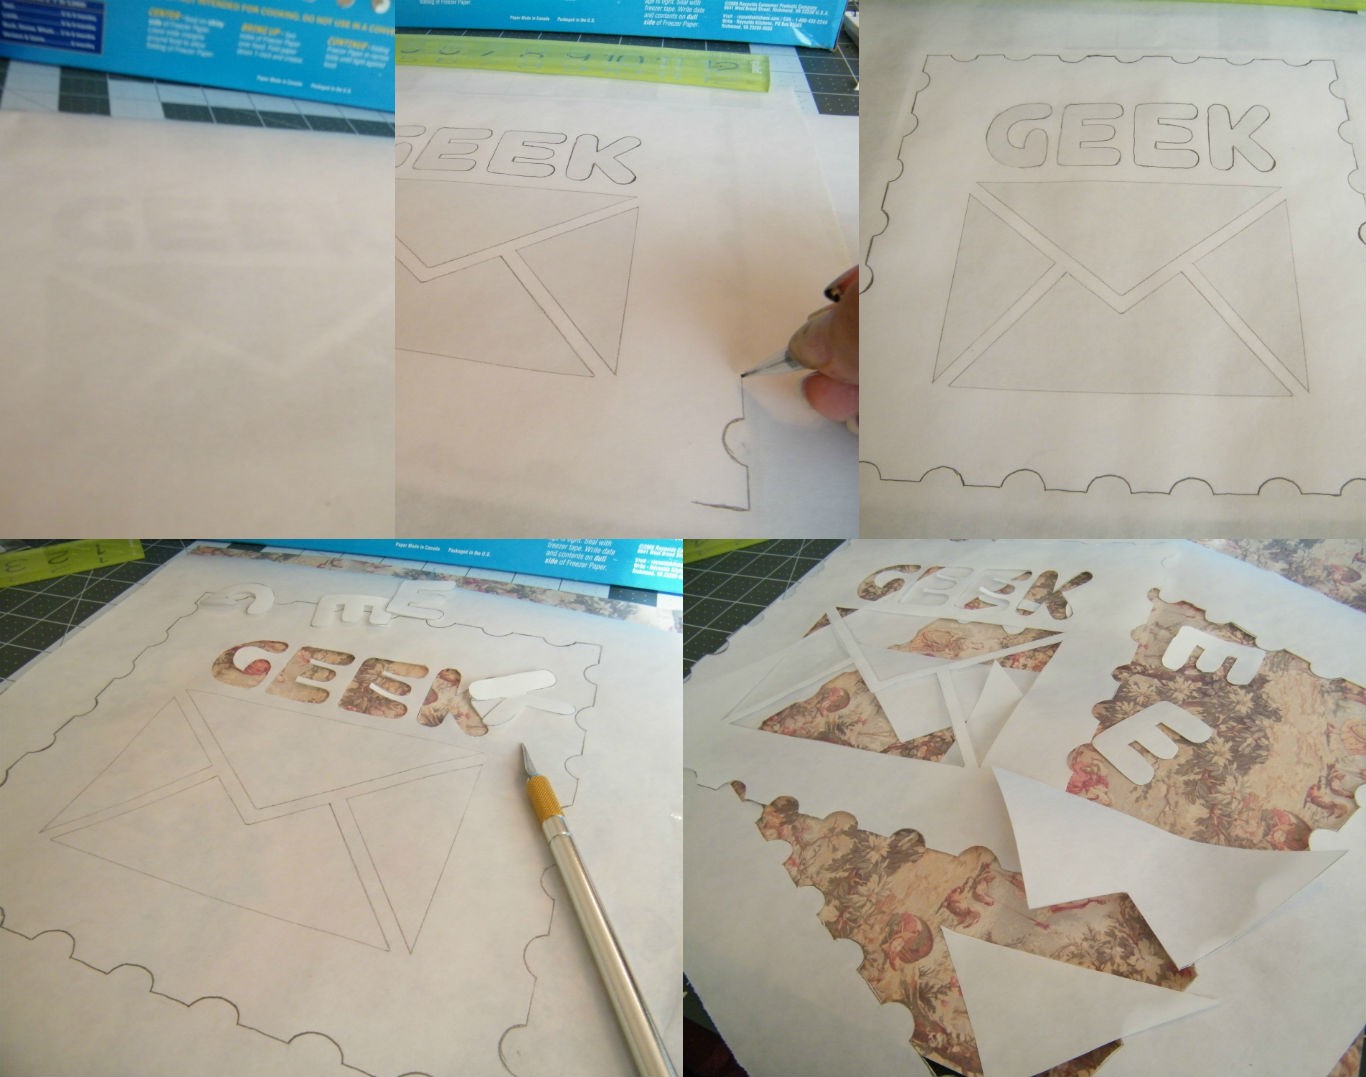
Once you’ve traced your image, use your xacto knife to cut your design out. Be careful – accidental slips can lead to places paint can leak through. Once you’ve got all your pieces, look at the edges to make sure they’re all cleanly cut. You can go back over with your knife, or use scissors to fix the edges. Keep all your pieces – the main image, the small extra pieces and the paper that’s on the outside of the design. until you decide how you’re going to use them, because there are two ways you can do this.
Take your shirt, put it on your ironing board with the front side up. (Unless your design is elsewhere on the shirt… place it so the design can be put on easily.)
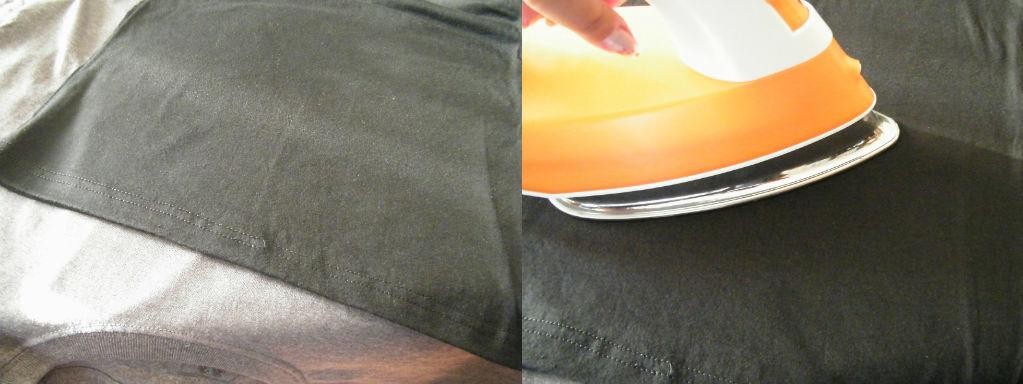
The first method is to place the outside piece first, then all the small pieces. Iron it all down securely. When using your iron, be sure to use the cotton setting without steam.
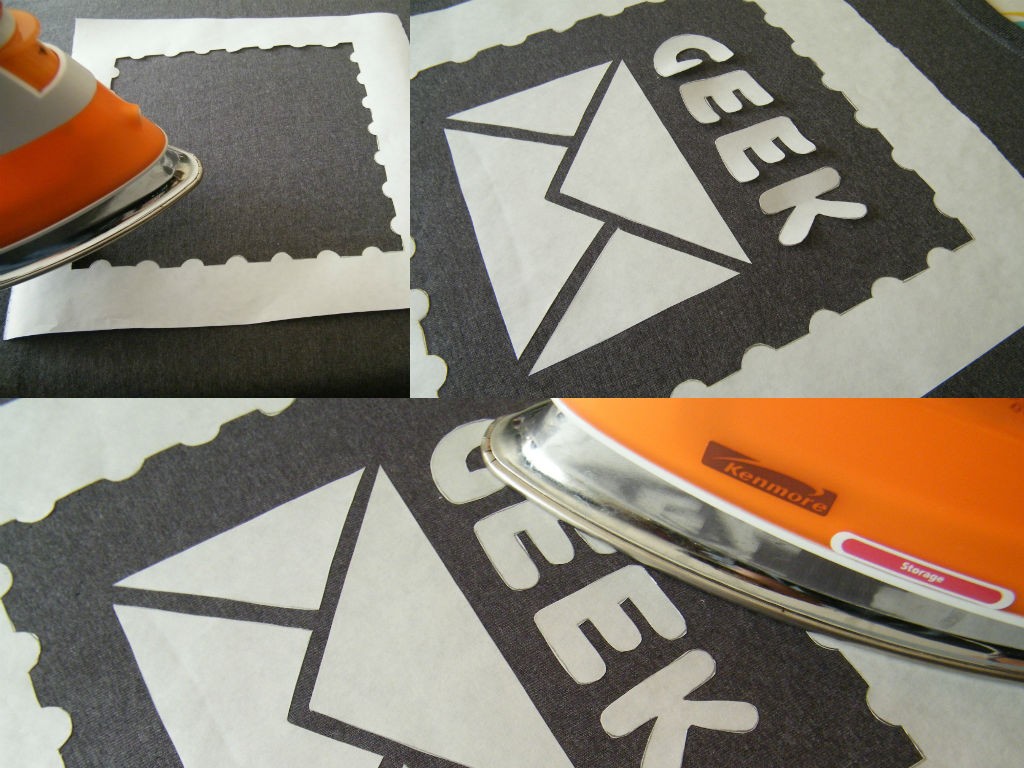
Go over the tiny pieces and edges really well, because you don’t want them popping up while you’re painting.
Method two is to place your main image down. This is going to produce a “negative” effect.

Next step is to paint! (I lamely got caught up in painting and forgot the picture-taking.) Use your sponge paint brush and dab the paint on. Dabbing is less likely to peel up your edges. For method one, I used white first, then covered the white with purple. For method two, I used only white, and on the outside I dragged the brush outward a bit to make the paint look less harsh.
Wait the appropriate time, (the back of my paint said 4 hours)
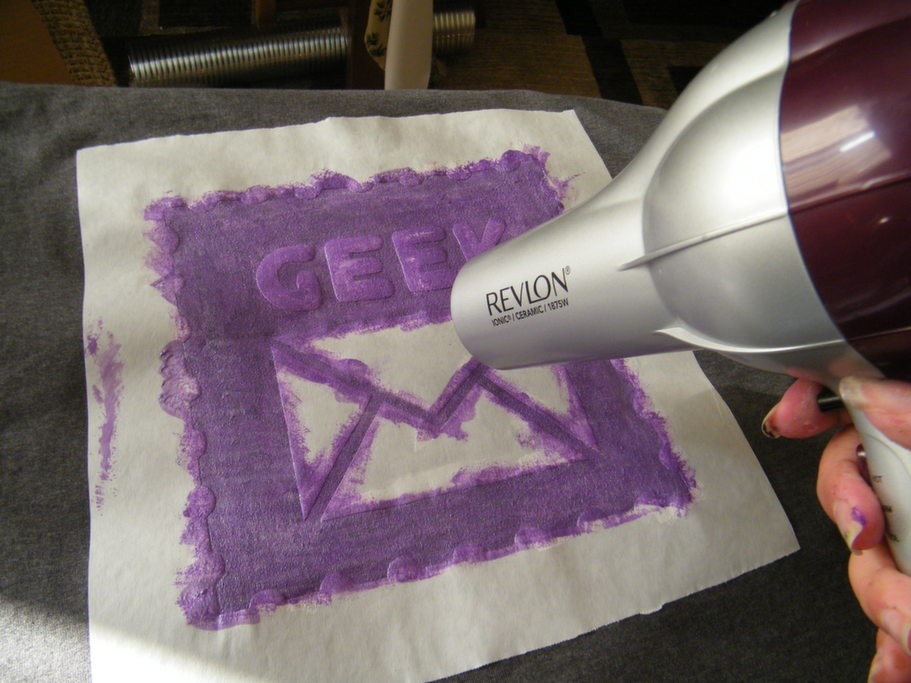
or speed up drying time with a handy dandy hair dryer.
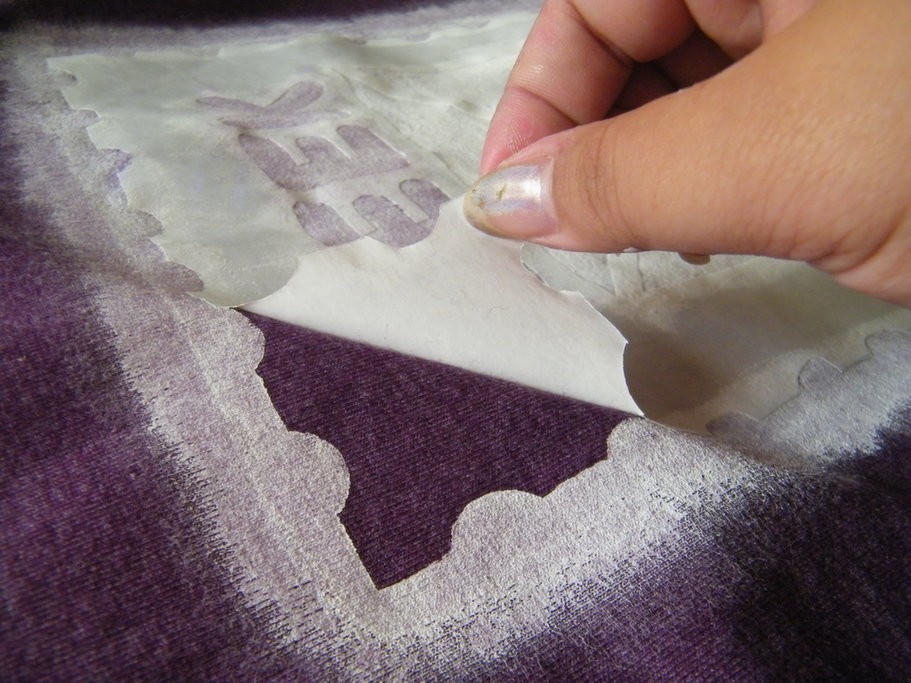
Carefully peel up the paper. It should come off easily, but might be clinging to your paint, and you don’t want to ruin your design, so take care.
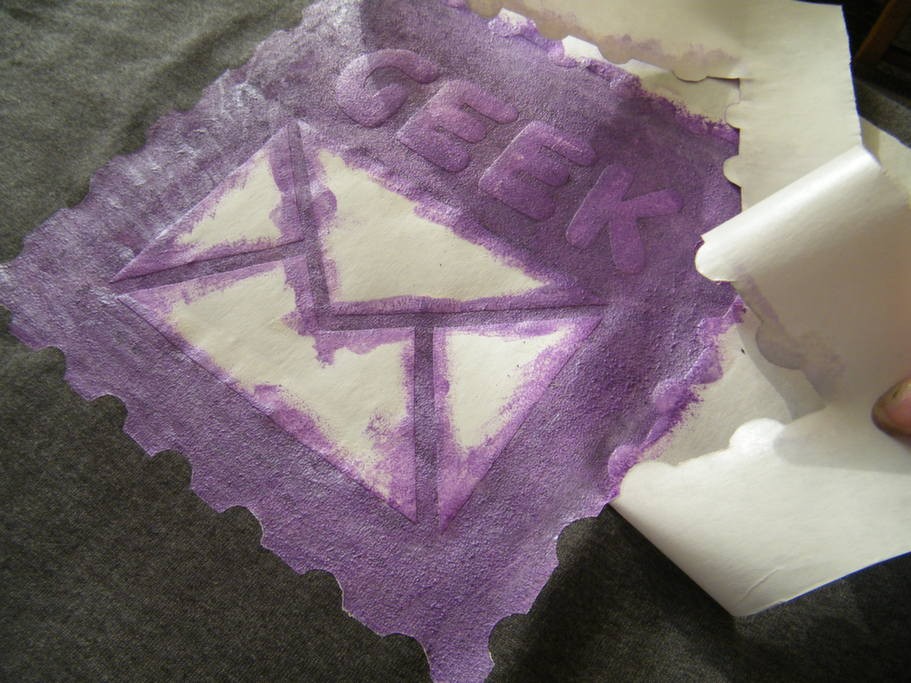
In this picture for method two, you can see what I mean about how I “dragged the brush outward”.
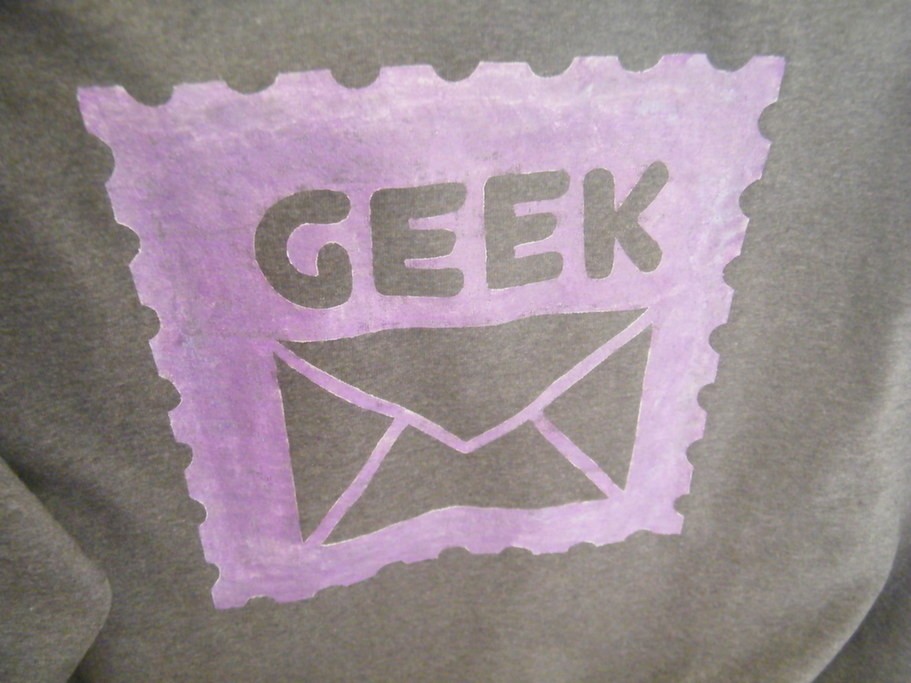
The completed designs:

Directions on my paint say the item can be washed (inside out) after 72 hours. So, keep that in mind.
Now, some sites I’ve perused recommend “heat setting”, while others say just use the directions on your fabric paint. Heat setting can help your design’s staying power overall, but might not be necessary if your directions don’t mention it, so this part is optional.
Just take a piece of extra fabric, place it over the dry image, and iron over it for a minute or so. And that’s it!
Now all you have to do is wear them!
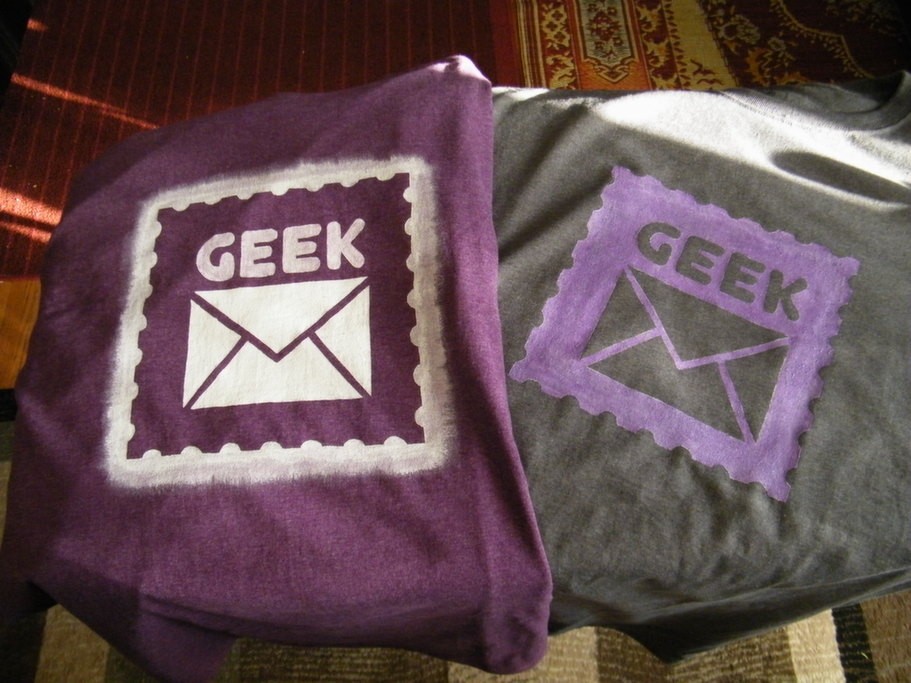
Which one do you prefer? I think I might like the method two shirt a bit better. Would anyone like my method one shirt? It’s a men’s XL. 🙂
I hope you’ve enjoyed today’s challenge and that you give it a try yourself! If you do, an achievement awaits!! Enter craftclub9 to get the last Camp Challenge achievement, and please don’t forget to share your pics via twitter and hashtags #IGGPPCamp and #IggleCC! You can also post your pics on the forum here.
Yess! I’ve been waiting for this one so I can make an IGGPPC Summer Camp t-shirt! 🙂
I might use these for our staff t-shirt where we’re all going to make a cutie mark and be MLPs!!! This is seriously so cool. Hopefully time this week.
Oh man. I wish I could do this! It’s so cool!