Here at IGGPPC we love our snail mail! And I don’t know about all of you, but I get tired of plain white envelopes. Recently I decided to attempt to make my own envelopes – hoping to bring some color to my snail mail. And who wouldn’t love to find a color or fun patterned envelope in their mailbox? I personally love the idea of customizing the envelopes, it gives it a bit of a personal touch and the receiver can tell you put a little extra thought into it. Keep reading to find out how to make your own envelopes.
Gathering your supplies
First off, you’ll need to gather the supplies needed to make your envelopes. For this project you will need:
- Paper of some sort – I used 12 inch x 12 inch scrapbook paper. Alternatives could be pages from a magazine, your own drawings on printer paper or sketch paper, or many other options. The steps will be the same no matter what kind of paper you use.
- Glue – I used Elmer’s Craft Bond but any glue you have on hand should work fine. You could use tape if you prefer, but I feel like glue will give it extra strength.
- An exacto knife and ruler or scissors – I personally used my exacto knife with a ruler to keep my lines straight but you could use a pair of scissors just as easily for this project.
- Cutting mat – this is primarily needed if you are using an exacto knife to prevent damage to your work space. You may leave this out if you use scissors.
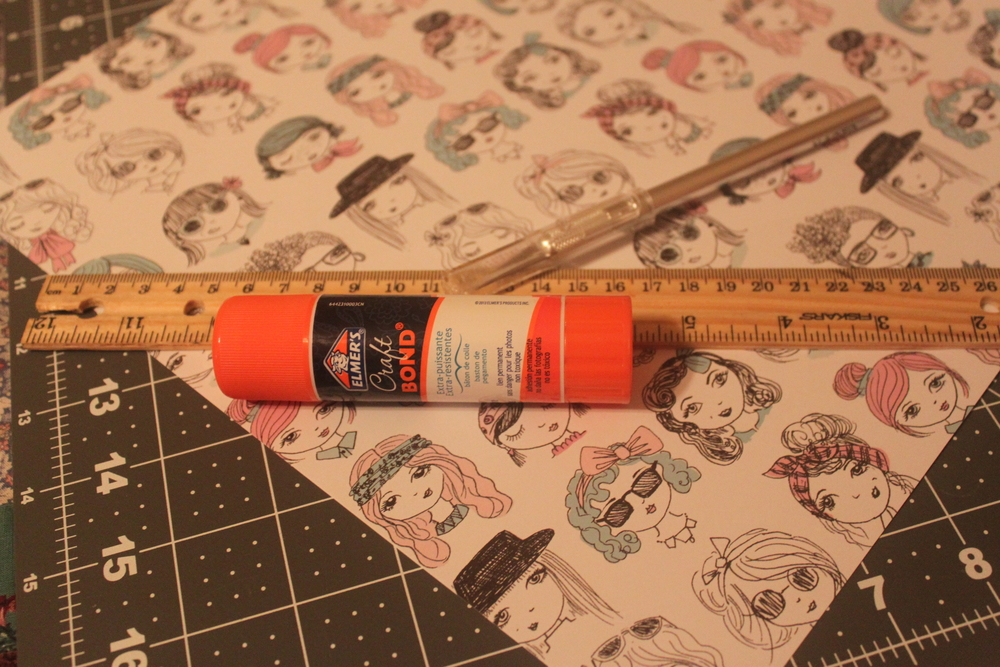
Supplies needed to make your own envelopes: paper, glue, and either and exacto knife or a pair of scissors.
Step One: Size your paper (if needed)
Once you’ve gathered your supplies, it is time to begin the project. Take your paper and figure out what size you want the envelope to be. I folded my 12 inch by 12 inch paper in half and made two envelopes out of the sheet. I bought other scrapbook paper that was smaller in size and didn’t resize it. Just remember that you’ll want the piece that is going to become your envelope to be slightly wider than you want your envelope to be since about 1/4 to 1/2 inch of the paper will be folded inwards to create the shape of the envelope.
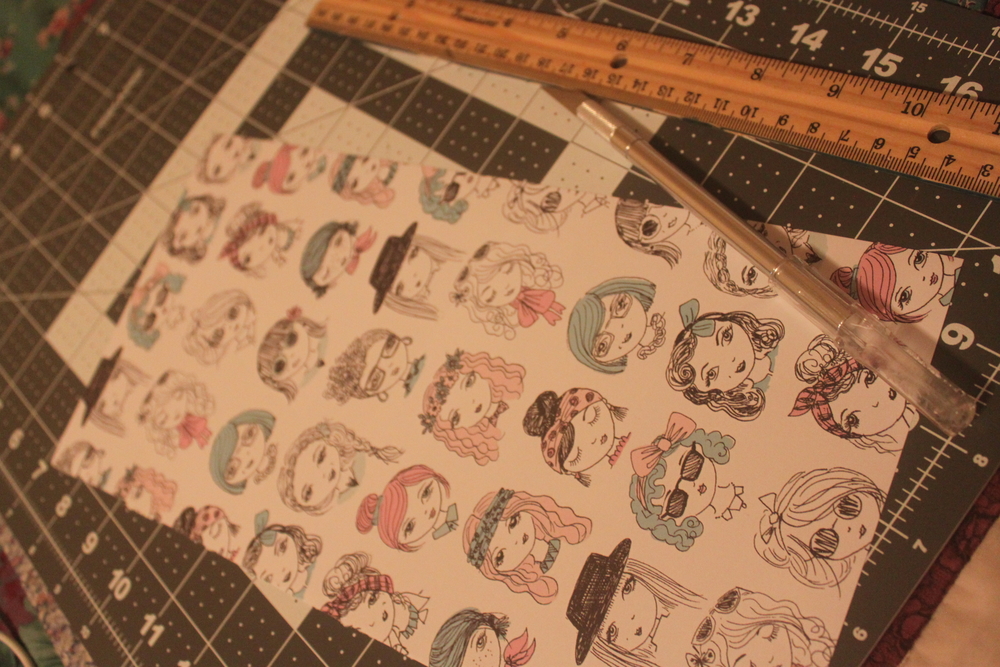
Cut your paper to the size you’d like. I started with a 12 inch by 12 inch paper so I sized mine down. Yours may be the size you would like already.
Step Two: Begin by folding
Now that your paper has been sized (mine being about 12 inches tall by 6 inches wide) lay the paper down, letting the side you would like to have visible facing away from you. For example, I want the faces on my paper to be the outside of the envelope so they are facing away from me and the white side is facing upwards. After you have decided which side will be the outside of the envelope take the bottom of the sheet and fold it towards the top, leaving about an inch or so at the top as shown in the photo. This top piece will end up being the flap of the envelope. Fold the sides in about 1/4 inch inwards on each side (see photo) and make sure to crease each side well.
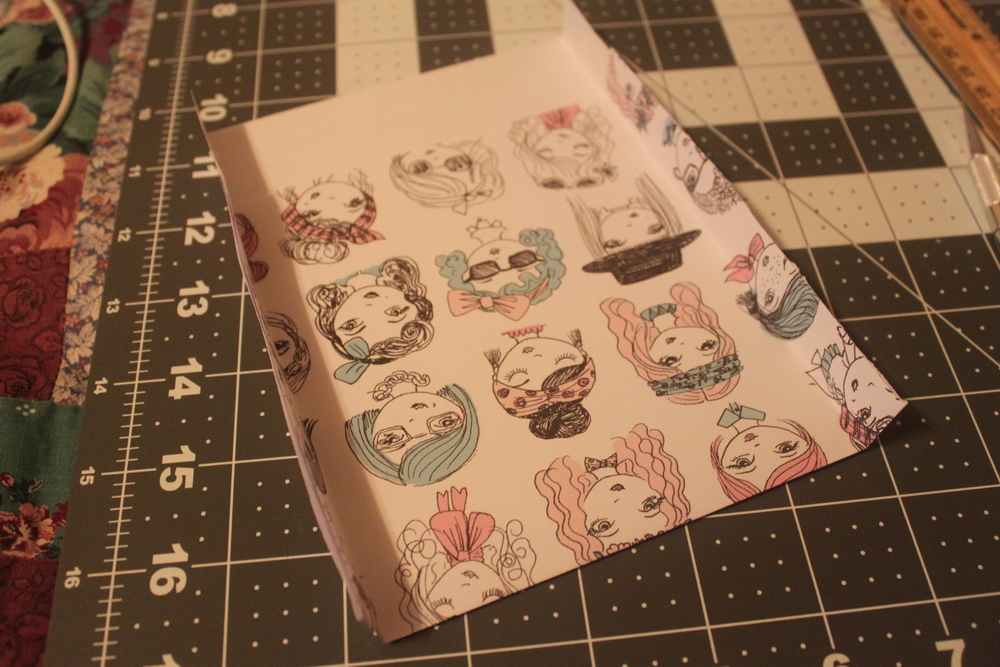
This is what your envelope should look like at this point in the project.
Step Three: Shaping the envelope
Next, you’ll want to open up the sides you just folded down. With your envelope laying flat like this, take your scissors or exacto knife and cut each of the corners off as shown in the image. If you fail to open the sides you folded down before you make any cuts you will end up with openings where the bottom corners should be. At this point your paper should look similar to the photo below.
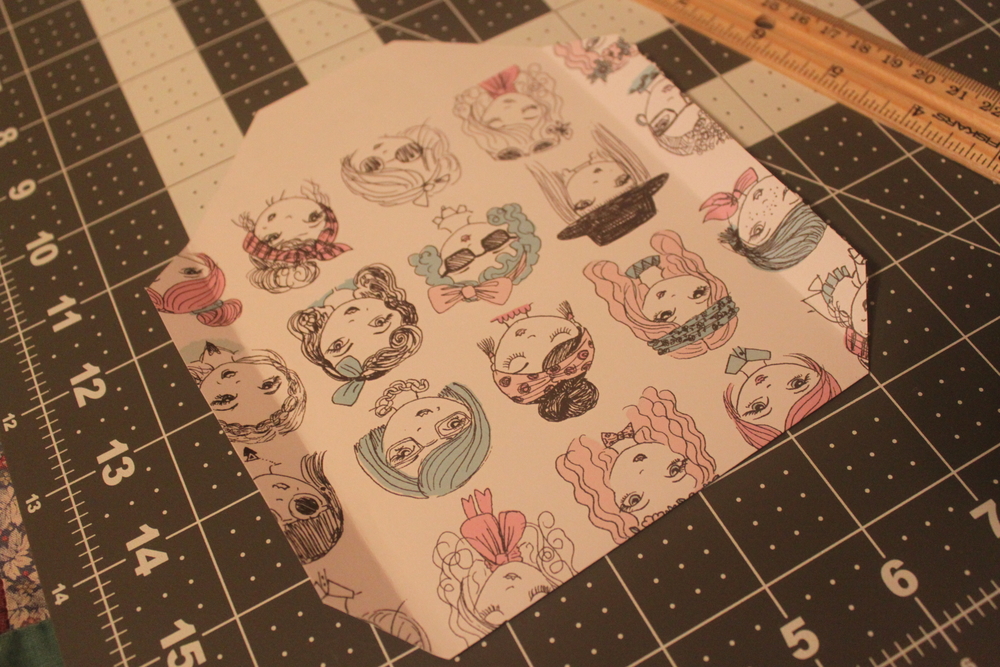
Your envelope should look similar to this by now.
Completing the project
When you unfold the paper you will see the envelope is forming. On the bottom part – this is the part that doesn’t have the closing flap – fold the edge pieces inward. These are the smaller pieces on the edges of the bottom half created by the creases that were made earlier in the process. Take the entire bottom half and fold it back up to the top. Your project should look similar to the photo below at this point. It will vary depending on the sizing of your paper, but the general concept will remain.
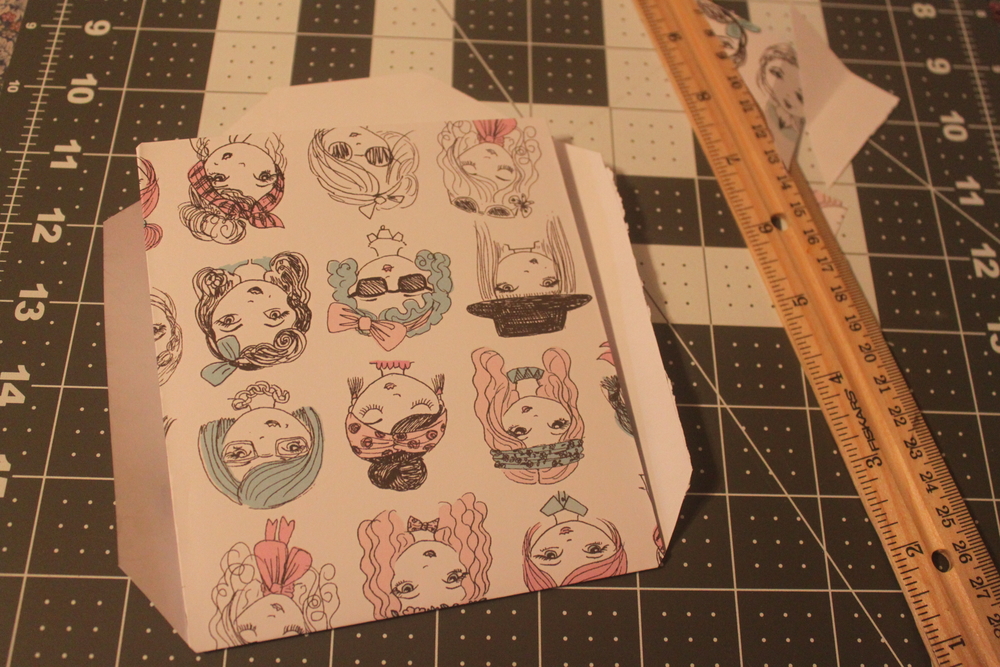
Once you’ve folded the bottom half back up you are almost done making your own envelope
Finally, take the flaps that are on either side of the piece we just folded up and either glue or tape them down. Again, I personally believe that glue will be the stronger option but you can use tape if that is what you would prefer.
You are now a master of handmade envelopes! Your new envelopes are perfect for all your pen pals. I’ve made so many and they just keep coming! I hope you’ve enjoyed making these envelopes as much as I have.
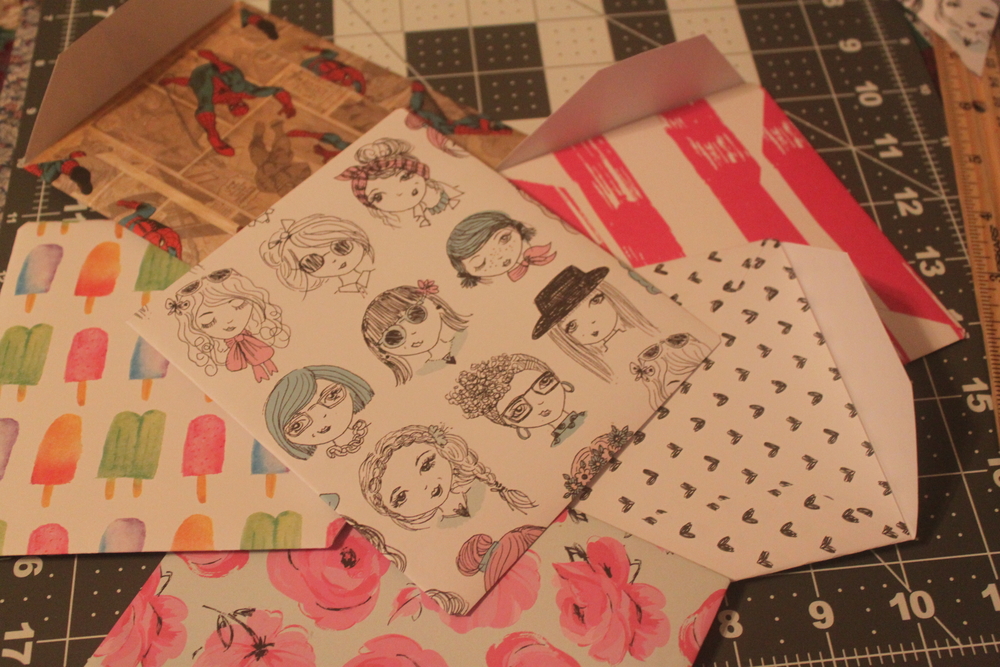
You now have your own handmade envelope to send to your pen pals!
I would love to see how your envelopes turn out! Share your final results with me by tagging me on instagram @the_littlest_liar or on twitter @thedancingdish. I can’t wait to see your custom made envelopes!

What a great tutorial! Thanks for sharing =)